

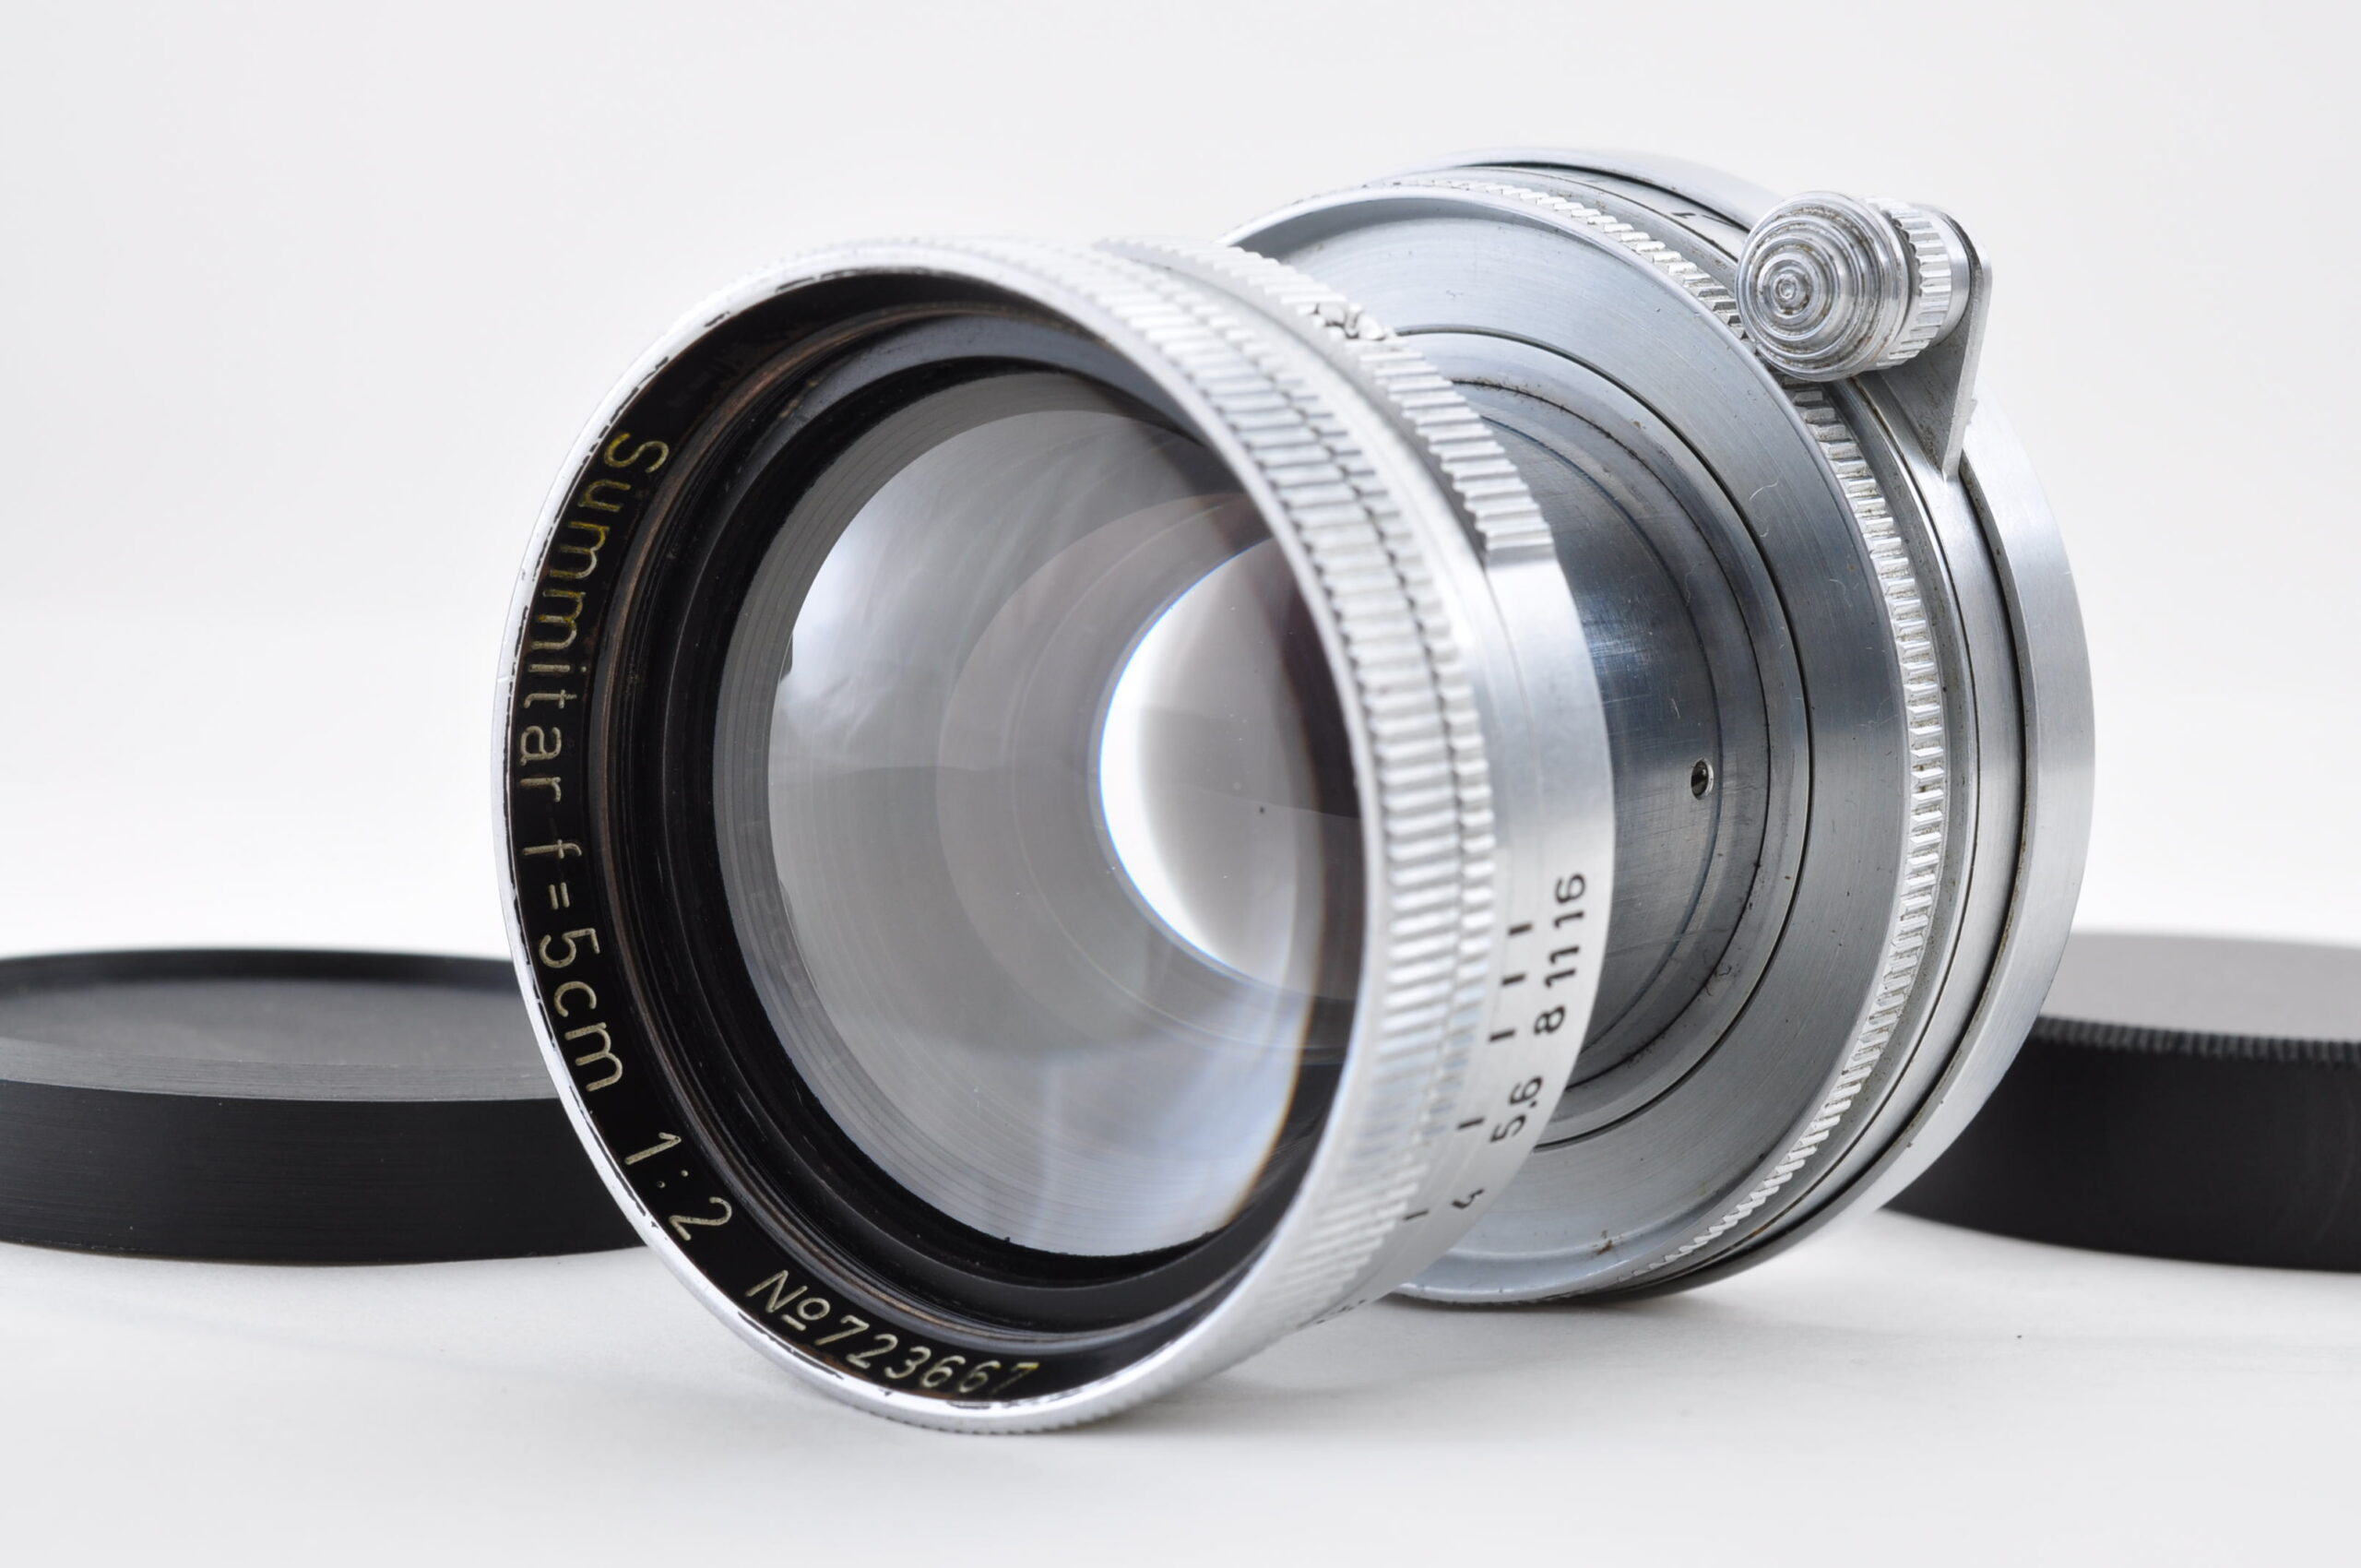
Front Element Balsam separation Repair 前玉バルサム切れ修理
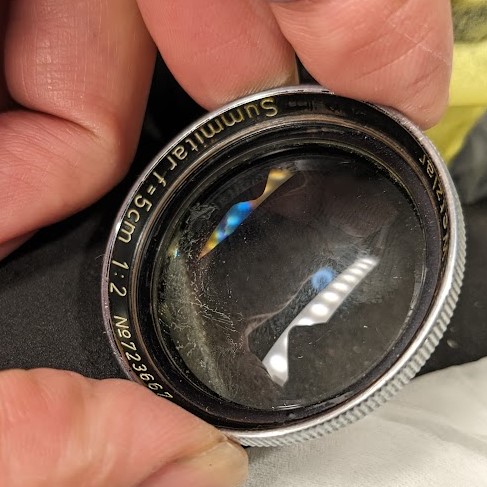
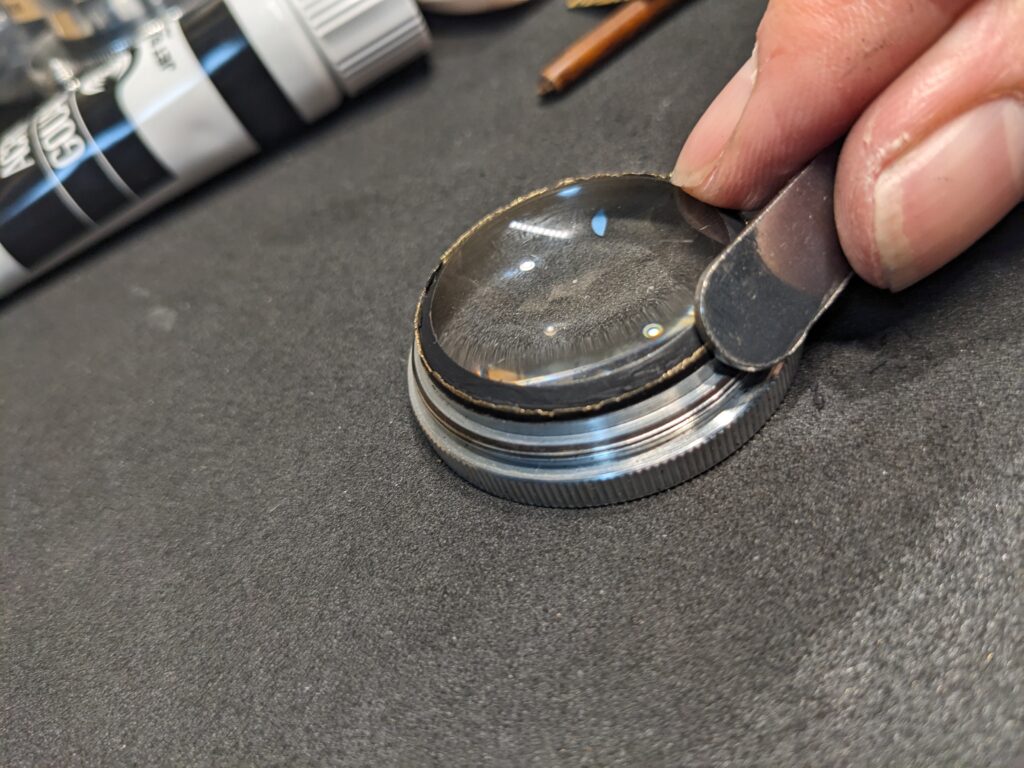
The balsam separation is superb.
It is very easy to remove the front group of bulbs from the optical tube by simply twisting it to the left.
見事なバル切れっぷりです。
前玉群を鏡筒から外すのは、ただ左にひねるだけですので非常に簡単です。
From the inside. It is caulked with a metal ring.
内側からです。金属のリングでカシメられています。

Open the caulk with a knife or similar tool and remove the mating lens.
ナイフなどでカシメを開いて合わせレンズを取り出します。
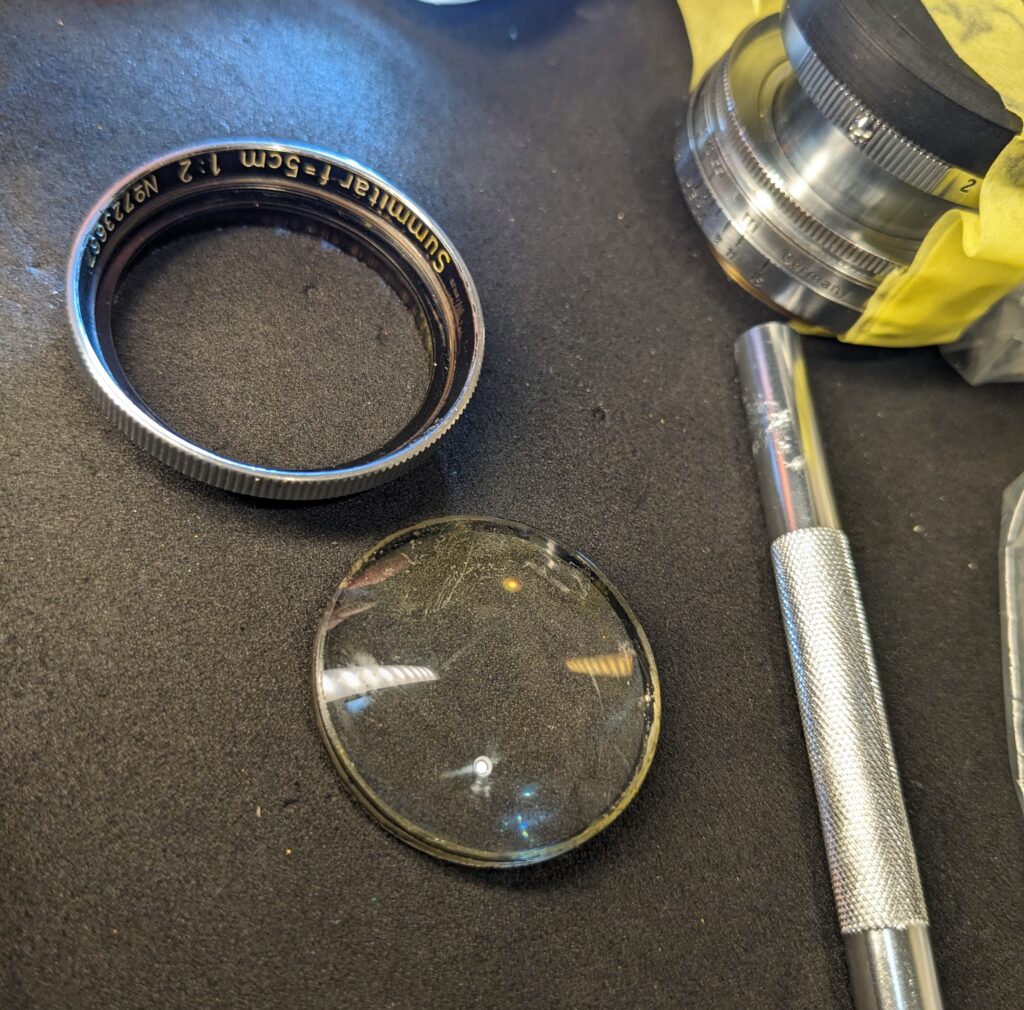
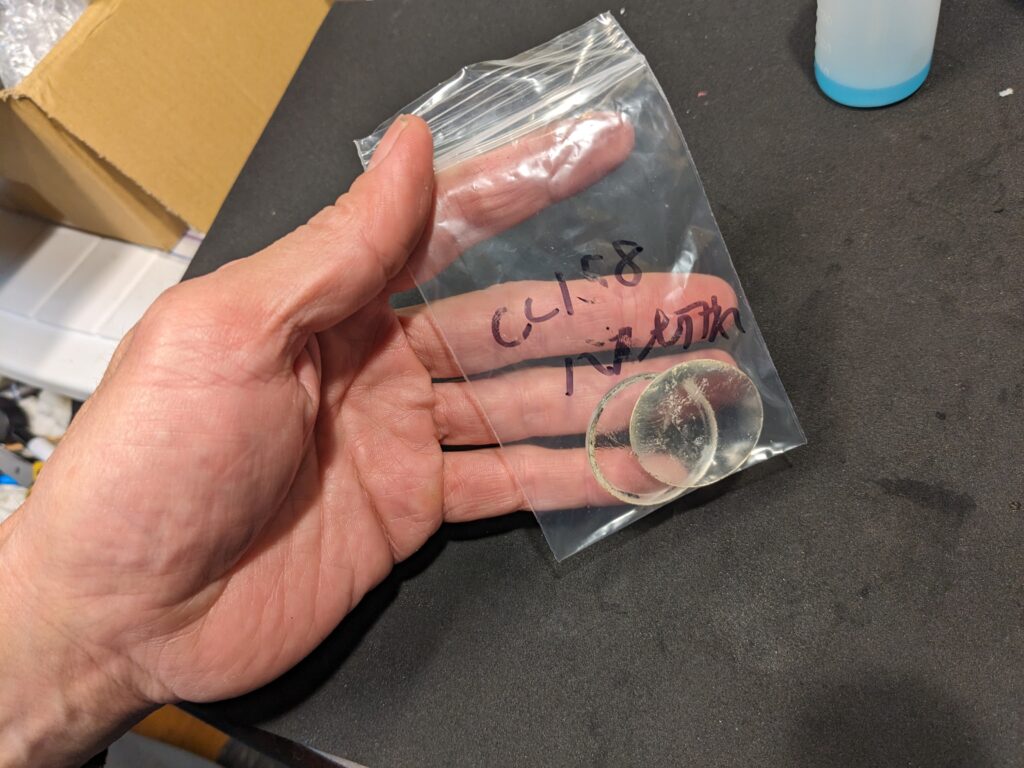
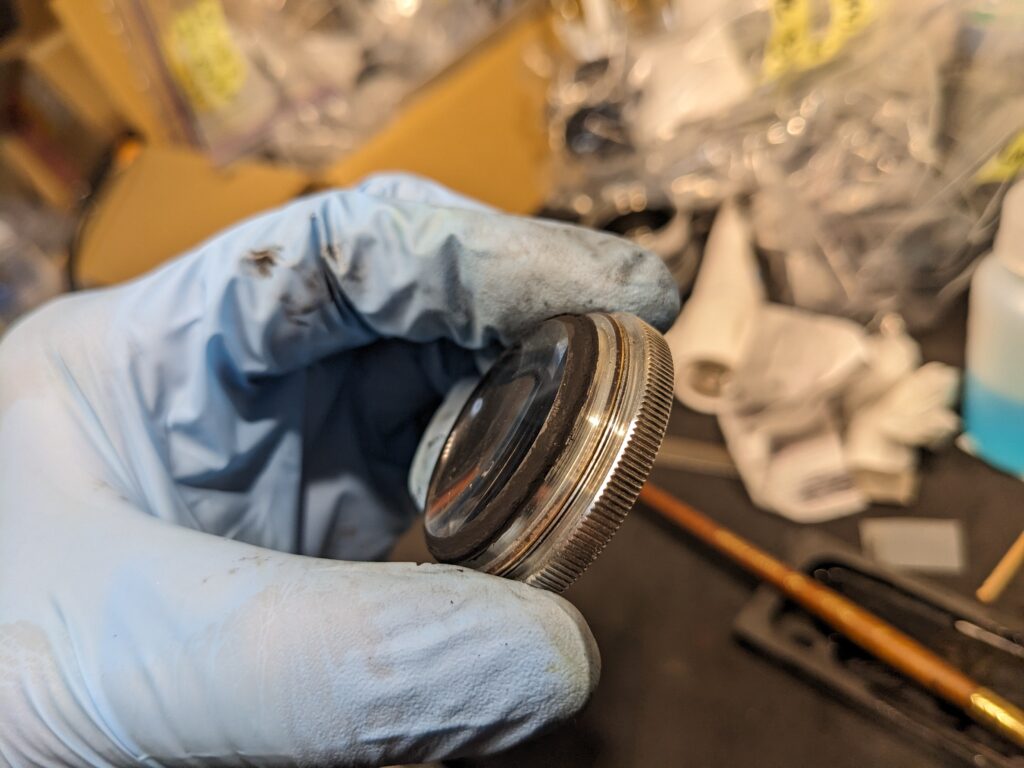
It came off safely.
無事に外れました。
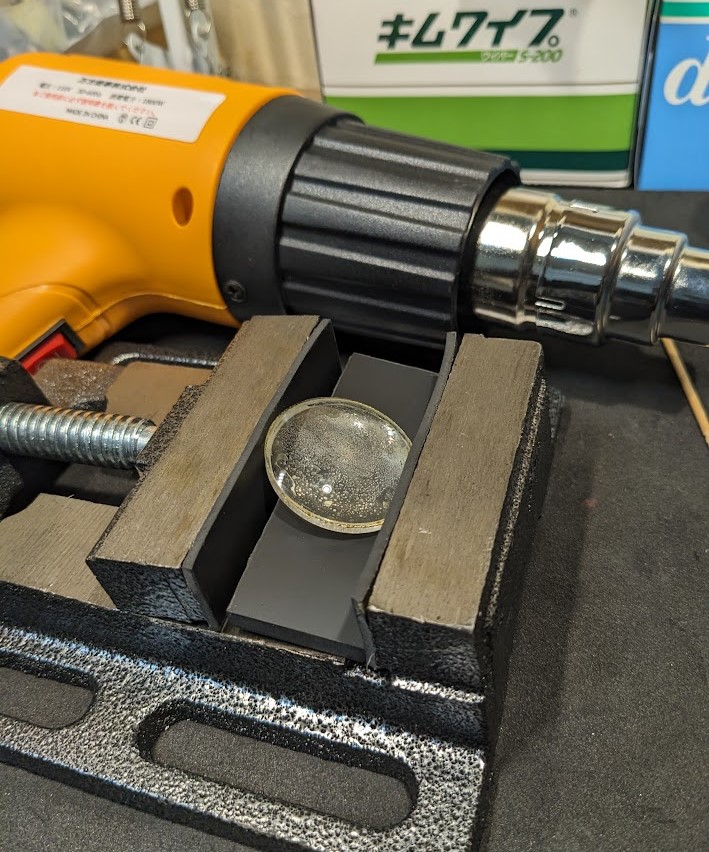
These two items will be used from this time on.
A heat gun and a vise.
Set the lens on the vise at an angle and apply light pressure.
Place a rubber plate between the lenses to prevent them from being scratched.
Heat the lens with a heat gun to soften the balsam, and the lens will slide out of alignment.
今回からこの2アイテムを使用します。
ヒートガンとバイスです。
バイスにレンズを斜めにセットして軽く圧をかけておきます。
レンズに傷がつかないようにゴム板を間にはさんでおきます。
その状態でヒートガンで熱するとバルサムが柔らかくなり、ズルっと合わせレンズがずれます。
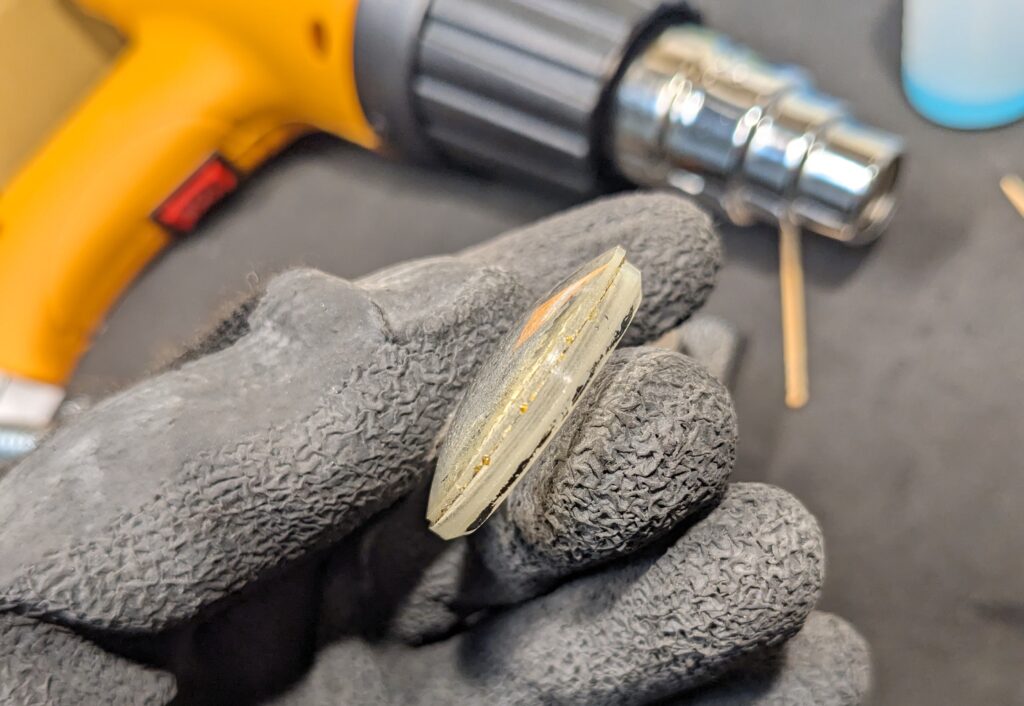
Matching lenses have shifted.
合わせレンズがずれました。
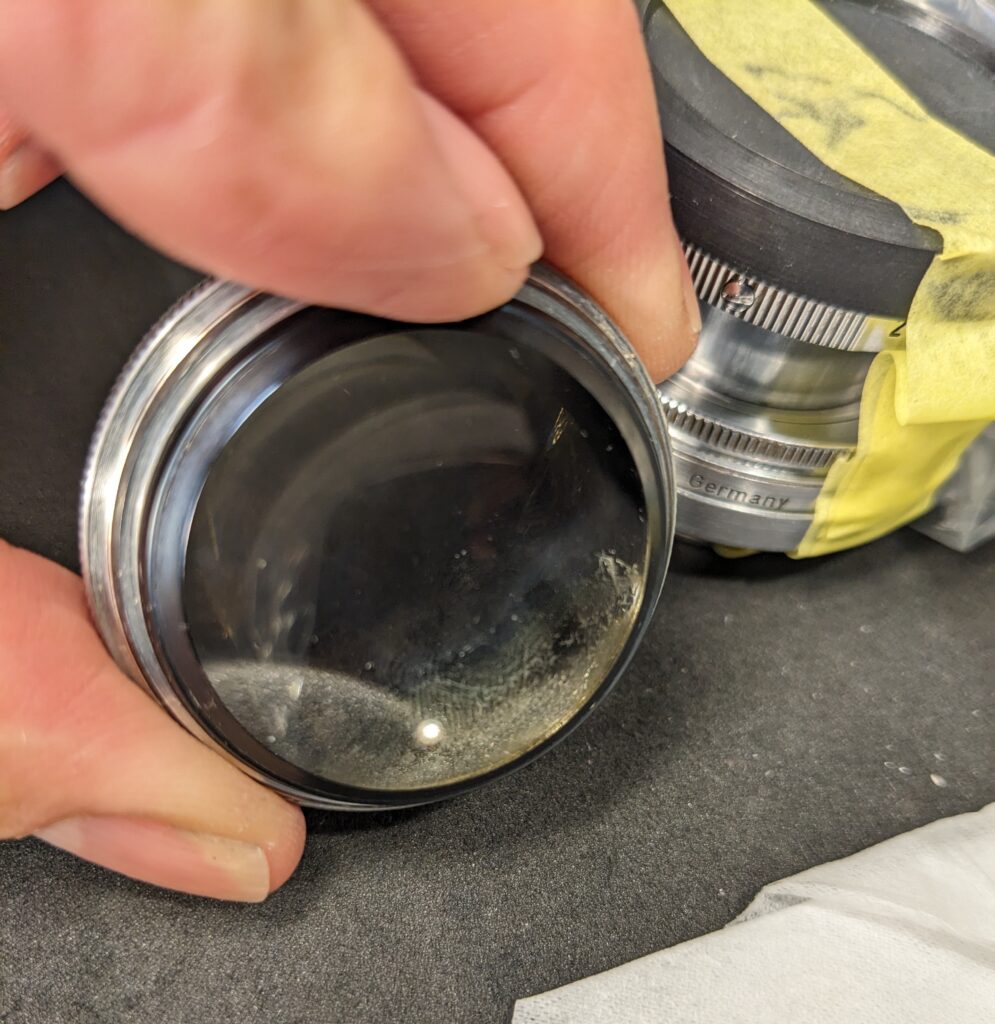
The fogging was caused by deterioration of the balsam, so removing the balsam will eliminate the fogging.
バルサムの劣化により曇りが出ていたので、バルサムを剥がせば曇りは無くなります。
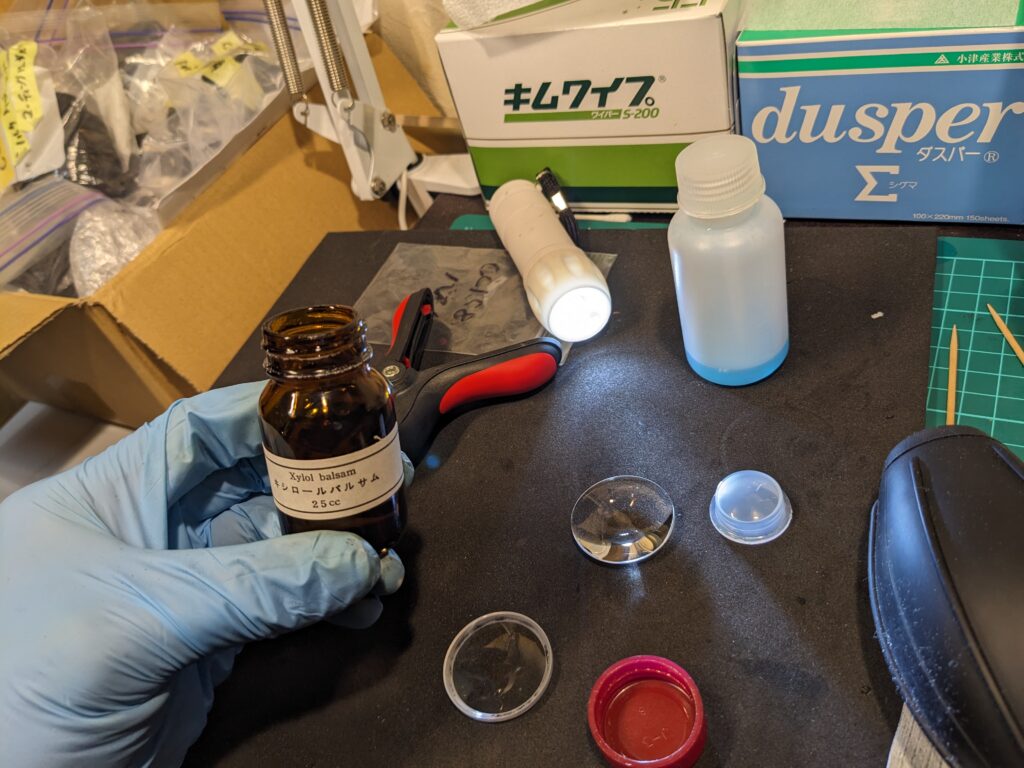
This xylol balsam is used to attach the lenses to the lenses to be matched.
このキシロールバルサムを使って合わせレンズを貼り付けます。
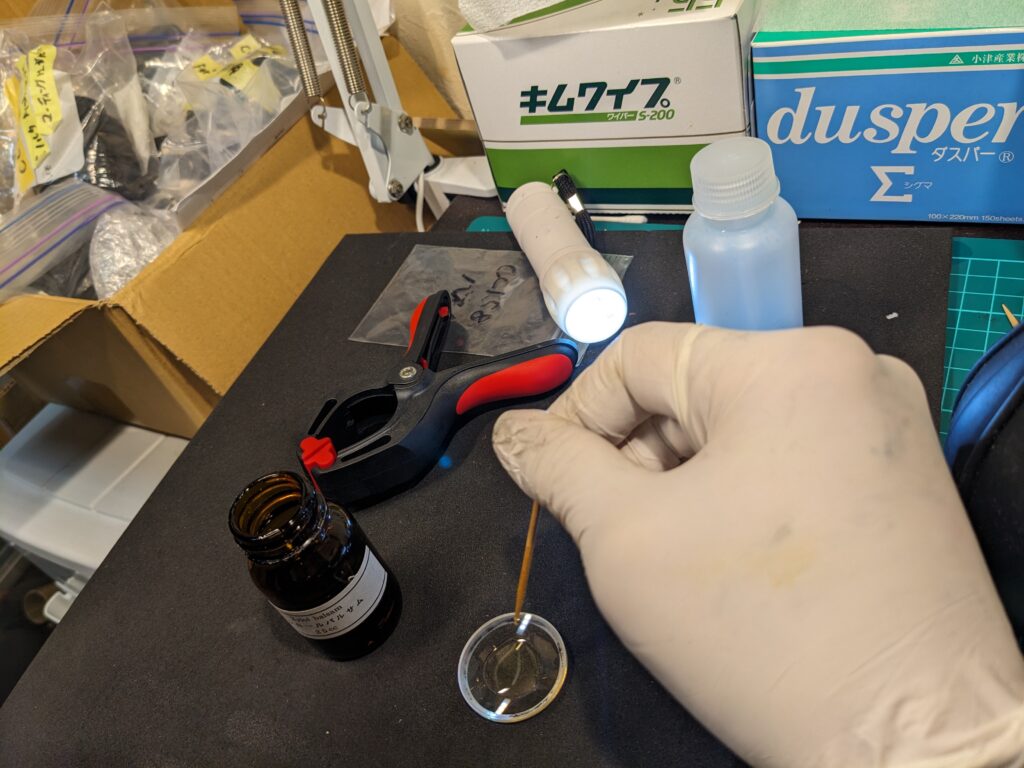
Dab 1-2 drops.
1-2滴、チョンと垂らします。
Fix the balsam so that it does not shift and wait a few days for the balsam to harden.
ずれないように固定して、バルサムが固まるまで数日待ちます。
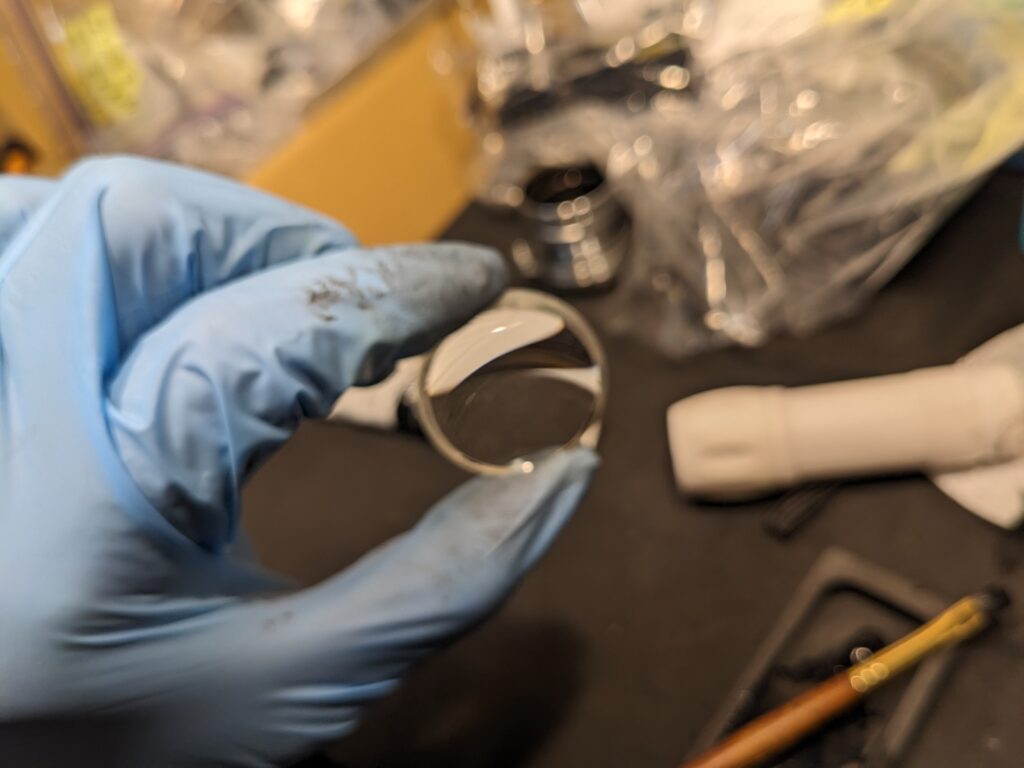
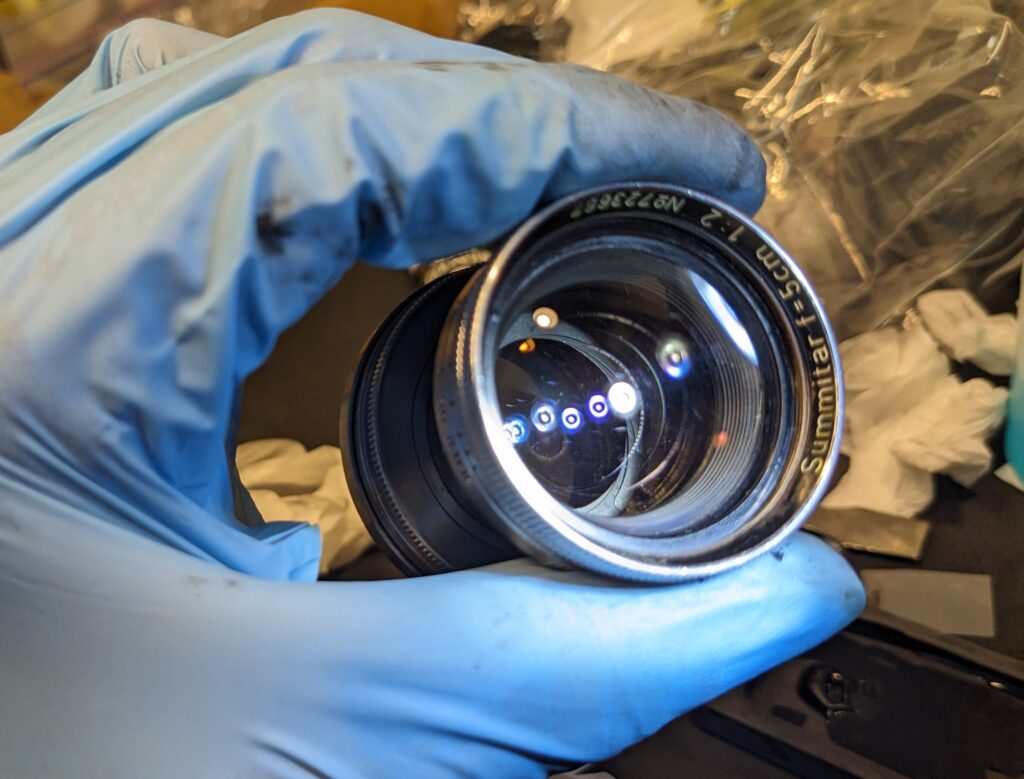
It’s a beautiful lens. It feels good!
綺麗なレンズになりましたね。気持ちいい!
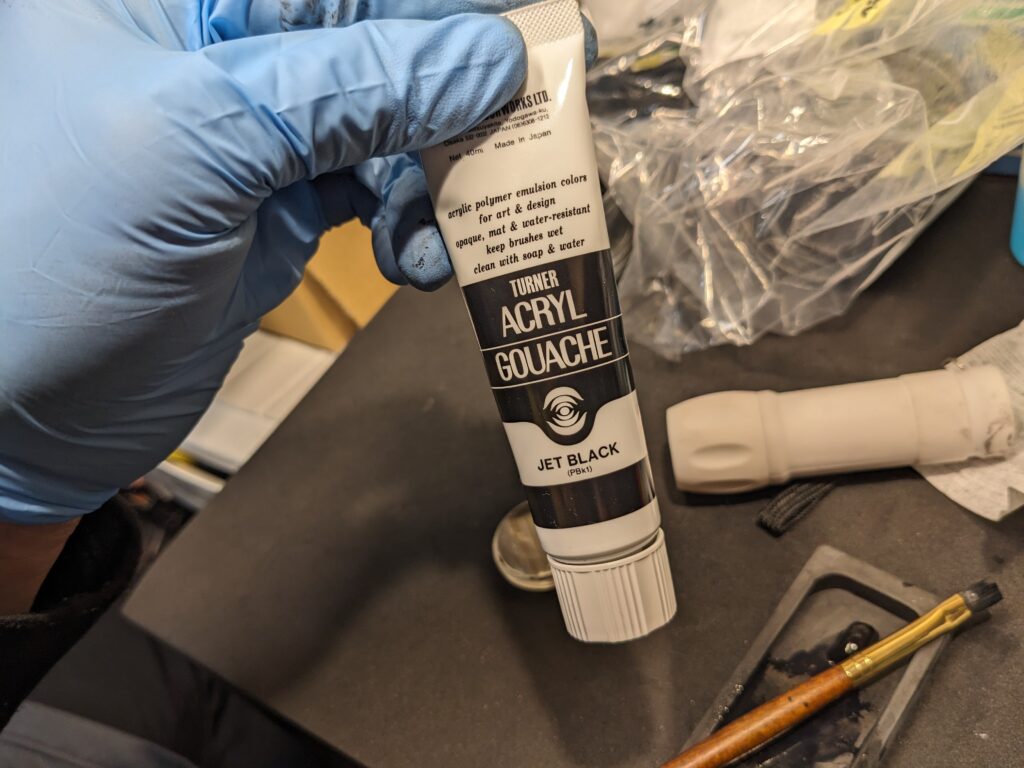
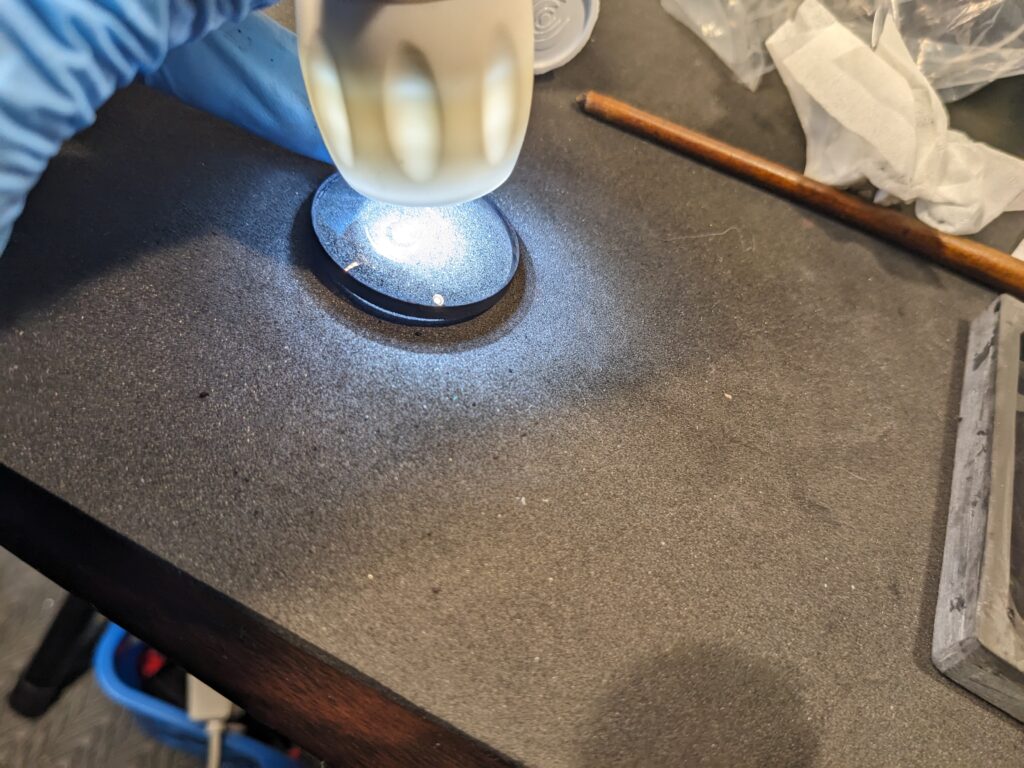
I accidentally removed the edge paint of the lens, so I need to repaint it.
I used Turner acrylic varnish for the final coating.
コバの塗料をはがしてしまったのでコバ塗りをする必要があります。
今回はターナーのアクリルガーニッシュを使ってみました。
Check for light leakage from the sides.
横からの光漏れがないか確認します。
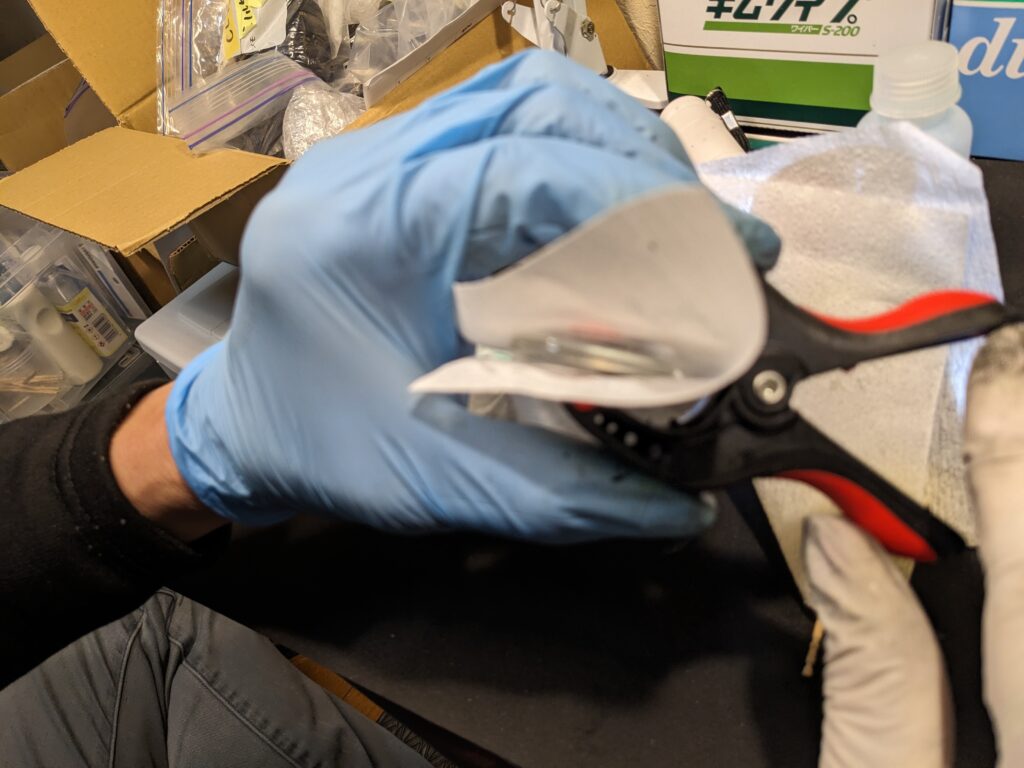
Replace the caulk with a metal spatula.
カシメを金属のへらで戻します。
Repair peeled paint again.
剝がれてしまった塗料を再度補修します。
Perfect. Thank you for the end result.
完璧ですね。最後までありがとうございました。
コメント