


Nikon FM 修理:ファインダーの歪み修正と内部清掃
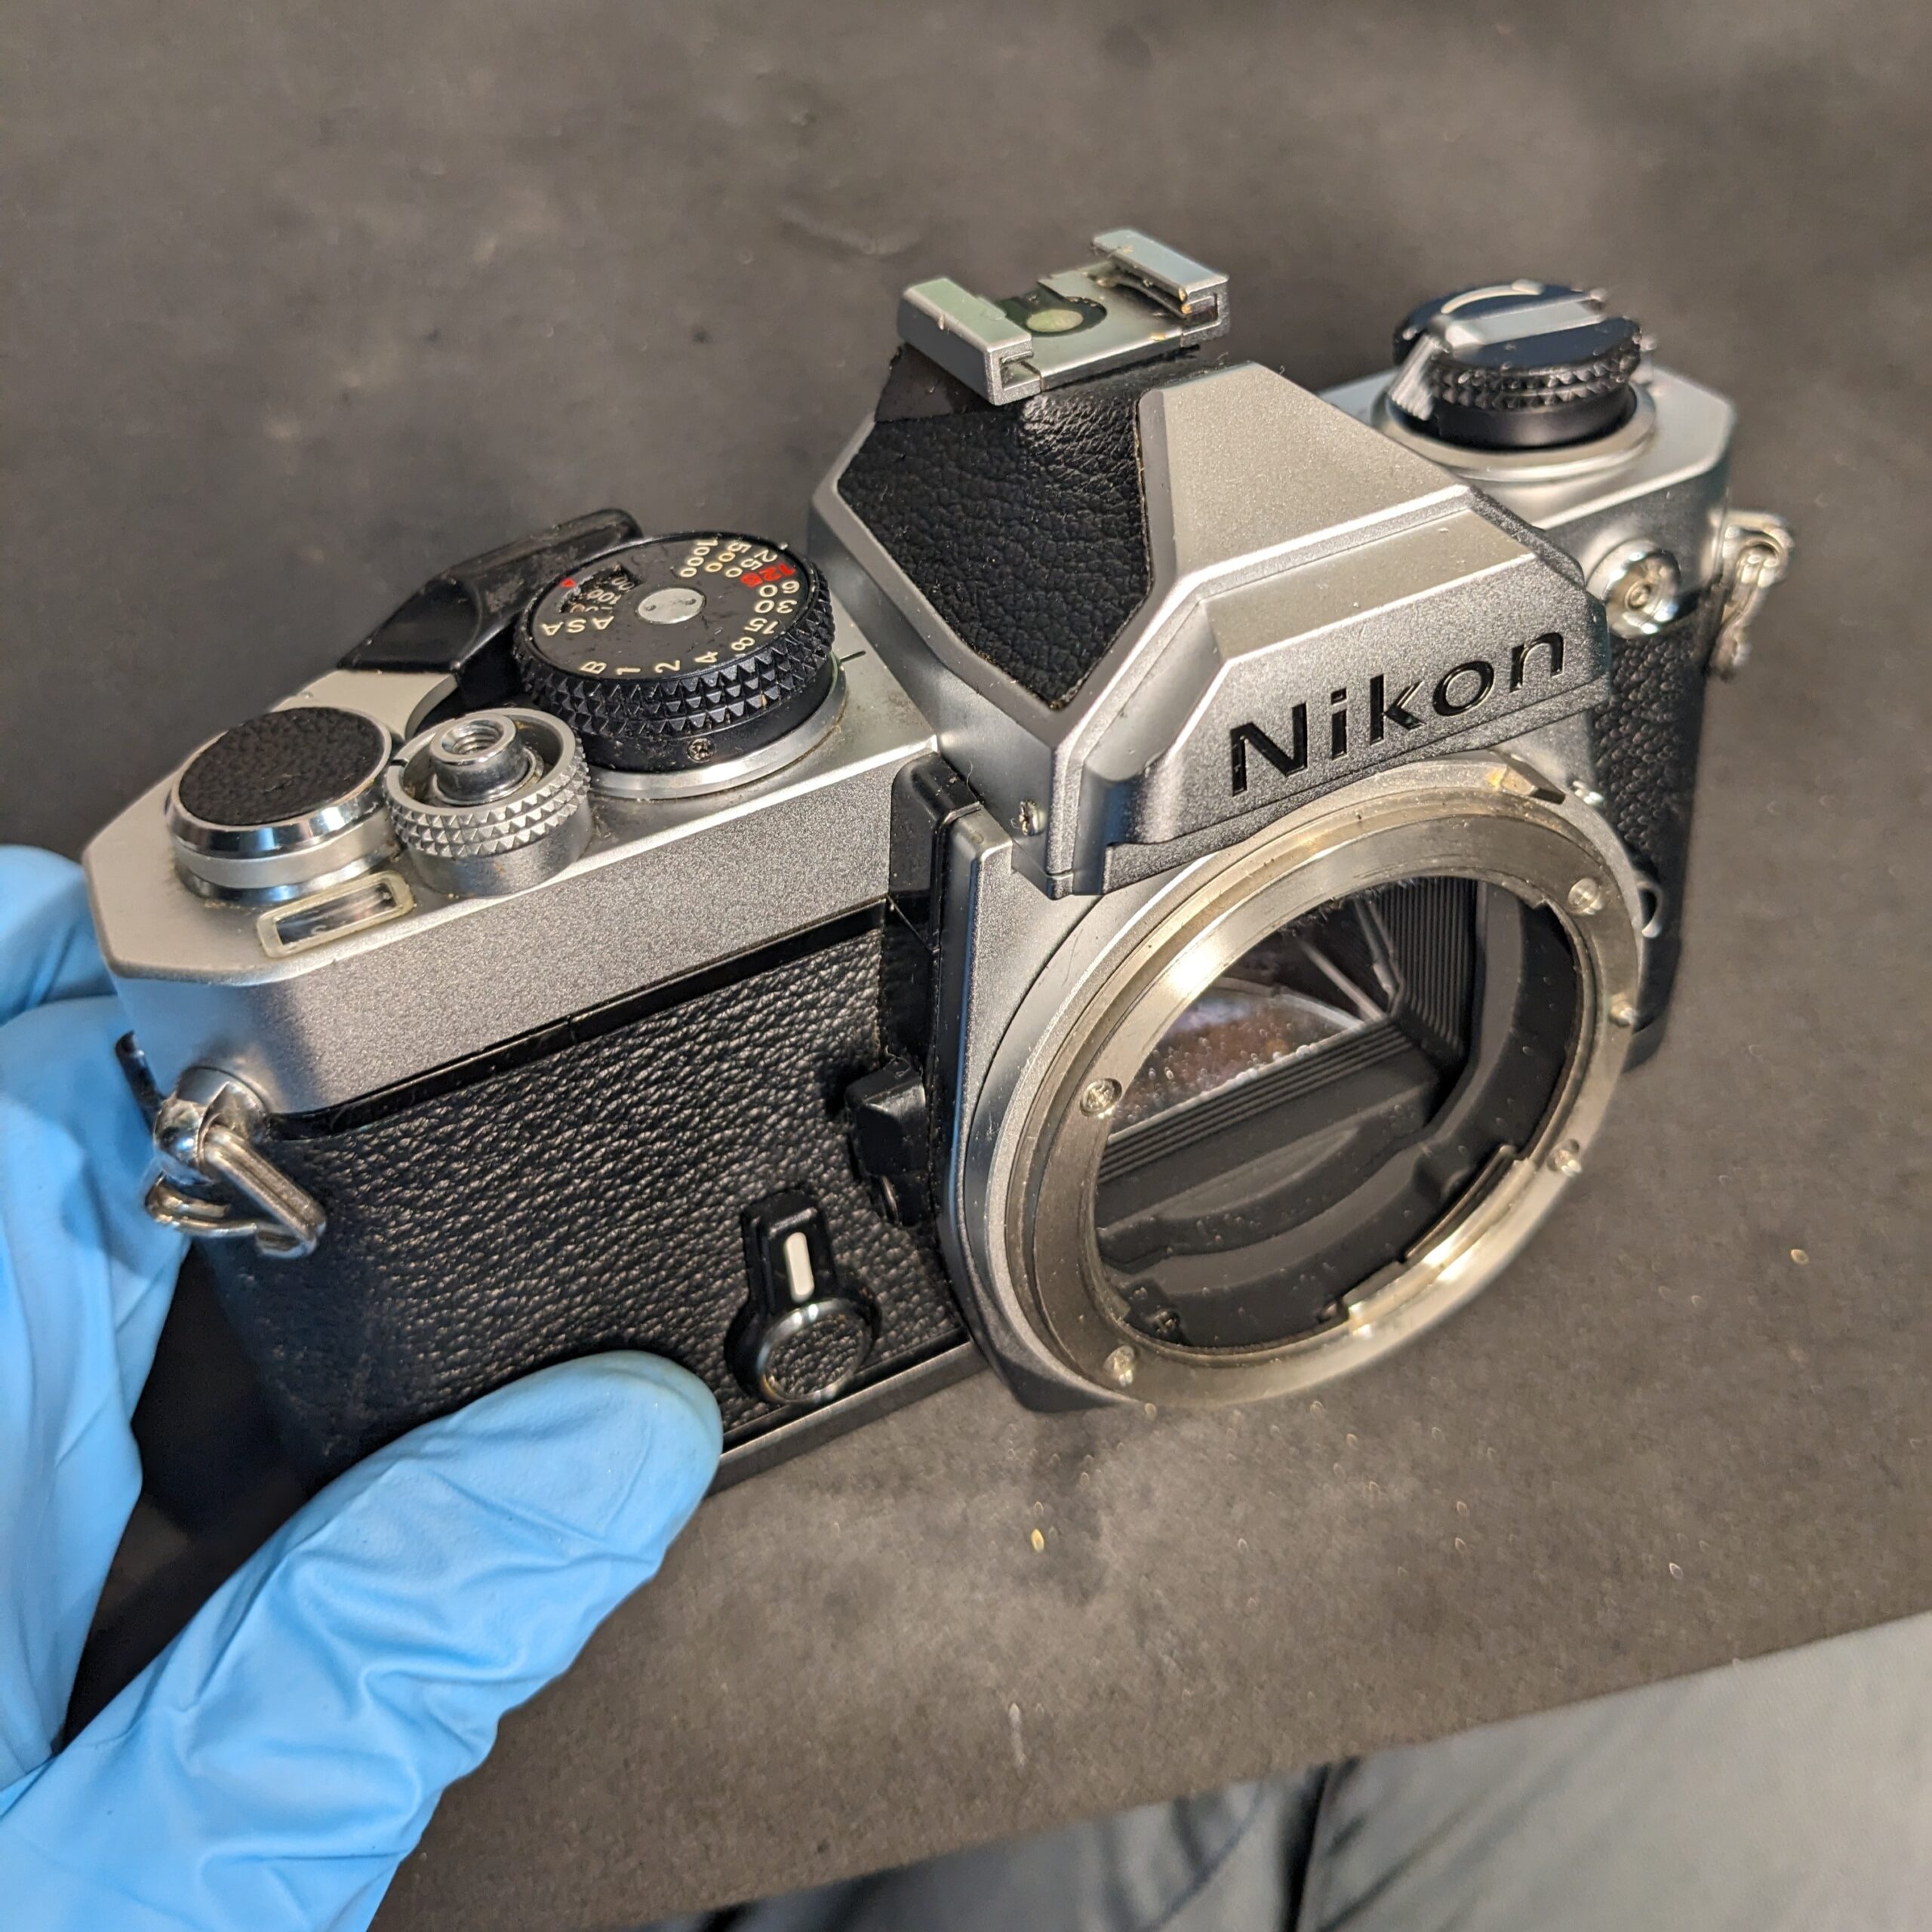
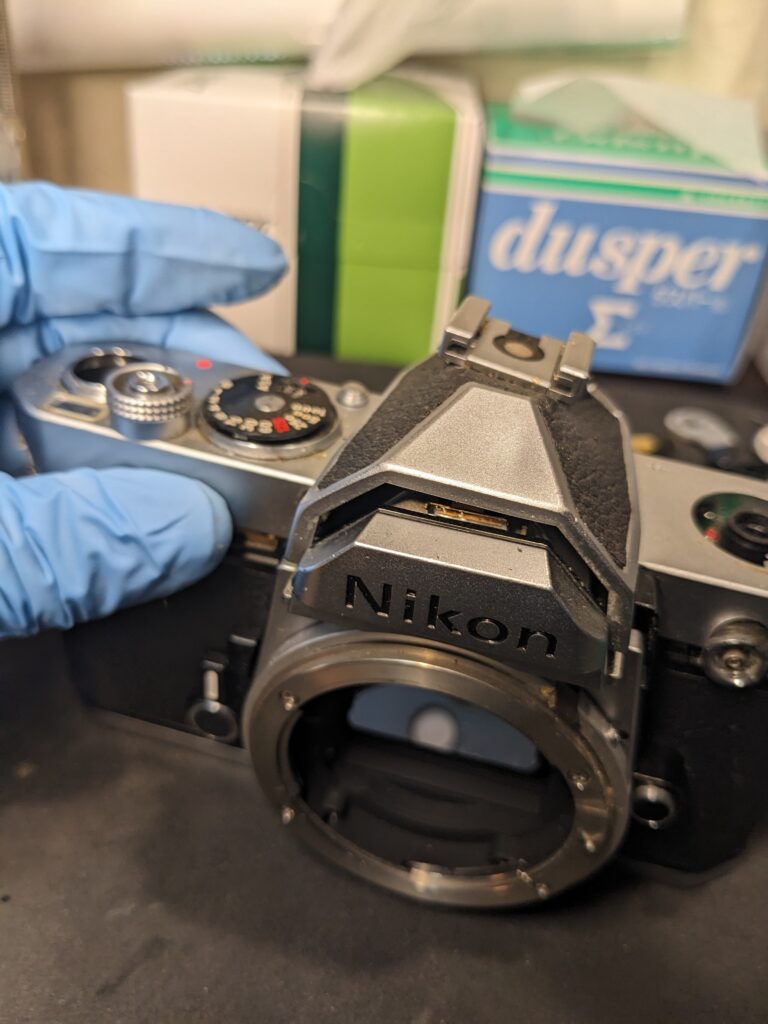
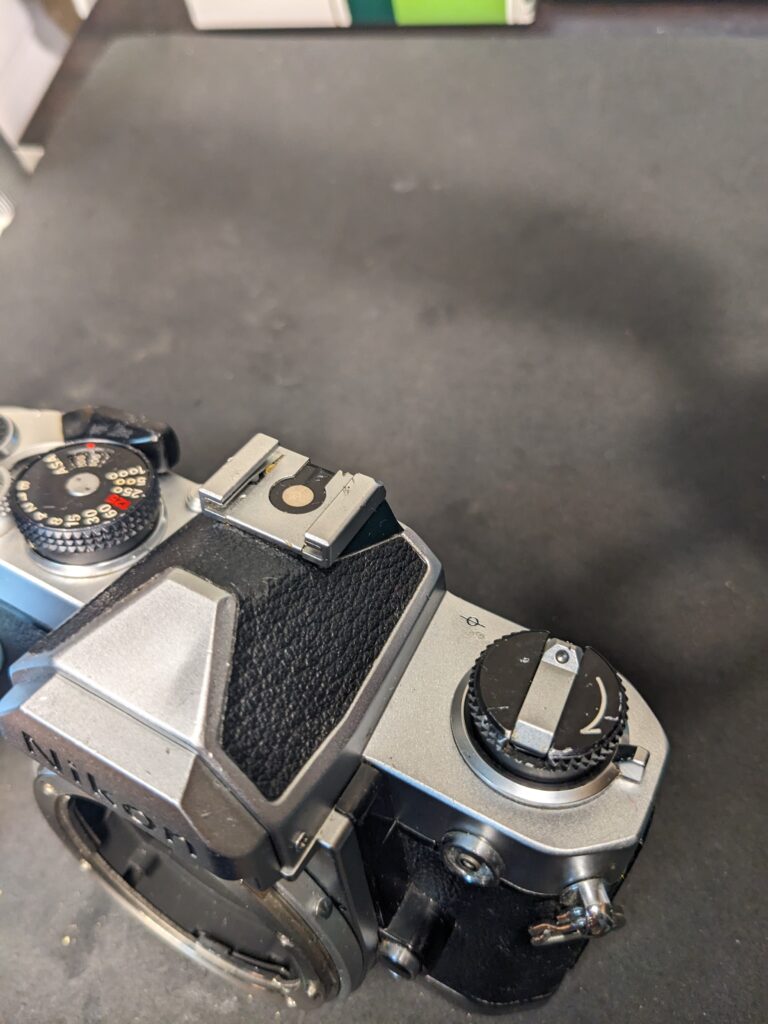
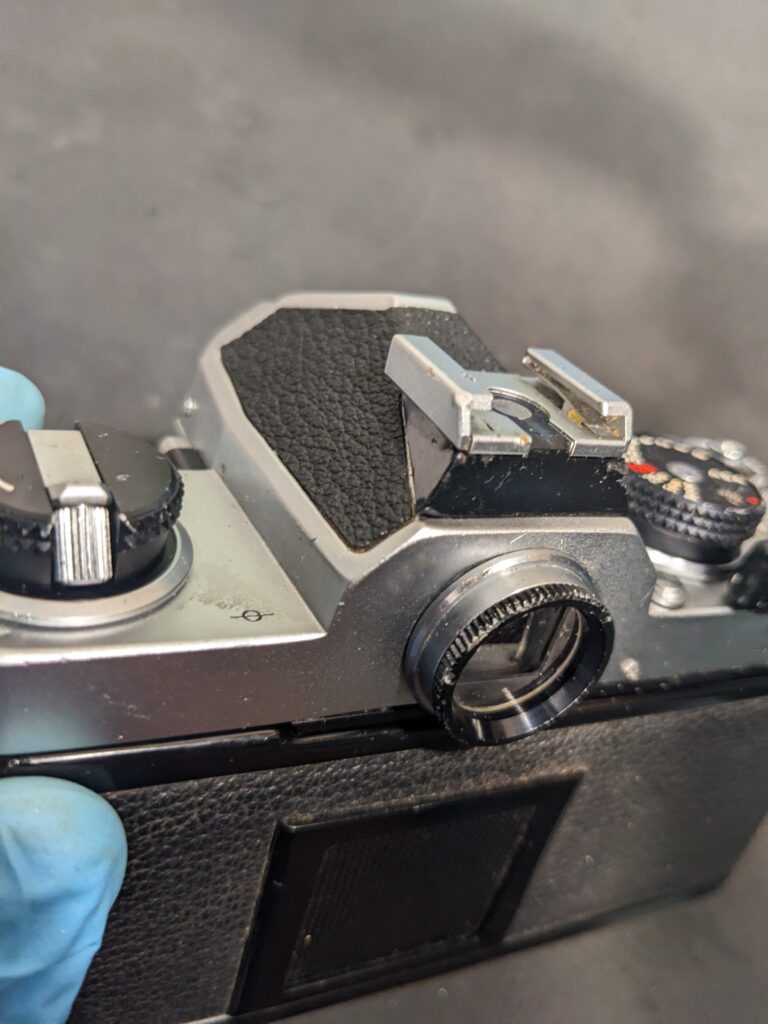
This Nikon FM had a noticeably crooked hot shoe and a distorted viewfinder frame. I disassembled the top cover, straightened the parts, and cleaned inside the viewfinder area.
このニコンFMは、ホットシューの曲がりが目立ち、ファインダー枠も歪んでいるので修正しました。トップカバーを分解し、パーツをまっすぐにし、ファインダー内を掃除しました。
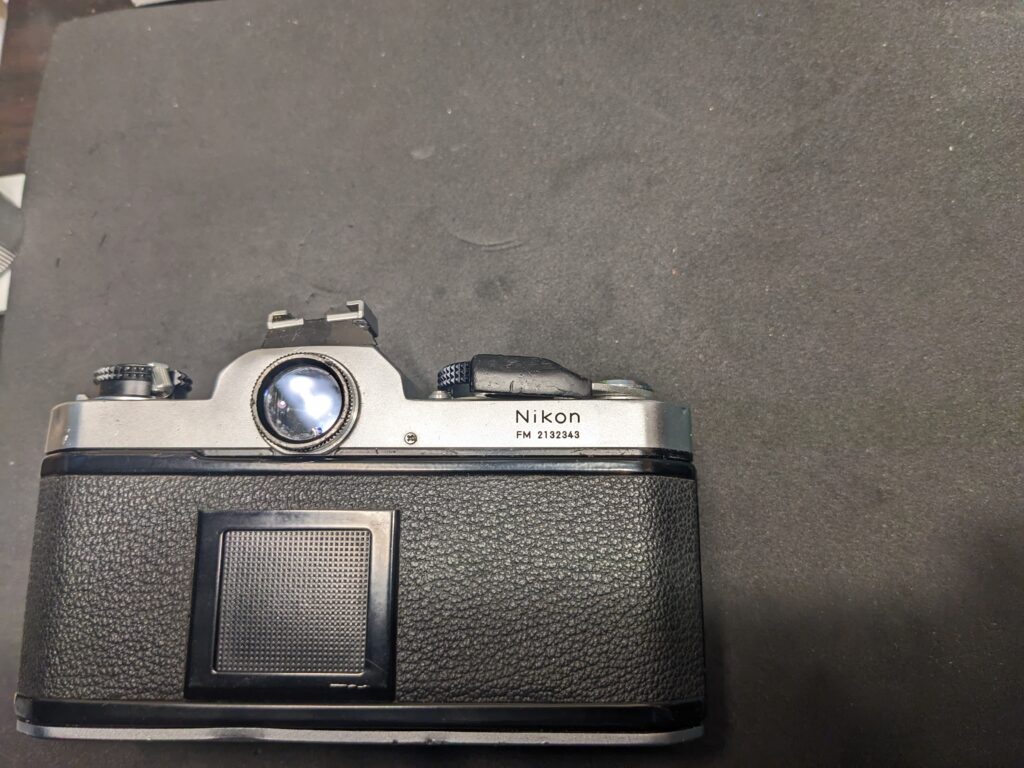
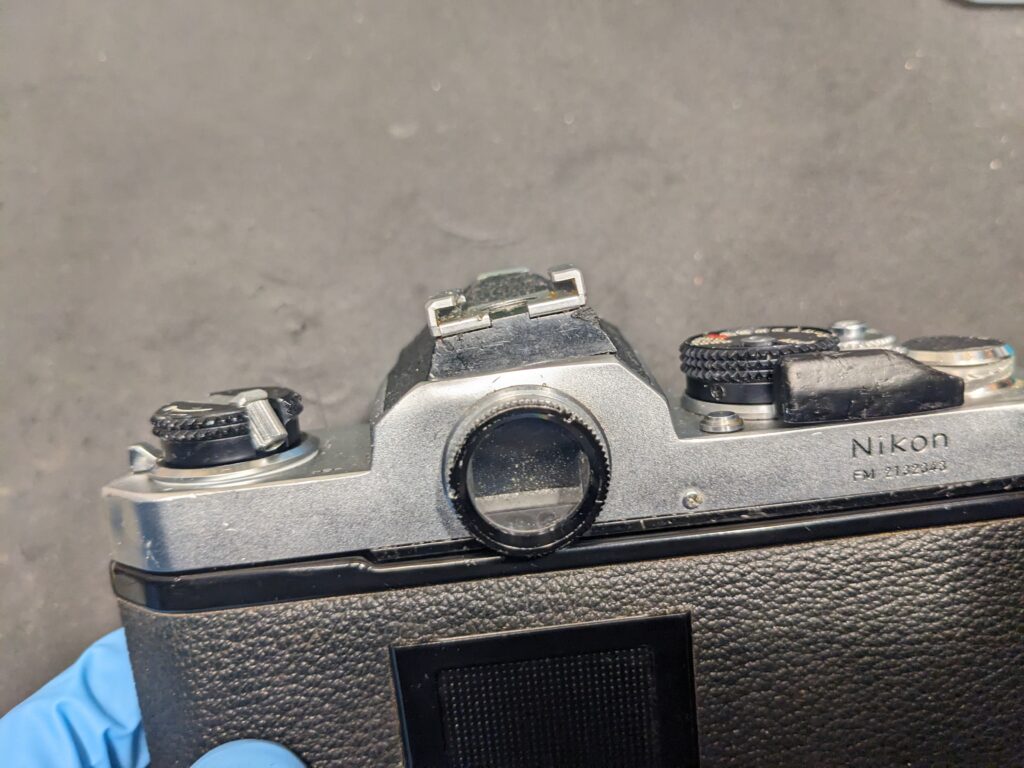
It is quite noticeable. It is very wasteful as the unit is in good working order.
かなり目立ちます。動作が好調な個体なので非常にもったいないです。
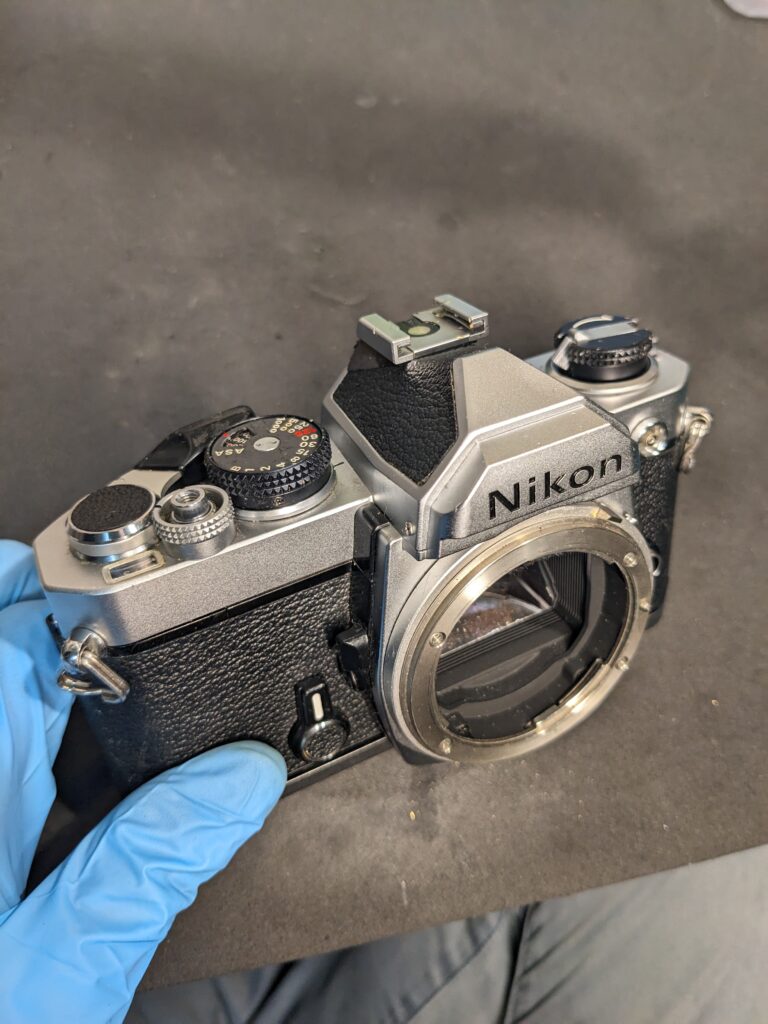
I would like to remove the warship section and repair the sheet metal from the back.
To remove the warship section, it is necessary to remove the rewind lever, the outer ring of the shutter speed dial, and the winding lever.
軍艦部を外して、裏から板金修理をしようと思います。
軍艦部を外すためには・巻き戻しレバー・シャッタースピードダイヤル外側リング・巻き上げレバーを外す必要があります。
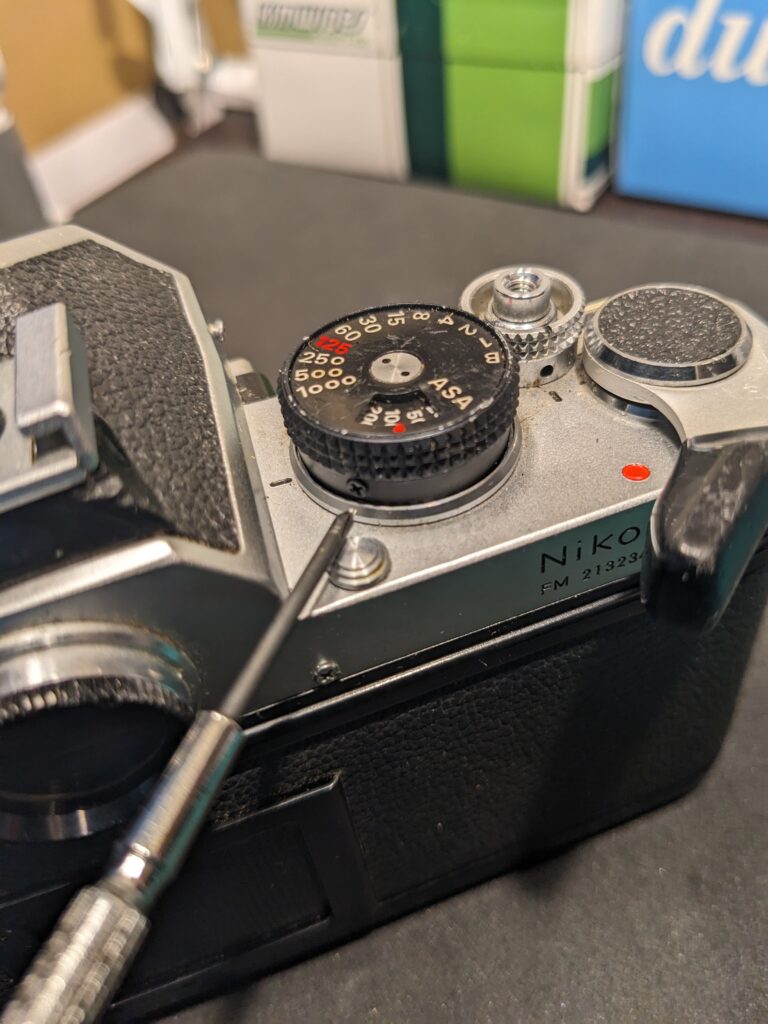

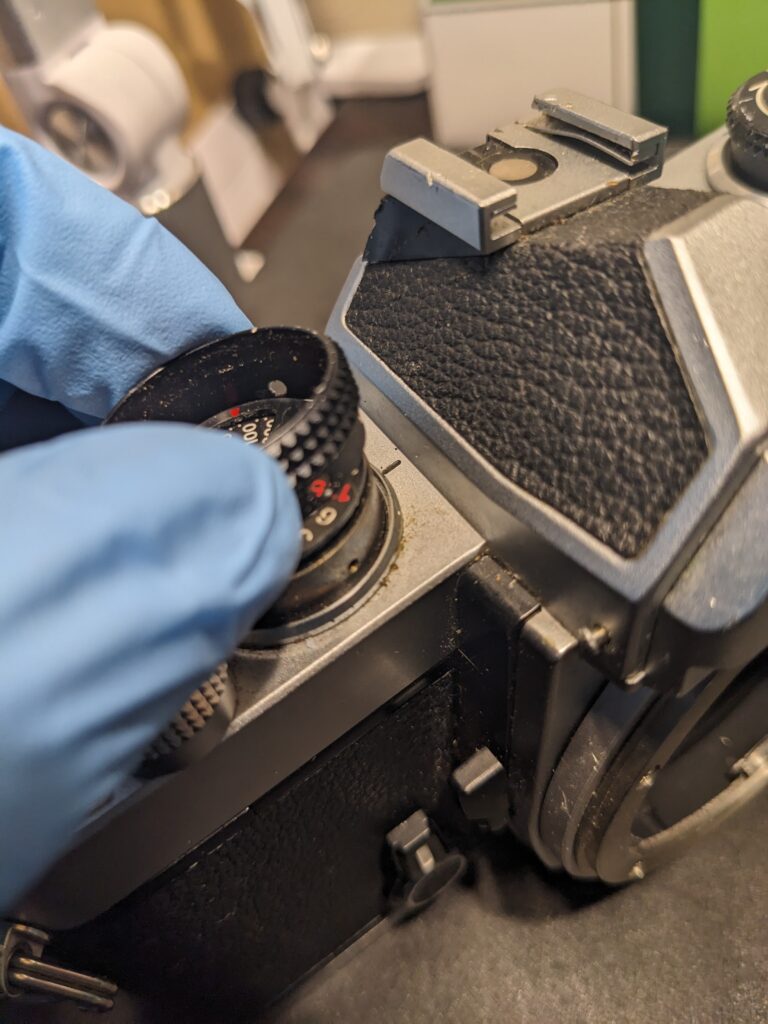
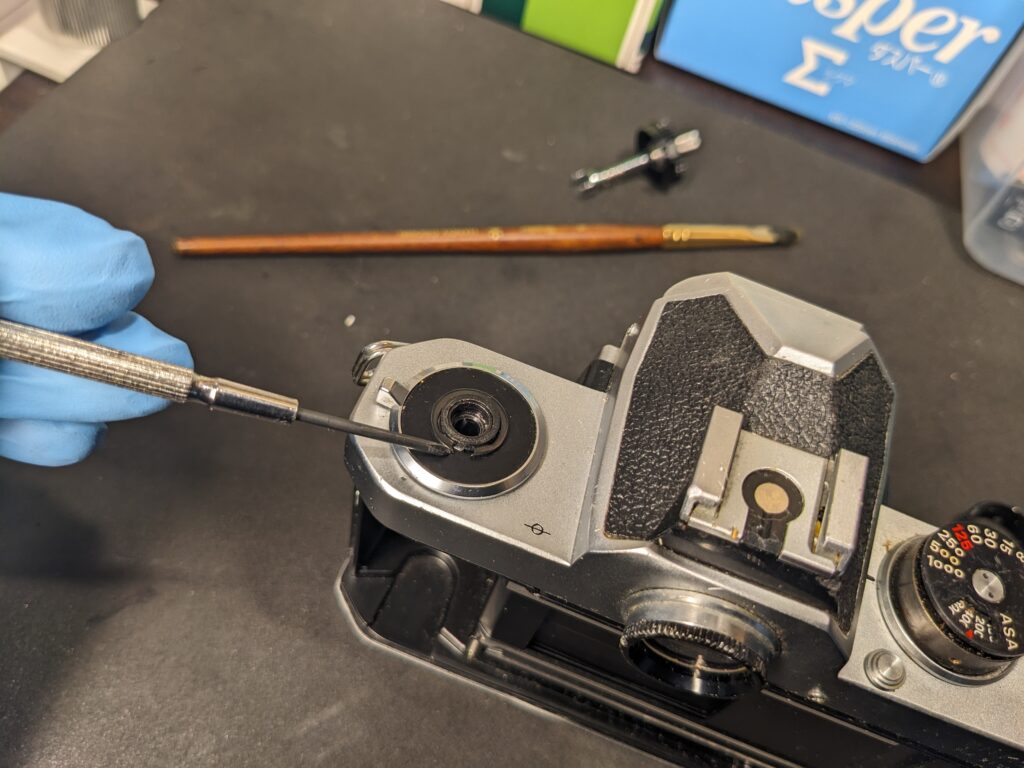
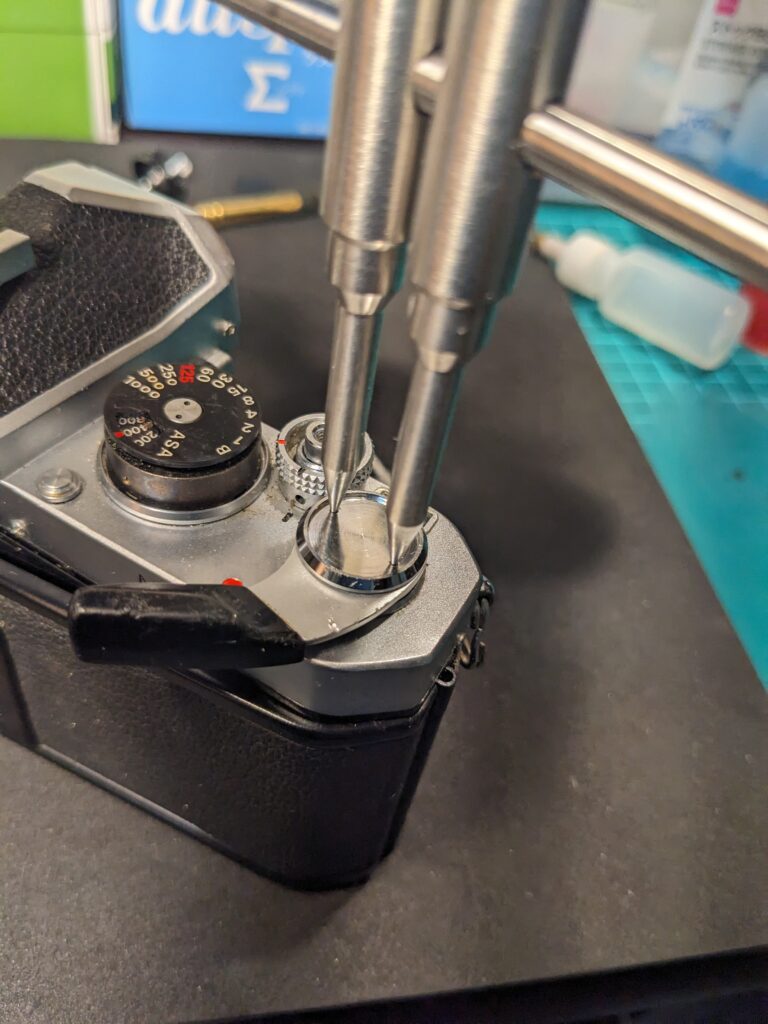
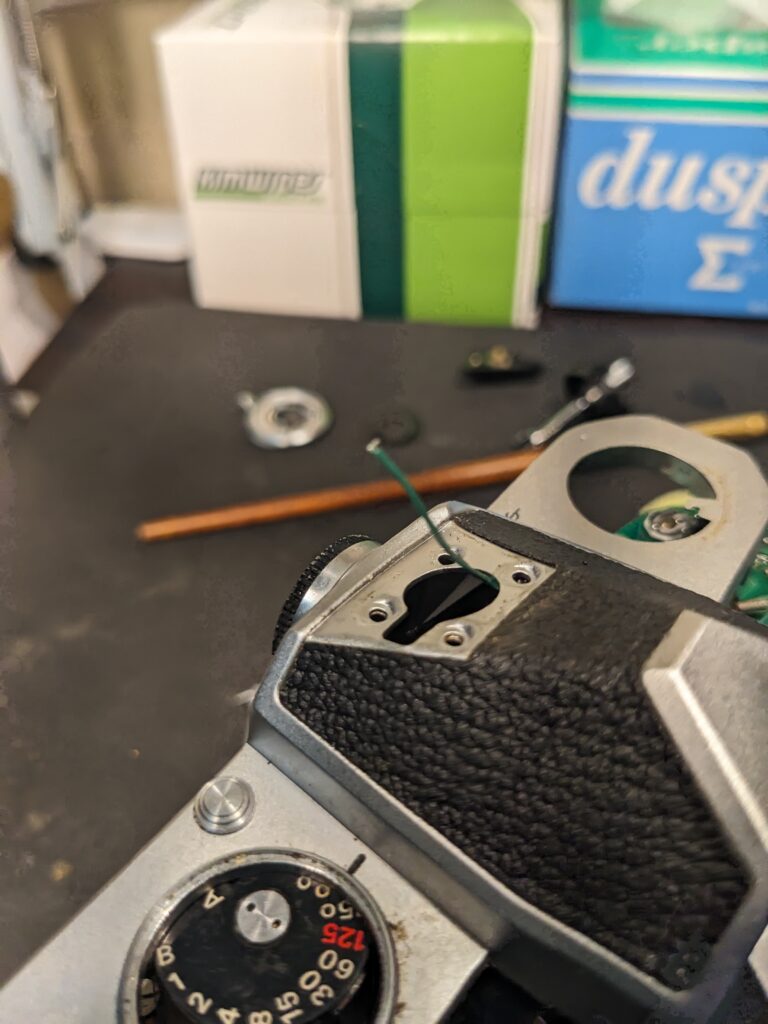
Remove it from the shutter speed outer ring.
This is easy as all you need to do is remove the three screws that are visible.
If you accidentally disassemble the dial, you will have a hard time putting it back together. Be careful not to disassemble it.
シャッタースピード外側リングから外します。
これは見えているビス3本を外すだけなので簡単です。
誤ってダイヤルを分解してしまうと元に戻すのに大変な目に合うそうです。分解しないように気をつけましょう。

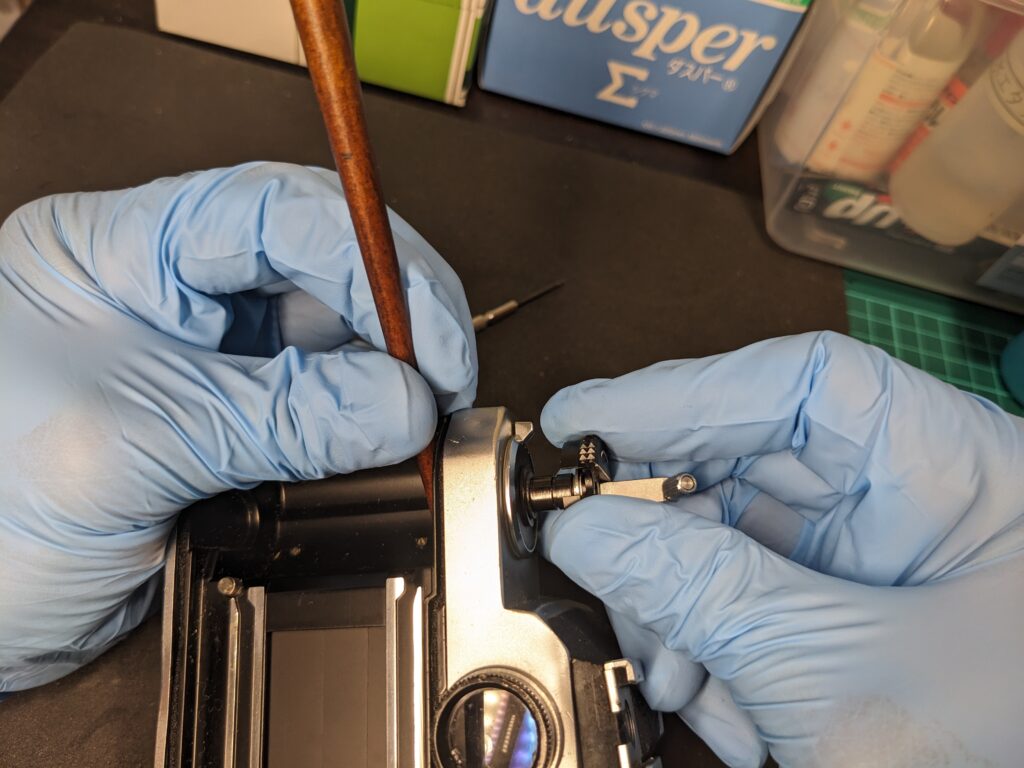
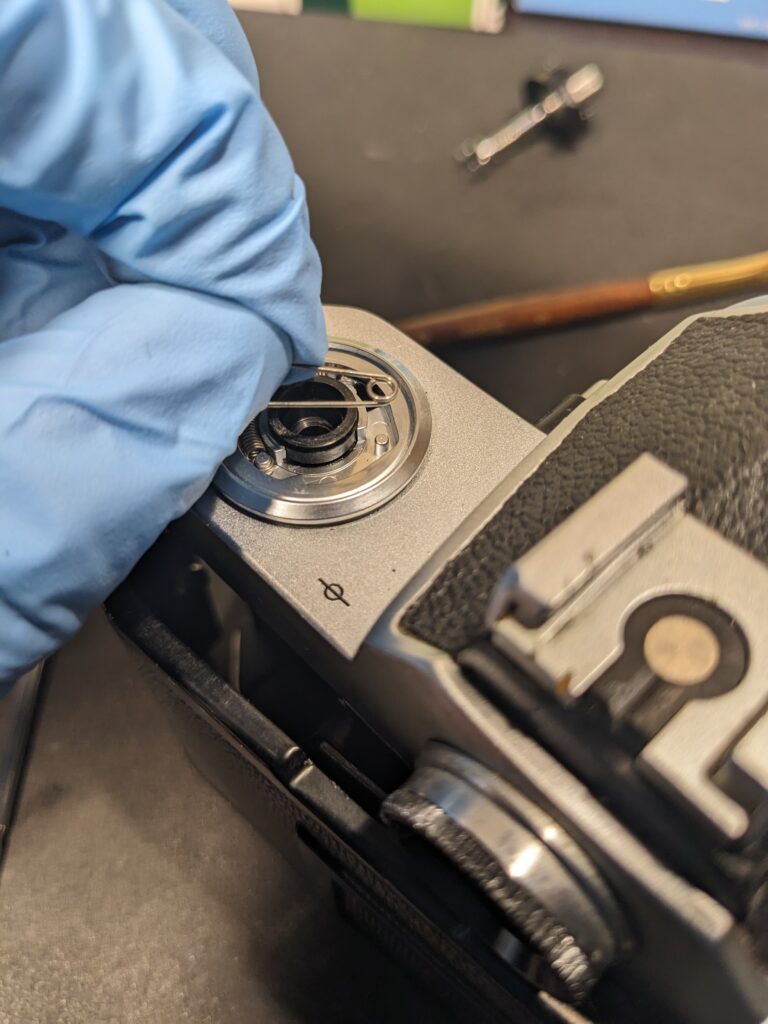
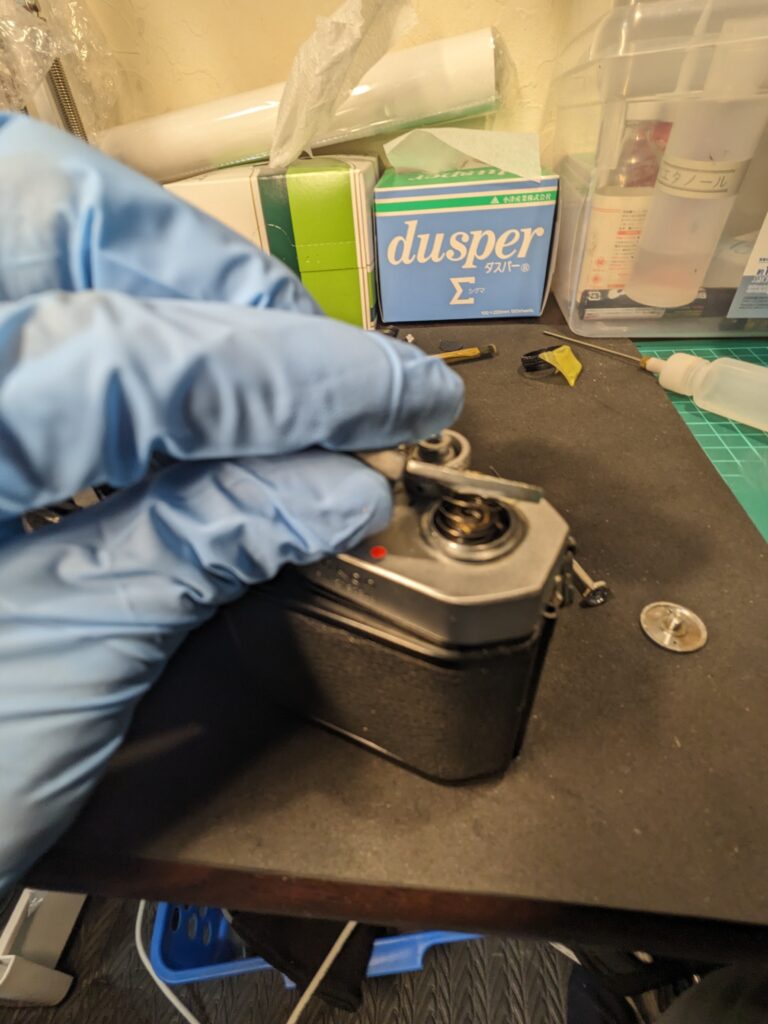
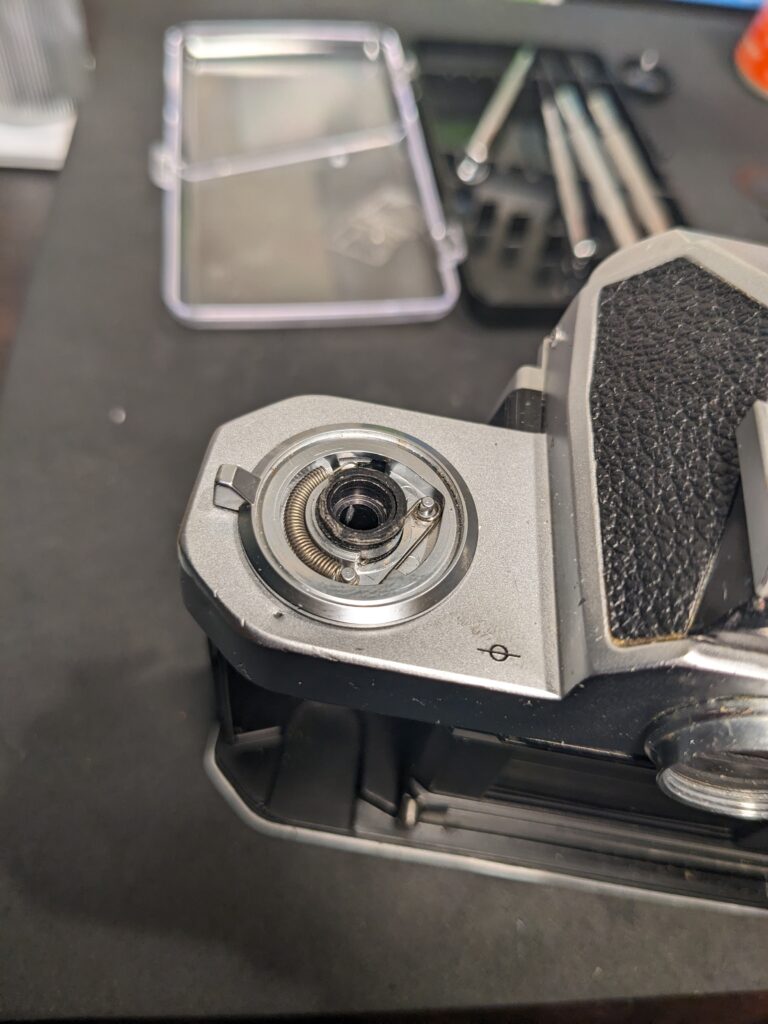
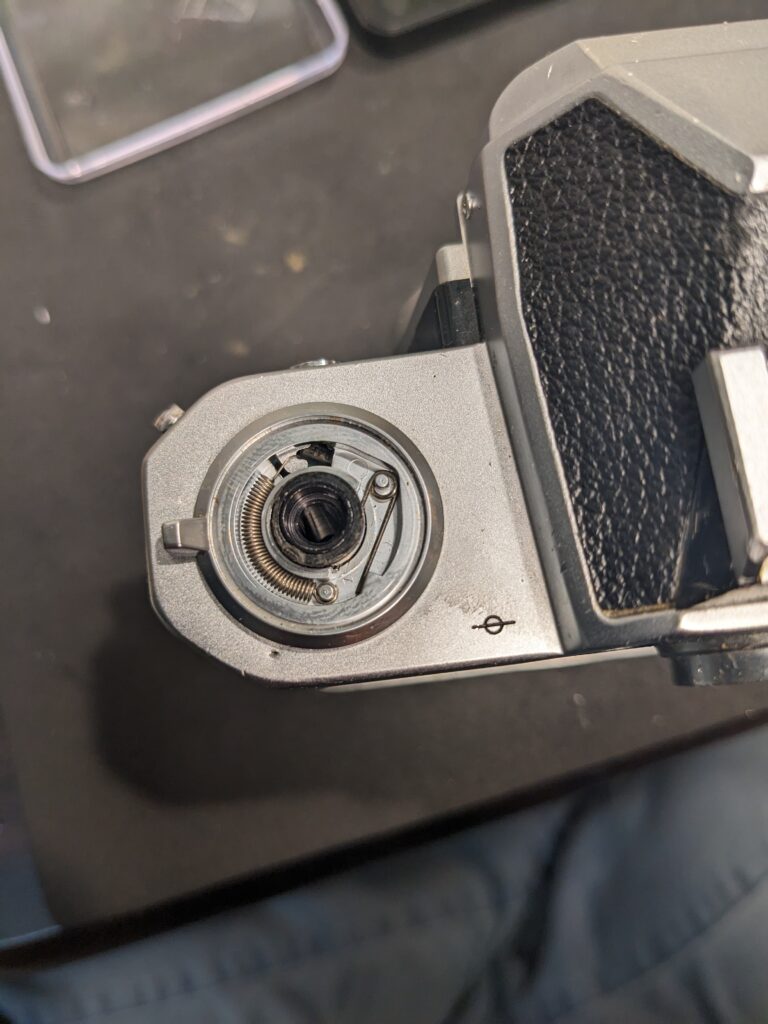
Remove the rewind lever. Secure the cam on the film chamber side with a soft wooden stick or similar object and turn the rewind lever counterclockwise to loosen it.
There is a spring inside, and the part will pop out when it comes off. Be careful not to lose the order when it pops out. The author had a hard time assembling it because he lost track of the order.
巻き戻しレバーを外します。フィルム室側のカムを軟らかい木の棒などで固定して、反時計回りに巻き戻しレバーを回すと緩みます。
内部にバネが入っていて、外れる時に部品が飛び出します。飛び出すと順序が分からなくなってしまうので注意しましょう。筆者は分からなくなったので組むのに苦労しました。
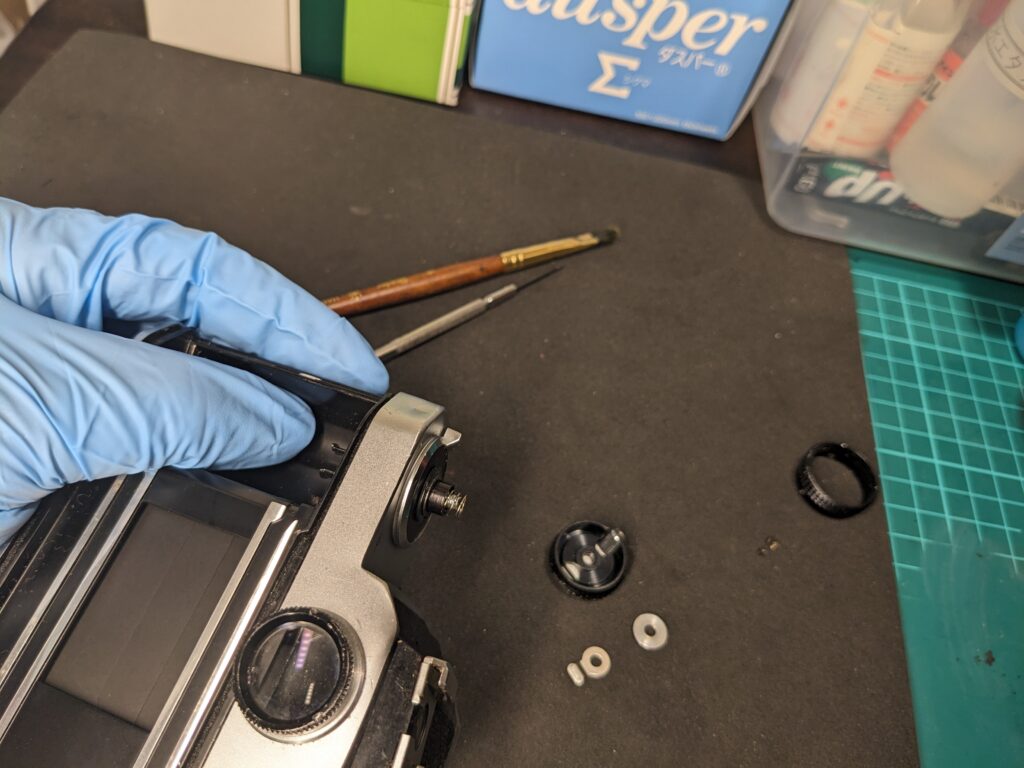
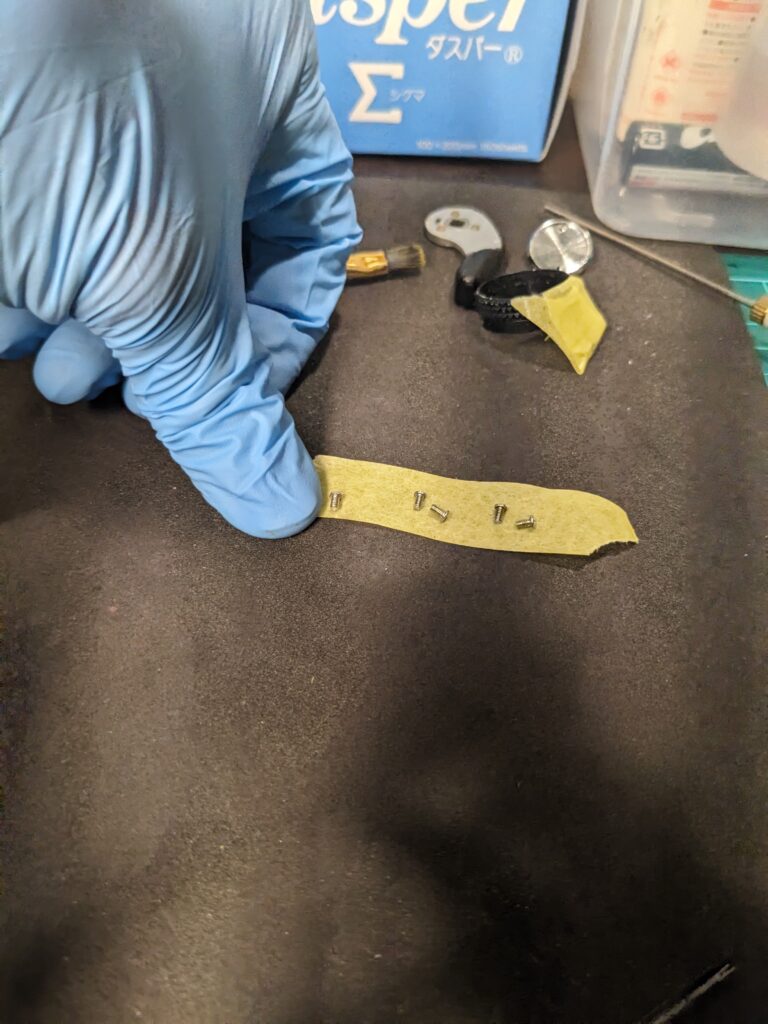
Once removed, it is safe to store the parts in assembled condition.
外したら部品を組んだ状態で保管すると安心です。
Remove the back cover locking mechanism.
The construction here is difficult, so be sure to document it well with images.
裏蓋ロック機構を外していきます。
ここの構造は難しいので、よく画像で記録を残しておきましょう。
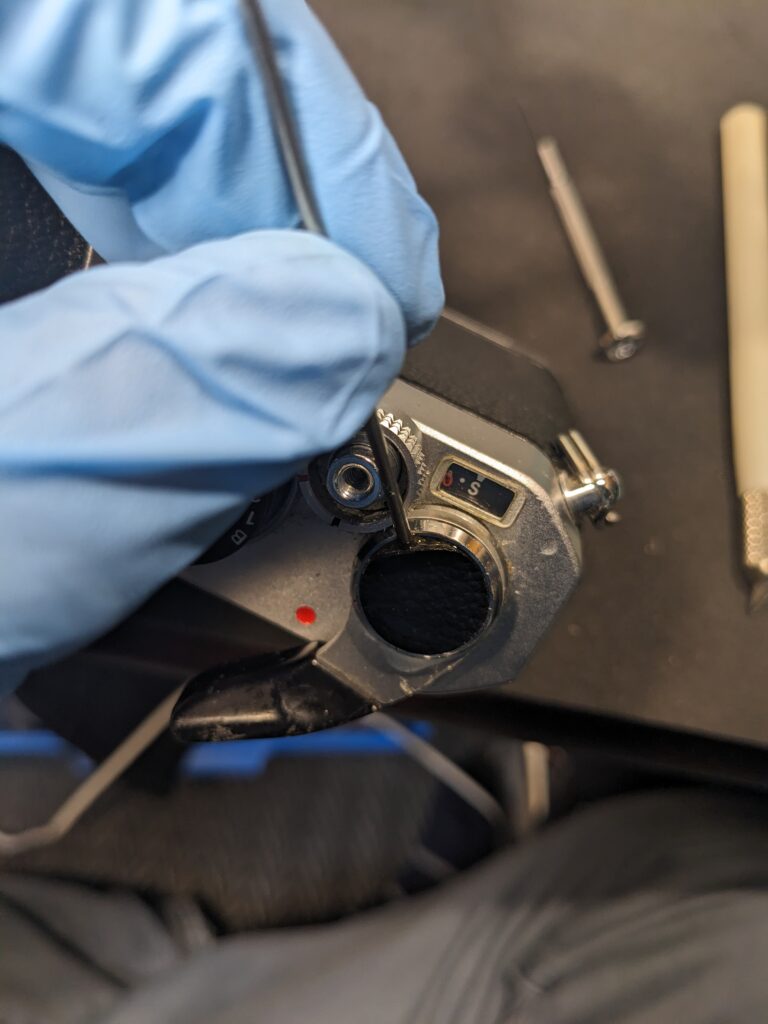
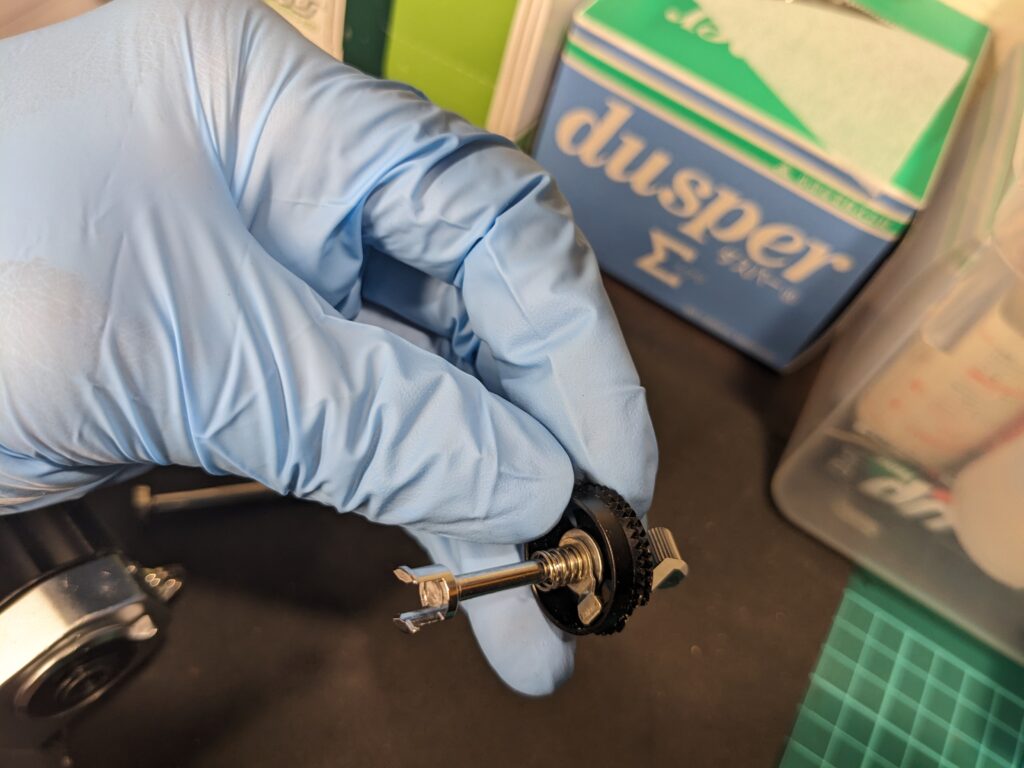
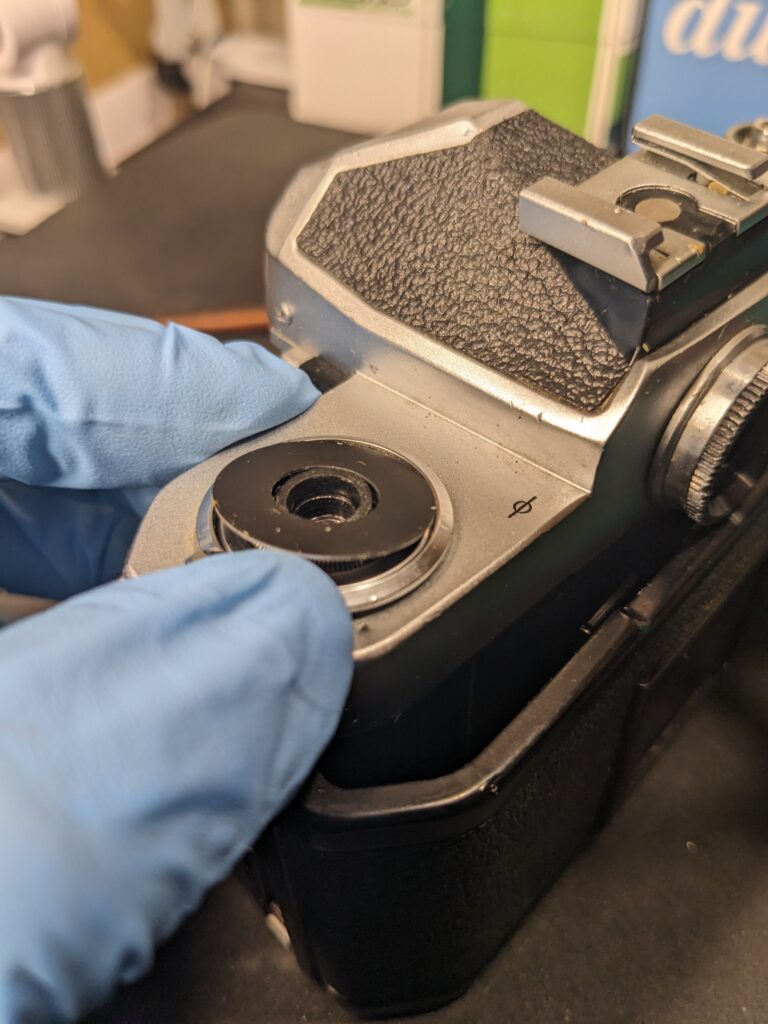
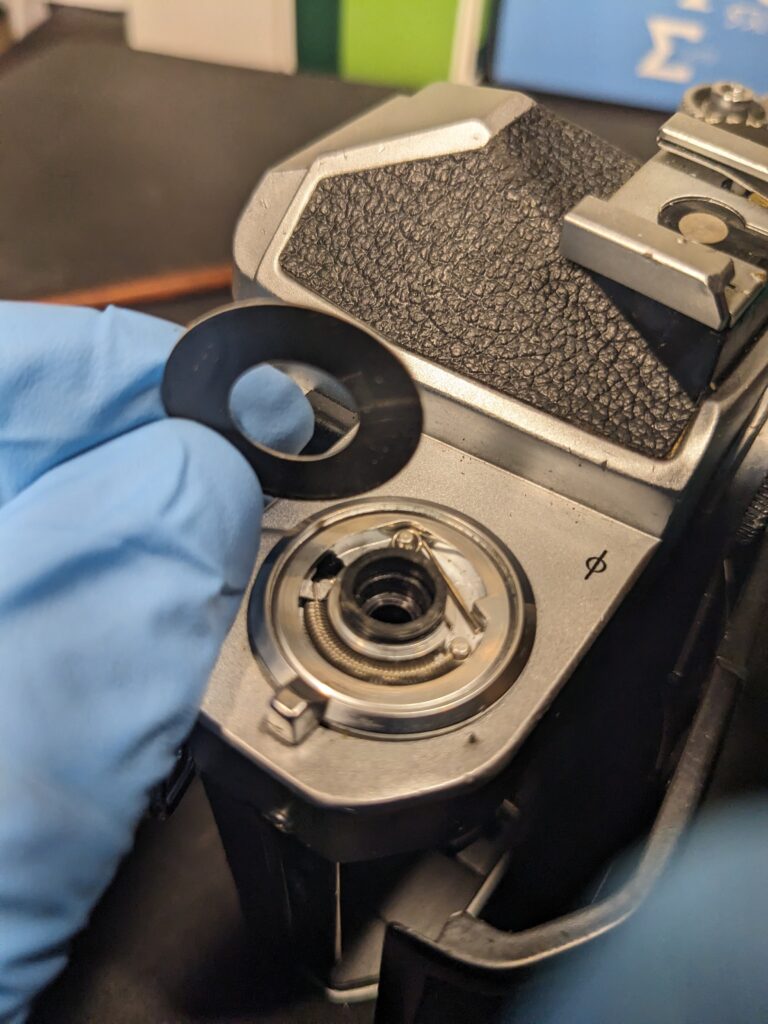
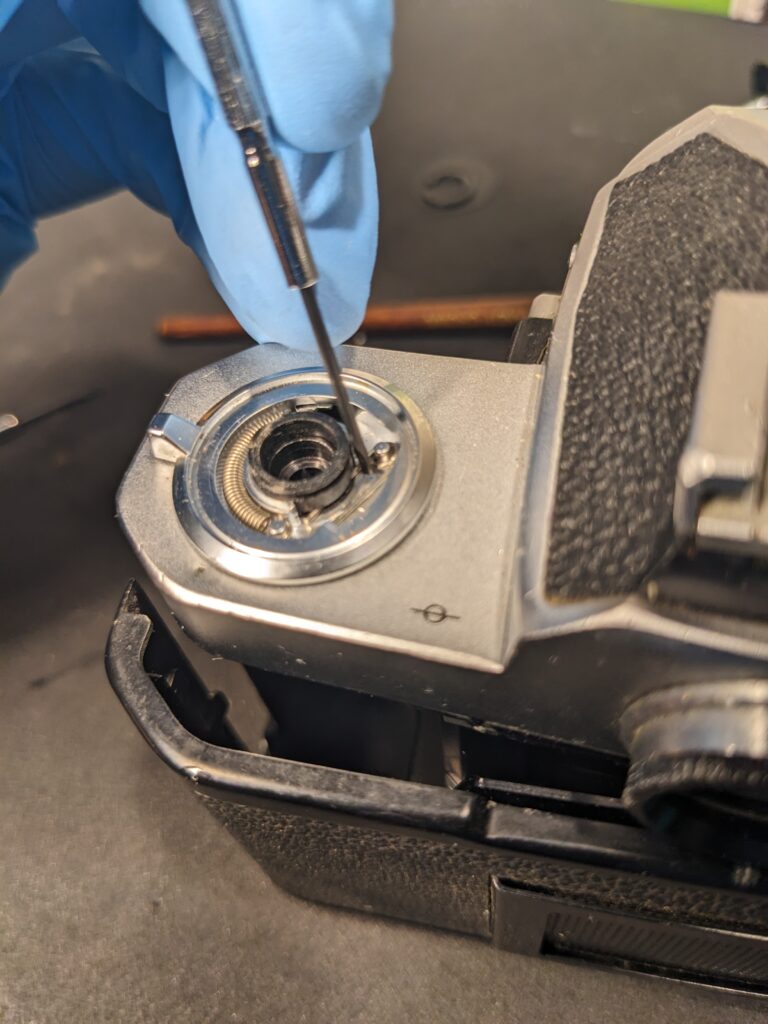
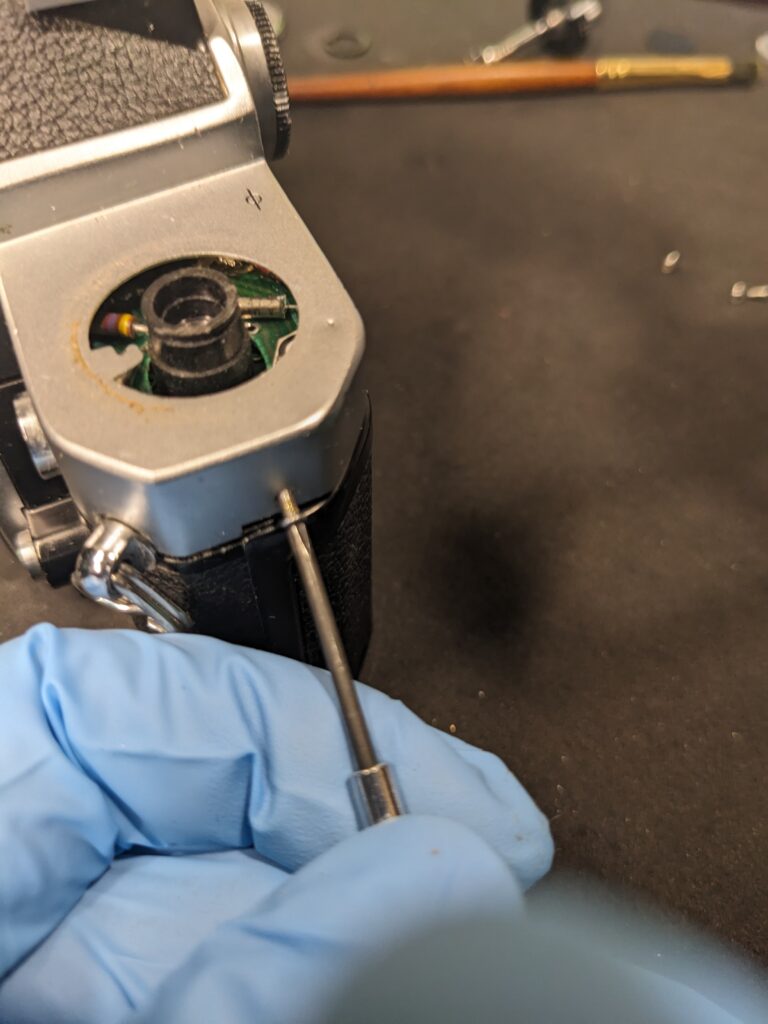
Winding lever.
Remove it by sticking a crab-eye wrench into the hole that appears when the leather cover is removed.
巻き上げレバーです。
皮のカバーを外すと出てくる穴にカニ目レンチを刺して外します。
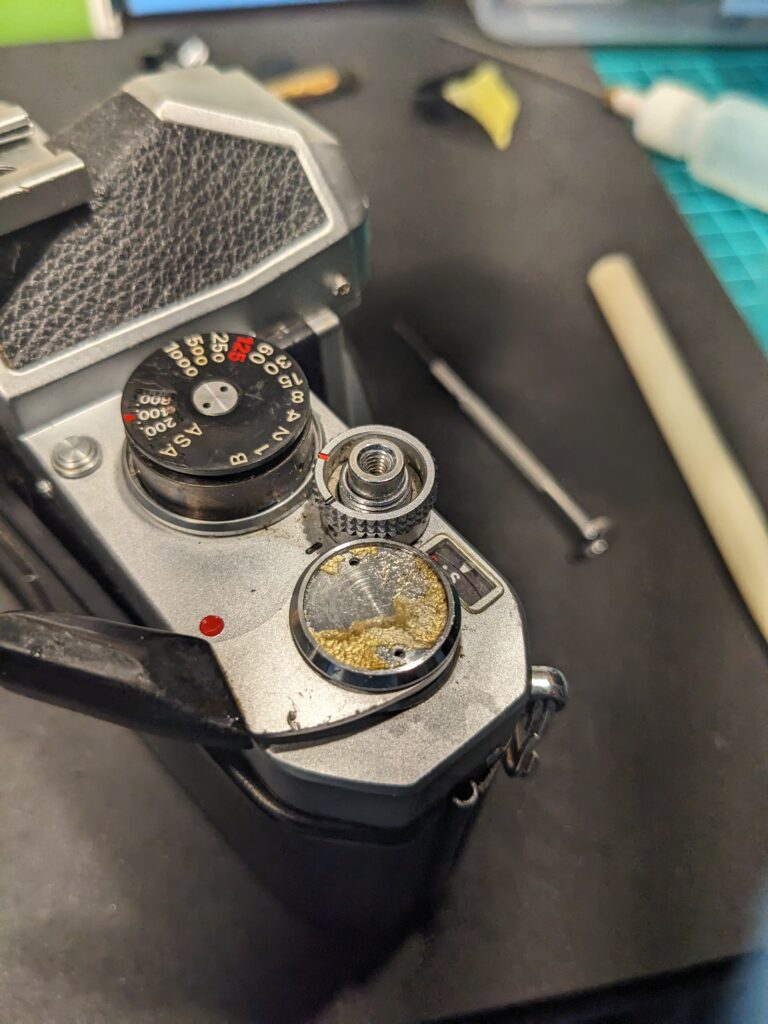
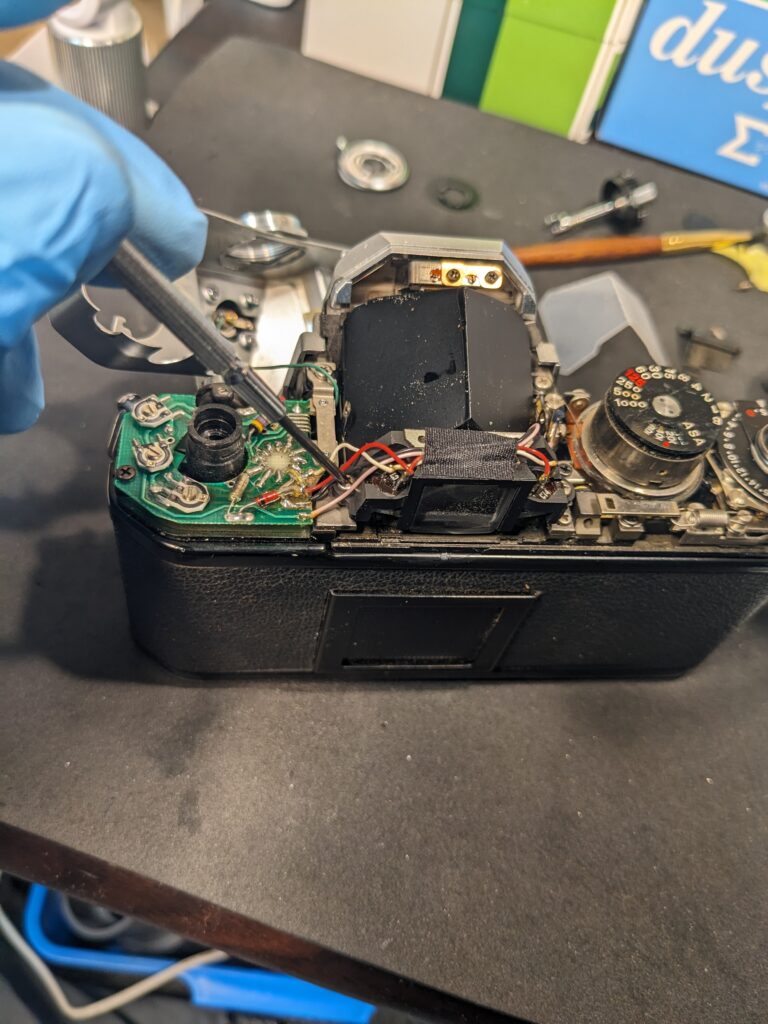
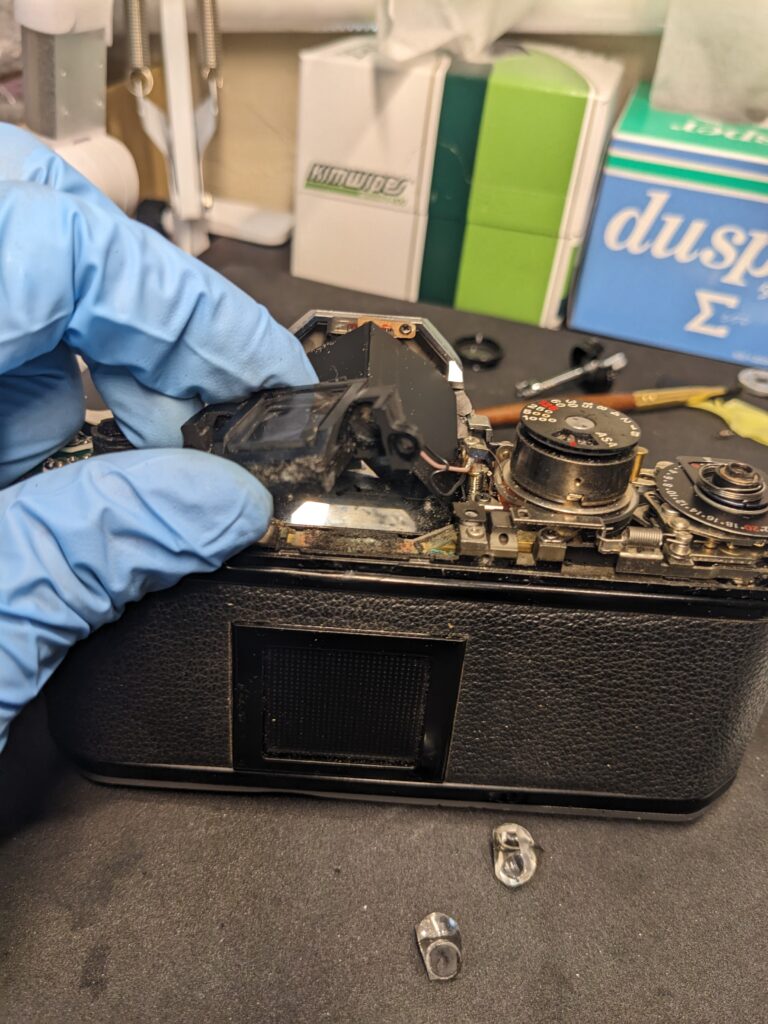
Now I can finally remove the warship section.
Remove the five screws that can be seen on the outside.
これでようやく軍艦部を外せるようになりました。
外側に見えているビスを5つ外します。
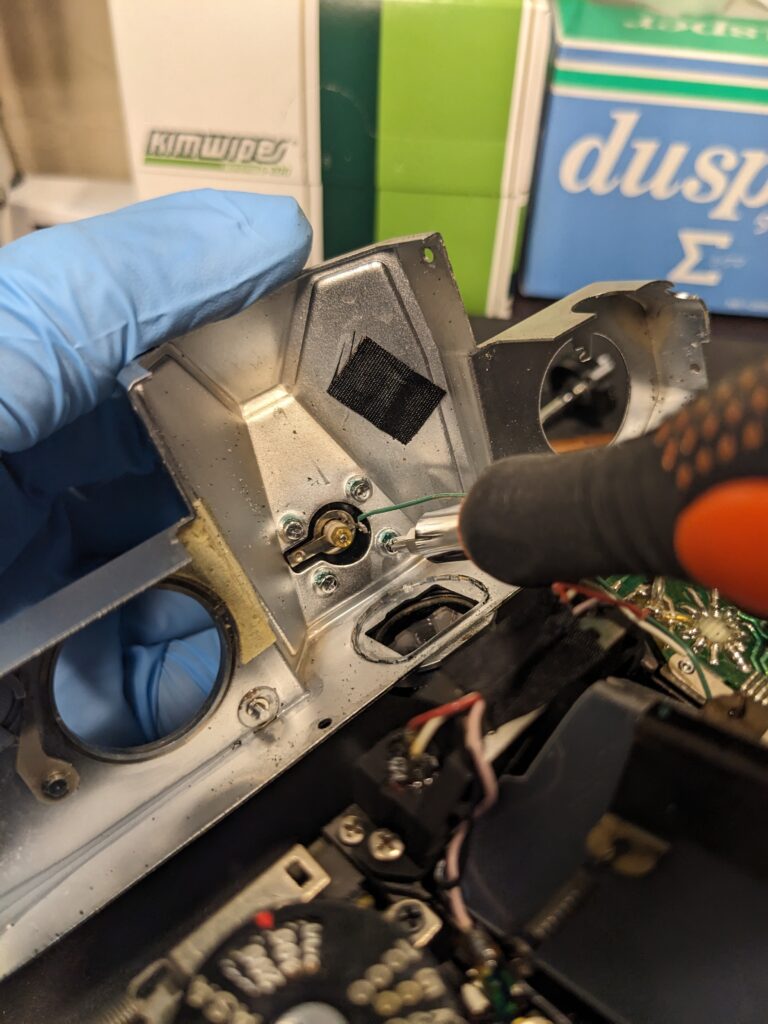
Remove it slowly.
The hot shoe cord is connected, so use a soldering iron to remove it.
ゆっくり外していきます。
ホットシューのコードがつながっていますので半田ごてで外します。
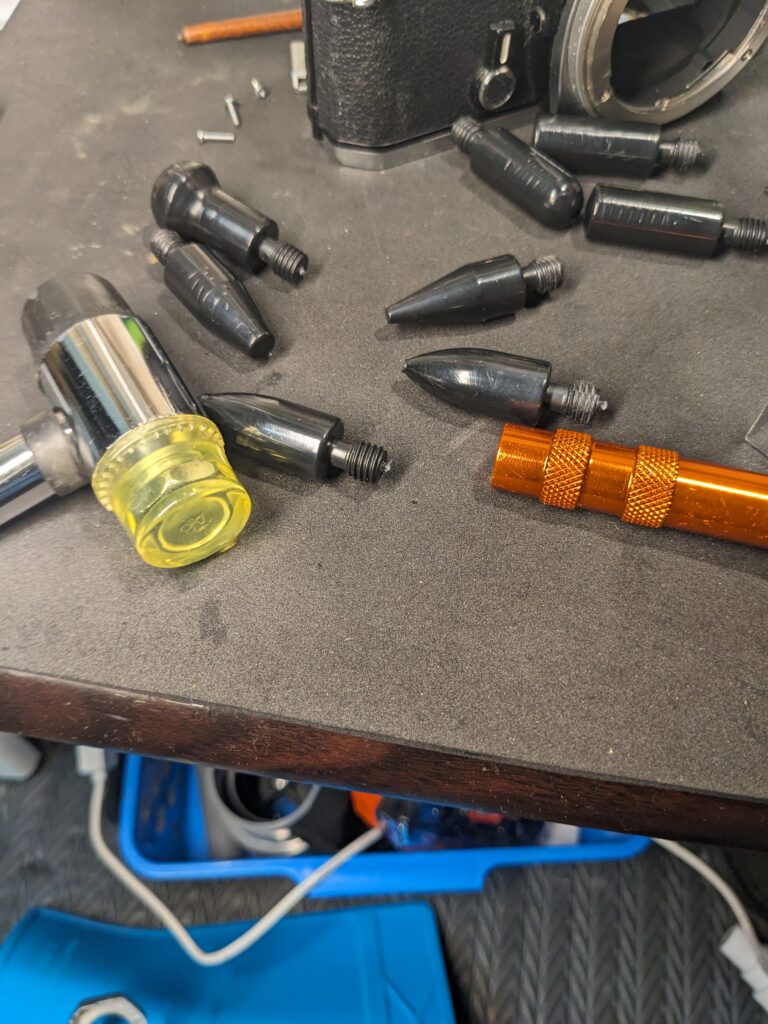

From here it’s a sheet metal shop. We’ll hit it from the back and fix it.
We have tools like the ones shown in the photo, so we make full use of them to fix it.
ここからは板金屋ですね。裏から叩いて直します。
写真のような道具があるのでこういったものを駆使して直します。
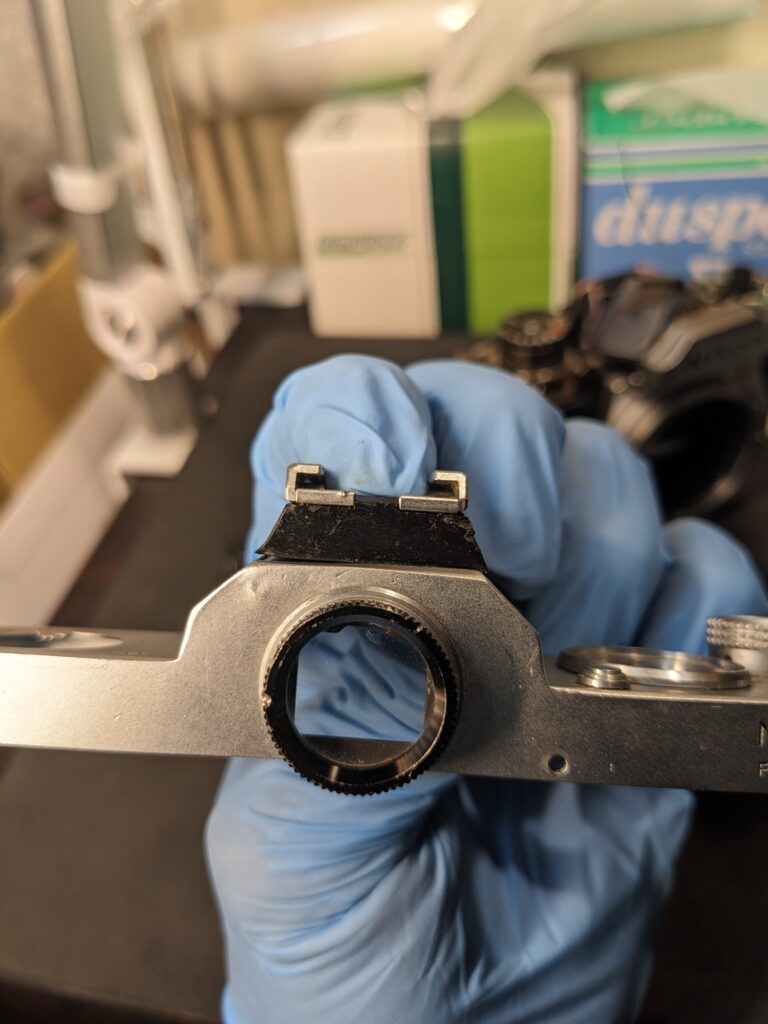
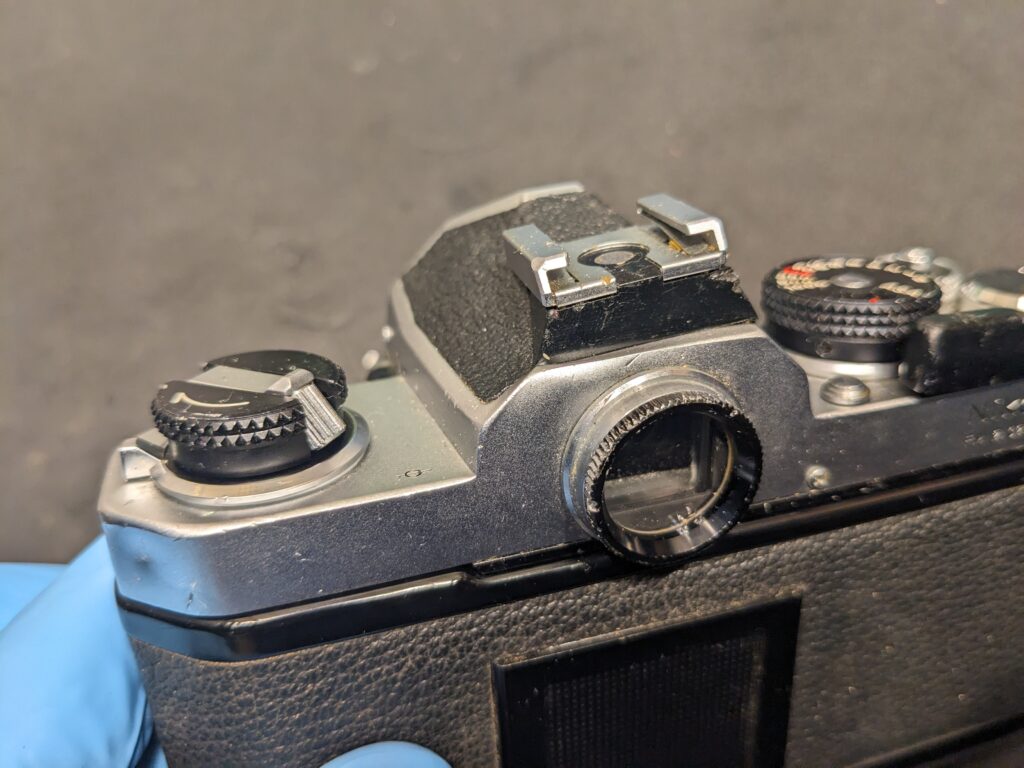
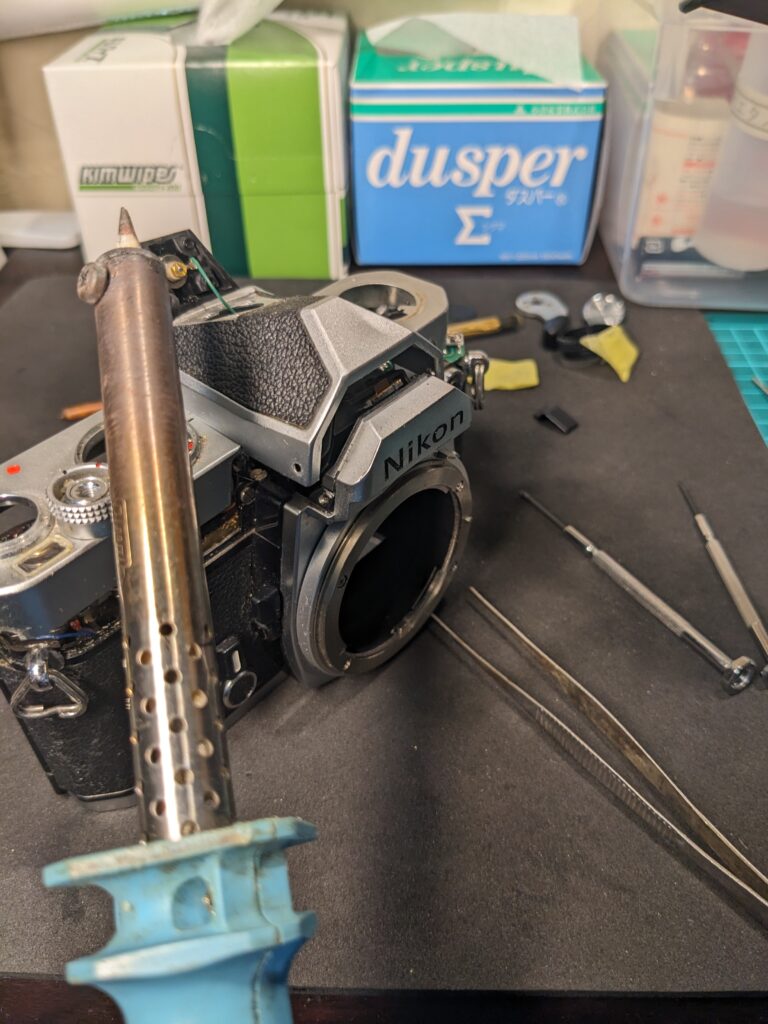
If the hot shoe is straight on, it will generally look good.
This is about as good as it gets.
ホットシューがまっすぐに付いていればだいたい良さそうに見えるでしょう。
このくらいで上出来ではないでしょうか。
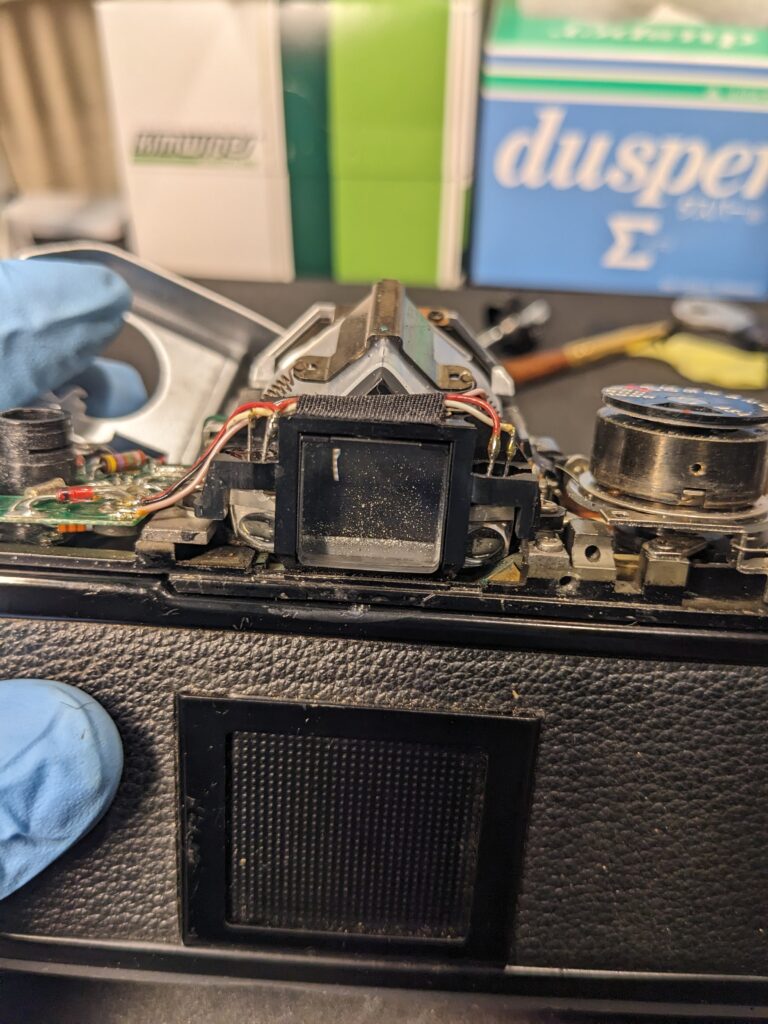
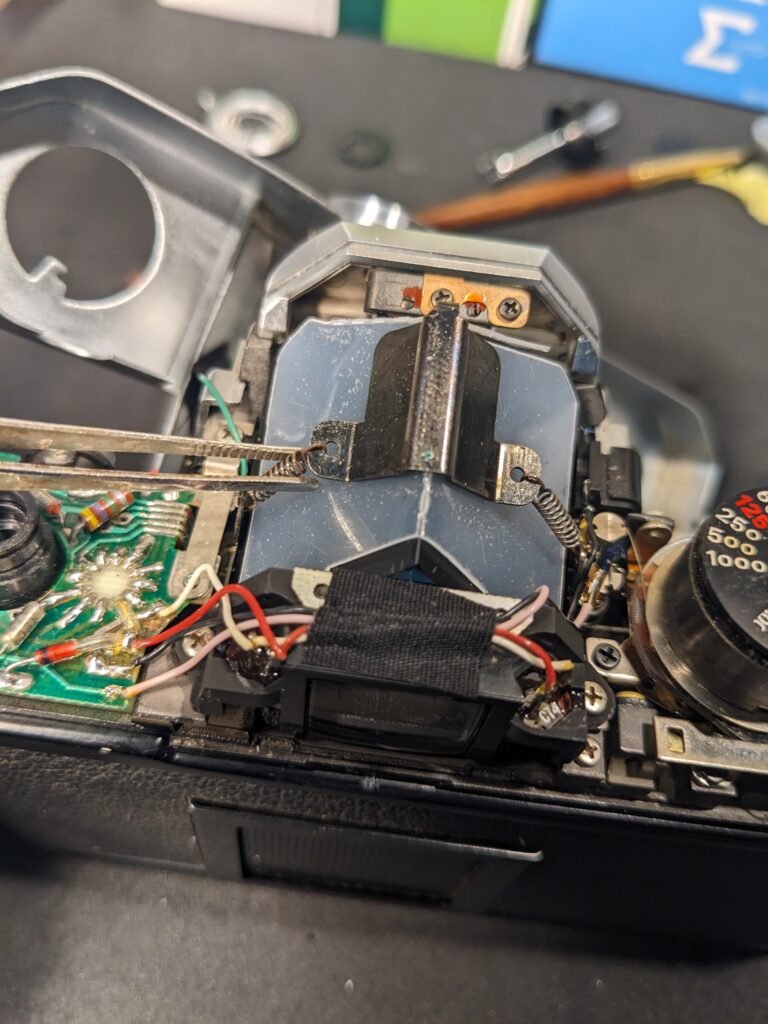
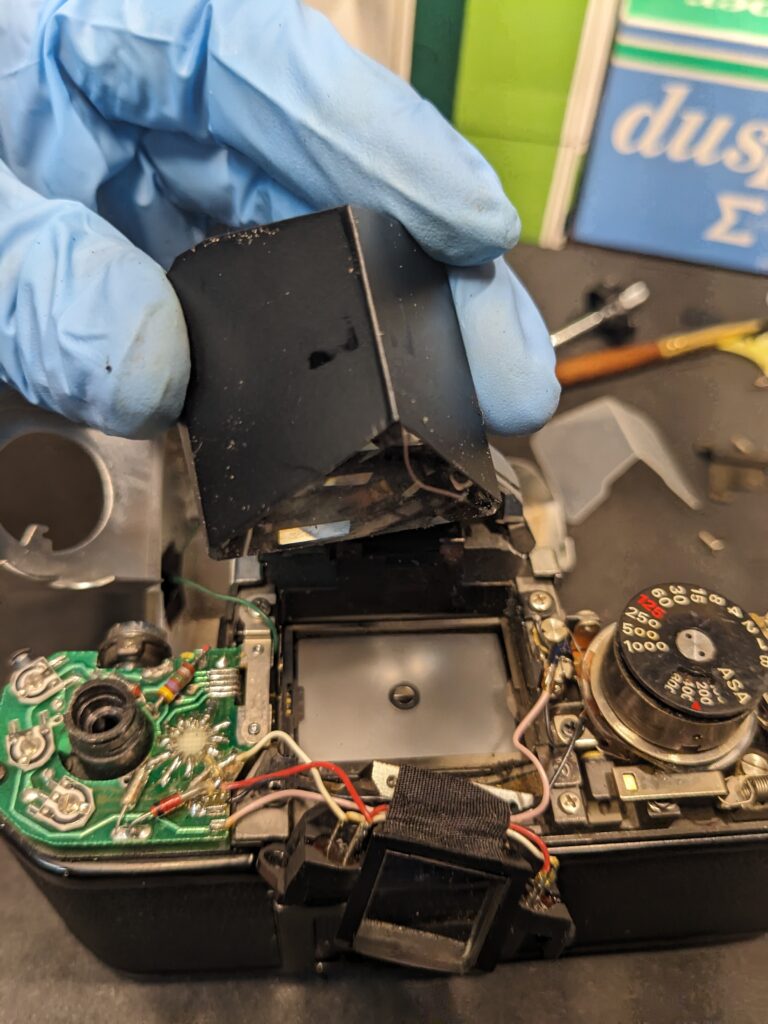
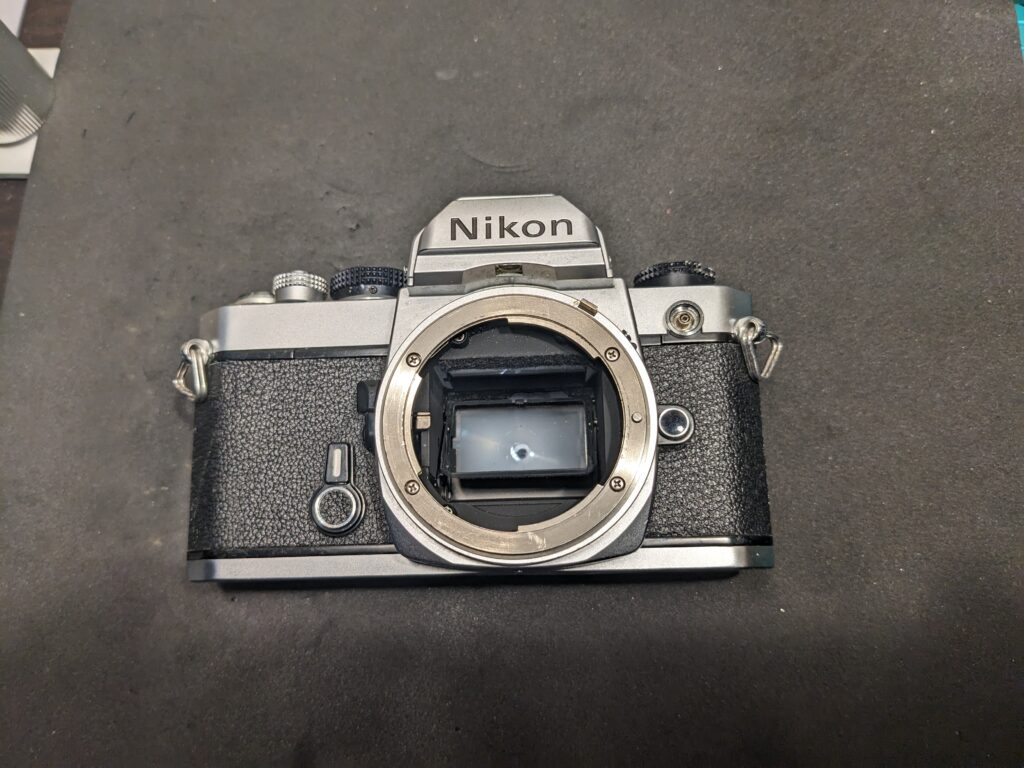
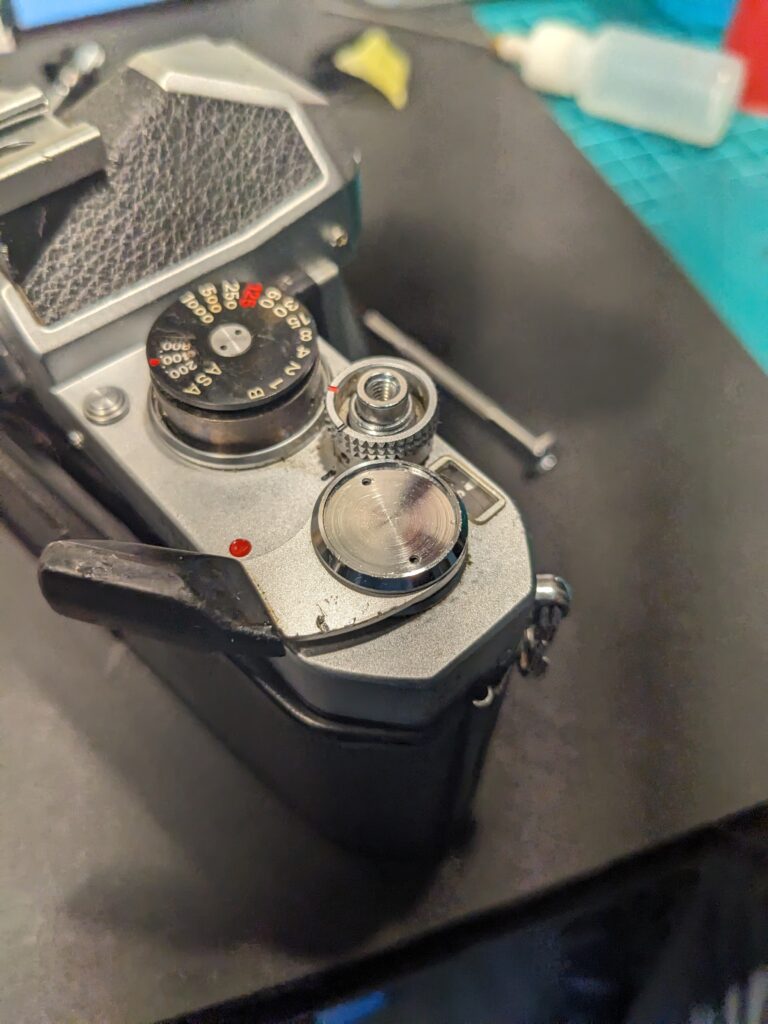
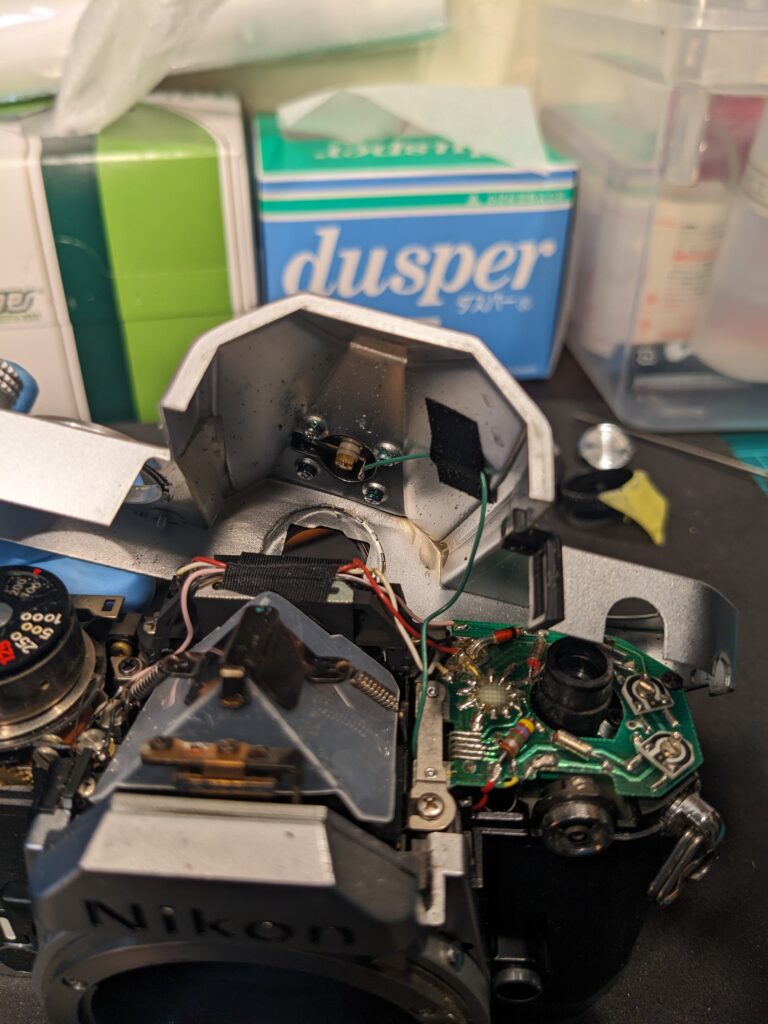
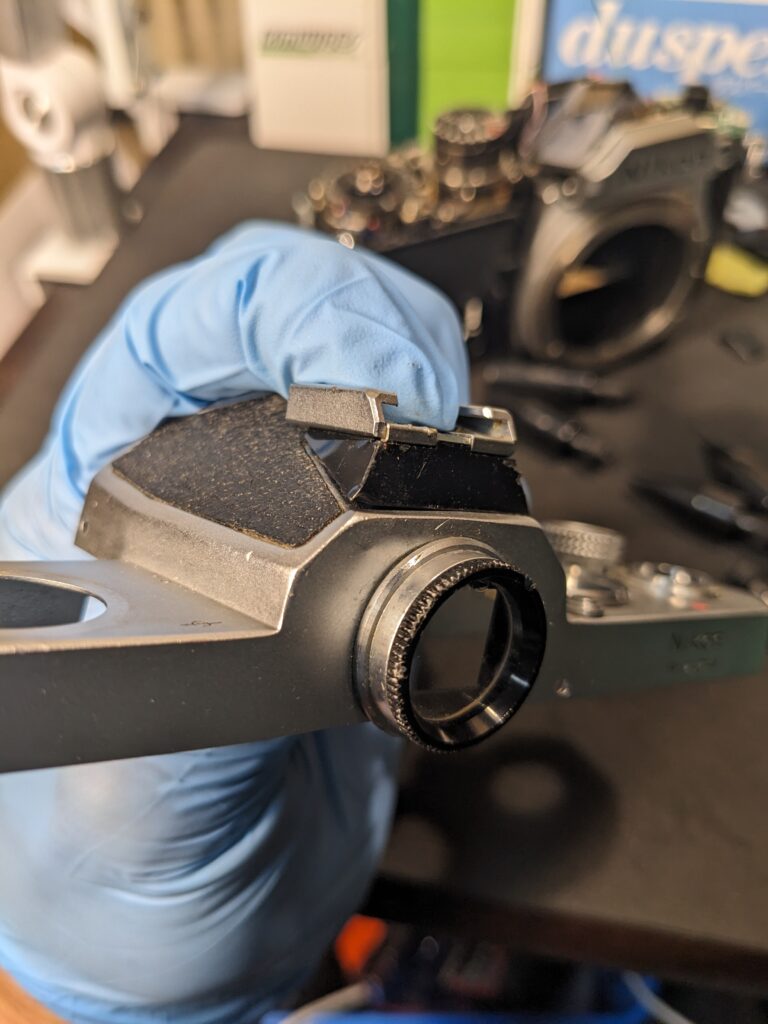
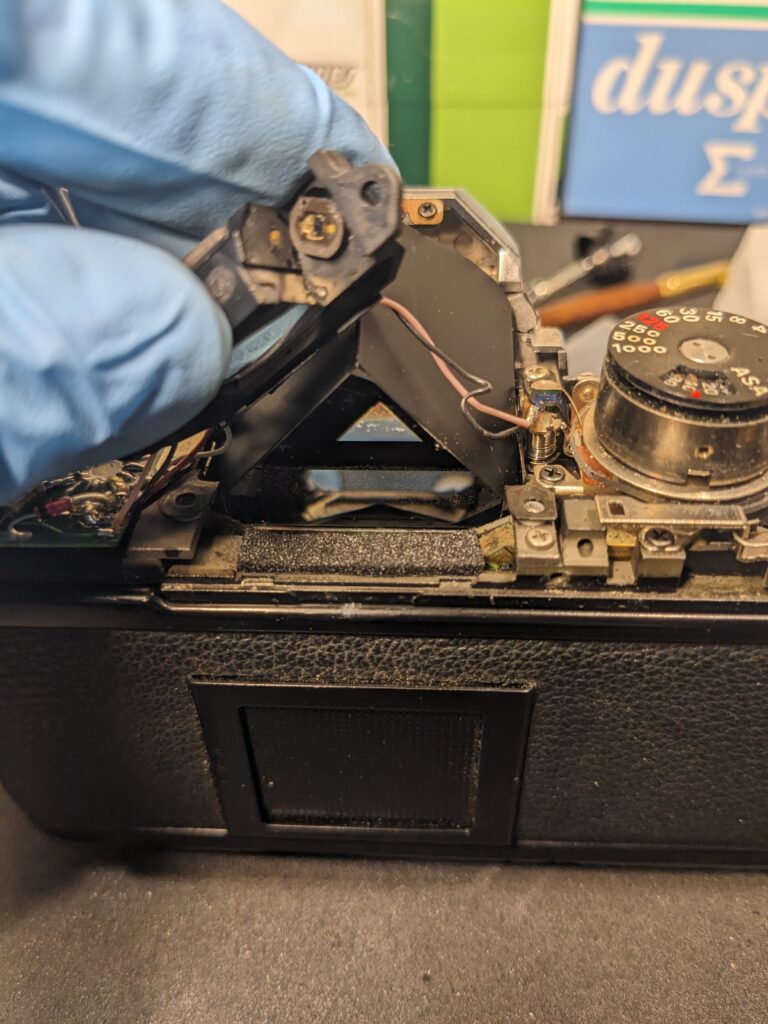
Now that we have disassembled the camera, we will clean the inside of the viewfinder.
The prism is held in place by a spring at the top.
せっかくここまで分解したのでファインダー内の清掃をします。
プリズムは上部のばねで固定してあります。
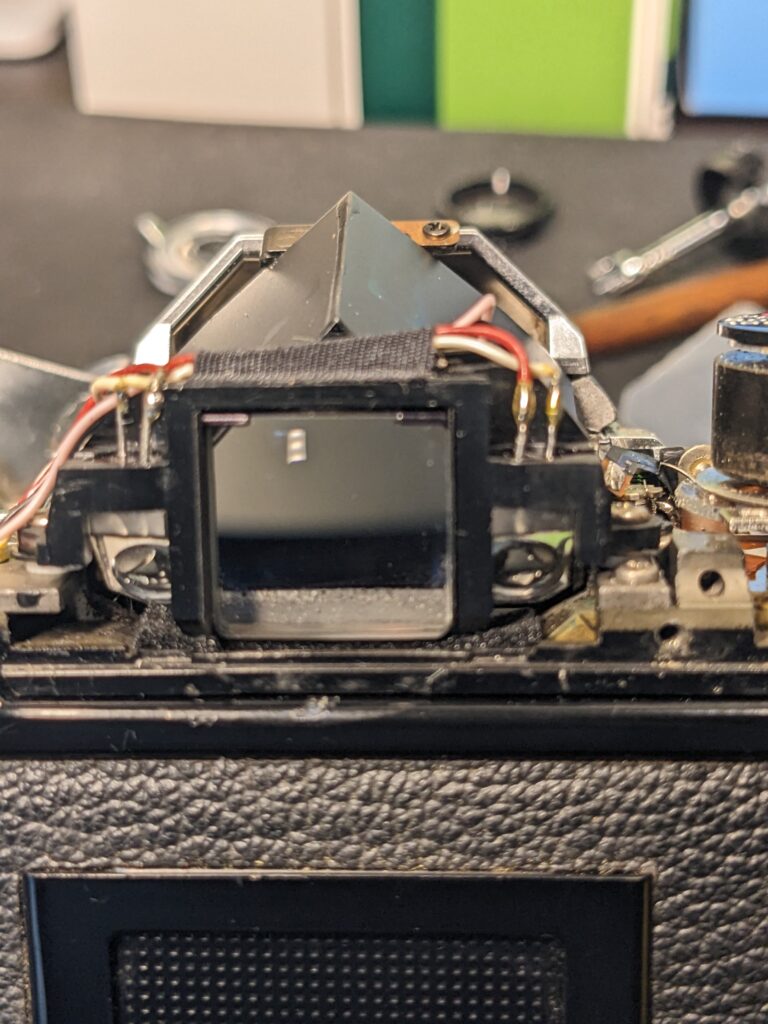
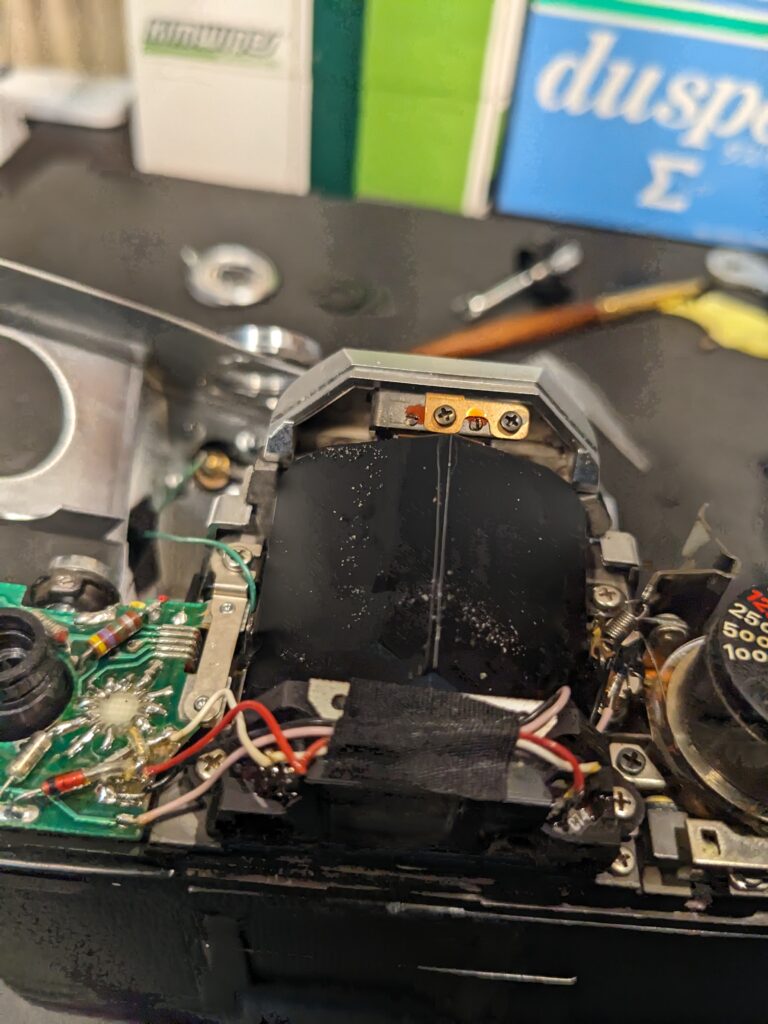
It’s beautiful.
綺麗になりました。
Assemble in the reverse order of when it was removed.
It was difficult to assemble the back cover locking mechanism.
It is locked by the spring on the right side entering the groove of the plastic cylinder inside. When the lever on the left side is pulled, it is released from the groove and can slide up and down.
外した時と逆の手順で組んでいきます。
裏蓋ロック機構を組むのに苦労しました。
内部のプラスチックの筒の溝に右側のバネが入ることでロックされる構造です。左側のレバーを引くと溝から外れて、上下にスライドできるようになります。
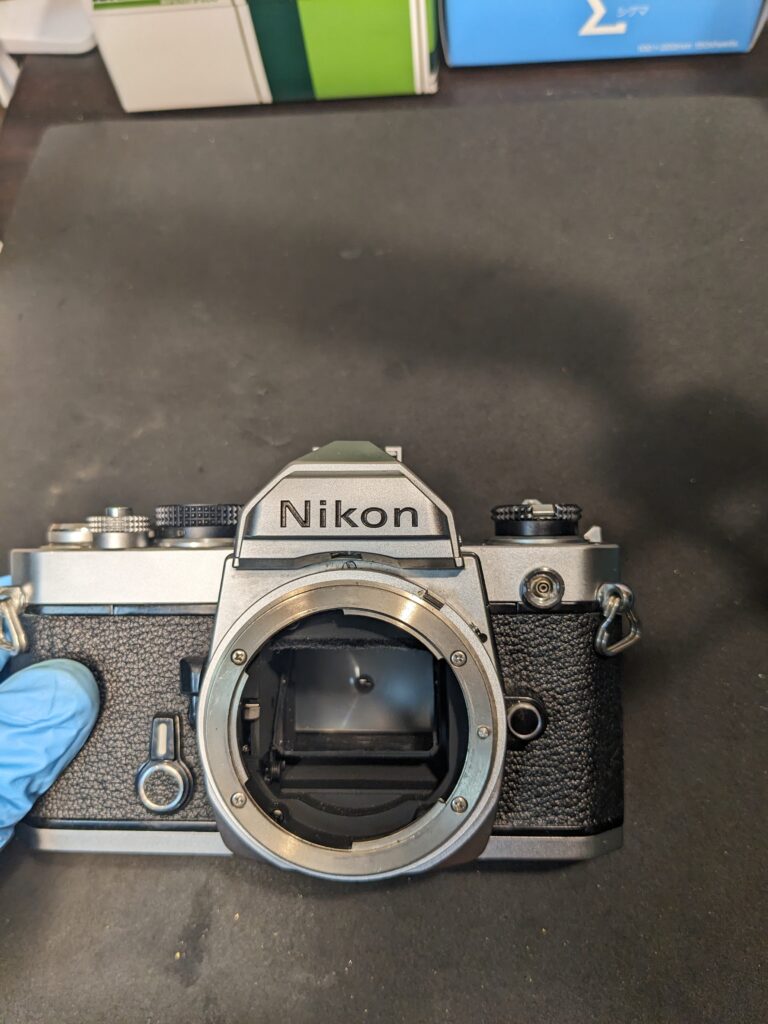

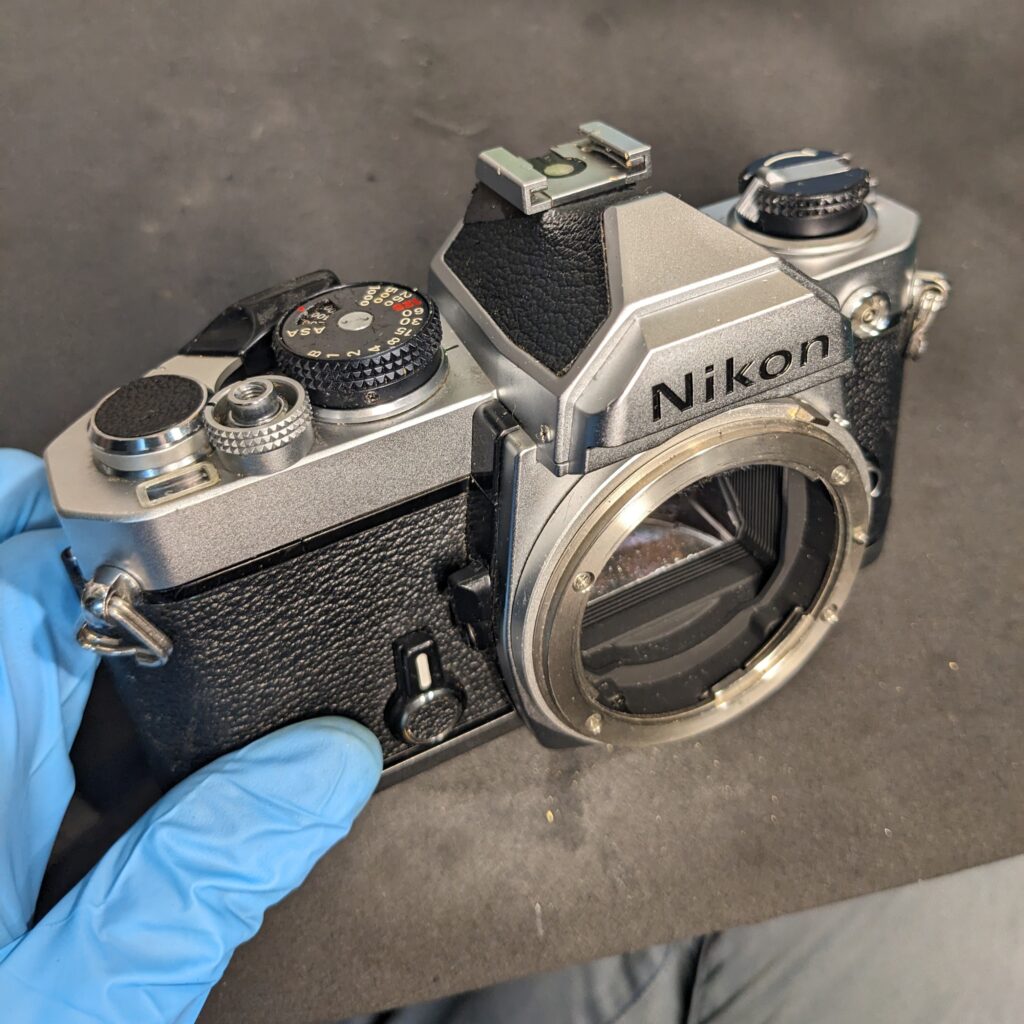
Assembled.
Everything works fine.
The appearance is also fine.
Thank you very much for your hard work.
Thank you very much for your interest in this project.
組みあがりました。
動作全て問題ありません。
外観もこれなら上等でしょう。
お疲れ様でした。
最後までご覧いただきありがとうございます。
コメント