




This CONTAX Carl Zeiss Planar T* 50mm f/1.7 is the later MMJ version for the C/Y mount. It came to me with balsam separation, and I repaired it in July 2024.
Some lens elements are made of two pieces of glass glued together with a clear optical cement, often called balsam. With age the cement can start to let go. When it does, you may see haze, a cloudy edge, or patterns inside the glass, and pictures can lose some contrast. Cleaning the outside surfaces will not help, because the problem is between the two glasses. The fix is to take the pair apart, clean off the old cement and glue them together again.
Here is how the job went, in the order the photos were taken.
1. A lens group out of the lens
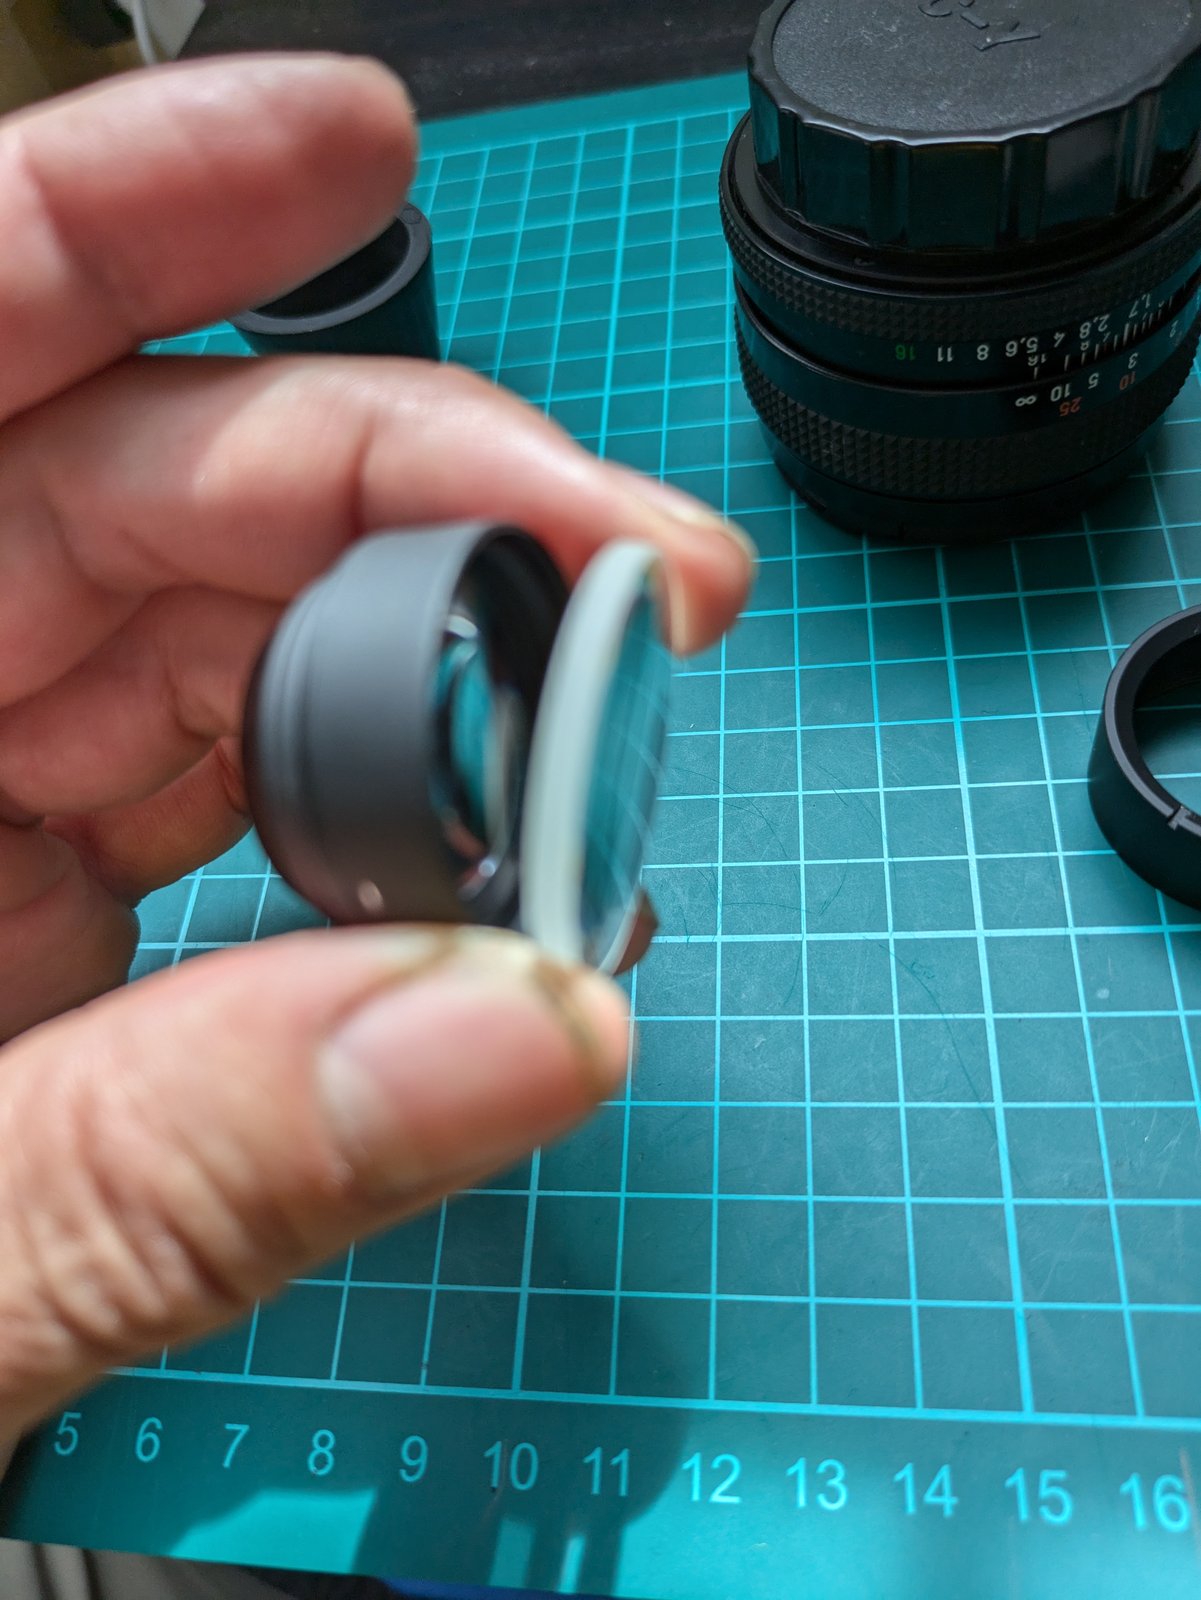
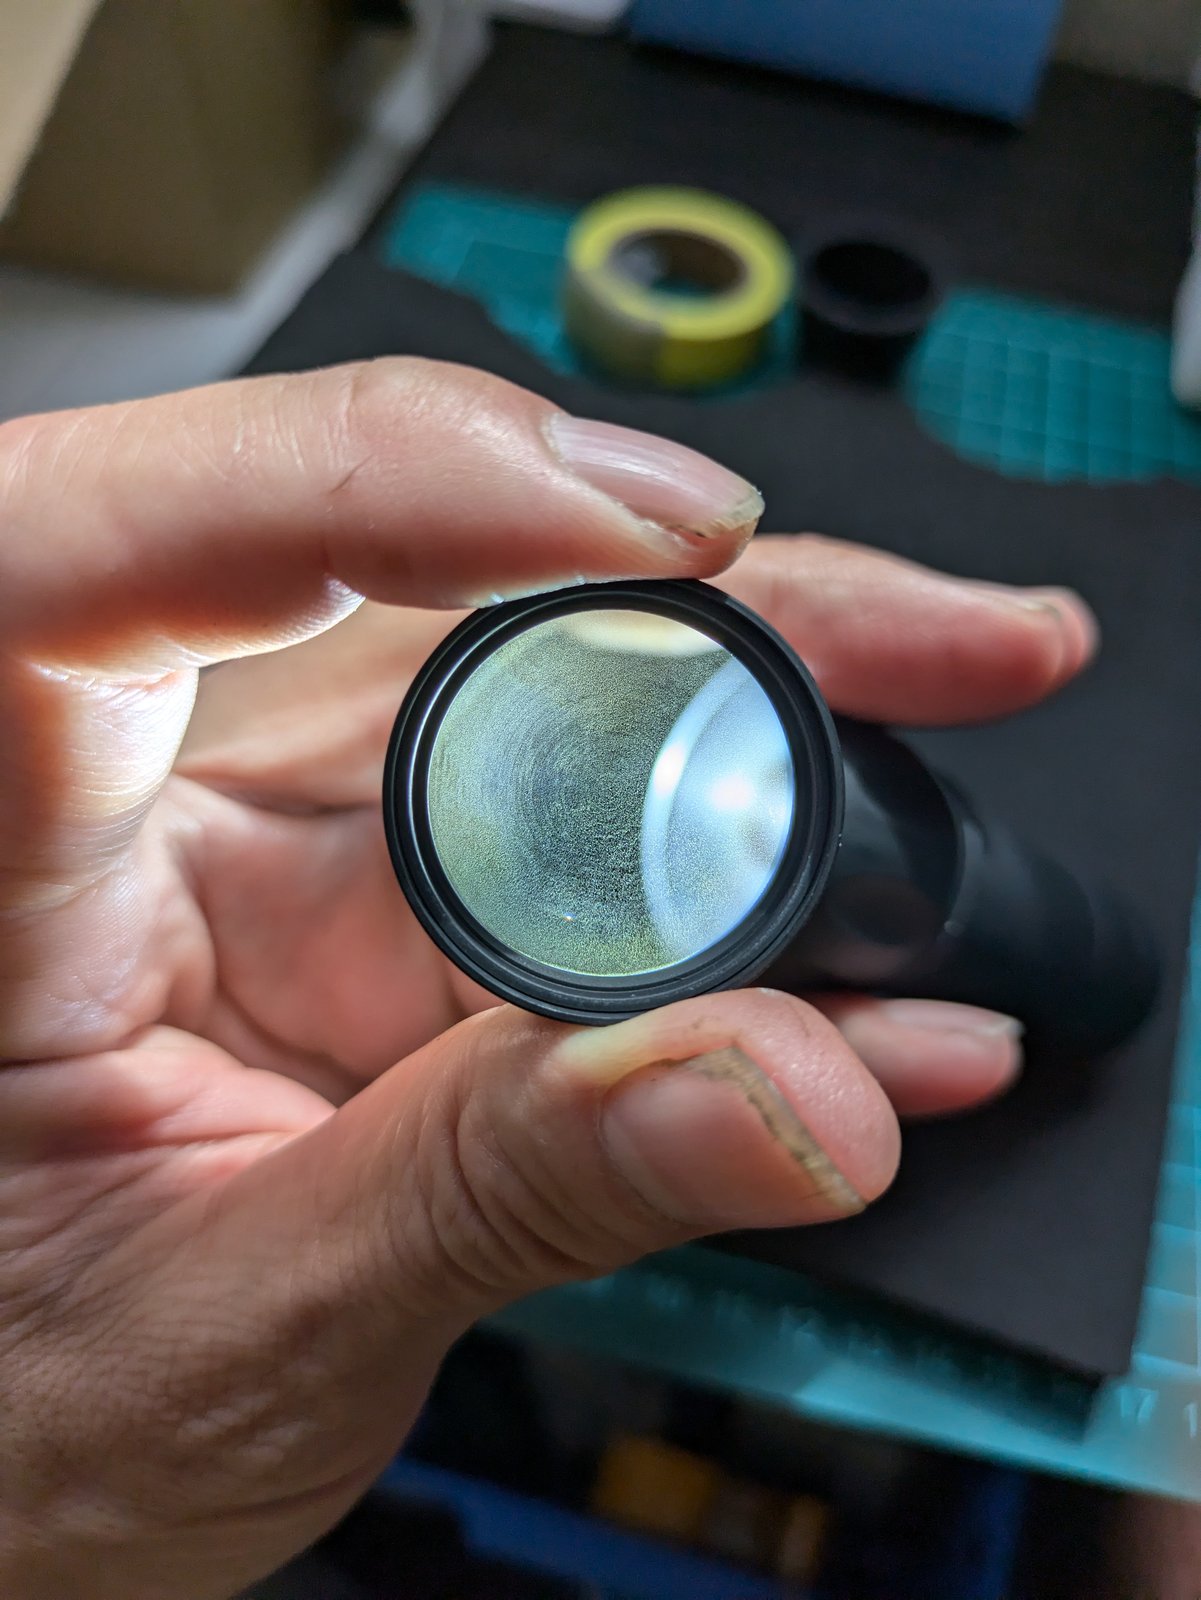
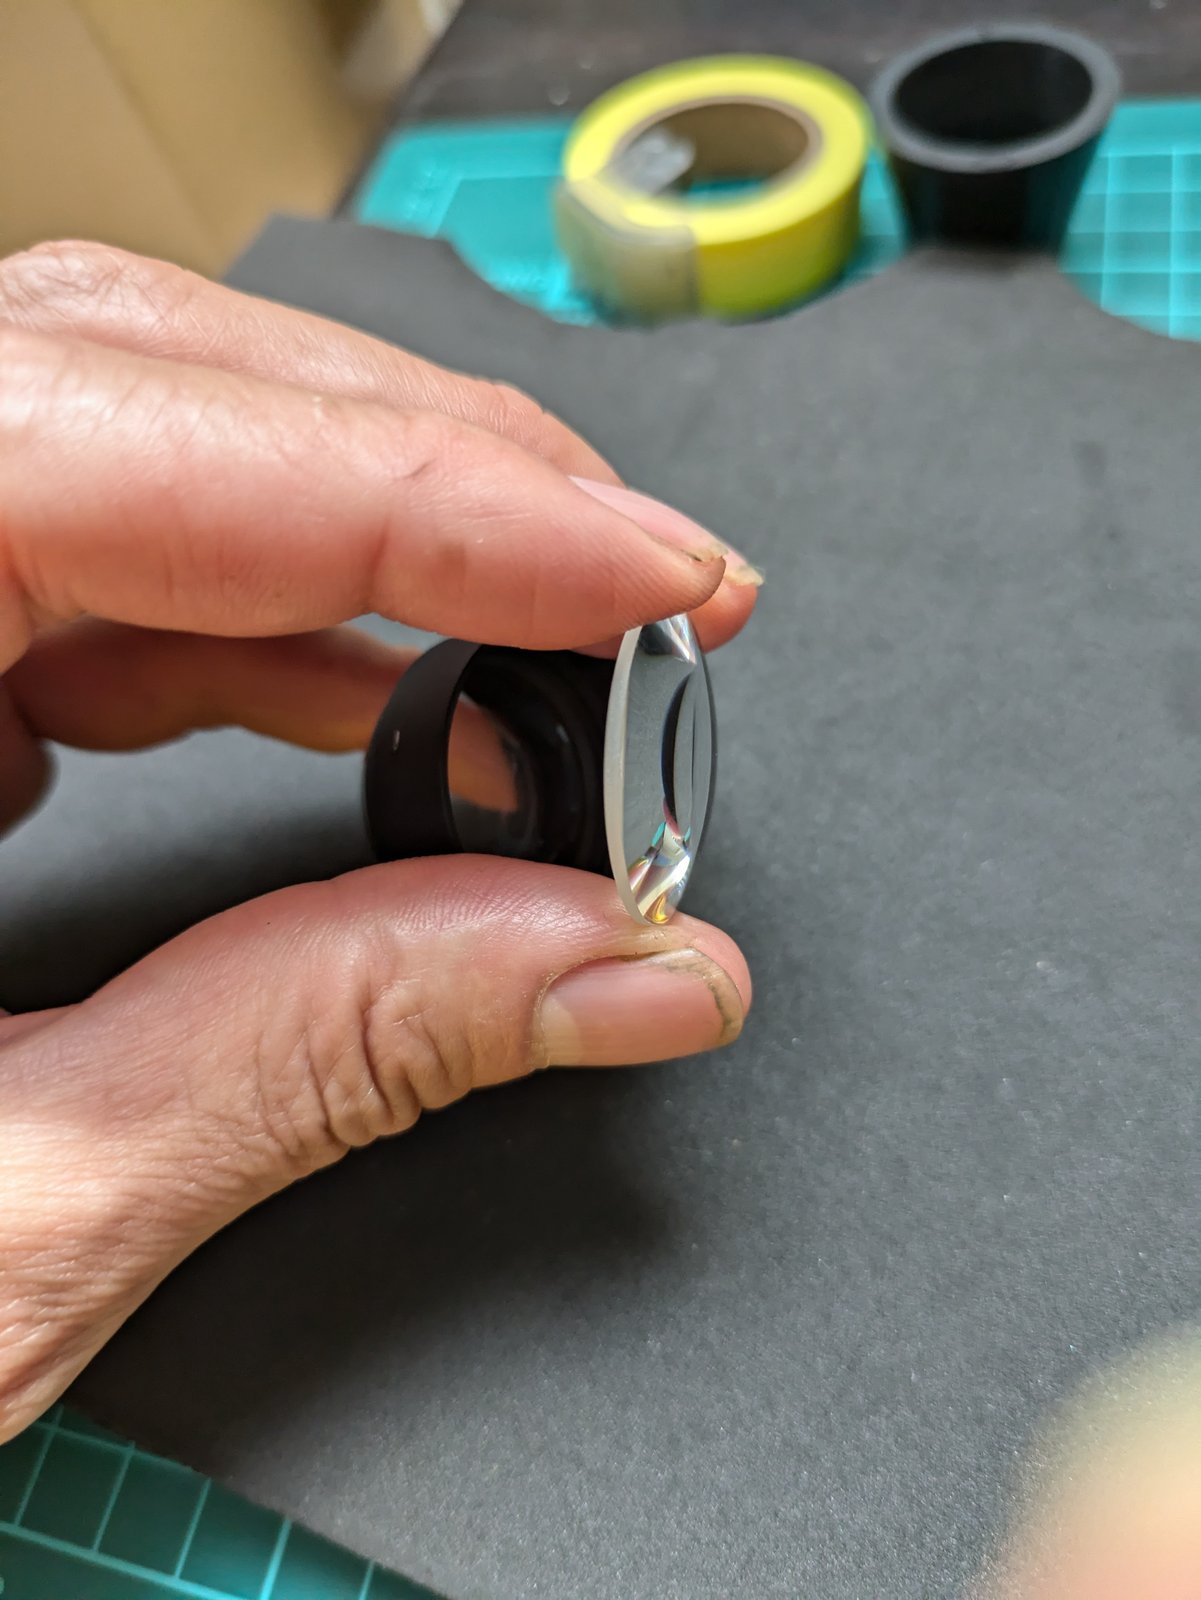
First, a lens group came out of the barrel. Here it is from both sides.
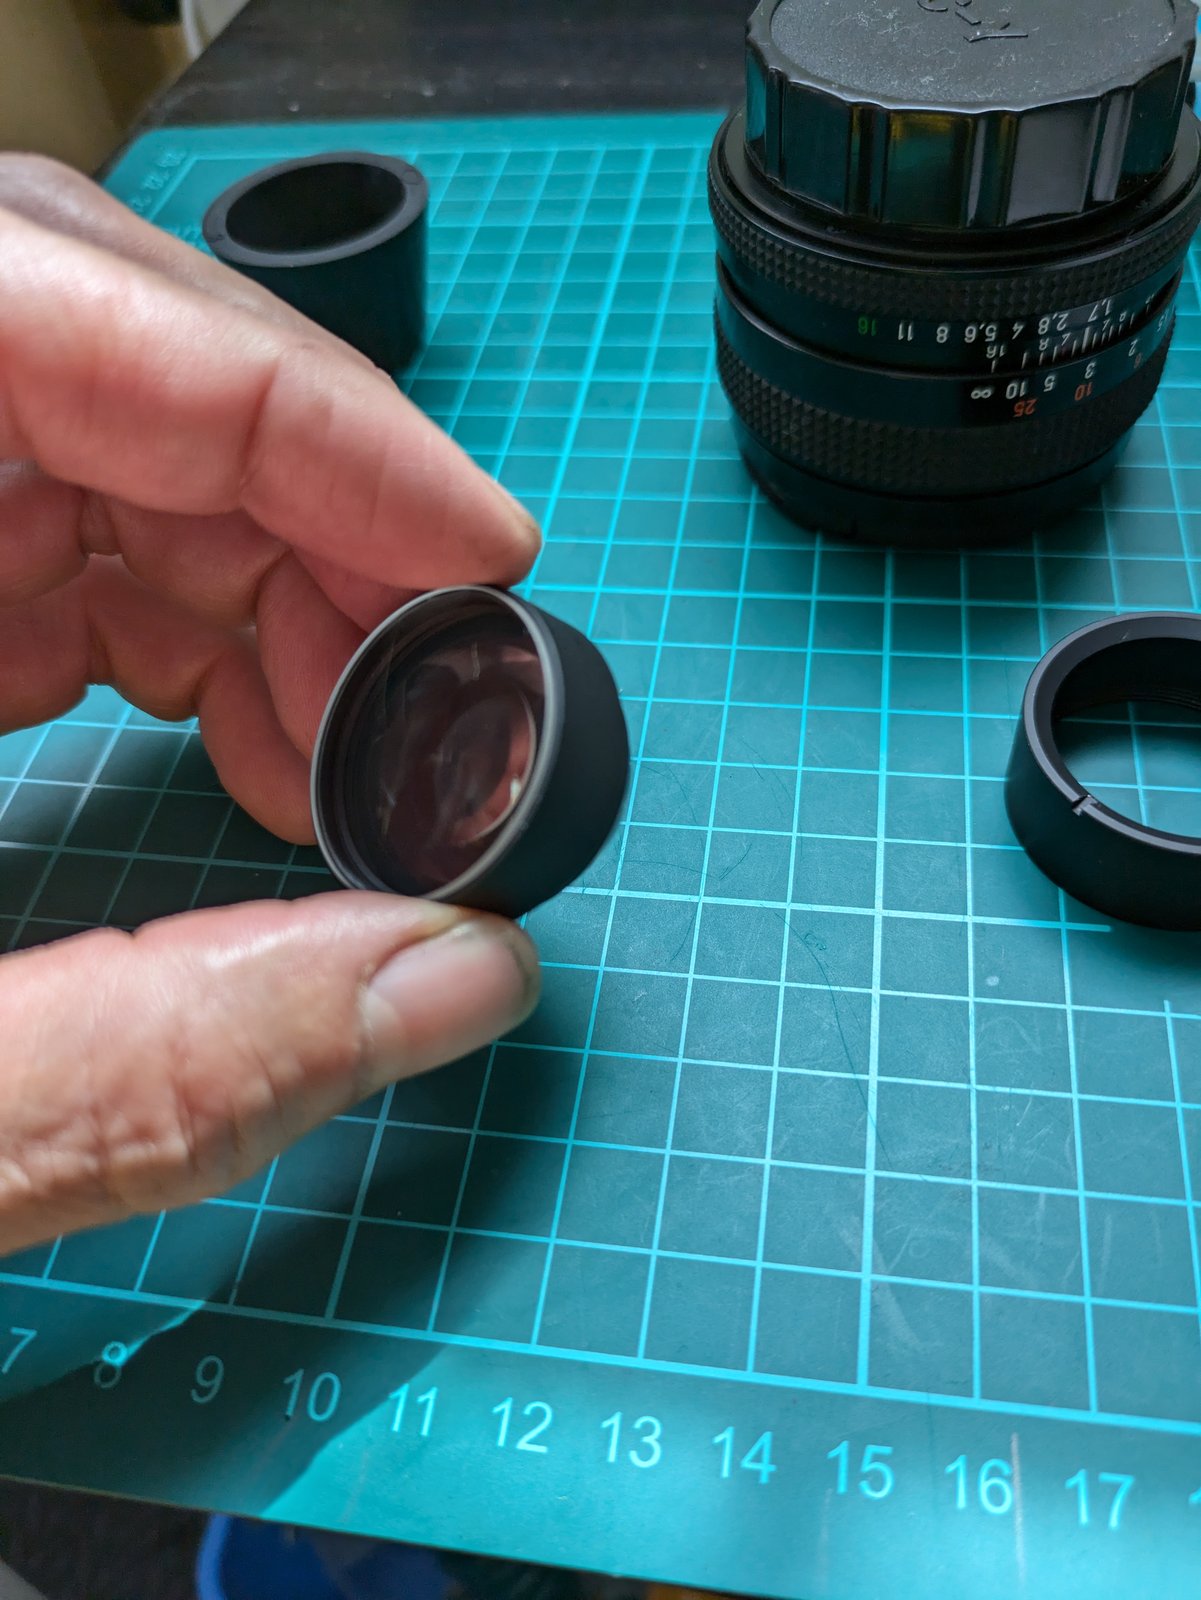
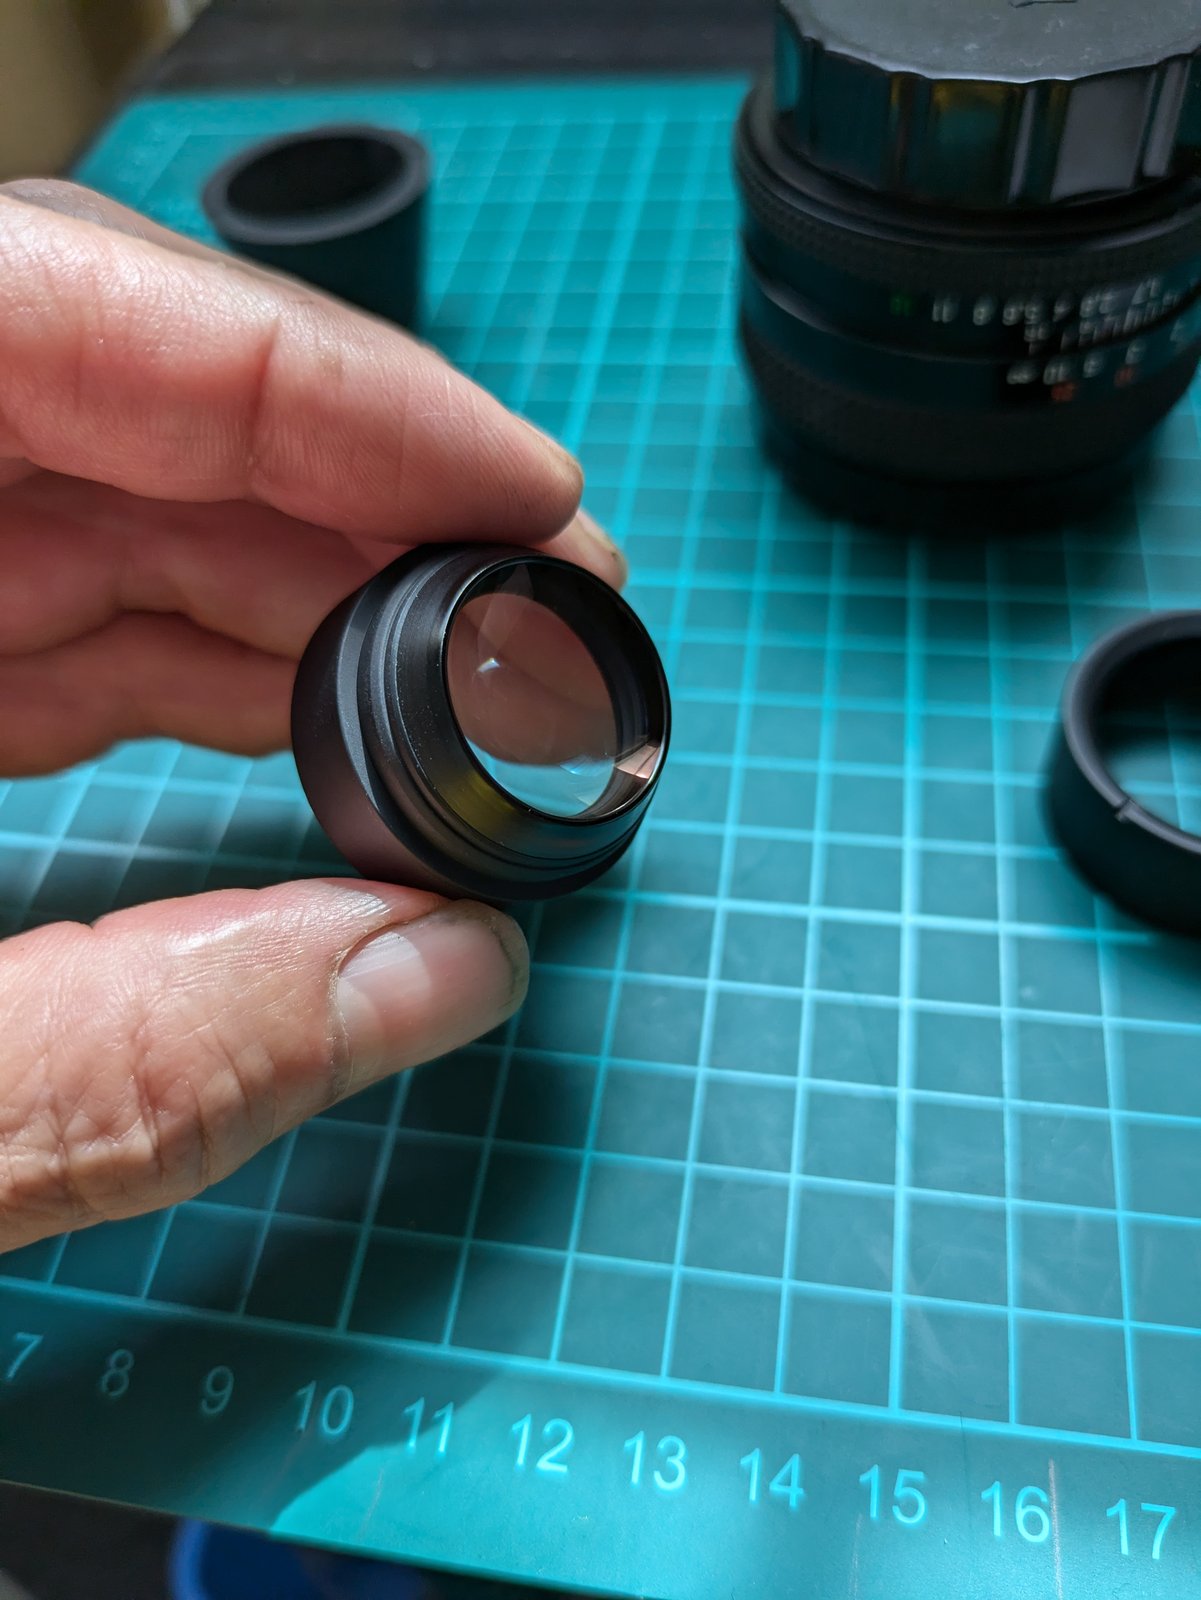
One element lifts out of the front of the group. Holding the group up to the light shows the balsam separation: a fine, frosty haze across the glass.
2. Retaining ring and the next element
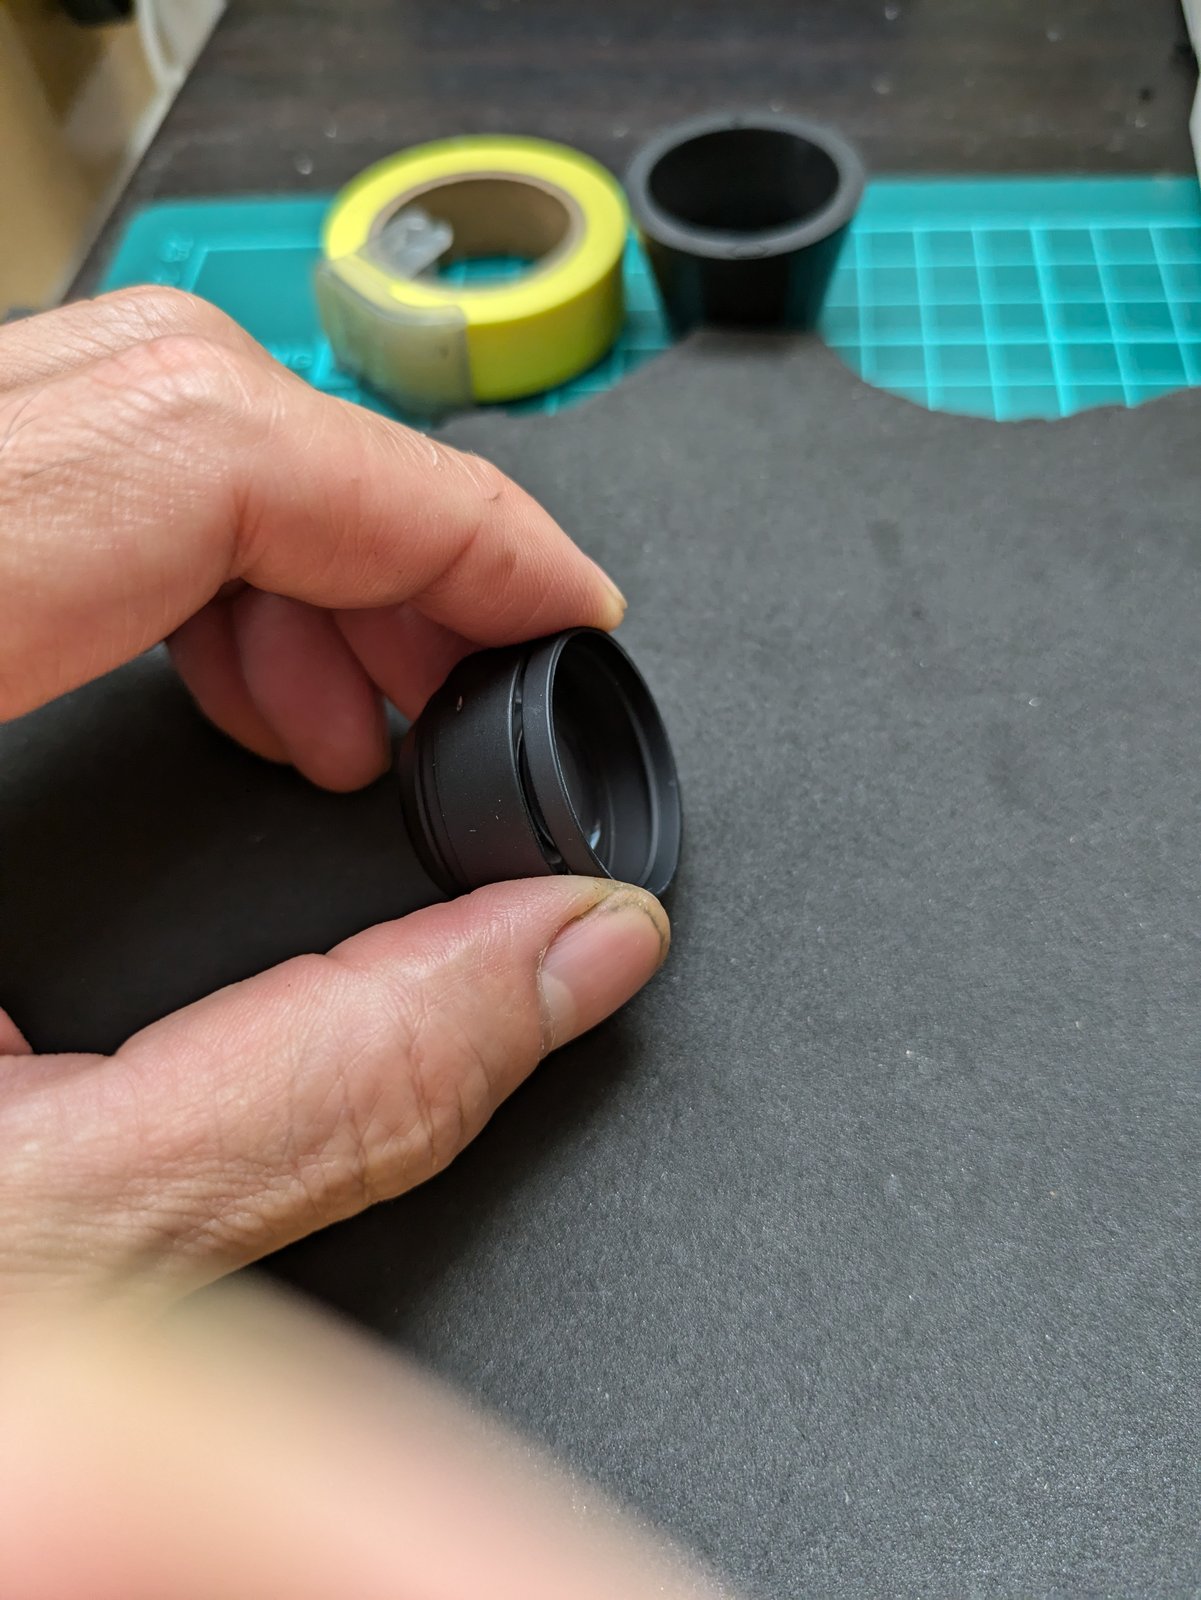
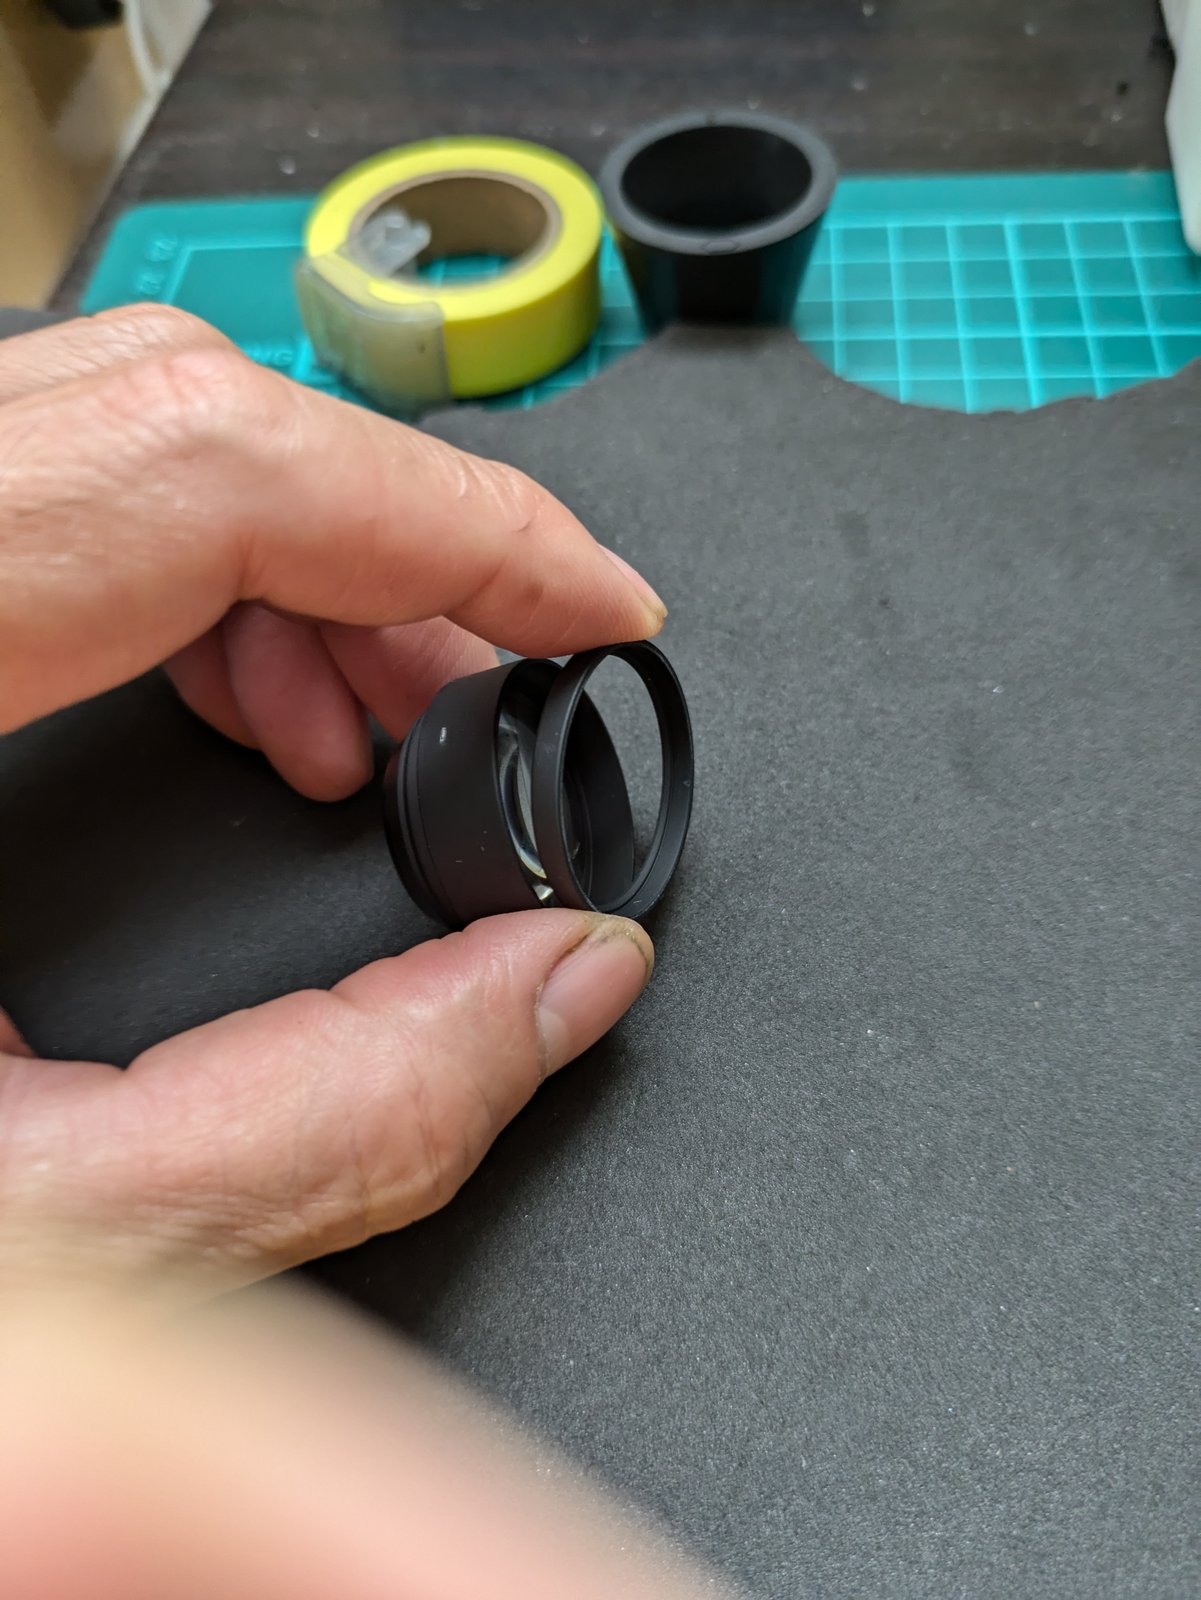
Inside the group, the next element is held by a thin retaining ring. With the ring off, the element comes out of the cell.
3. Freeing the cemented pair
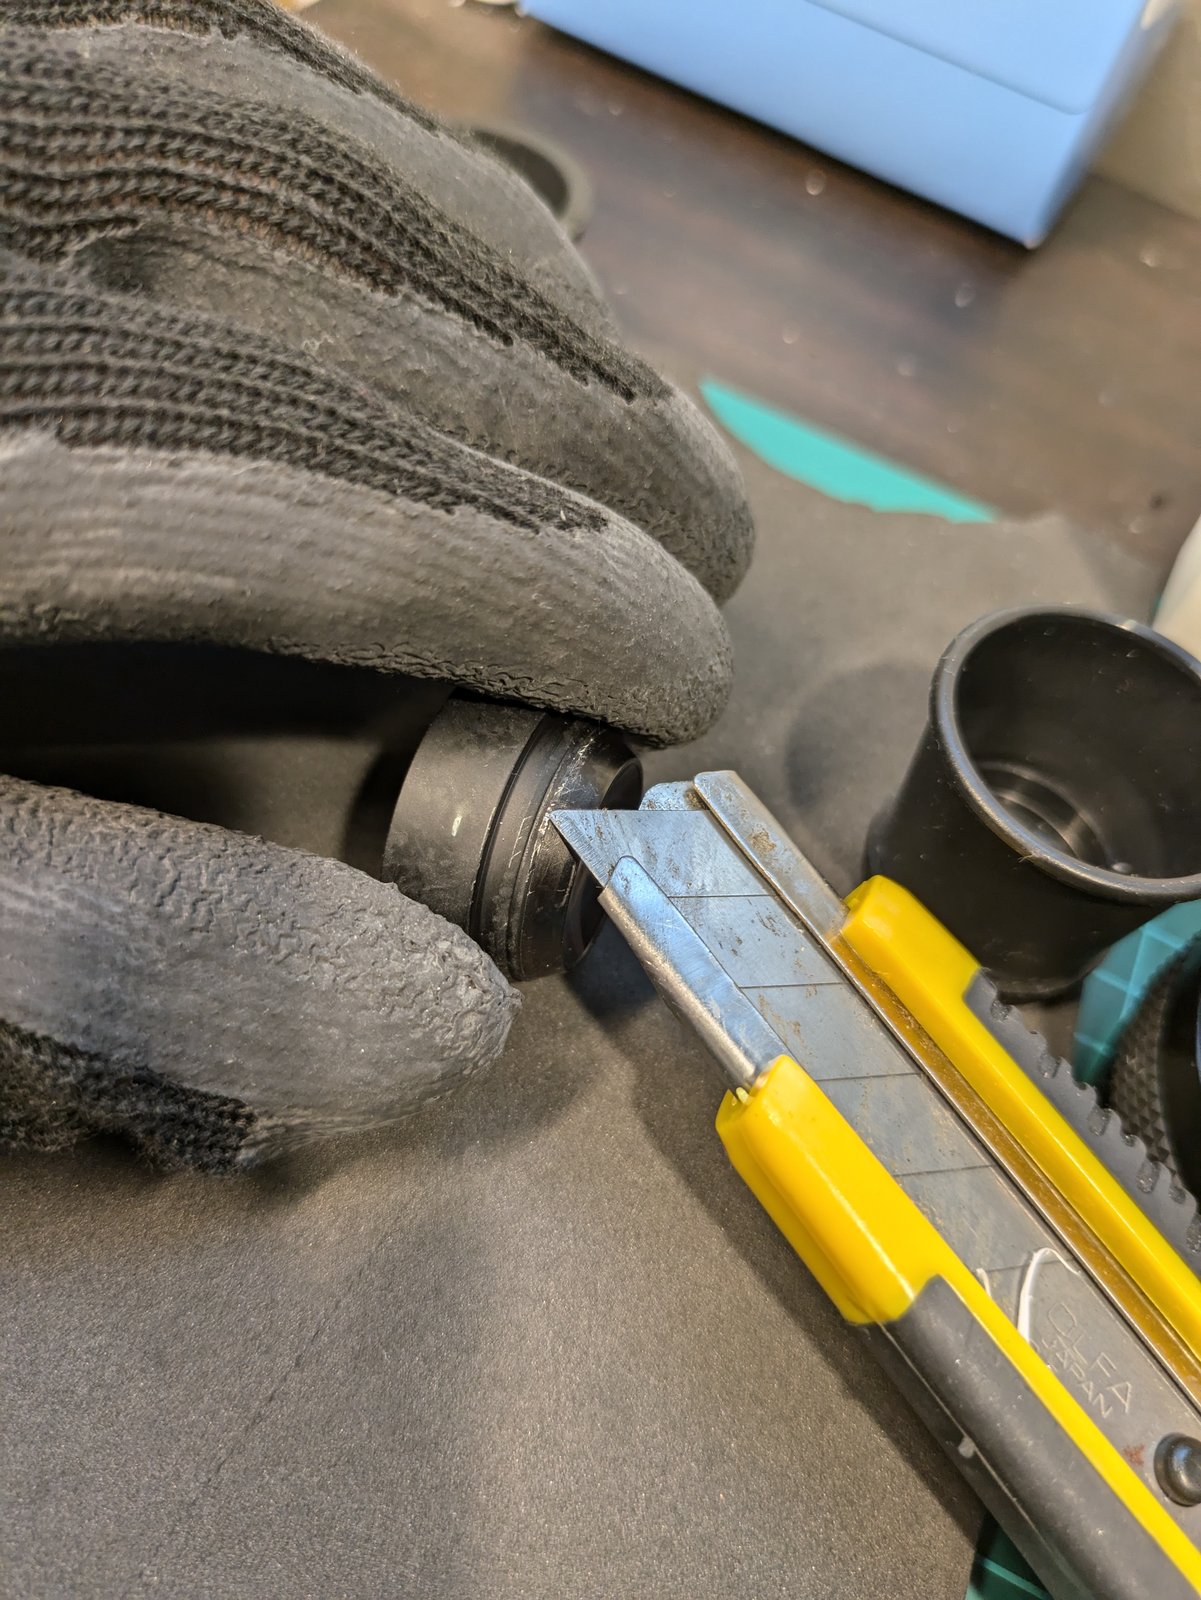
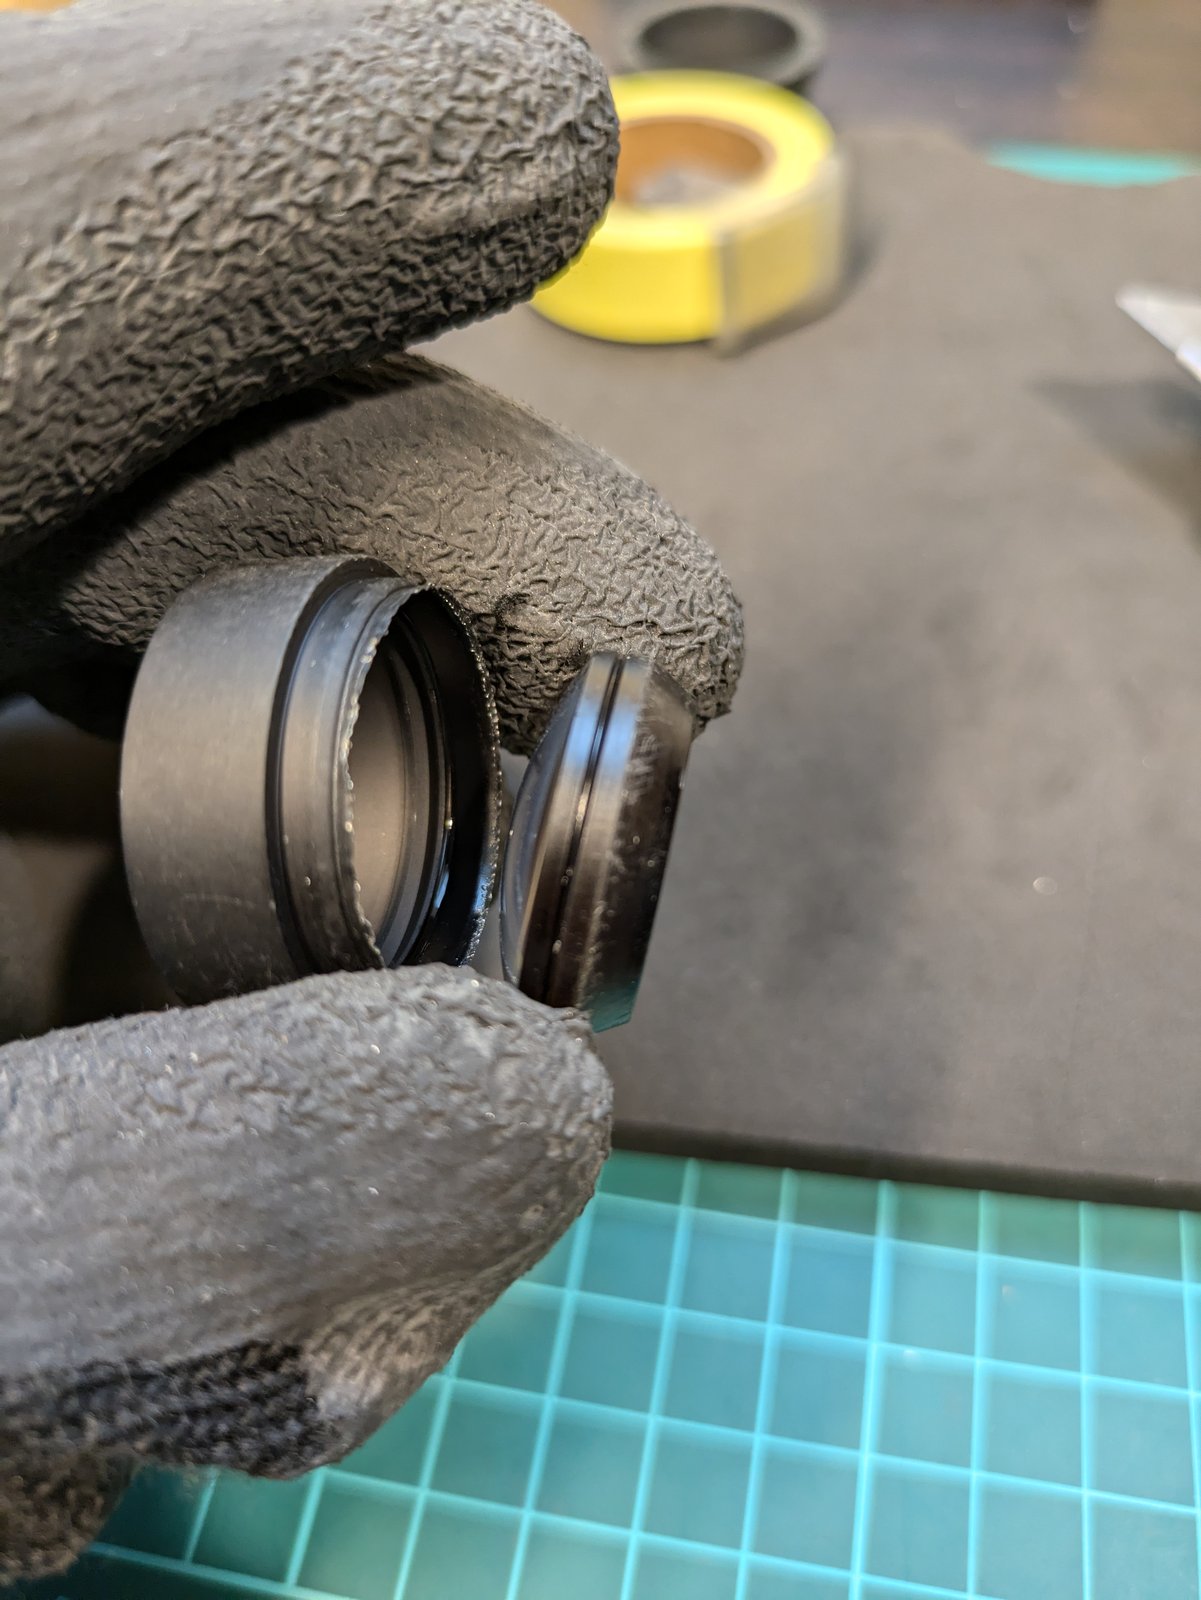
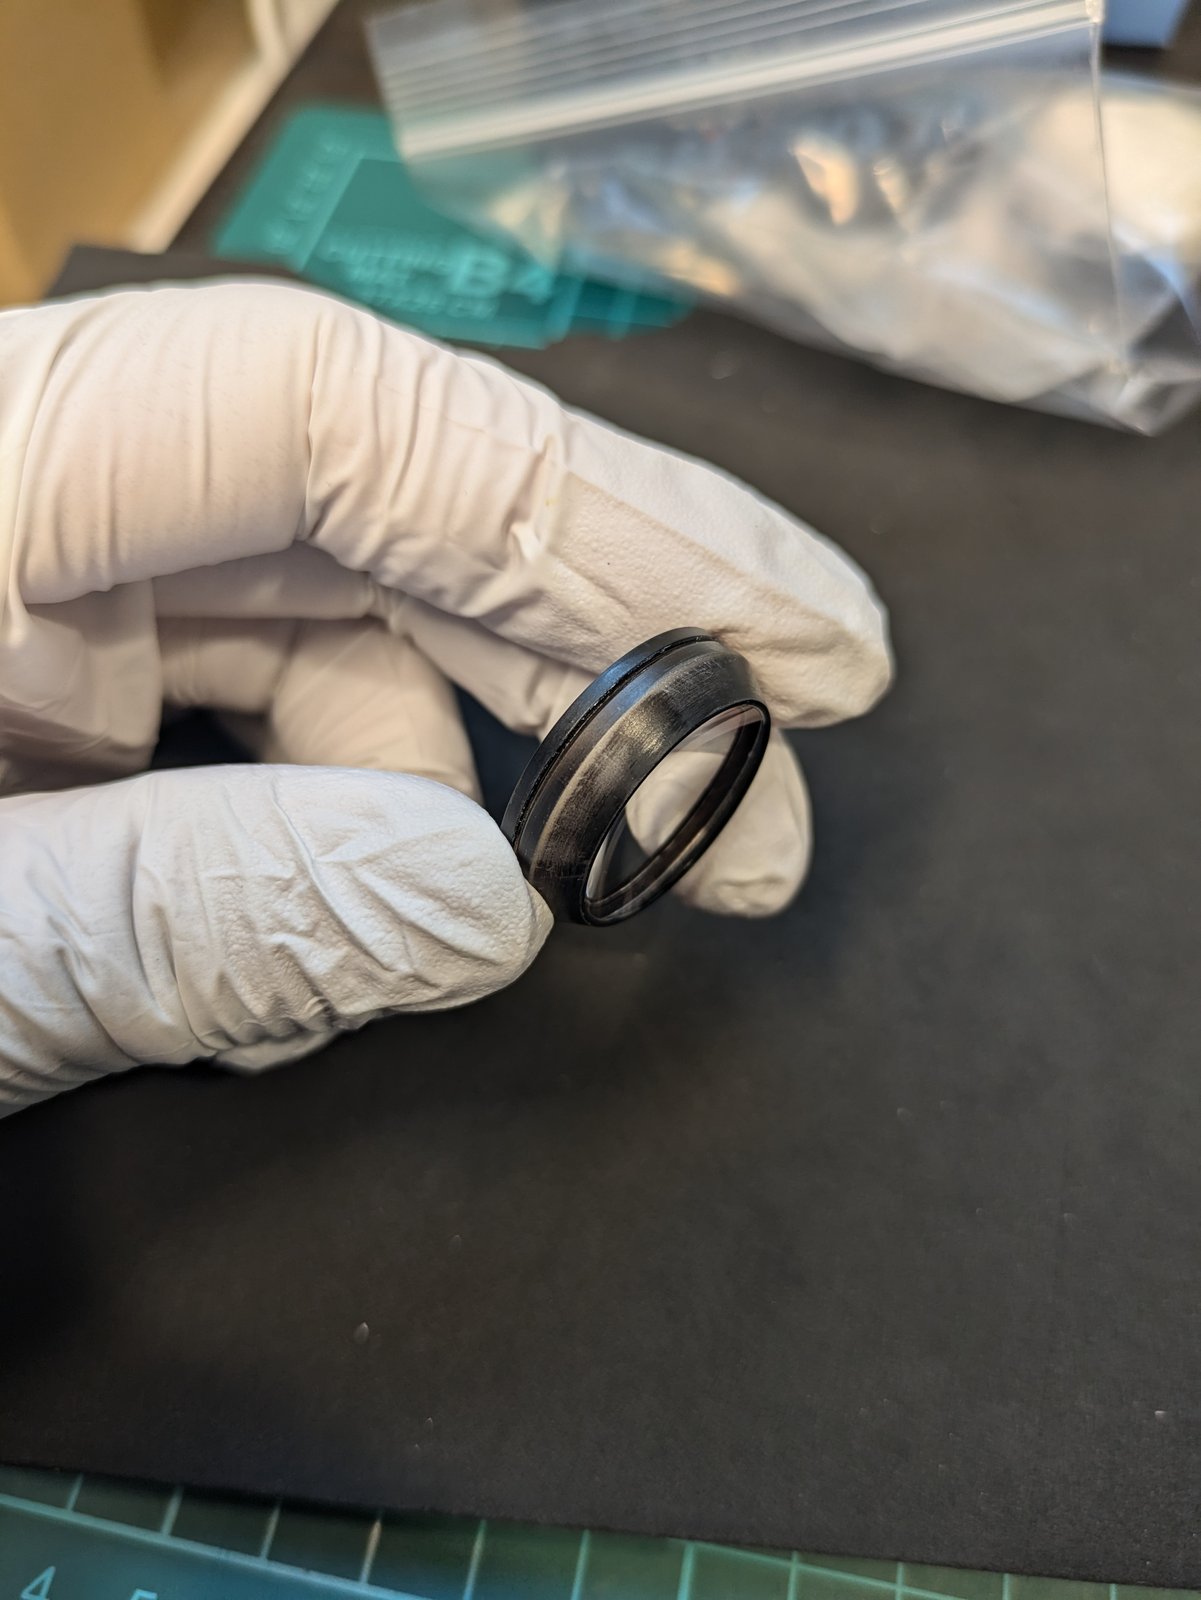
The cemented pair was held in its cell by a crimped rim. Wearing gloves, I used the blade of a utility knife to carefully lift the crimp, and the pair came out. In the second photo you can see the thin line on its edge where the two pieces of glass meet.
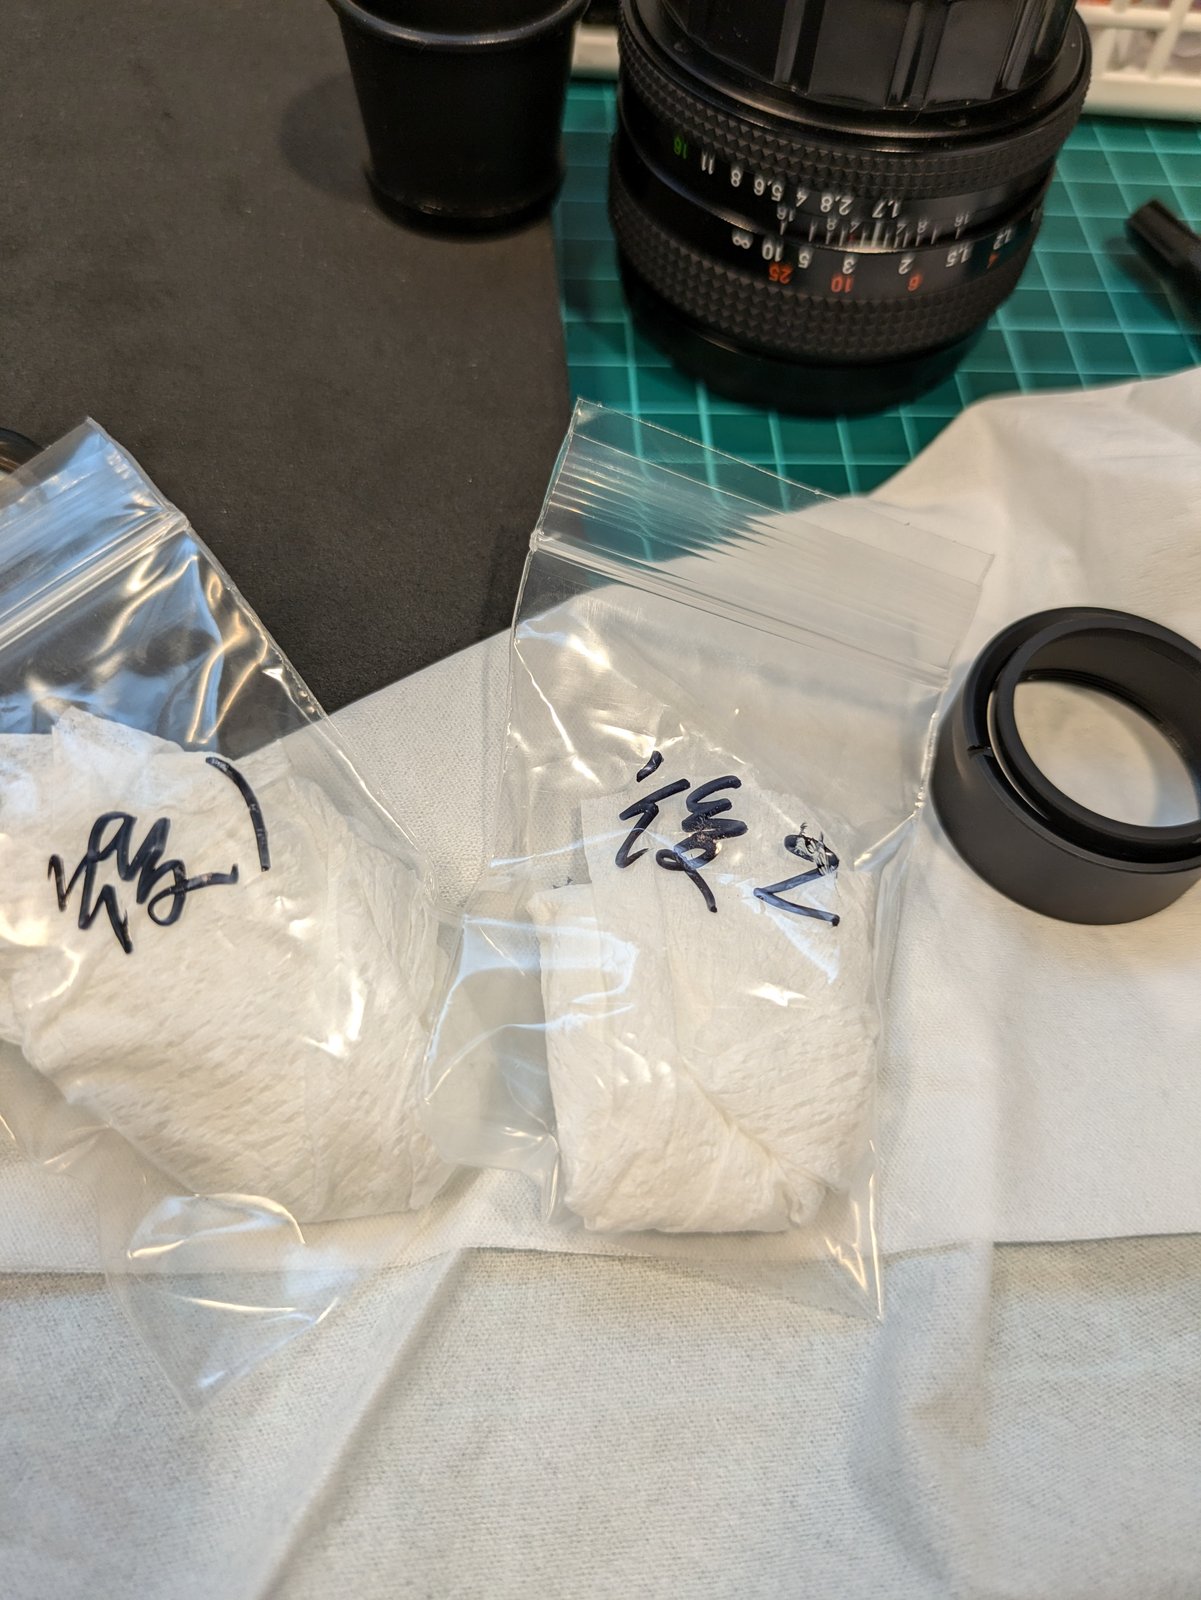
To keep things in order, the parts went into small bags labeled in Japanese, “rear 1” and “rear 2”.
4. Separating the two elements
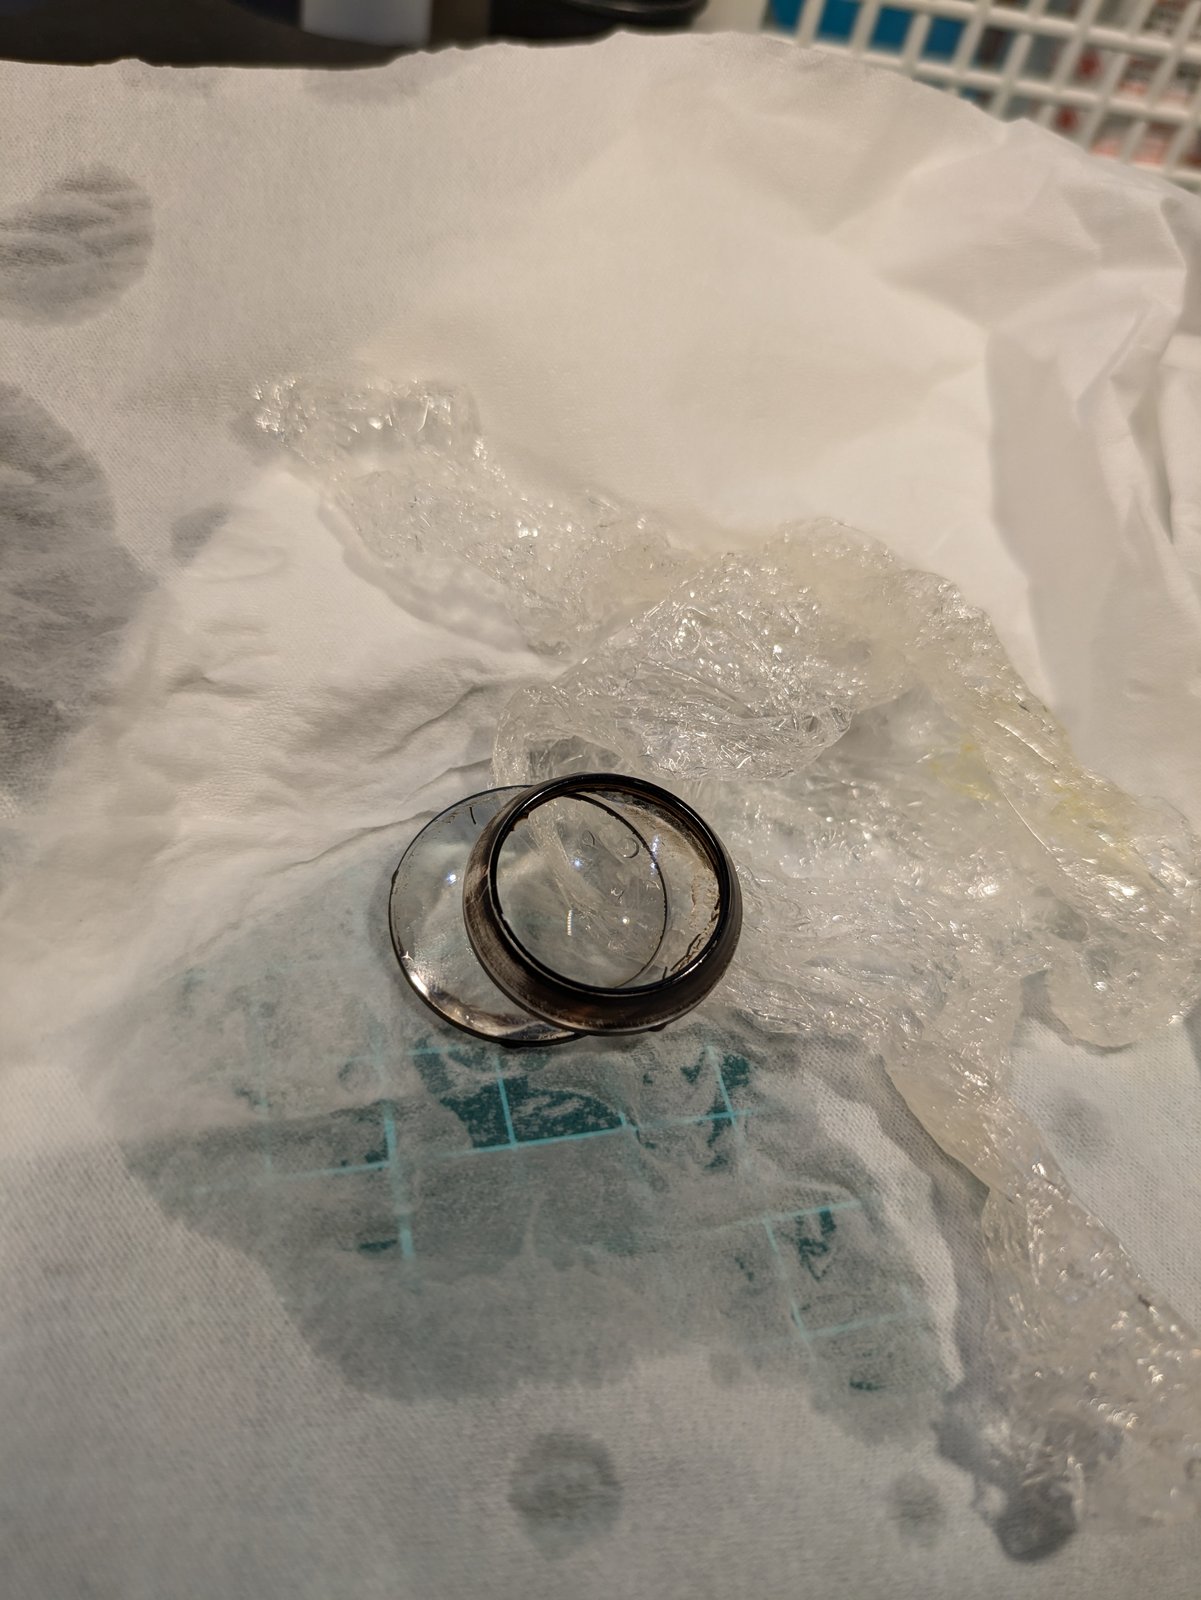
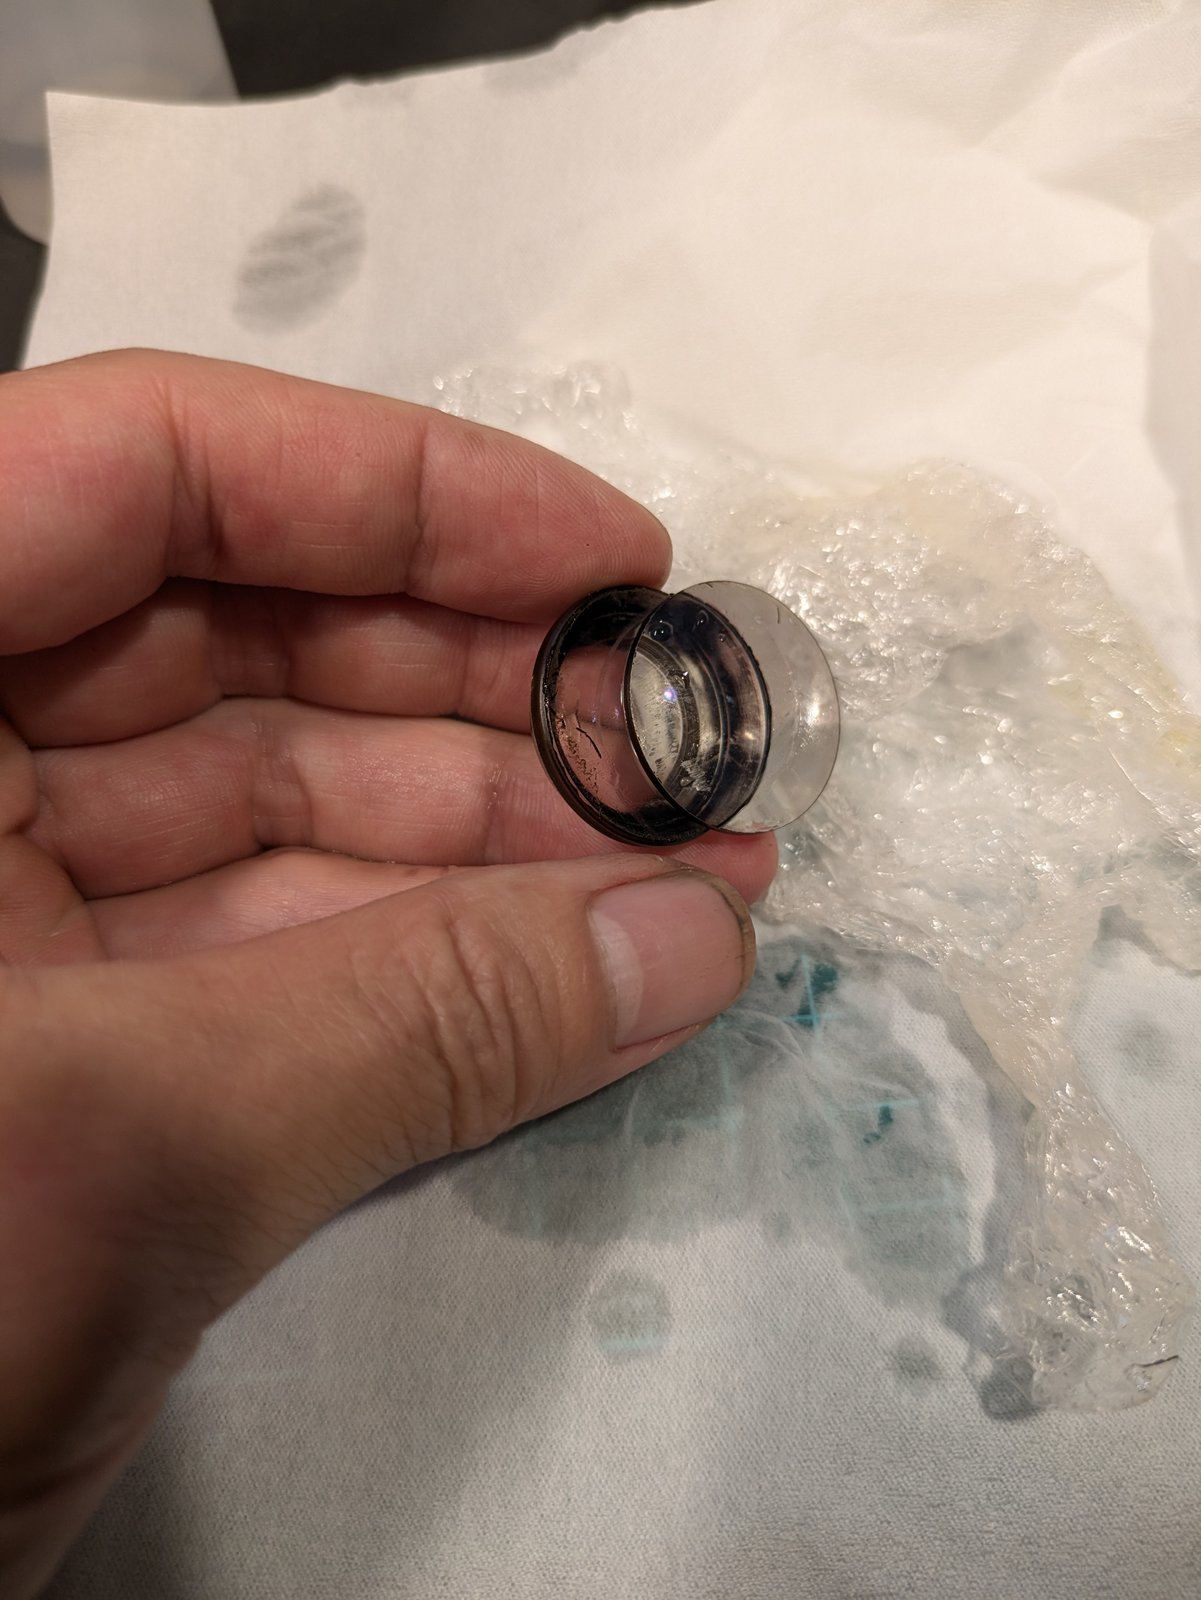
To separate them I used heat: I wrapped the pair in cling film and simmered it in a pot of water. The heat loosened the old balsam, and the two elements came apart. One of them has a blackened edge.
5. Cleaning
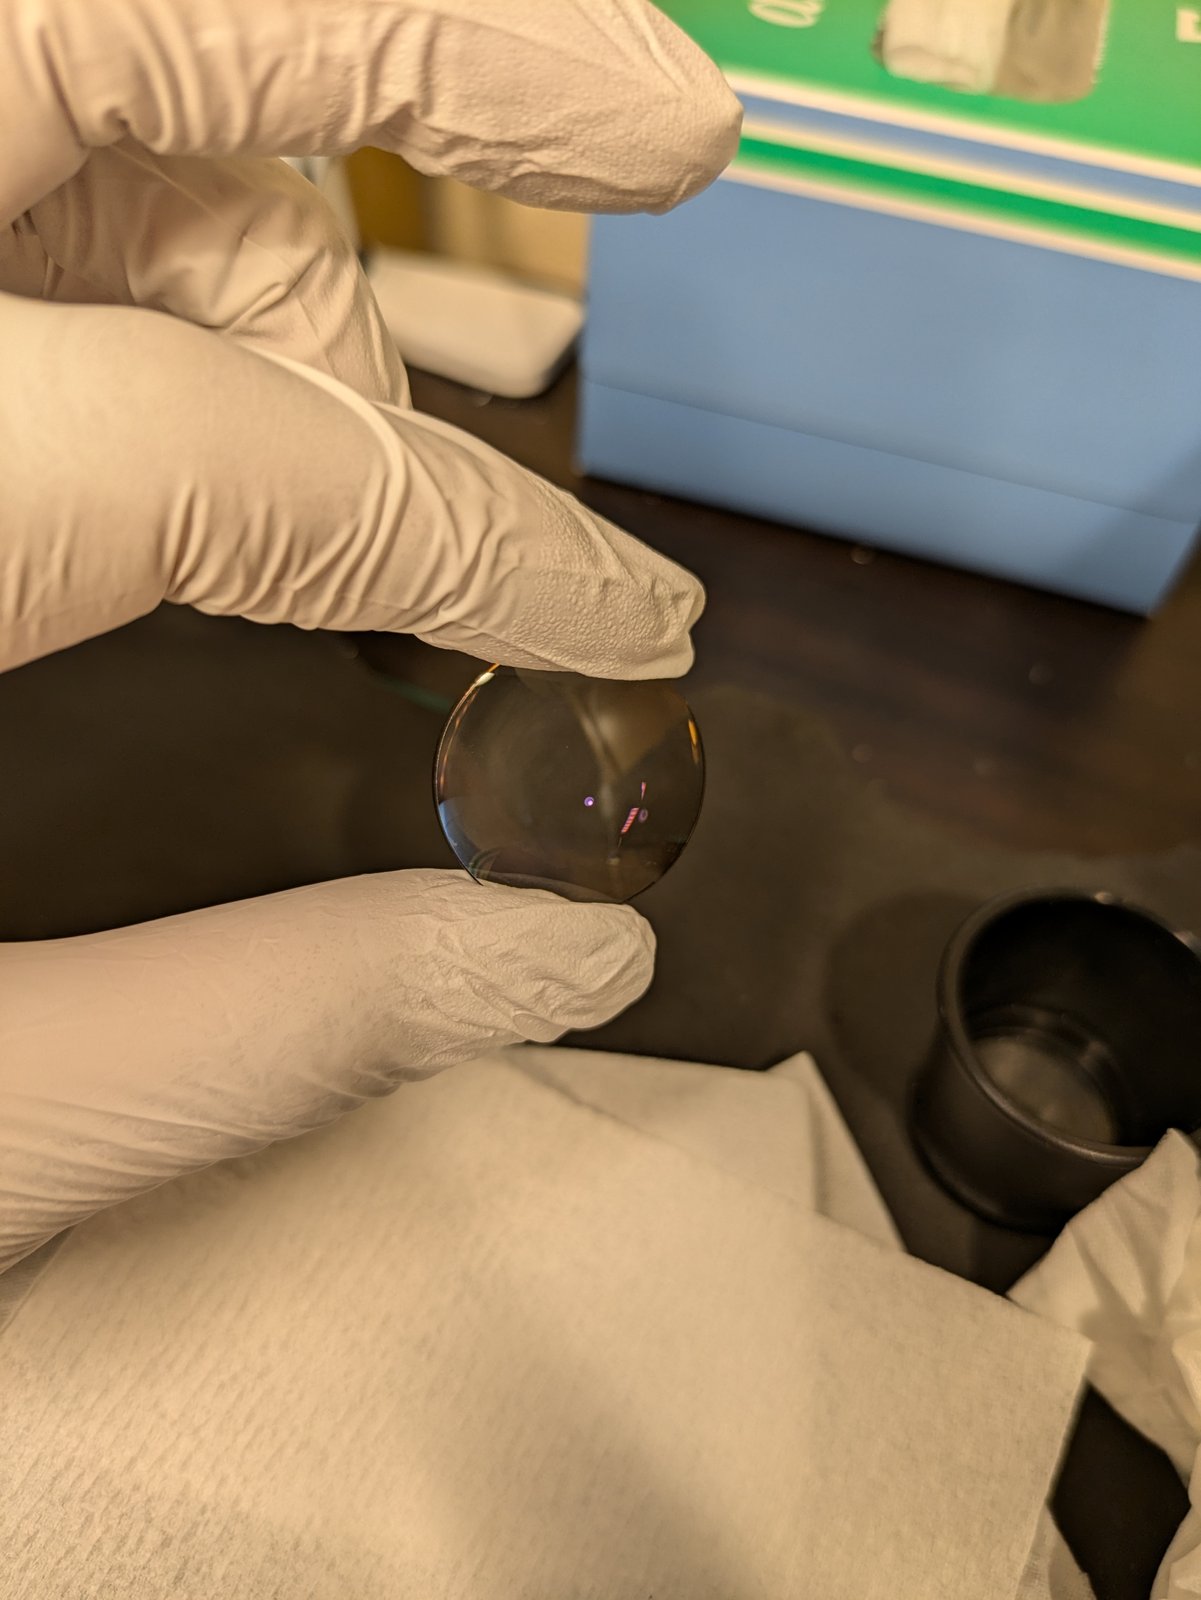
The old balsam has to come off completely before new balsam goes on. I cleaned it off both elements with anhydrous ethanol, and handled the glass with gloves from here on.
6. Re-cementing with balsam
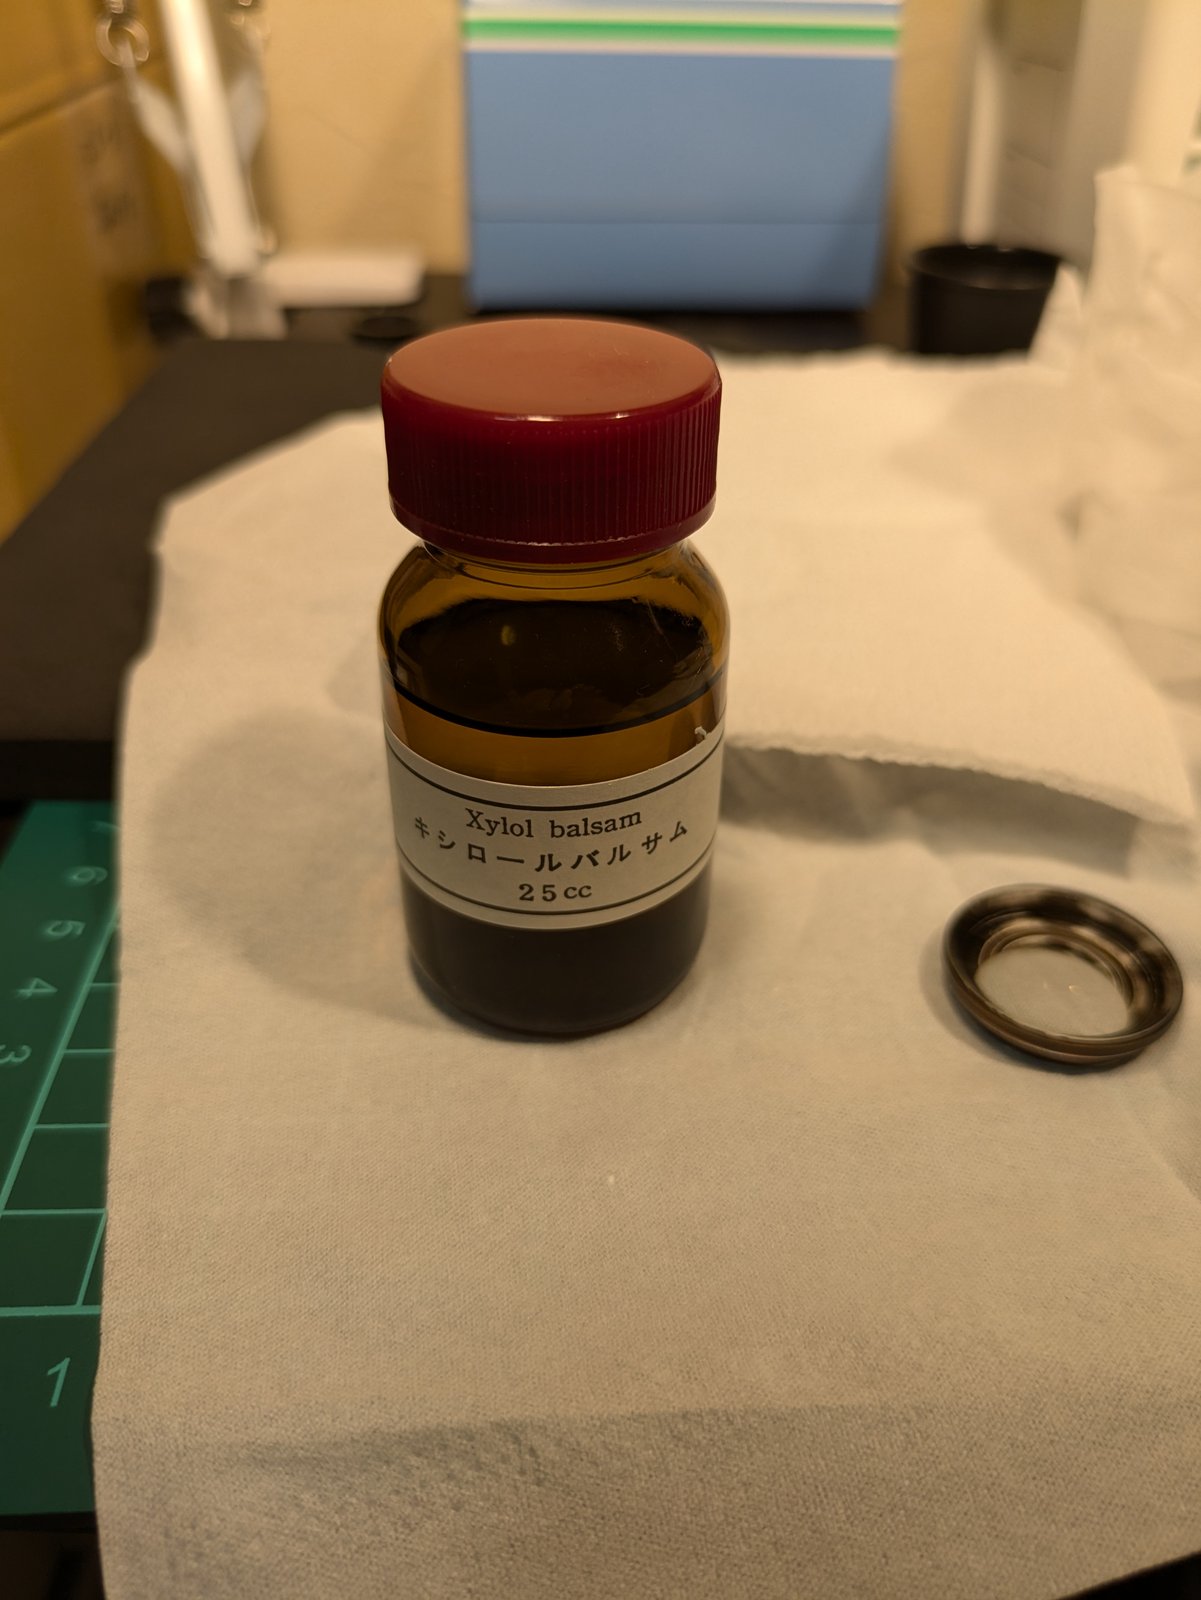
For the new cement I used xylol balsam. I laid one element down, put one or two drops of balsam on it, and set the other element on top. Then I pressed down on it to push out any air.
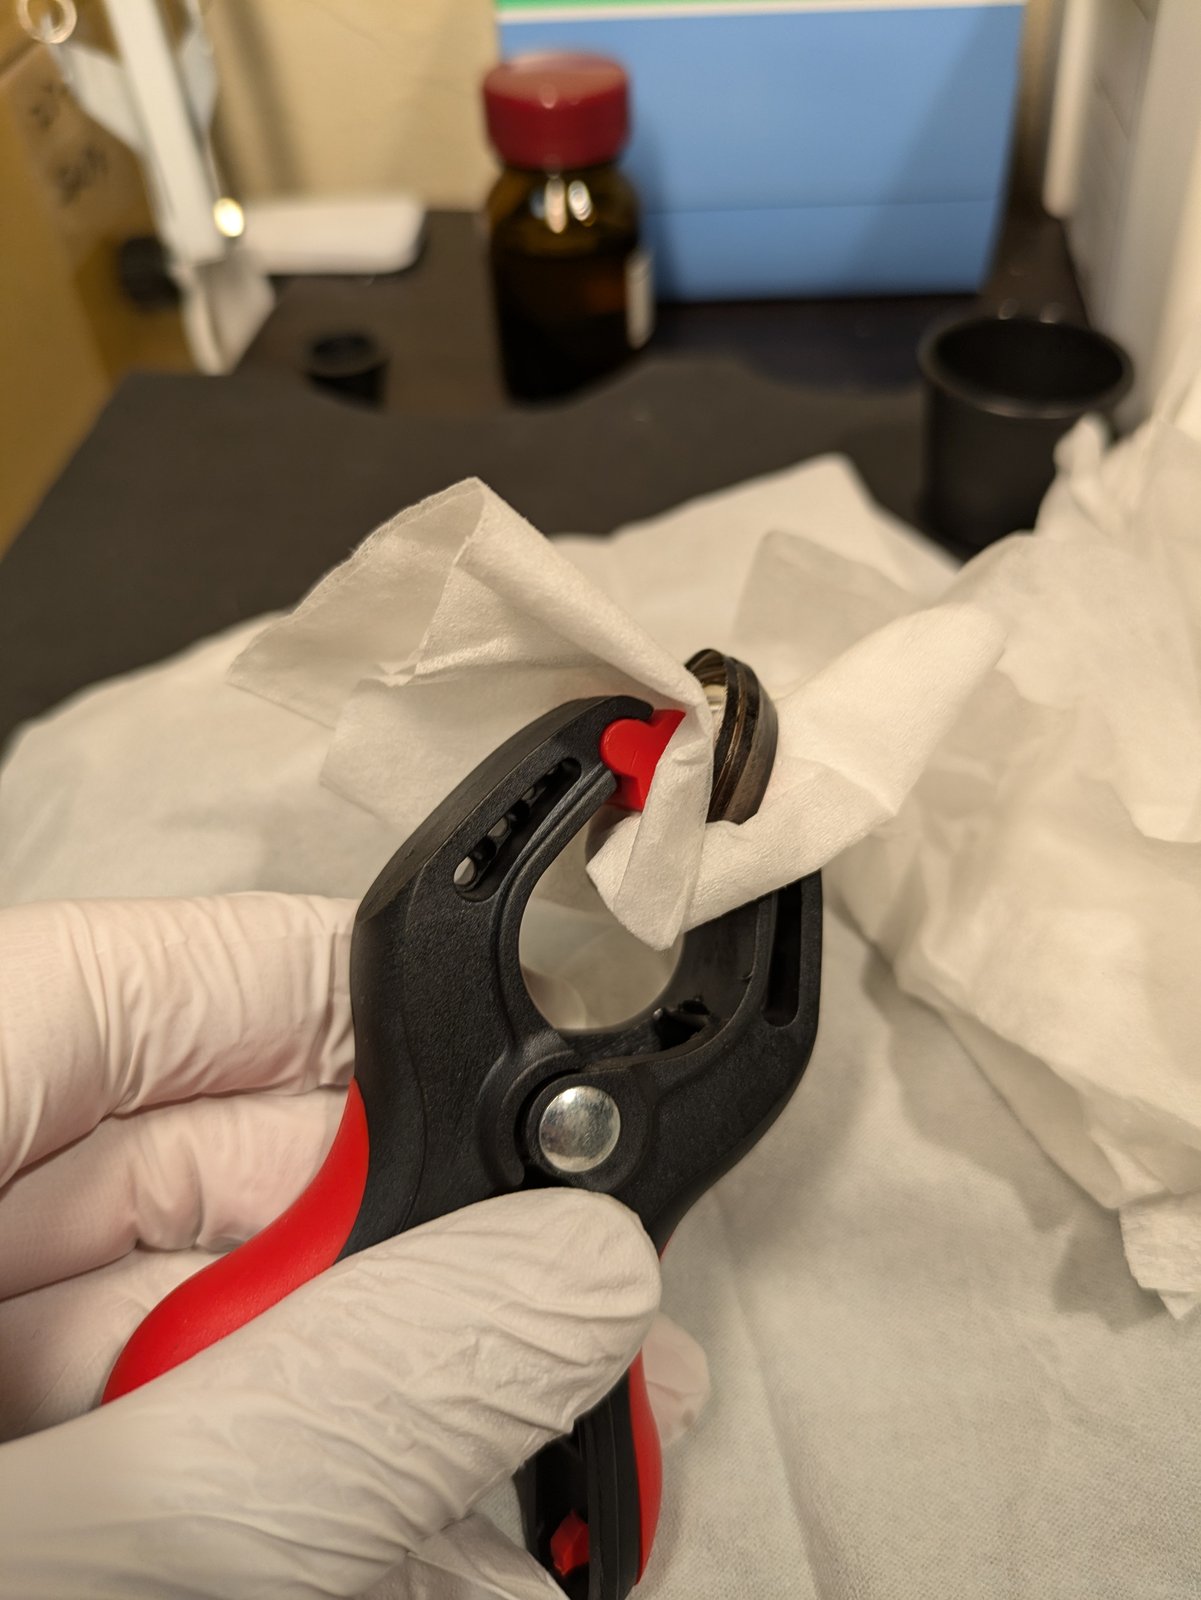
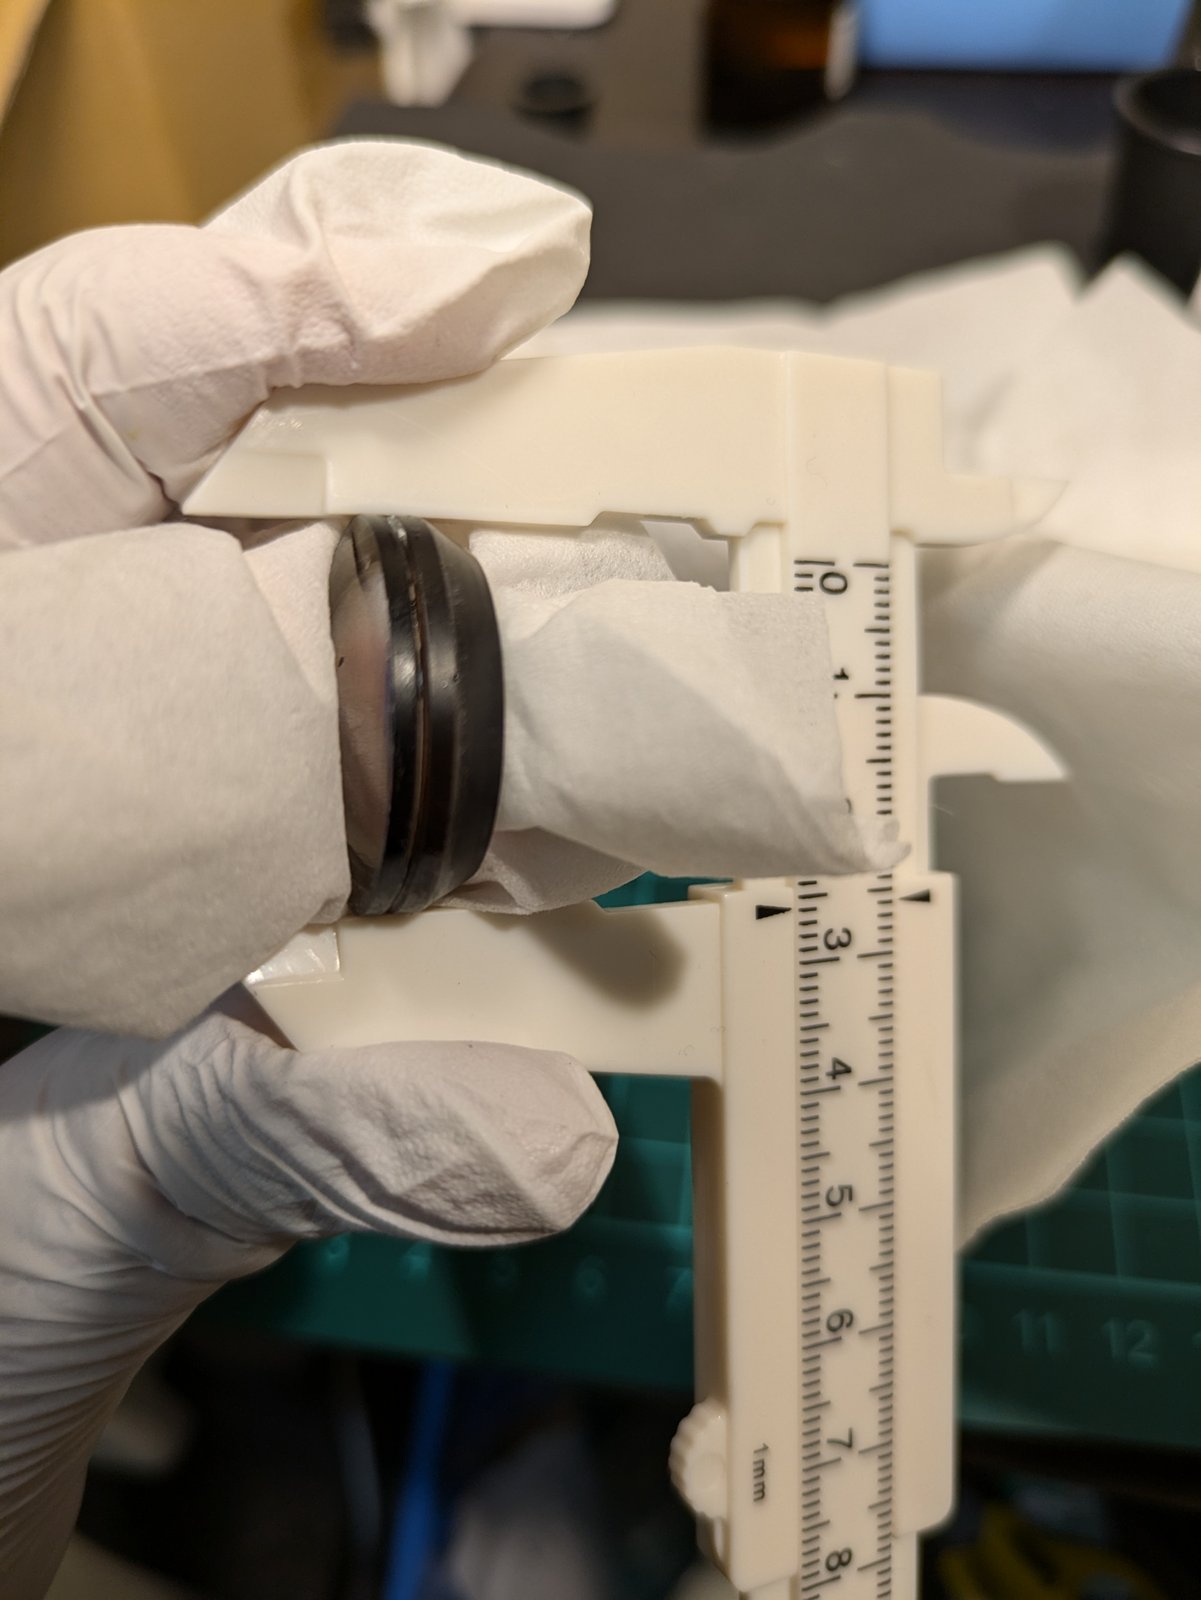
To keep the two elements centred on each other, I set the pair between the jaws of a caliper so their edges lined up. Wrapped in tissue, the pair was held in a spring clamp (a fairly strong one) for about a week, to give the balsam plenty of time to cure.
7. Blackening the edge
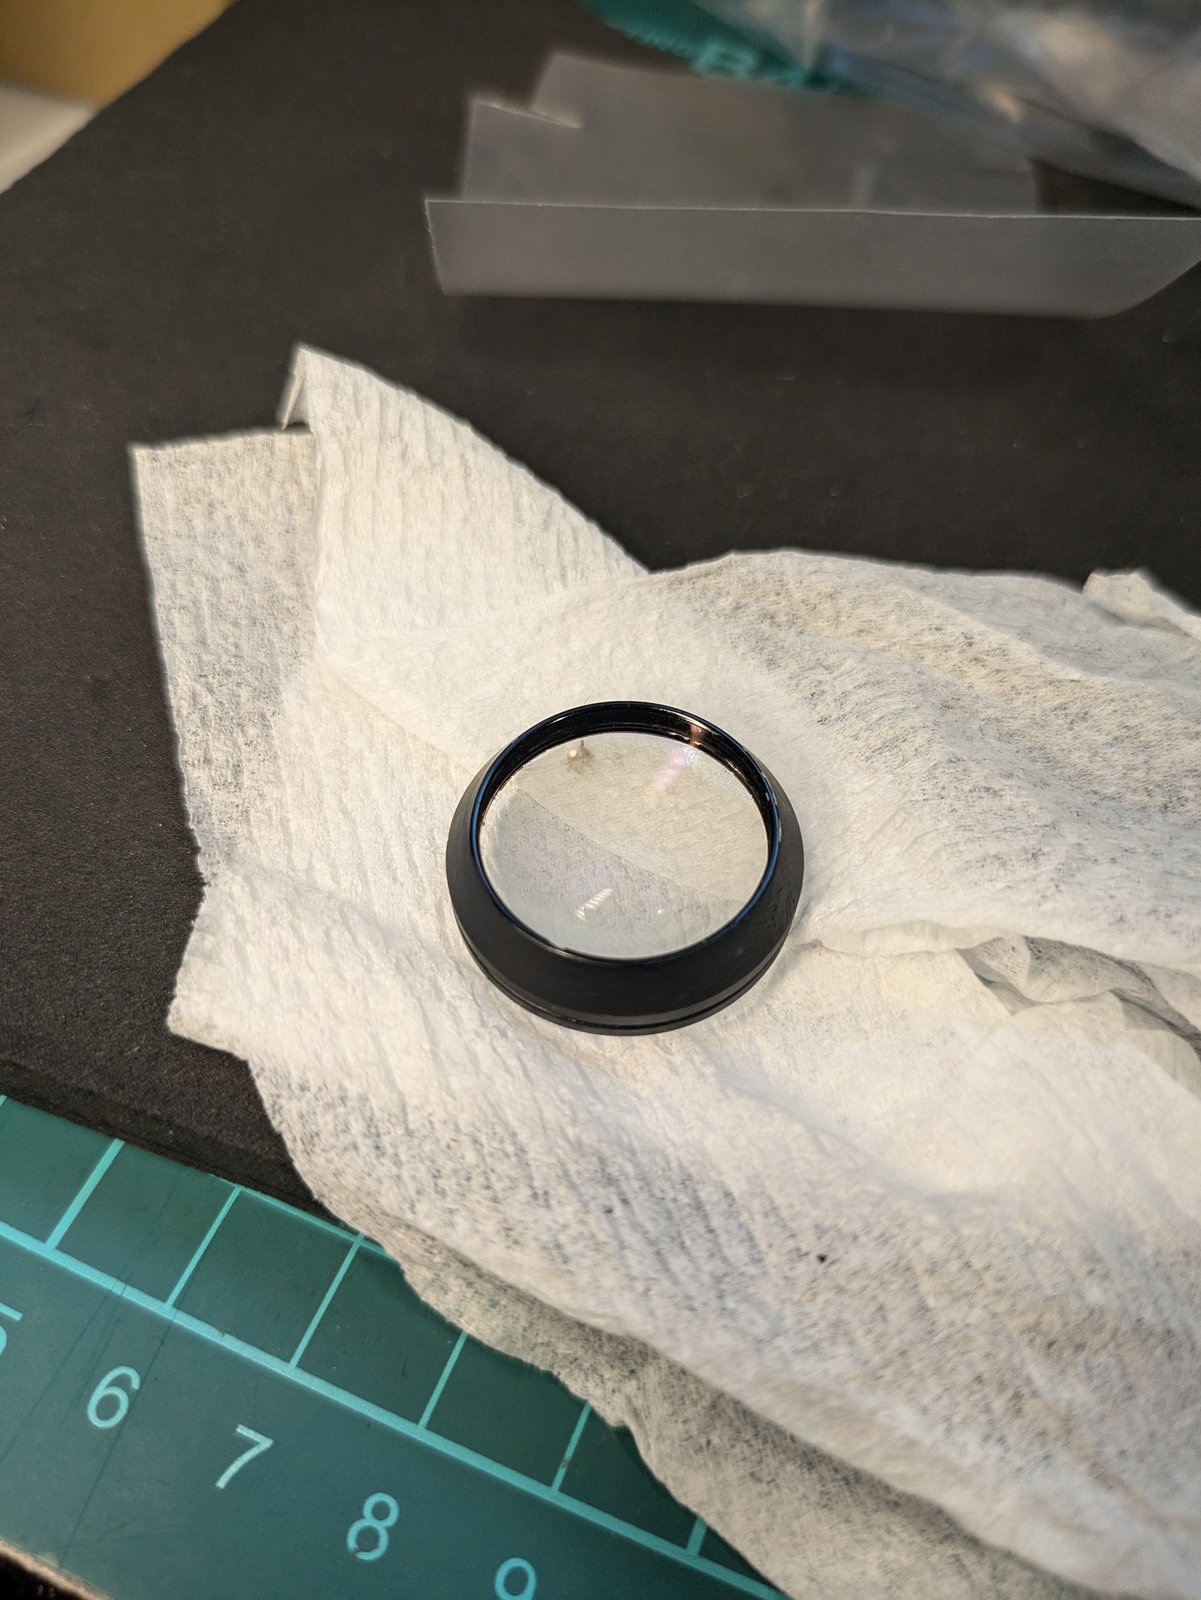
After cementing, I painted the edge of the element black. This is called edge blackening.
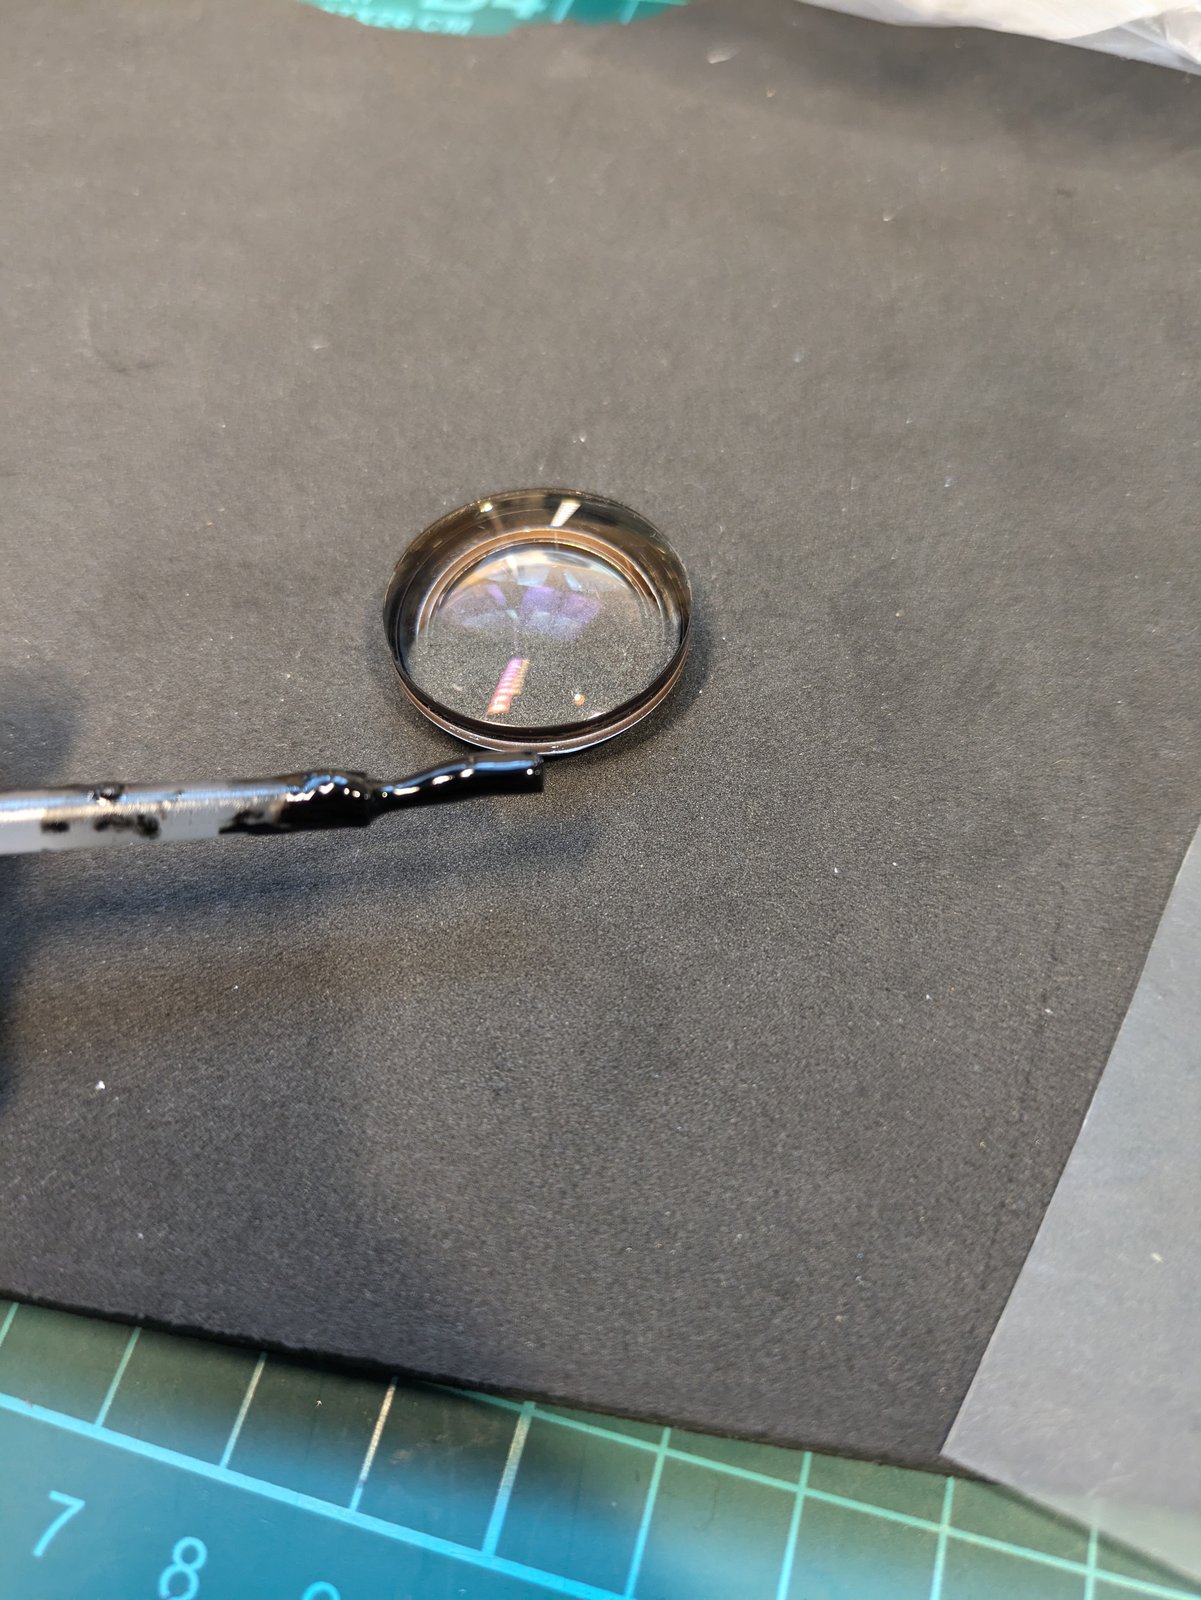
With the separation gone and the edge blackened, the glass is now very clear.
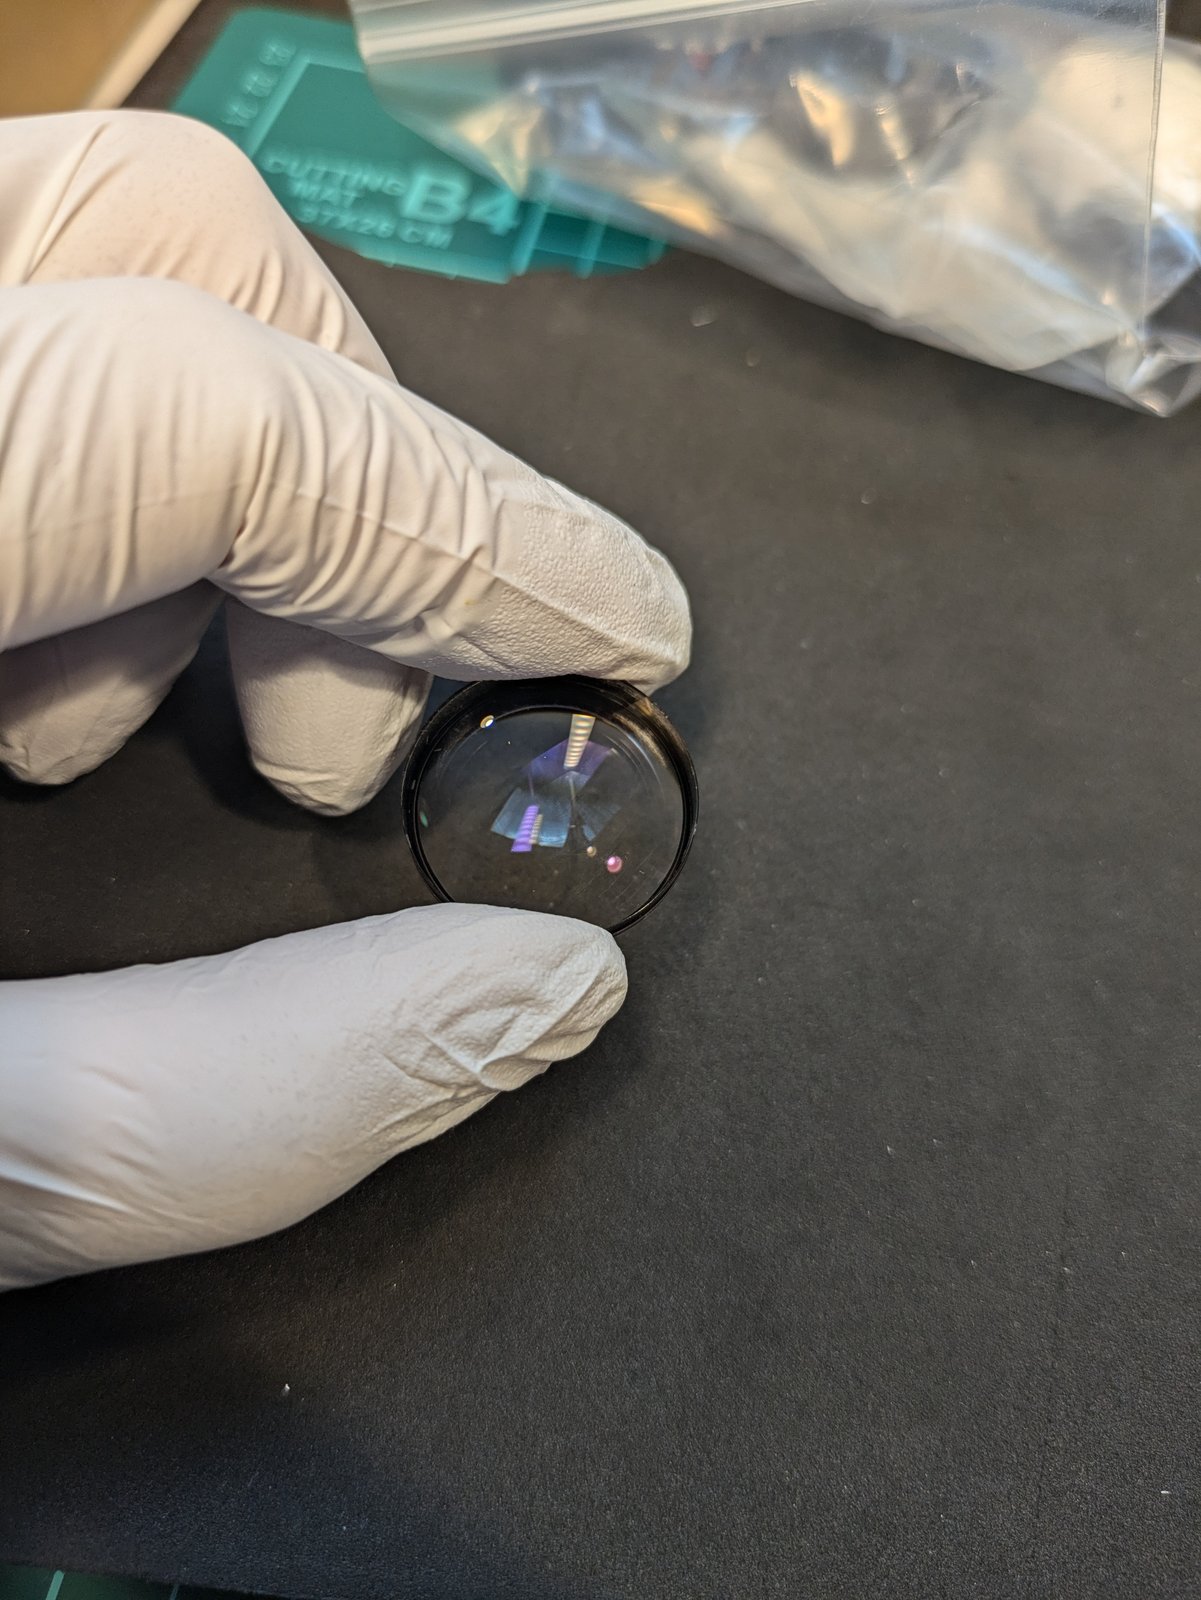
Finally, the lens went back together in reverse order.
Balsam separation looks serious, but on many lenses it can be repaired by re-cementing the pair.
Thank you very much for reading.
Follow azuleterno on Instagram
I run azuleterno, a shop in Japan that sends good-quality used Japanese cameras and lenses to people all over the world. Like the lens in this post, items with minor problems are repaired and put in order before they are sold.
On Instagram I post the lenses and cameras I have just listed. Follow along to see what comes in next.
Questions, or looking for a particular lens or camera? Send me a DM on Instagram. Requests are welcome.
Shop worldwide on eBay
We sell good-quality items from Japan to buyers all around the world, and eBay is where we do it. Our items are listed in our eBay shop with detailed photos and an honest description of their condition, and we ship from Japan to your door.
When you find something you like on Instagram, this is the place to see it in full and buy it.
“For Your Happier Life, For the Future of Our Earth.” Giving well-made cameras a longer life is our small way of caring for the planet.
日本語
このコンタックス カールツァイス プラナー T* 50mm F1.7 は、C/Yマウントの後期型(MMJ)です。バルサム切れがあったので、2024年7月に修理しました。
レンズの中には、2枚のガラスを透明な光学用の接着剤(バルサム)で貼り合わせたものがあります。年月がたつと、この接着が剥がれてくることがあります。そうなると、ガラスの中に曇りや縁の白っぽさ、模様が見えたり、写真のコントラストが落ちたりします。原因は2枚のガラスの間にあるので、表面を拭いても直りません。直すには、貼り合わせを剥がし、古い接着剤を落として、貼り直します。
写真を撮った順に、作業の流れを紹介します。
1. レンズの群を取り出す
まず、鏡筒からレンズの群を1つ取り出しました。表と裏から撮っています。
群の前側からレンズが1枚外れます。群を光に透かすと、バルサム切れが見えます。ガラス全体に広がる、細かいザラッとした曇りです。
2. 押さえリングと次のレンズ
群の中の次のレンズは、細い押さえリングで留まっています。リングを外すと、レンズが枠から出てきます。
3. 貼り合わせレンズを取り出す
貼り合わせレンズは、枠の縁をかしめて留めてありました。手袋をして、カッターの刃でかしめを慎重に起こし、取り出しました。2枚目の写真では、縁に2枚のガラスの合わせ目の細い線が見えます。
部品が混ざらないように、「後1」「後2」と書いた小袋に分けて入れました。
4. 2枚に剥がす
剥がすのには熱を使いました。貼り合わせレンズをラップで巻き、鍋のお湯でコトコト煮ました。熱で古いバルサムがゆるみ、2枚が剥がれました。写真には、使ったラップと濡れたペーパータオルが写っています。片方は縁が黒くなっています。
5. 清掃
新しいバルサムを付ける前に、古いバルサムを完全に落とす必要があります。古いバルサムは、2枚とも無水エタノールで落としました。ここからはガラスを手袋で扱いました。
6. バルサムで貼り直す
新しい接着剤には、キシロールバルサムを使いました。1枚を置いてバルサムを1〜2滴垂らし、もう1枚をポンと載せます。上から押さえて、空気をしっかり抜きました。
2枚の芯を合わせるため、ノギスのあごに挟んで縁をそろえました。ティッシュで包んで強めのバネ式クランプで挟み、余裕をみて1週間ほど置いて固めました。
7. コバ塗り
貼り合わせたあと、レンズの縁(コバ)を黒く塗りました。これをコバ塗りといいます。
バルサム切れがなくなり、コバも塗ったので、レンズはとてもクリアになりました。
最後に、逆の順番で組み立てました。
バルサム切れは見た目が深刻ですが、多くのレンズでは貼り直しで修理できます。
最後まで読んでいただき、ありがとうございました。
InstagramでazuleternoをFollowしてください
日本の良質な中古カメラ・レンズを、世界中の方へお届けしているショップ azuleterno を運営しています。今回のレンズのように、小さな不具合のある品は修理・整備してから販売しています。
Instagramでは、新しく出品したレンズやカメラを紹介しています。フォローしていただくと、次に入ってくる品が見られます。
ご質問や、お探しのレンズ・カメラがあれば、InstagramのDMでお気軽にどうぞ。
モットーは “For Your Happier Life, For the Future of Our Earth.”(あなたのより幸せな暮らしと、地球の未来のために)。良いカメラを長く使い続けてもらうことが、地球を大切にする私たちなりの方法です。

コメント