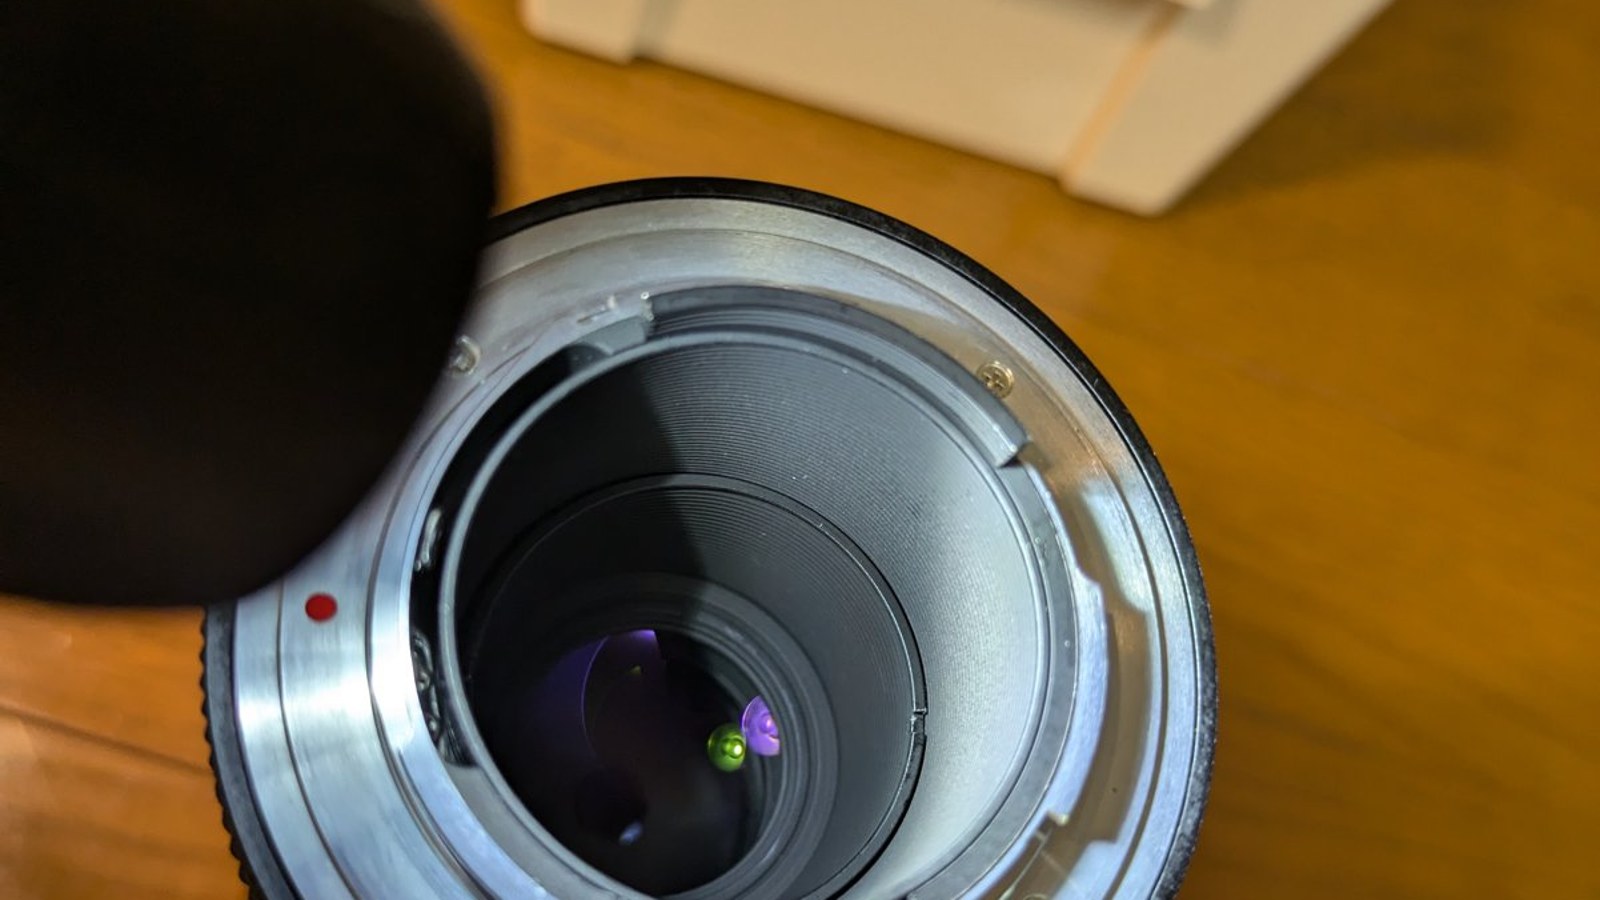
This CONTAX Carl Zeiss Tele-Tessar T* 300mm f/4 is a long telephoto lens for the C/Y mount. It weighs about 1.3 kg and takes 82 mm filters. I serviced it in September 2024. This post walks through the disassembly and cleaning, step by step.
When I bought it, the seller wrote that there was fungus on the middle elements, “not enough to affect pictures”. In the seller’s photos, though, looking in from the front, a large petal-shaped patch of fungus was clearly visible in the centre of the lens (the seller described it as being on the middle elements). Fungus does not go away by itself, and it is better removed before it spreads or marks the coating. So the goal of this job was to get to the middle group and clean it.
Here is how the job went.
1. Taking out the front group
To reach the aperture and the middle group, the front group comes out first. On this lens the whole front group comes out of the barrel in one piece, at a threaded joint. You can see its silver ring and black thread as it comes out.
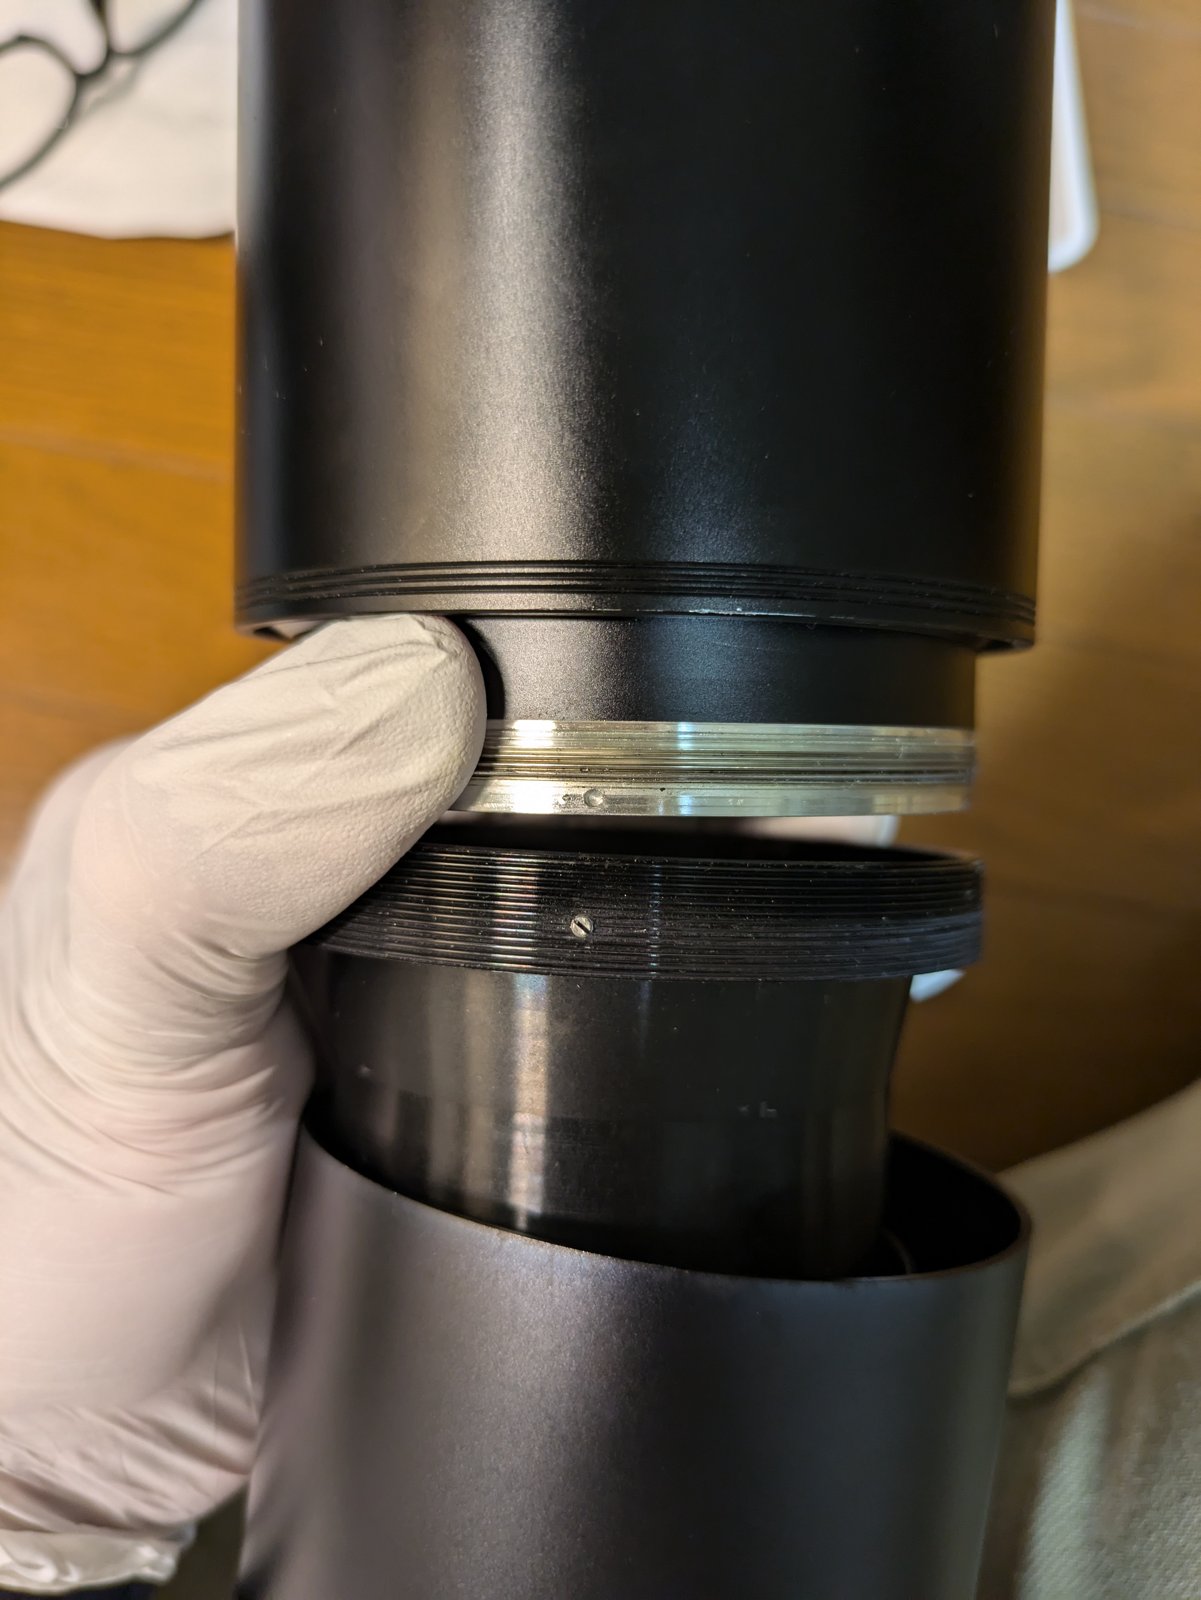
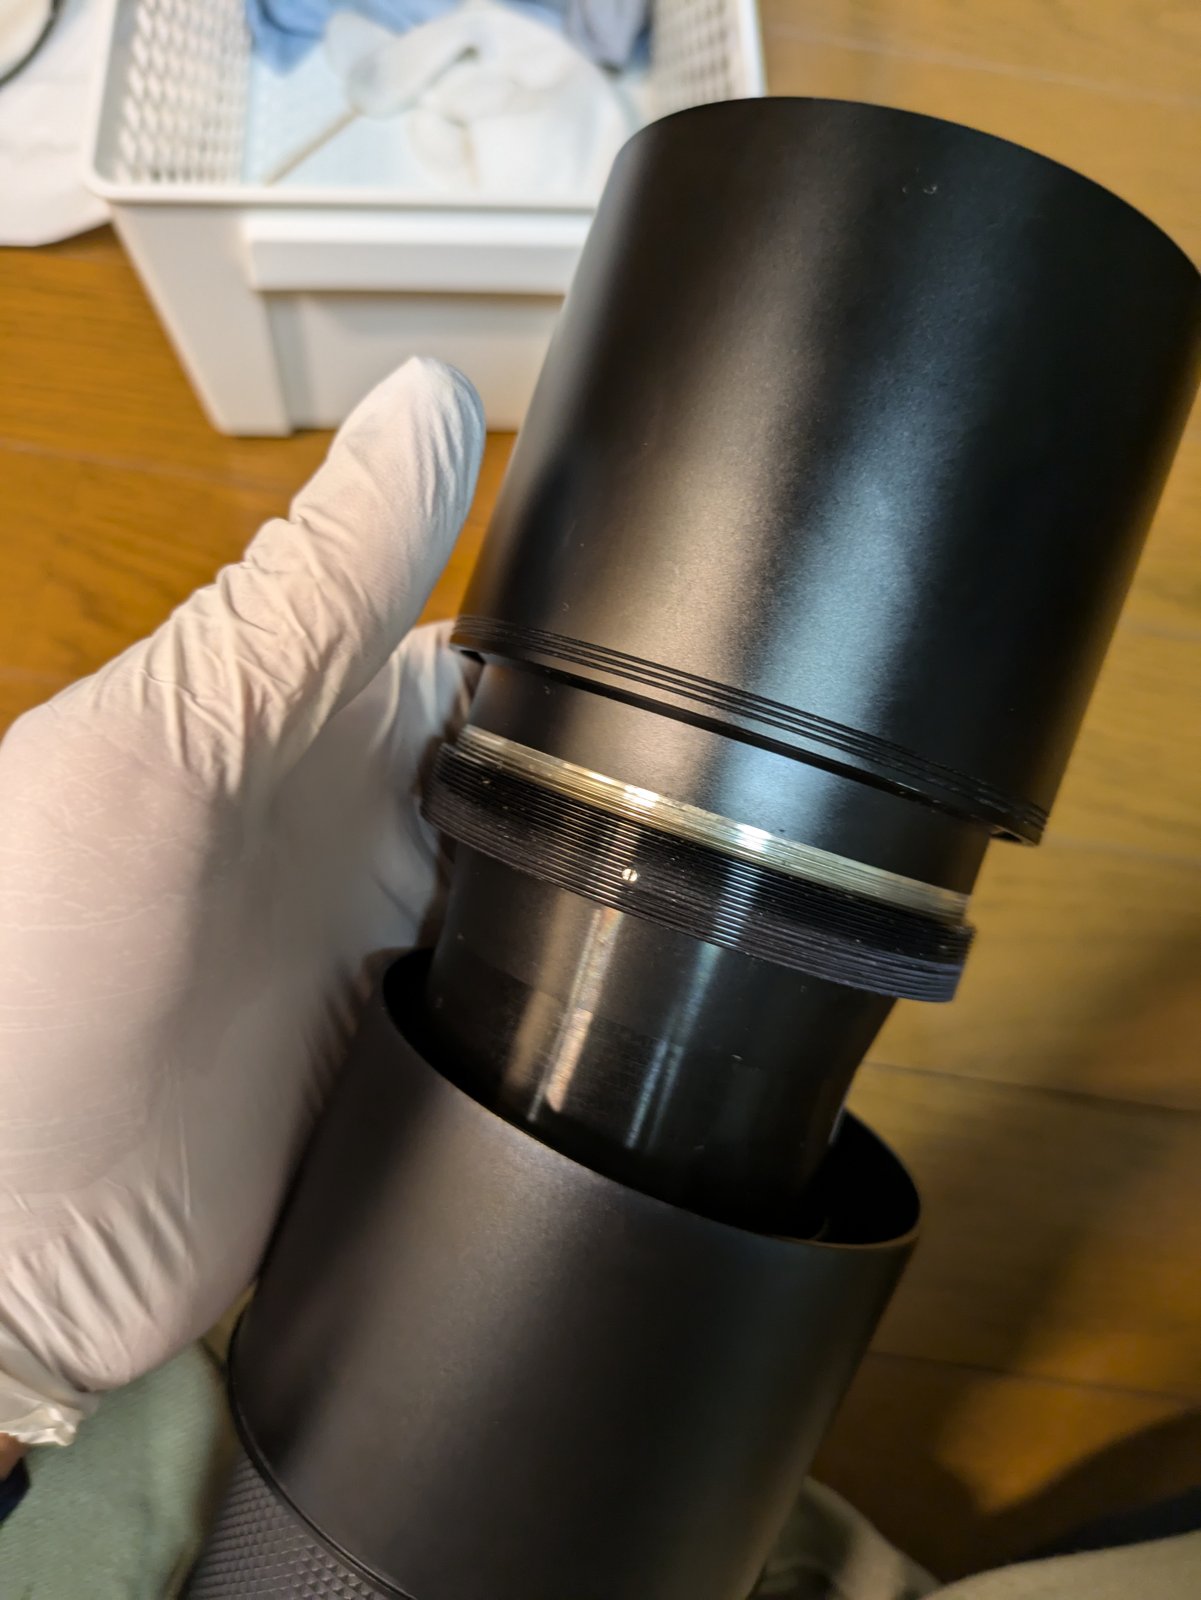
Inside the front group, the front elements (around the first and second elements) are loosened with a fine screwdriver.
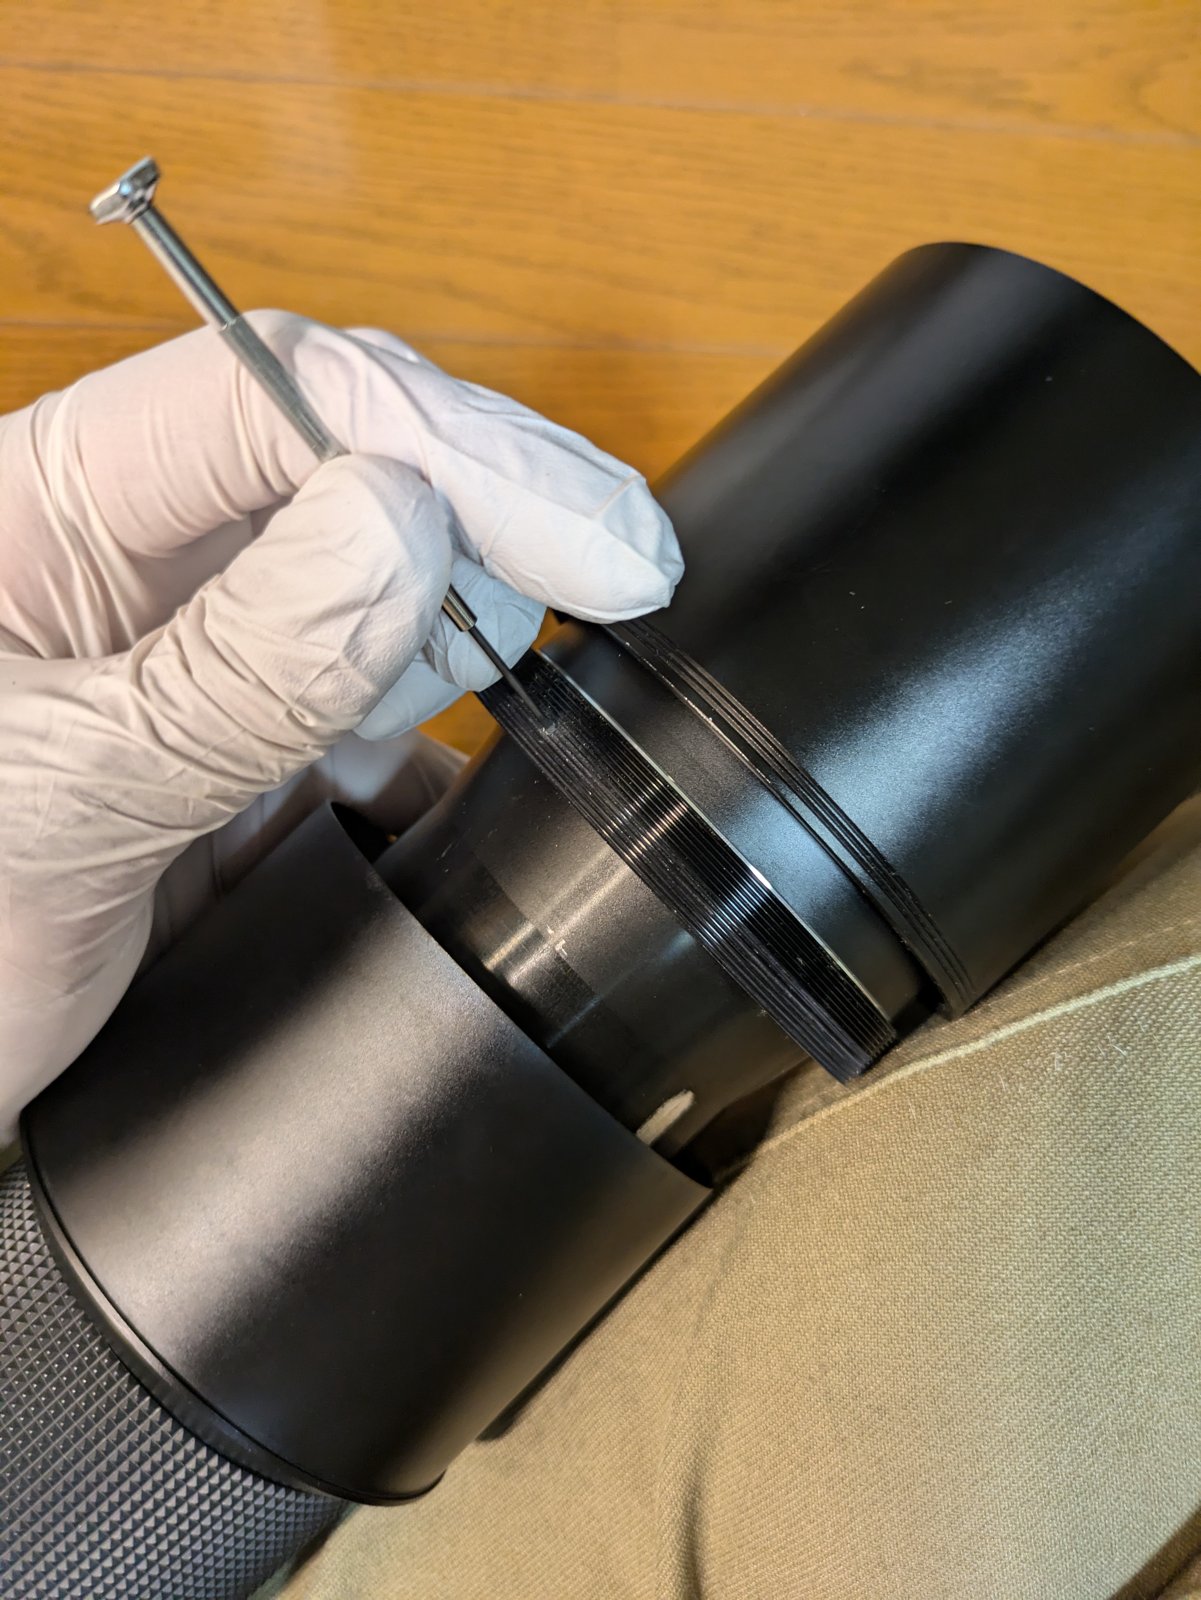
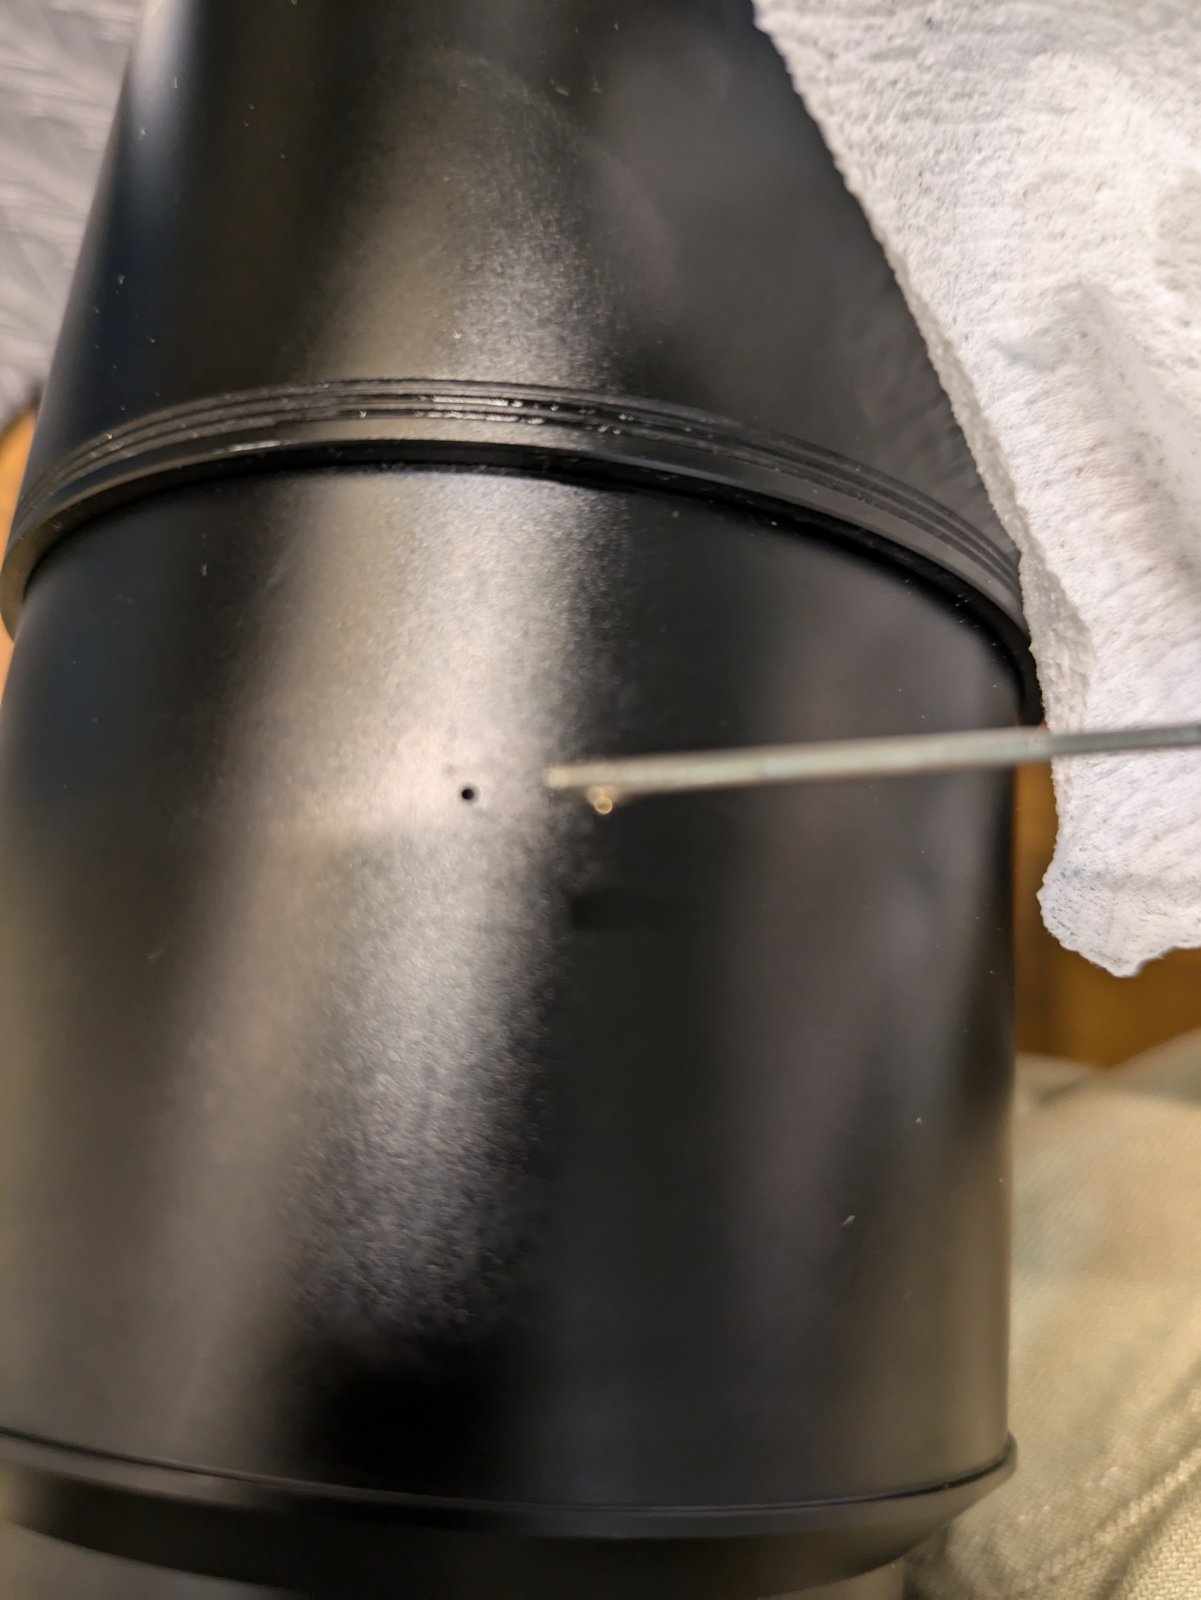
There is also a small screw hole on the outside of the barrel, shown here with the tip of a needle. A screw comes out from here.
2. Wiping oil off the aperture blades
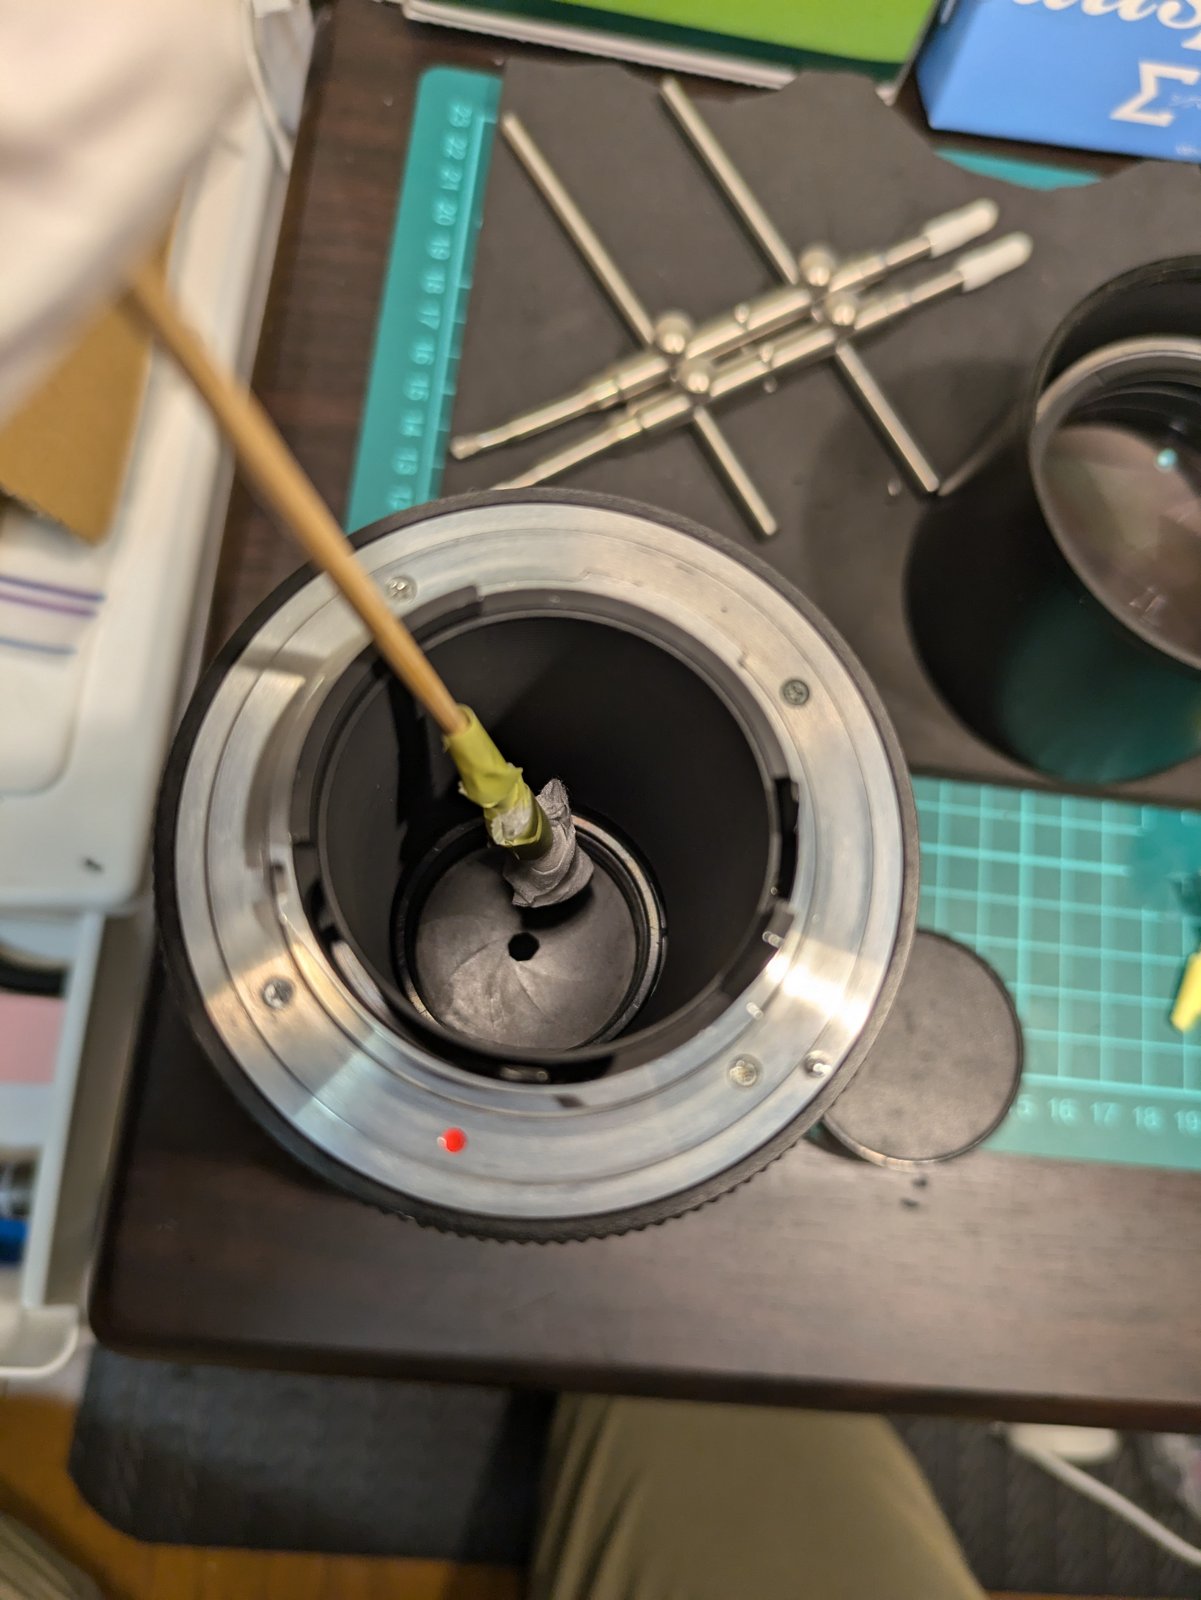
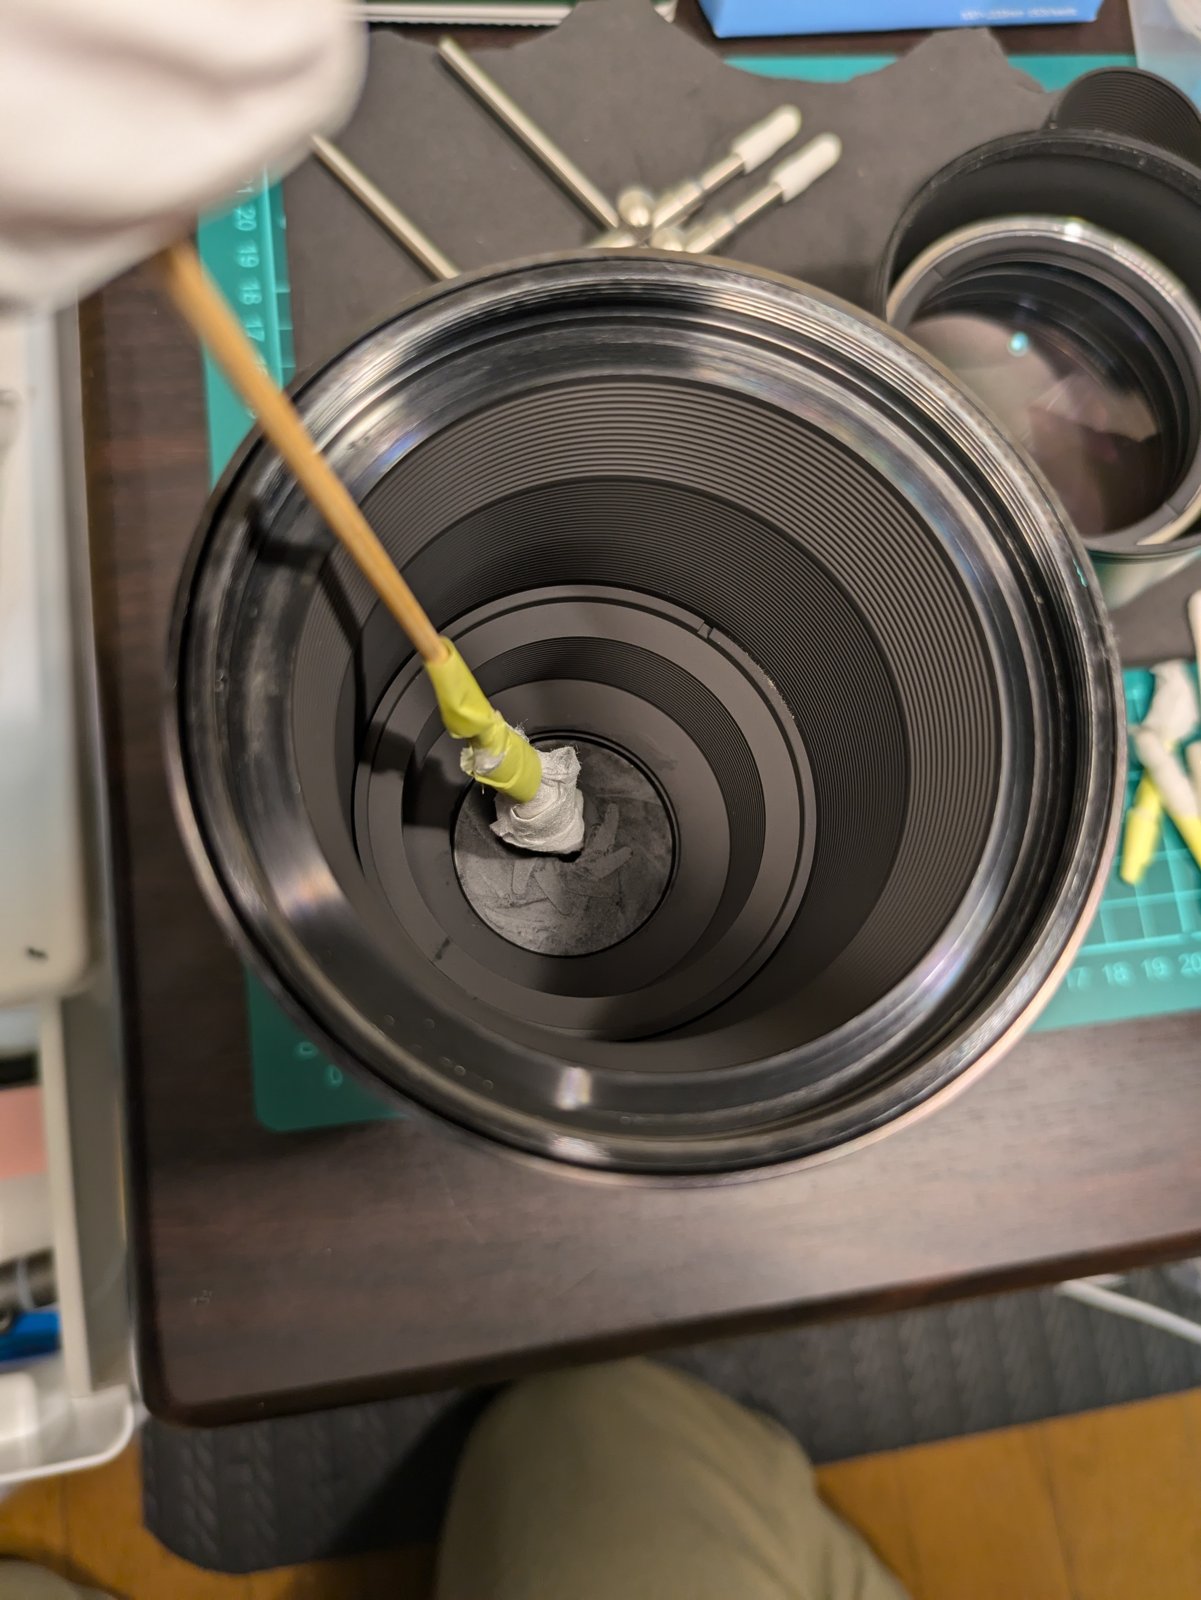
With the groups out, the aperture at the bottom of the barrel can be reached. There was oil on the aperture blades, so I wiped it off from the mount side and from the front, using a long stick with lens tissue wrapped around the tip. Oil on the blades can make them sticky and slow, so it is best removed. In the first photo one of the removed groups sits on the right.
3. Checking the middle group against the light
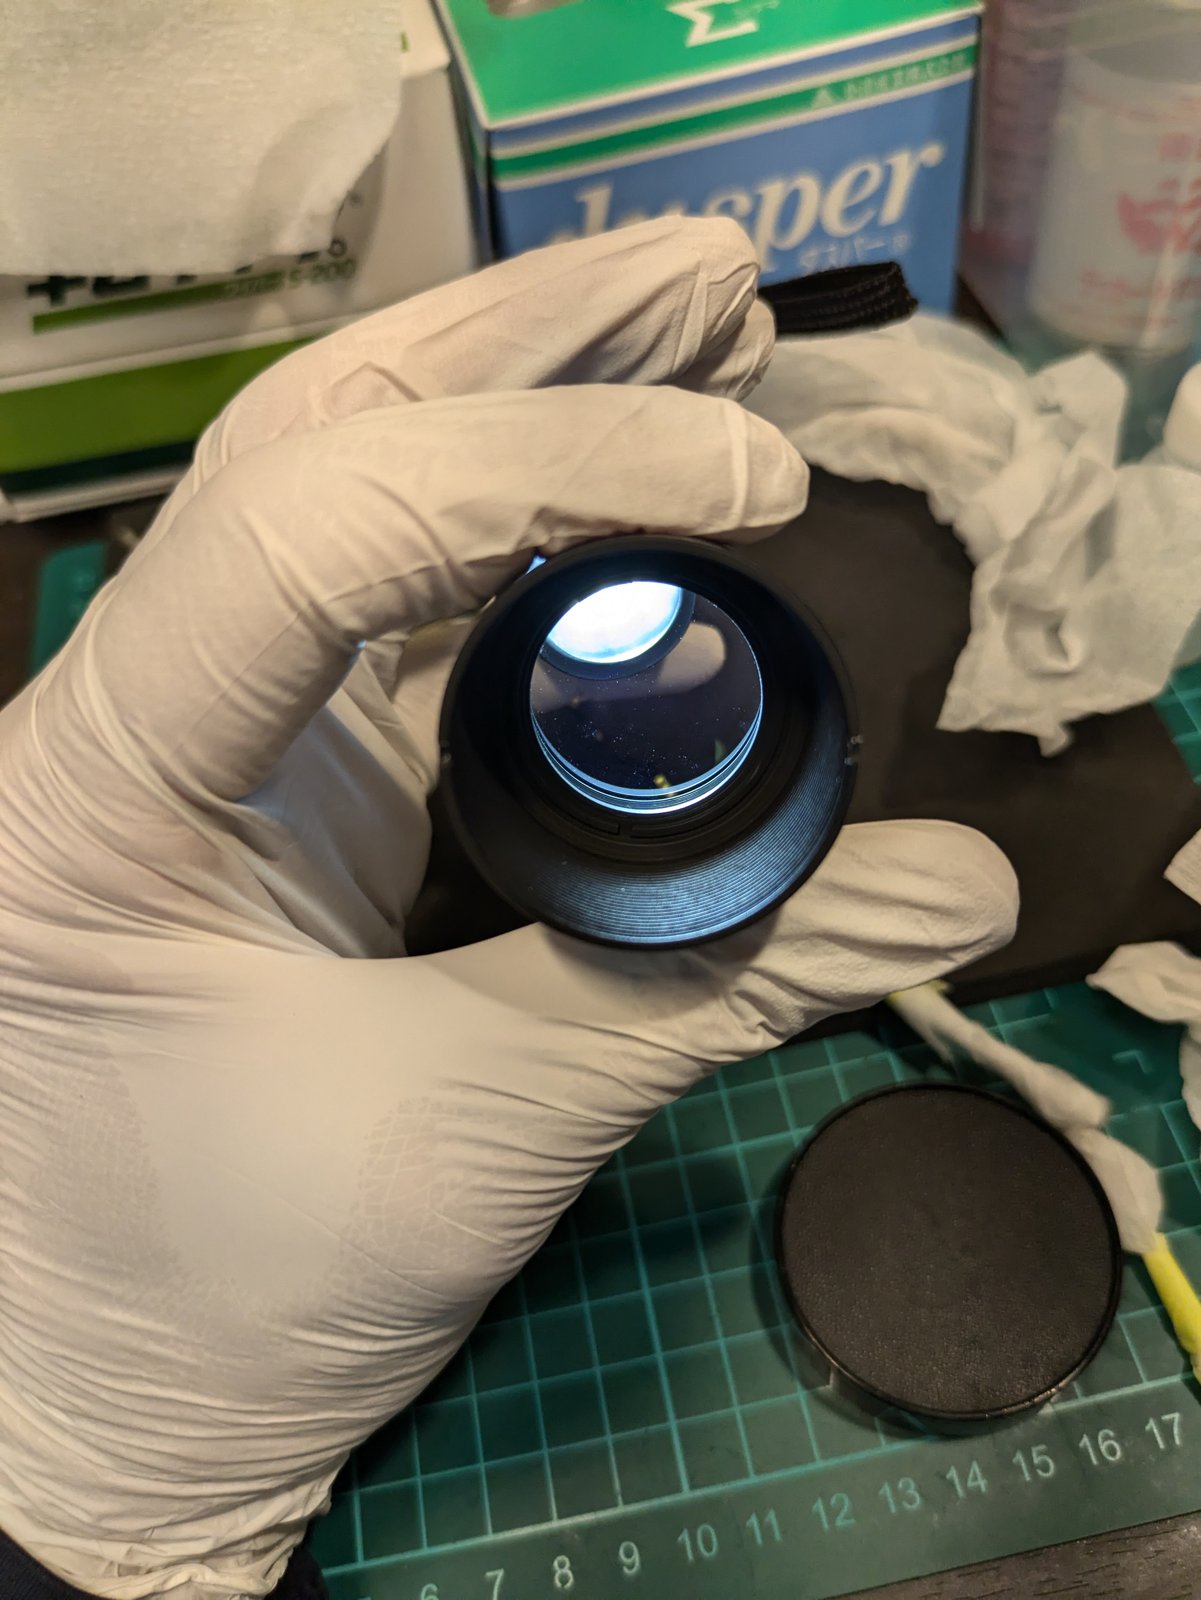
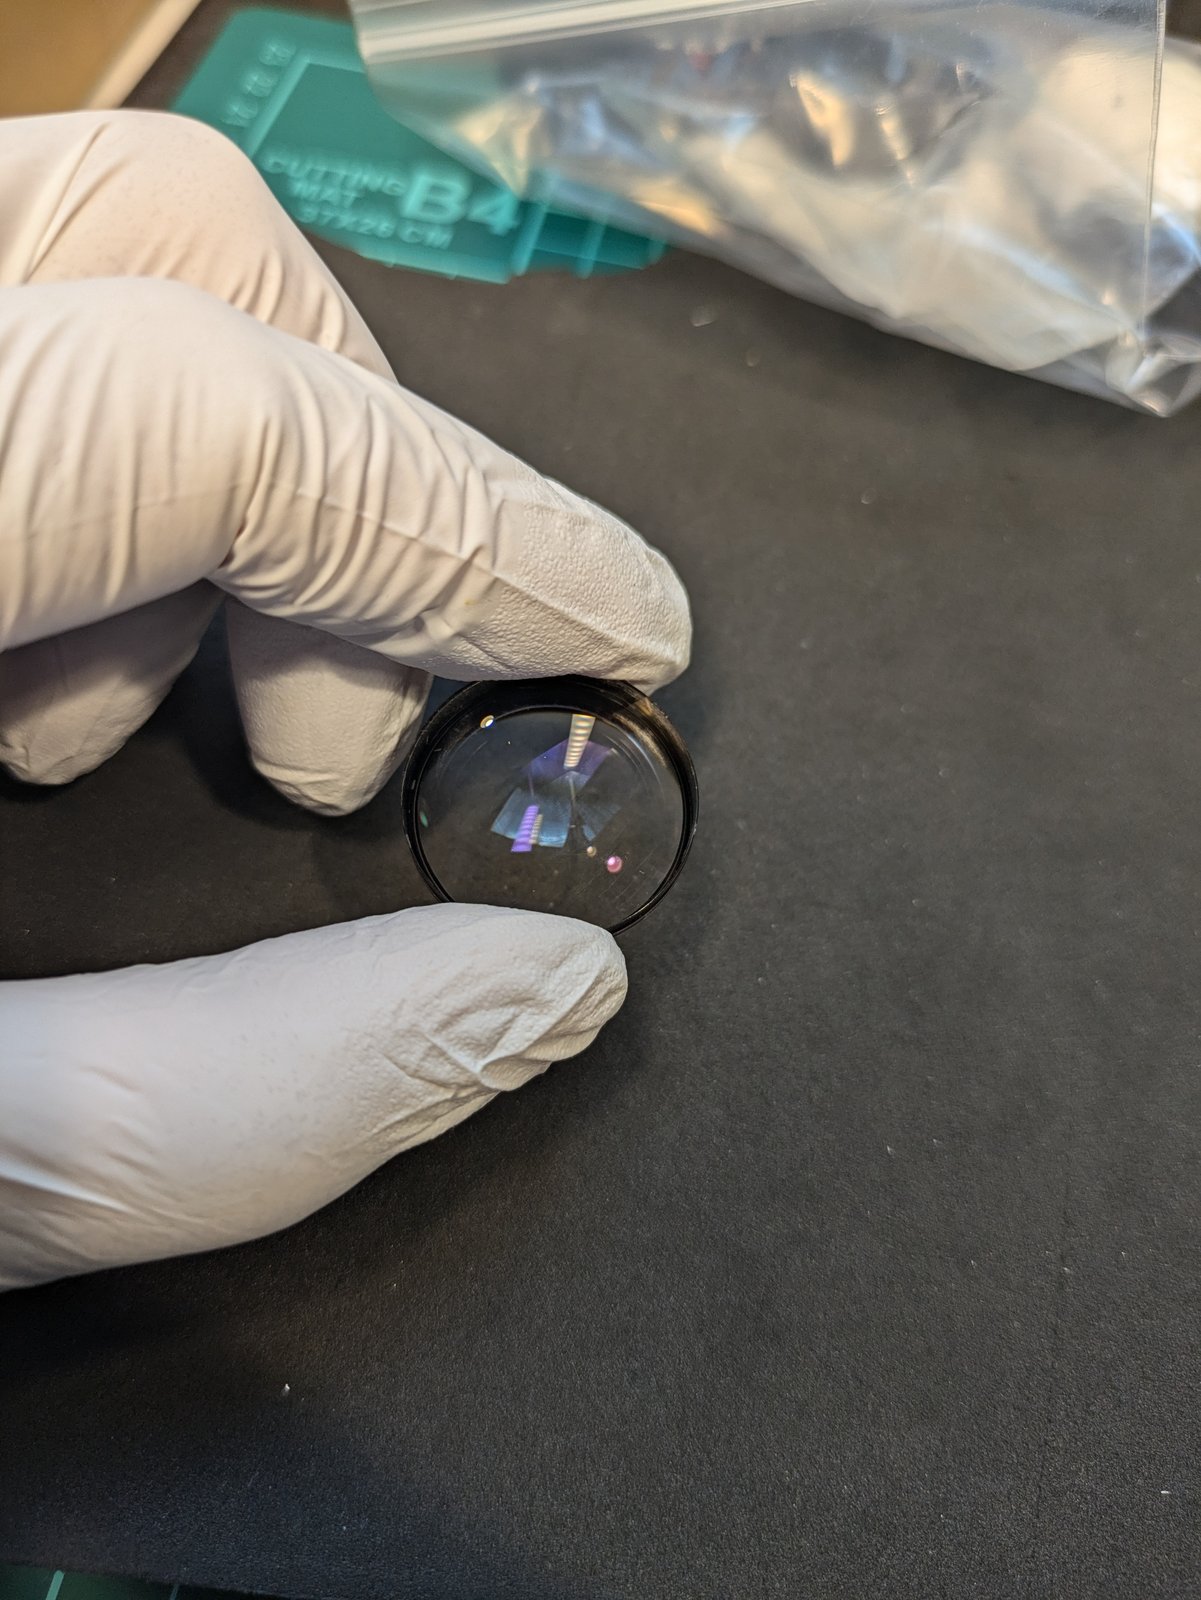
Next I held the middle group, where the fungus was, up to the light and looked through it from two angles. Light shows things on the glass that are hard to see otherwise, such as fungus, haze or dust.
After cleaning, the fungus was gone, and the glass looked clear against the light.
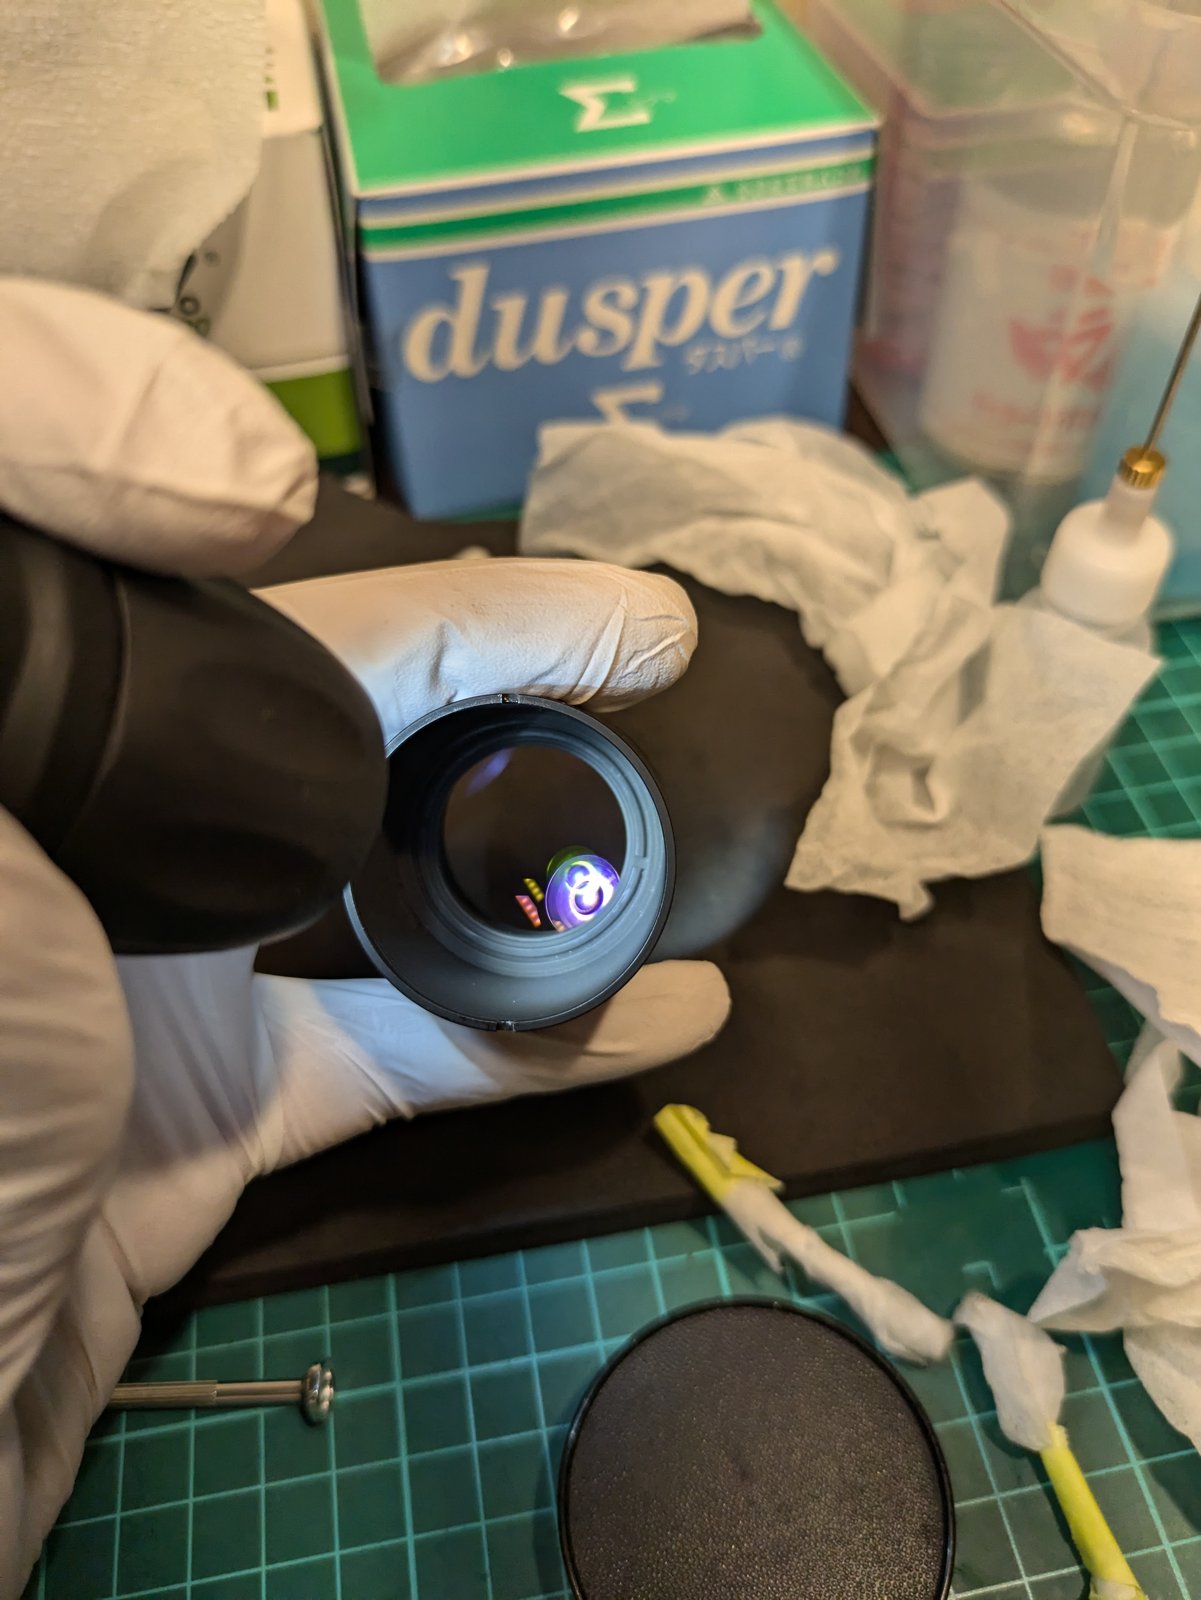
4. From the rear
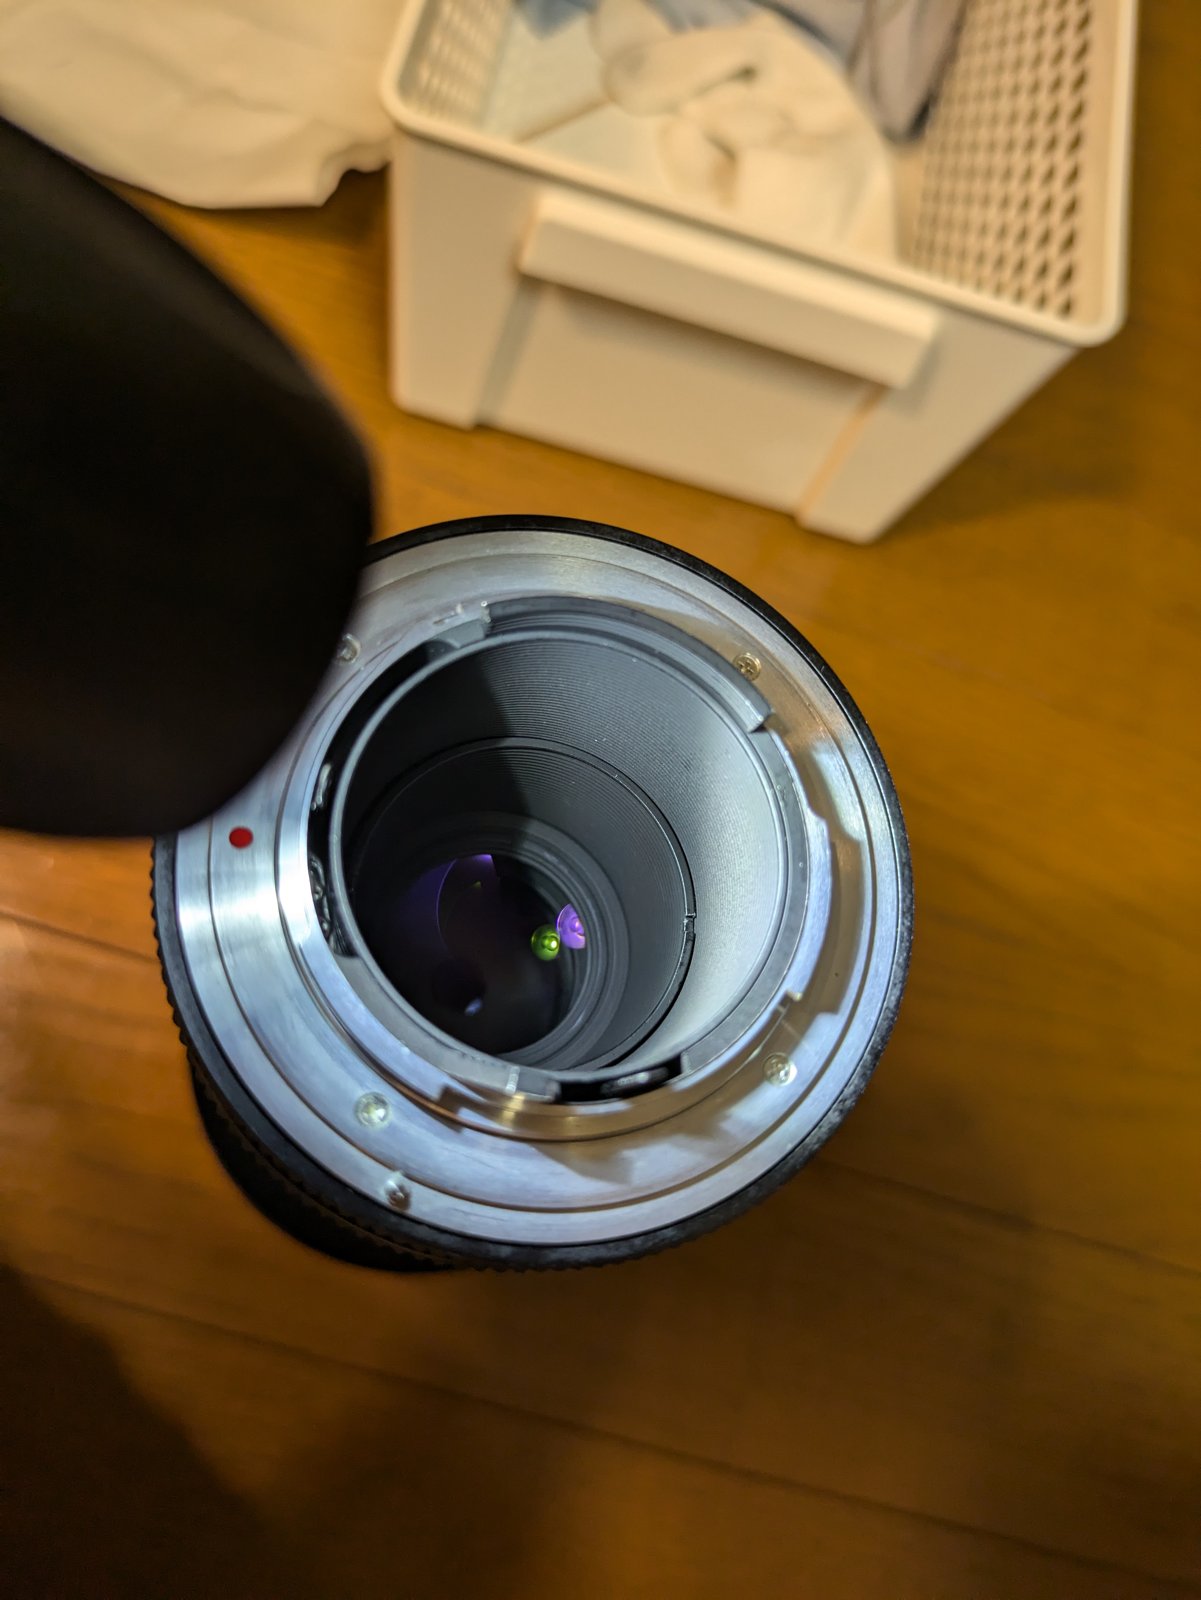
This is the view from the mount side.
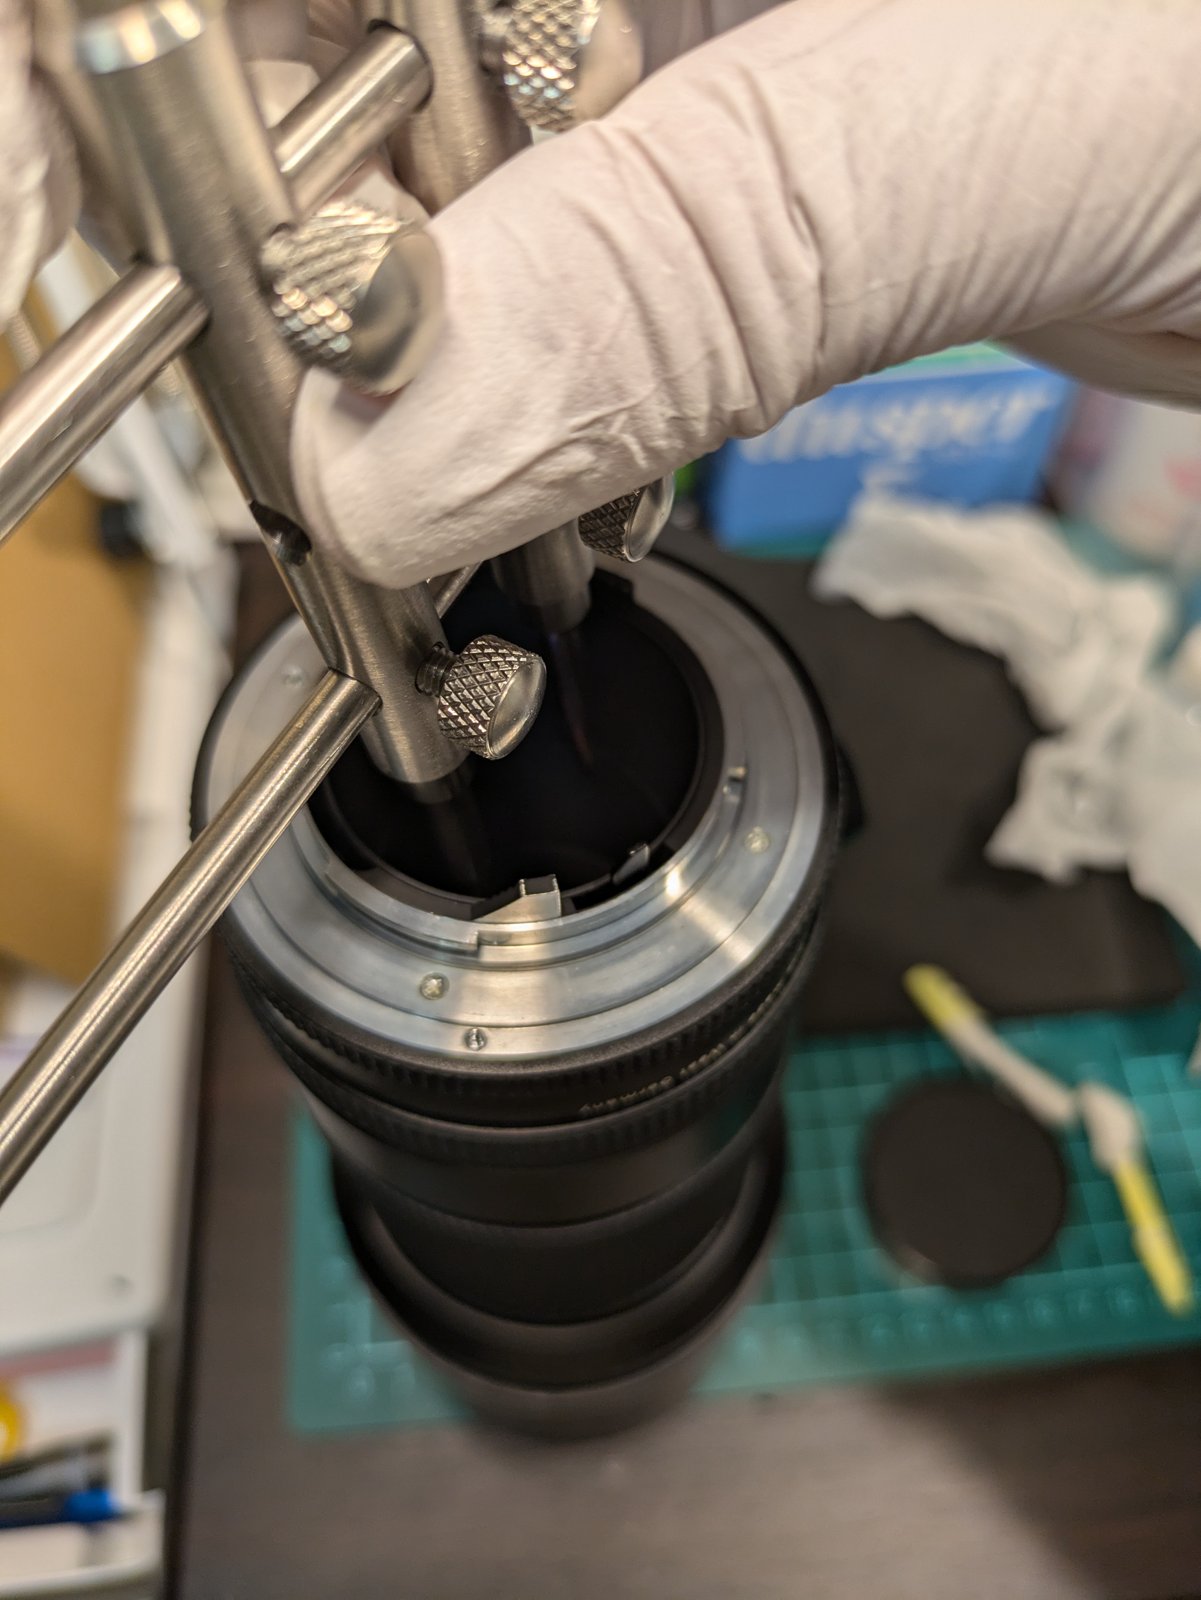
Then I opened the ring inside the rear of the lens with a lens spanner.
5. Back together
The front group went back into the barrel.
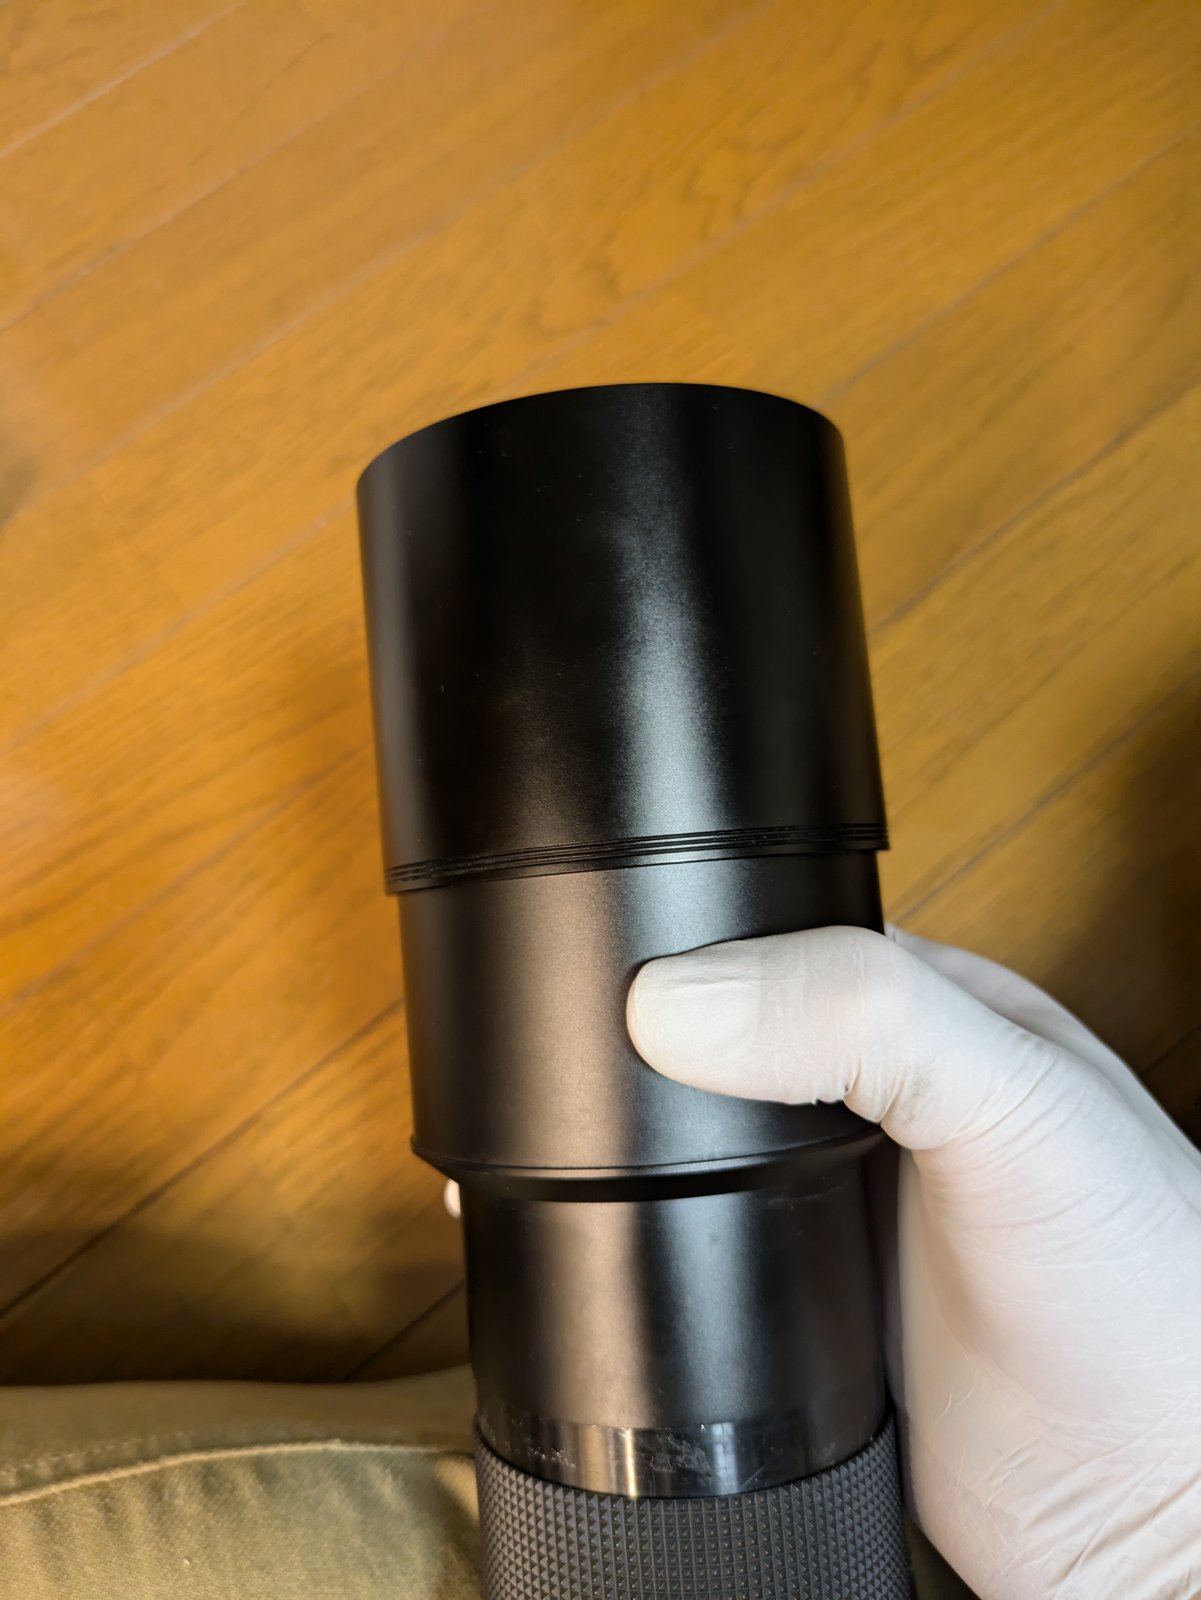
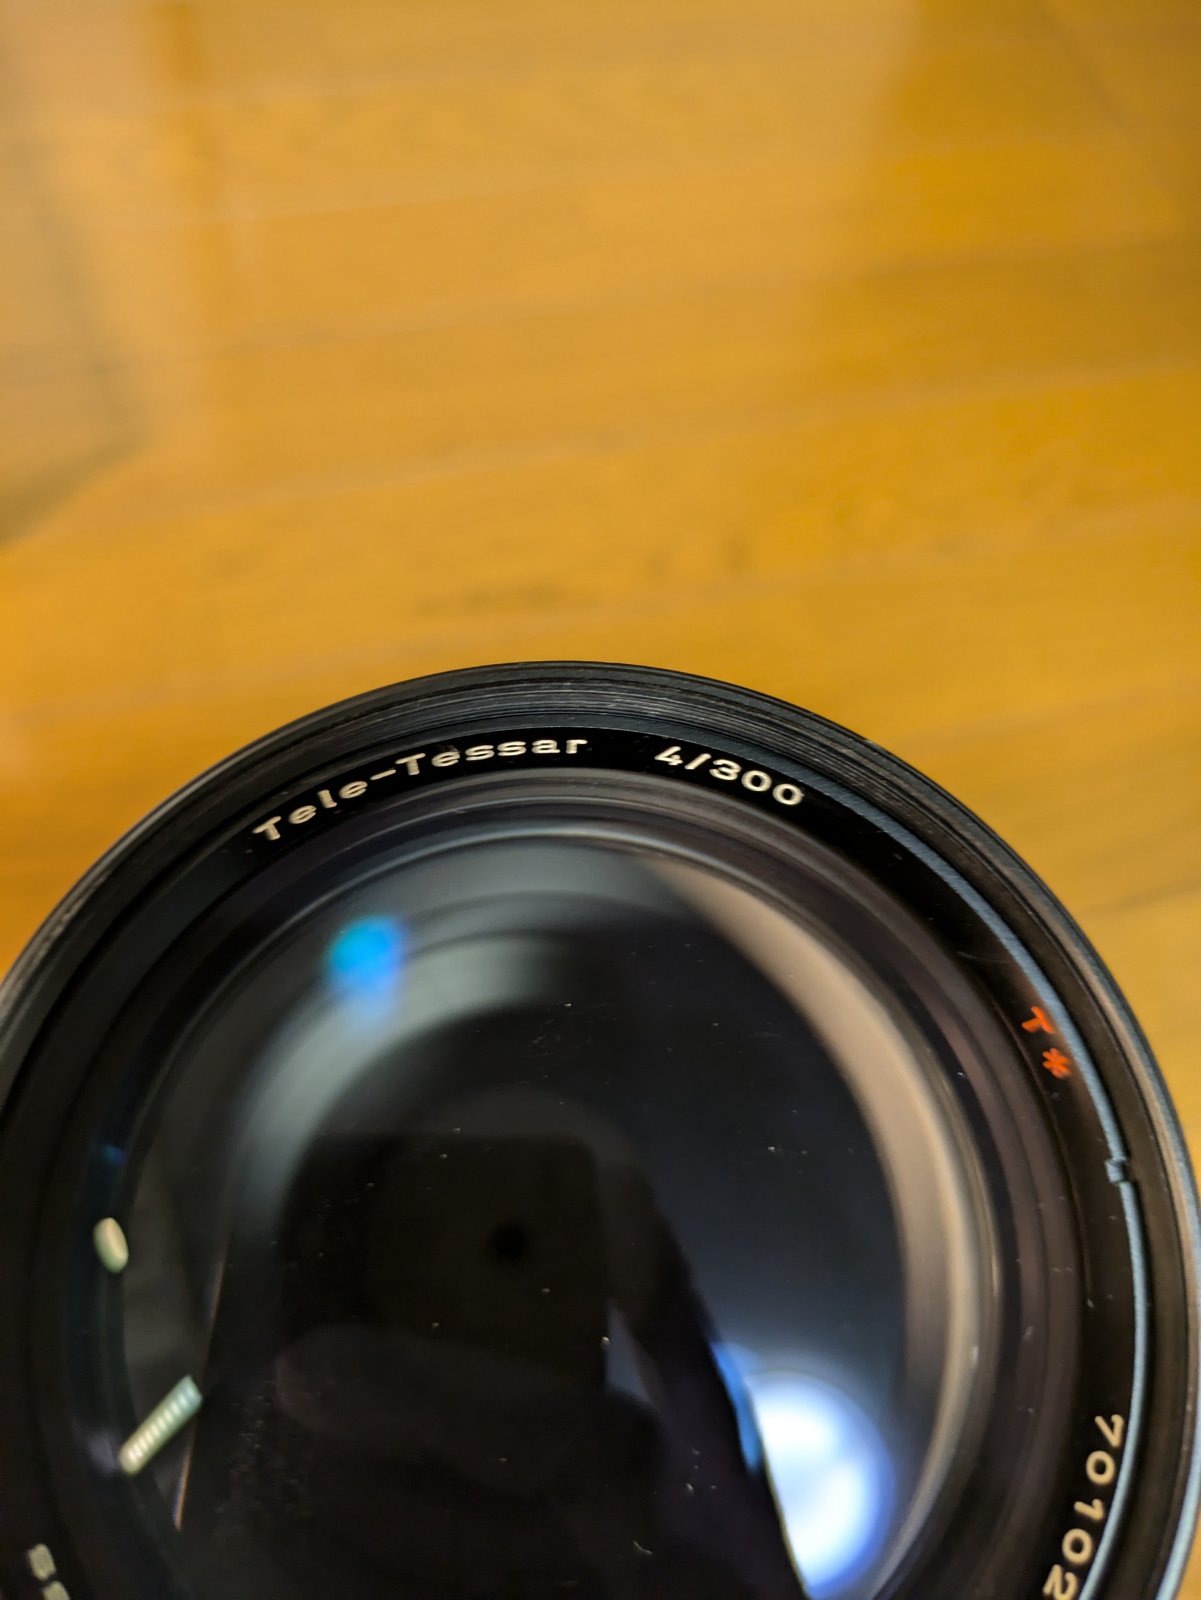
And here is the front of the finished lens, with the Tele-Tessar 4/300 and T* markings.
After this service, I listed the lens as CLA’d (cleaned, lubricated and adjusted) in Mint condition, and it was sold.
A seller’s note like “fungus, but it does not affect pictures” is common on old lenses. On many lenses the groups can be taken out and cleaned.
Thank you very much for reading.
Follow azuleterno on Instagram
I run azuleterno, a shop in Japan that sends good-quality used Japanese cameras and lenses to people all over the world. Like the lens in this post, items with minor problems are repaired and put in order before they are sold.
On Instagram I post the lenses and cameras I have just listed. Follow along to see what comes in next.
Questions, or looking for a particular lens or camera? Send me a DM on Instagram. Requests are welcome.
Shop worldwide on eBay
We sell good-quality items from Japan to buyers all around the world, and eBay is where we do it. Our items are listed in our eBay shop with detailed photos and an honest description of their condition, and we ship from Japan to your door.
When you find something you like on Instagram, this is the place to see it in full and buy it.
“For Your Happier Life, For the Future of Our Earth.” Giving well-made cameras a longer life is our small way of caring for the planet.
日本語
このコンタックス カールツァイス テレテッサー T* 300mm F4 は、C/Yマウントの望遠レンズです。重さは約1.3kg、フィルター径は82mmです。2024年9月に整備しました。
仕入れたとき、出品者の説明には「中玉にカビがあります。撮影に影響はない程度です。」とありました。ただ、出品者の写真では、前からのぞくとレンズの中央に花びらのような大きなカビの影がはっきり見えていました(出品者の説明では中玉)。カビは自然には消えず、広がったりコーティングに跡を残したりする前に取っておきたいものです。そこで今回は、中玉(中間のレンズ群)まで開けて掃除することが目的でした。
作業の流れを紹介します。
1. 前玉群を抜く
絞りと中玉に届くよう、まず前玉群を抜きます。このレンズは、前玉群がネジのところからごっそり抜けます。抜けてくるところに、銀色のリングと黒いネジが見えます。
前玉群の中では、前玉(1枚目か2枚目のあたり)を細いドライバーで緩めます。
鏡筒の外側には小さなネジ穴があります(写真では針の先で指しています)。ここからネジが外れます。
2. 絞り羽根の油染みを拭き取る
群を外すと、筒の奥にある絞りに手が届きます。絞り羽根に油染みがあったので、レンズ拭き紙を巻いた長い棒で、マウント側と前側から拭き取りました。羽根に油が付くと動きが重くなることがあるので、取っておきます。1枚目の写真では、右側に外したレンズの群が置いてあります。
3. 中玉を光に透かして点検
次に、カビのあった中玉を光に透かして、2つの角度からのぞきました。光に透かすと、カビや曇り、ほこりなど、ふだんは見えにくいものが見えます。
掃除のあと、カビは取れ、光に透かしてもガラスはクリアに見えました。
後ろには、レンズ拭き紙の箱と白い小瓶が写っています。
4. 後ろ側から
マウント側からのぞいた姿です。
そのあと、レンズオープナーで後ろ側の奥にあるリングを開けました。
5. 組み立てて完成
前玉群を鏡筒に戻しました。
最後に、完成したレンズの前側です。Tele-Tessar 4/300 と T* の文字が見えます。
整備のあと、このレンズは「整備済み・ミント」として出品し、売れました。
「カビあり、撮影に影響なし」という説明は、古いレンズによくあります。多くのレンズでは、群を外して掃除することができます。
最後まで読んでいただき、ありがとうございました。
オールドレンズの分解清掃を承ります|Repair Factory Fuji Base
この記事のような分解清掃を、国内のお客さまのレンズでもお受けしています。静岡県富士市の工房で、カビ・くもり・絞りの油染み・バルサム切れの清掃を、1本ずつ作業します。
基本料金2,000円(税込価格2,200円)・返送料込み。料金表とお申し込みは、受付ページをご覧ください。
作業の様子は、Instagram @fujibase_repair でも紹介しています。
InstagramでazuleternoをFollowしてください
日本の良質な中古カメラ・レンズを、世界中の方へお届けしているショップ azuleterno を運営しています。今回のレンズのように、小さな不具合のある品は修理・整備してから販売しています。
Instagramでは、新しく出品したレンズやカメラを紹介しています。フォローしていただくと、次に入ってくる品が見られます。
ご質問や、お探しのレンズ・カメラがあれば、InstagramのDMでお気軽にどうぞ。
モットーは “For Your Happier Life, For the Future of Our Earth.”(あなたのより幸せな暮らしと、地球の未来のために)。良いカメラを長く使い続けてもらうことが、地球を大切にする私たちなりの方法です。
Comments