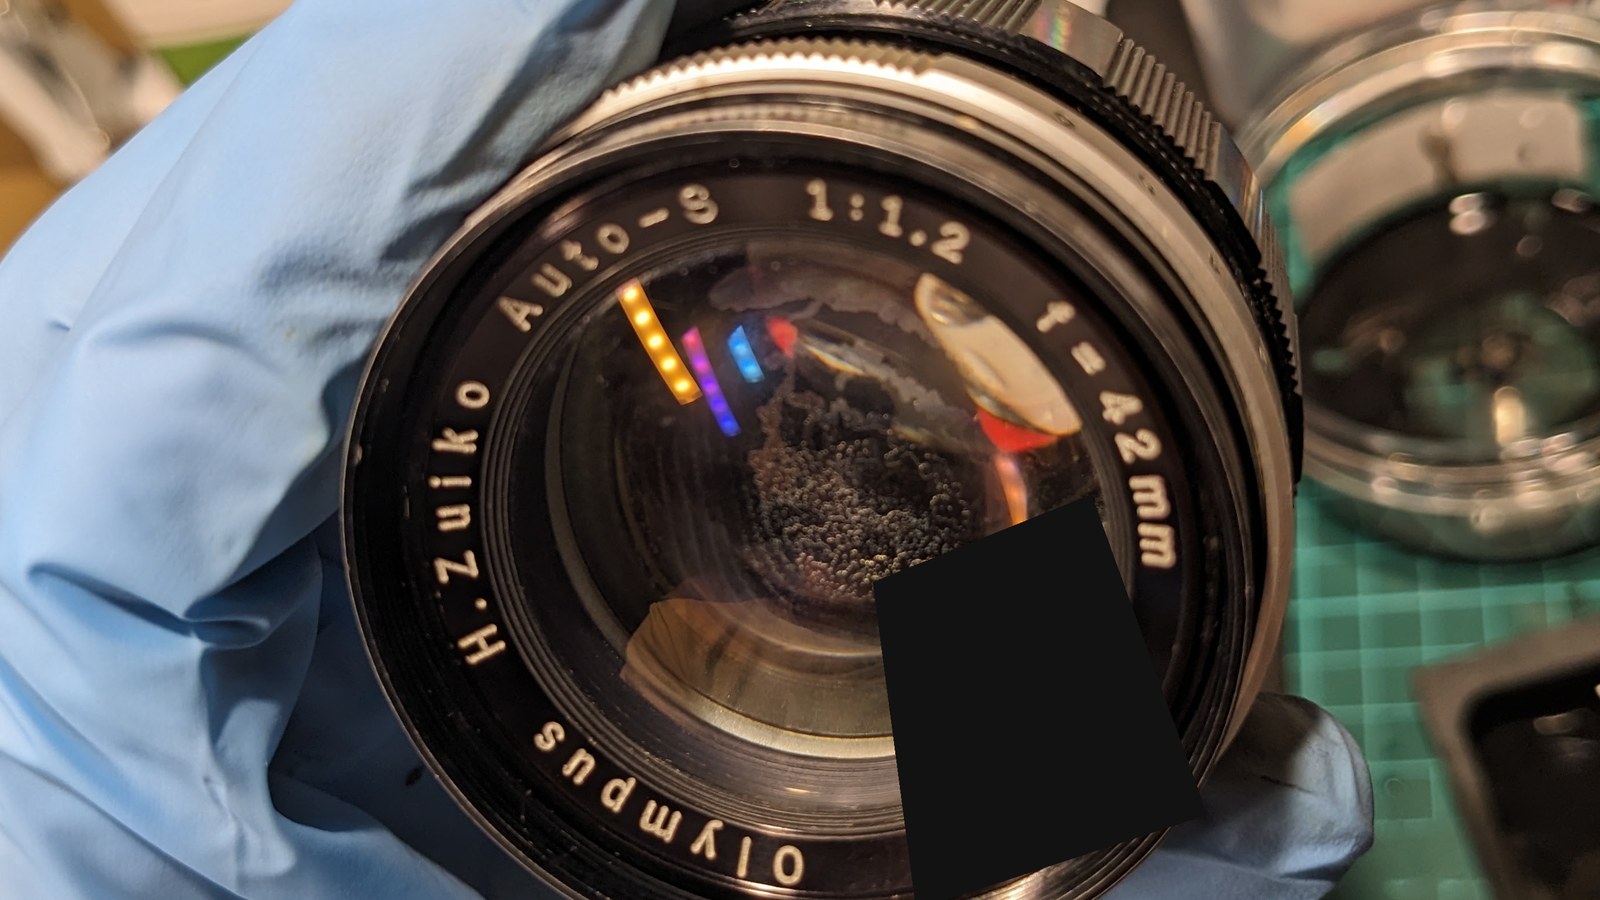
The Olympus H.Zuiko Auto-S 42mm f/1.2 is the fast standard lens made for the Olympus Pen F series of half-frame SLR cameras. This one came to me with heavy balsam separation and a sticky aperture lever, and I worked on it in November 2024. This post walks through the disassembly and repair, step by step.
Some lens elements are made of two pieces of glass glued together with a clear optical cement, often called balsam. With age the cement can start to let go, and you may see haze or frosty patterns inside the glass. Cleaning the outside surfaces will not help, because the problem is between the two glasses.
1. Looking into the lens
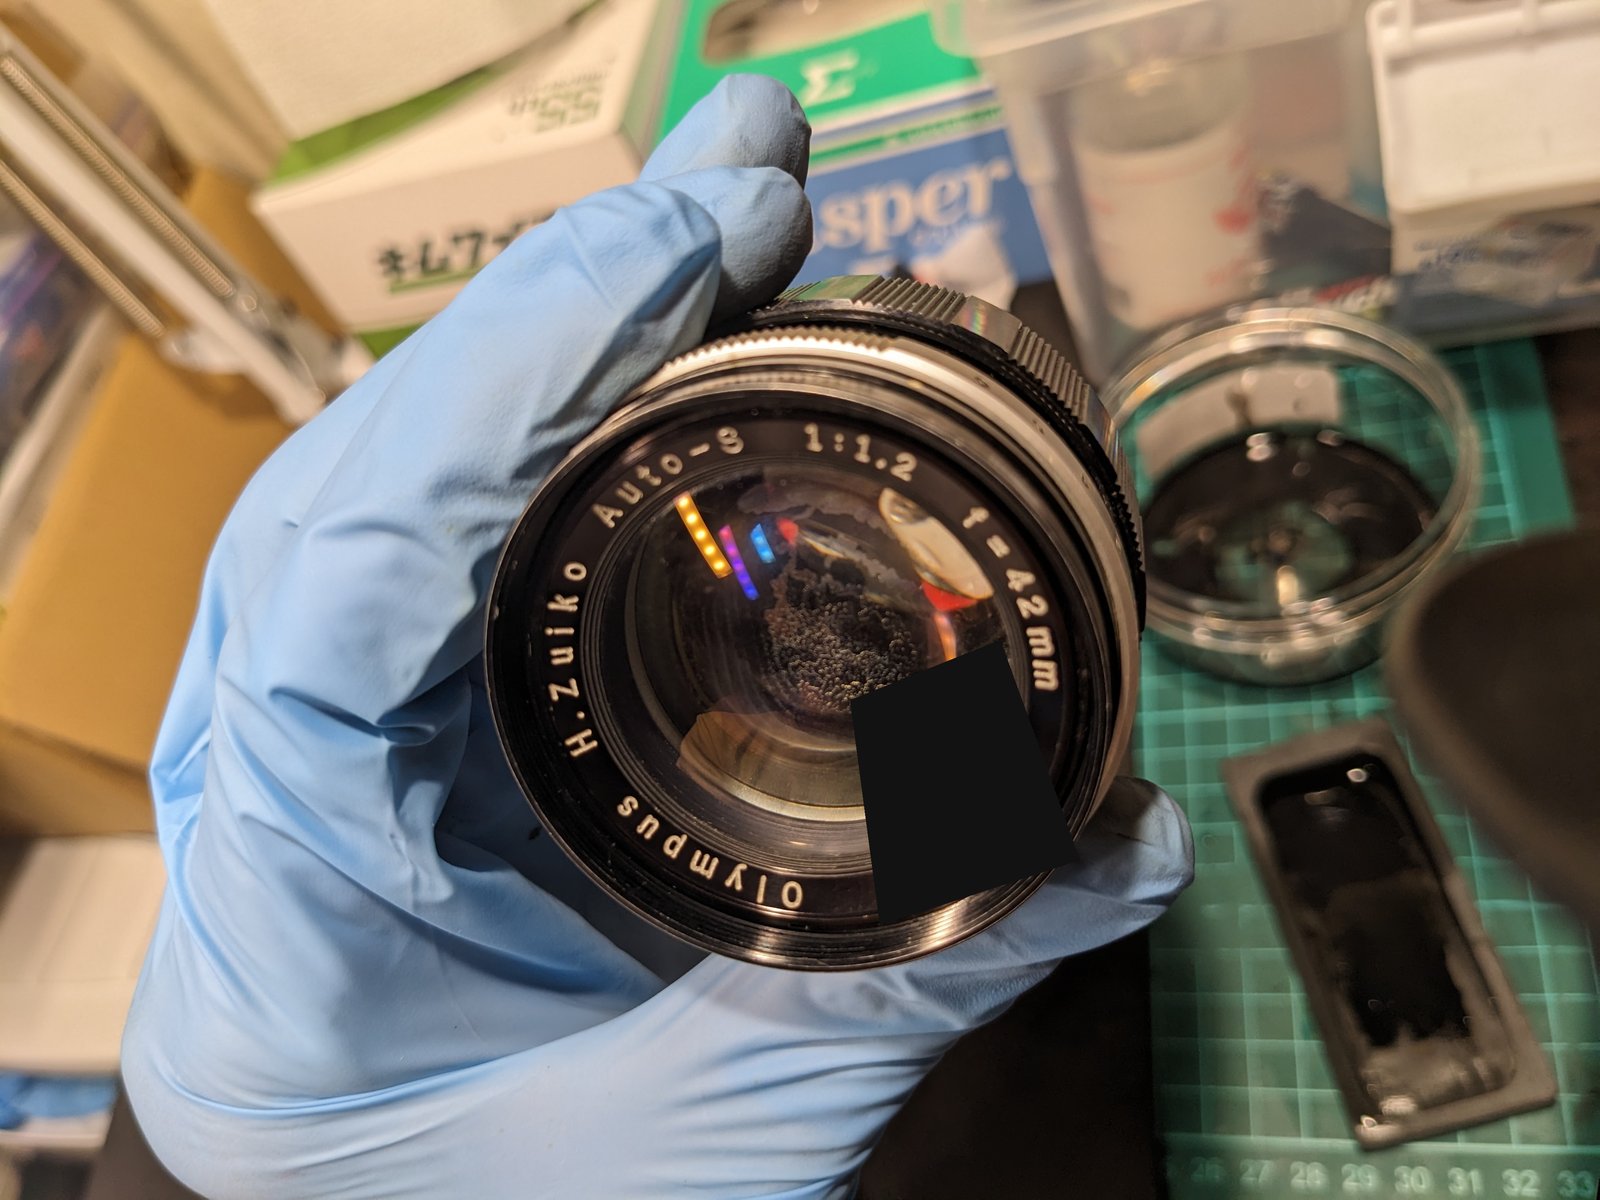
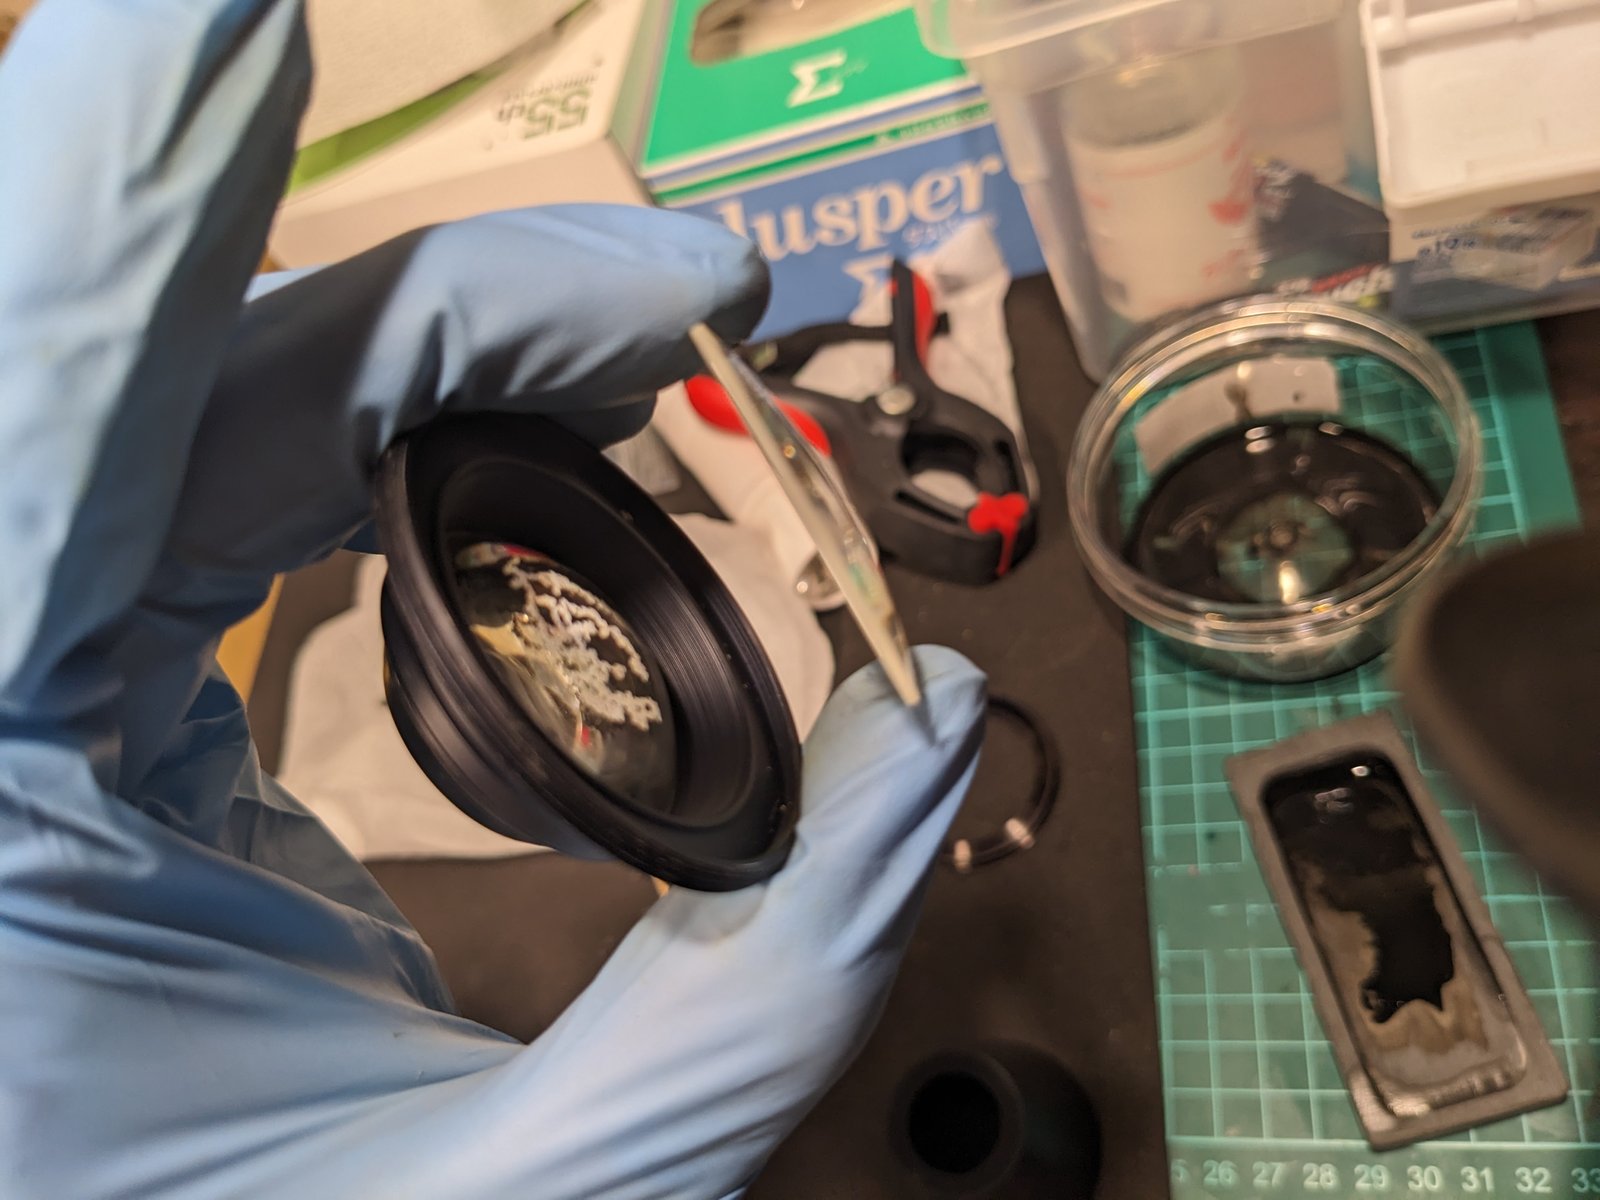
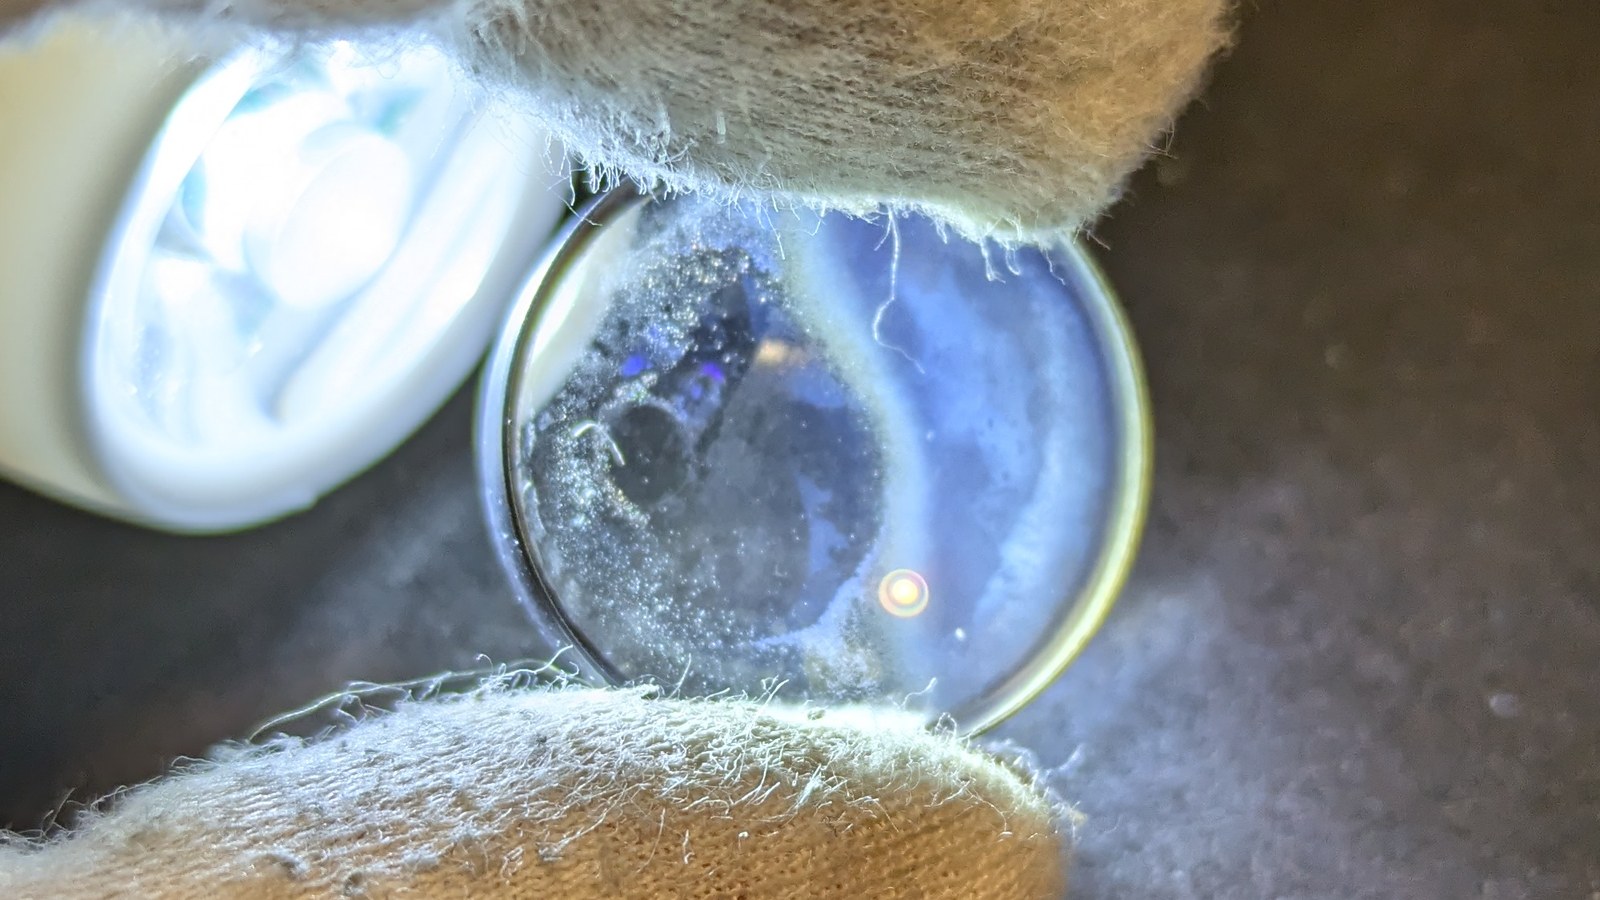
Looking into the front of the lens, a dense, speckled pattern fills the middle of the glass. It is not on the surface: it sits inside the lens.
2. Taking out the front group
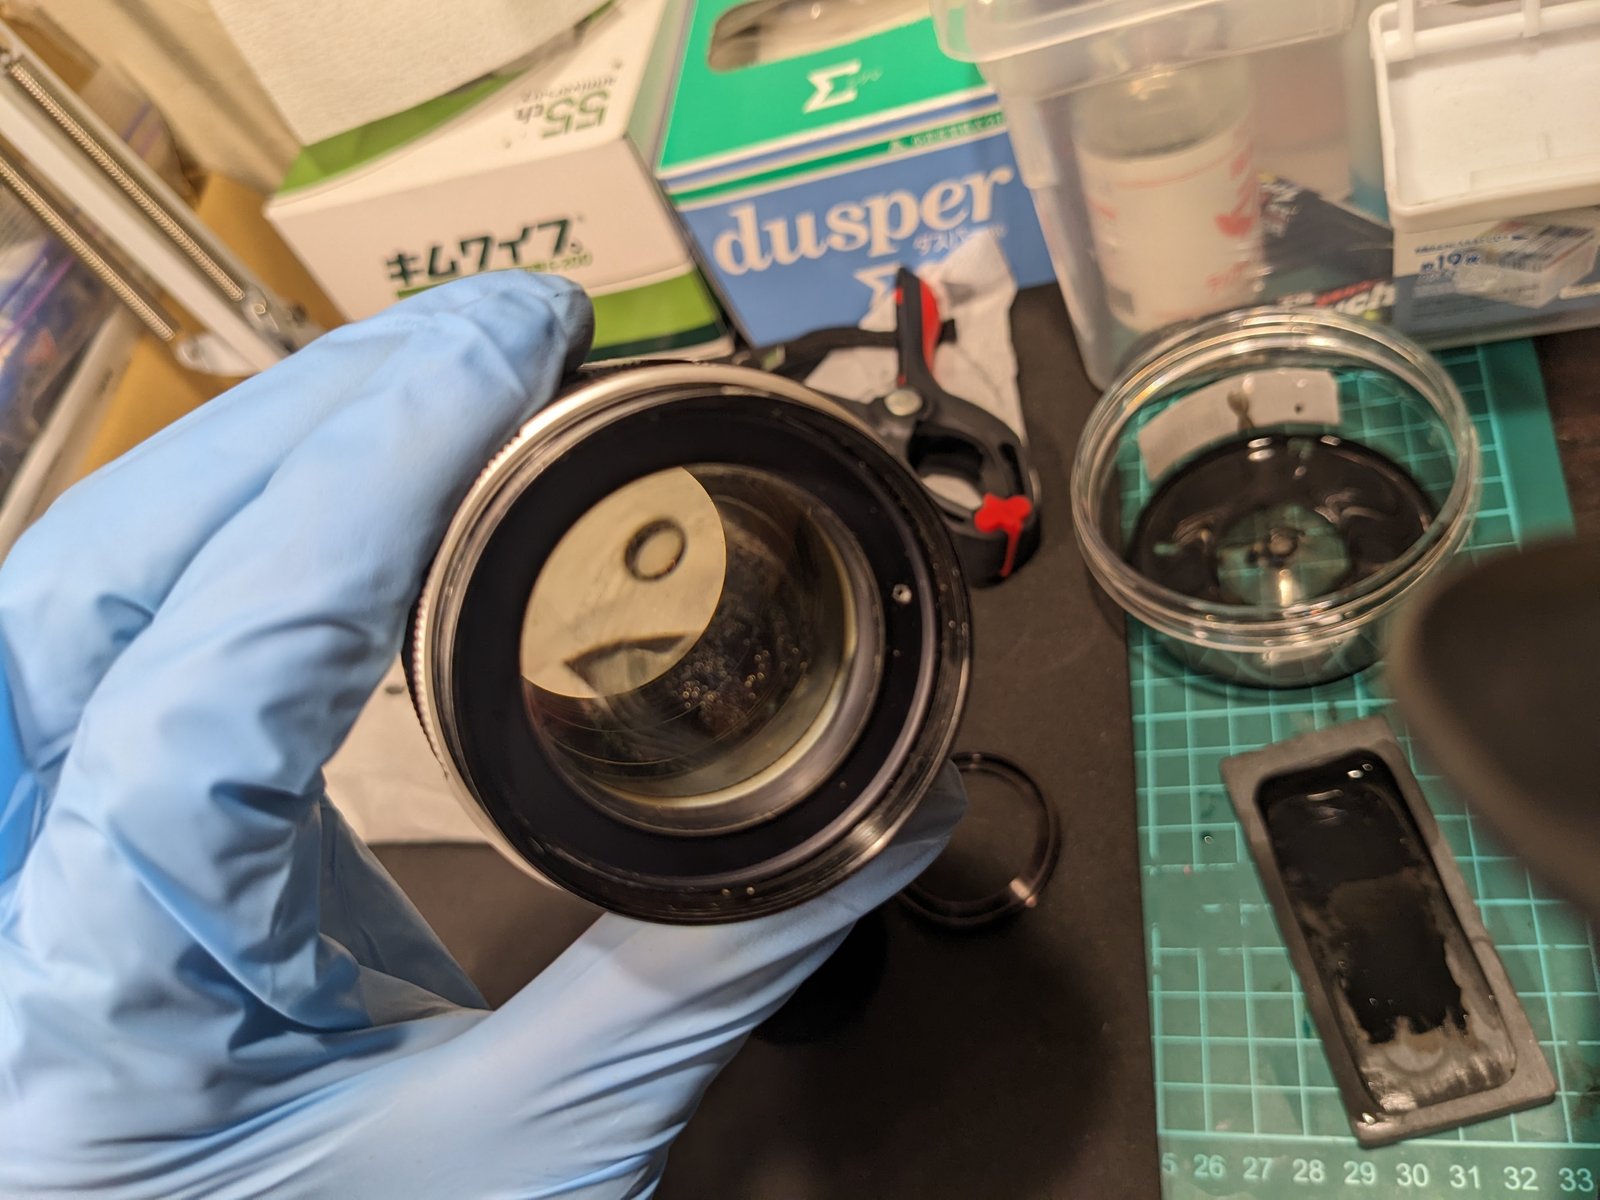
The front lens group unscrews from the barrel as one unit. With it out, the aperture mechanism behind it can be seen.
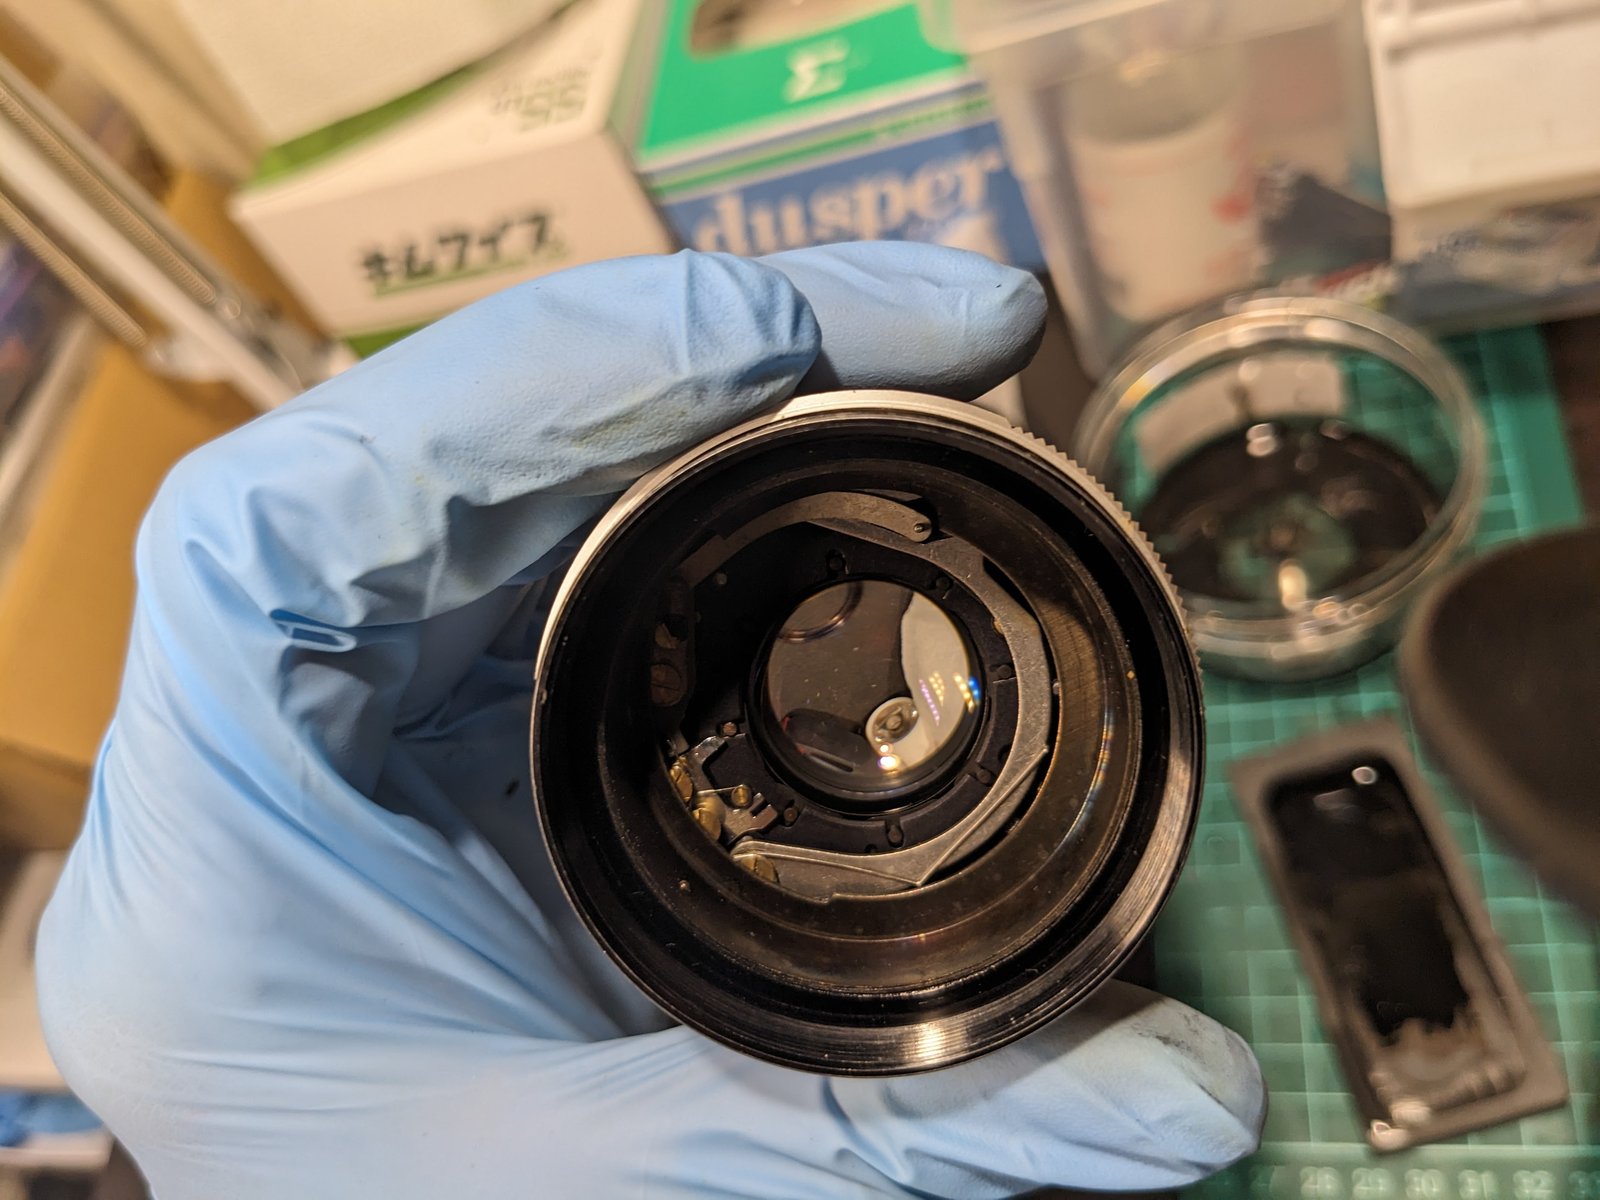
3. Opening the front group
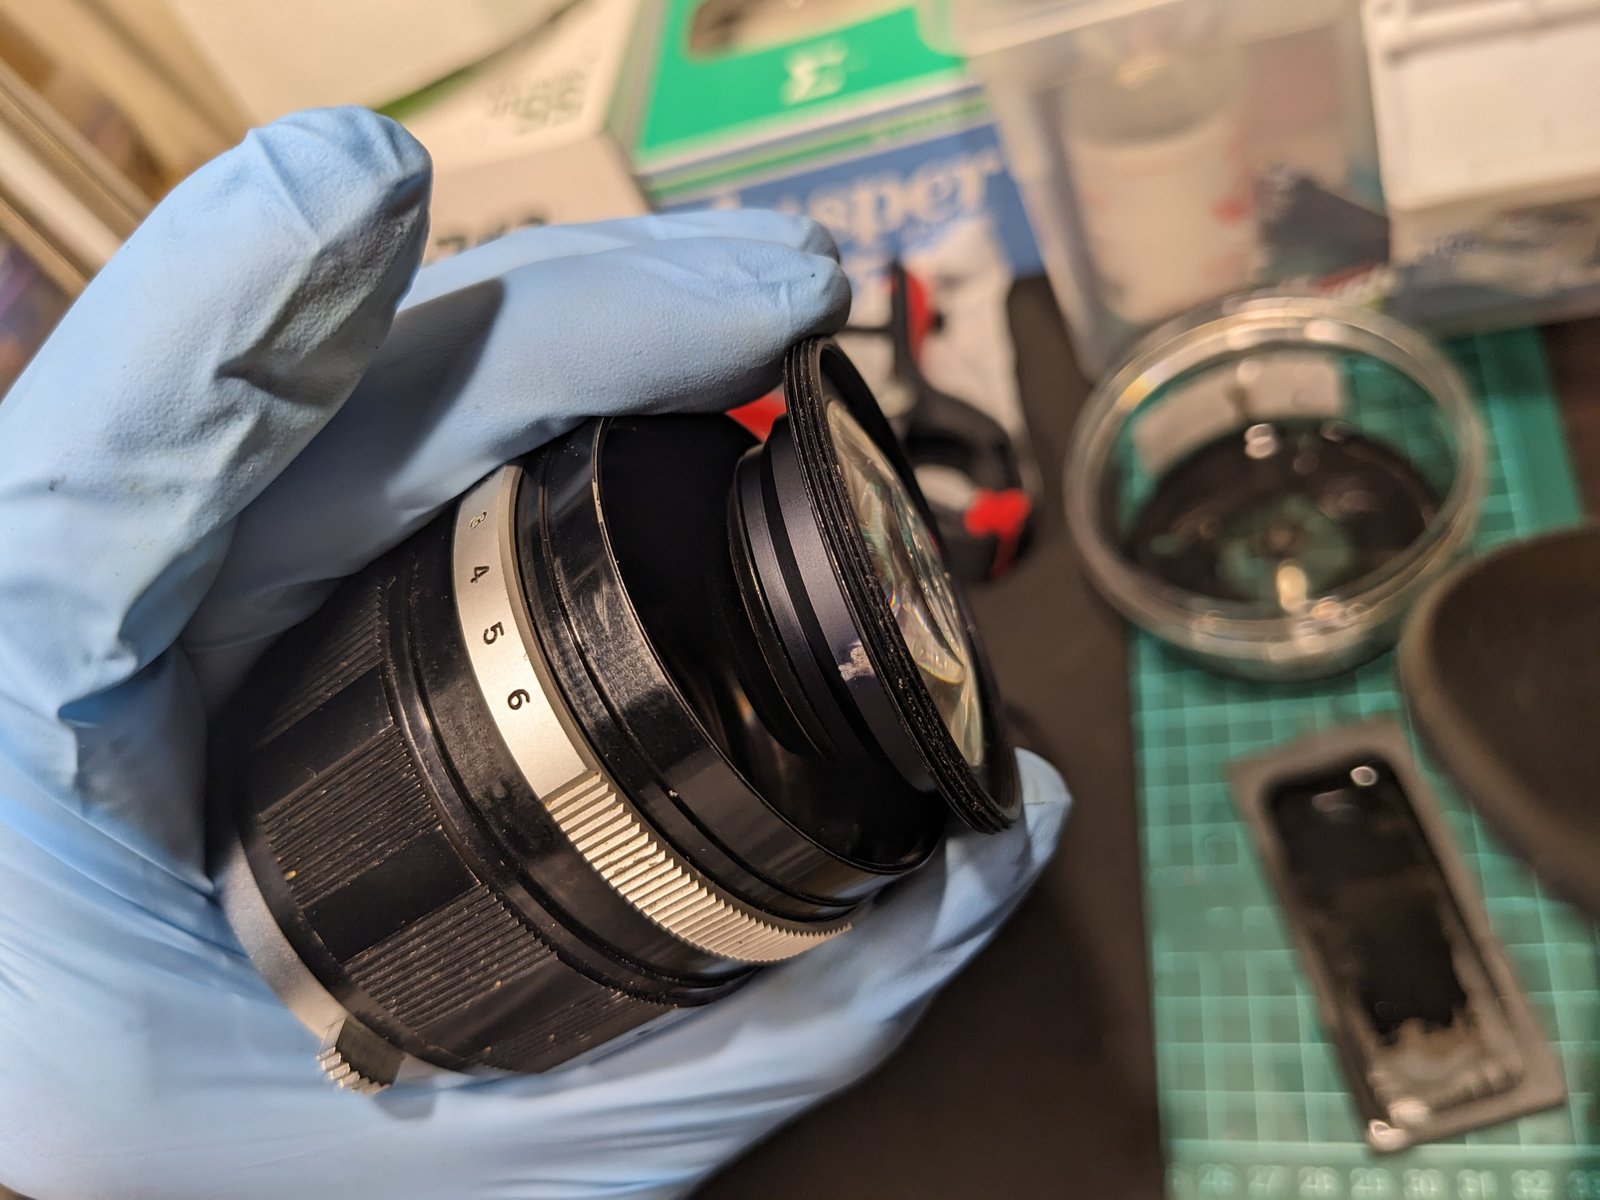
Here is the front group out of the lens, from both sides.
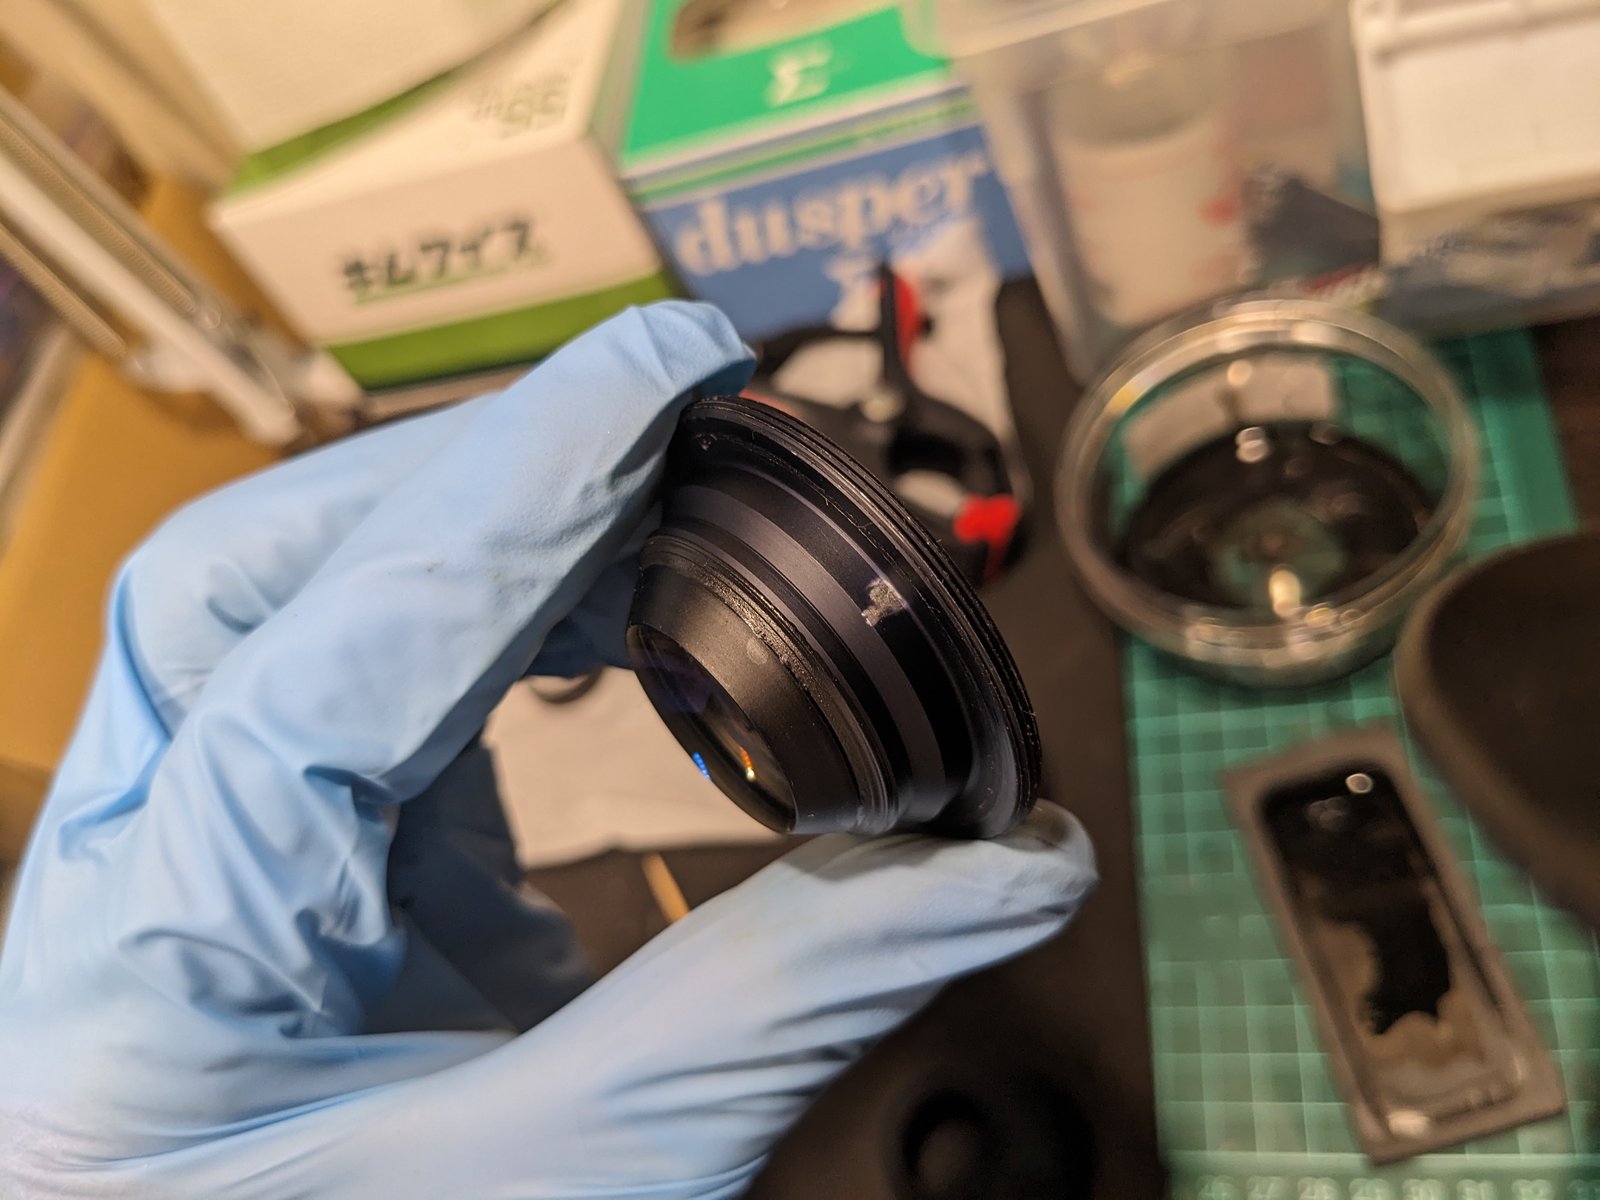
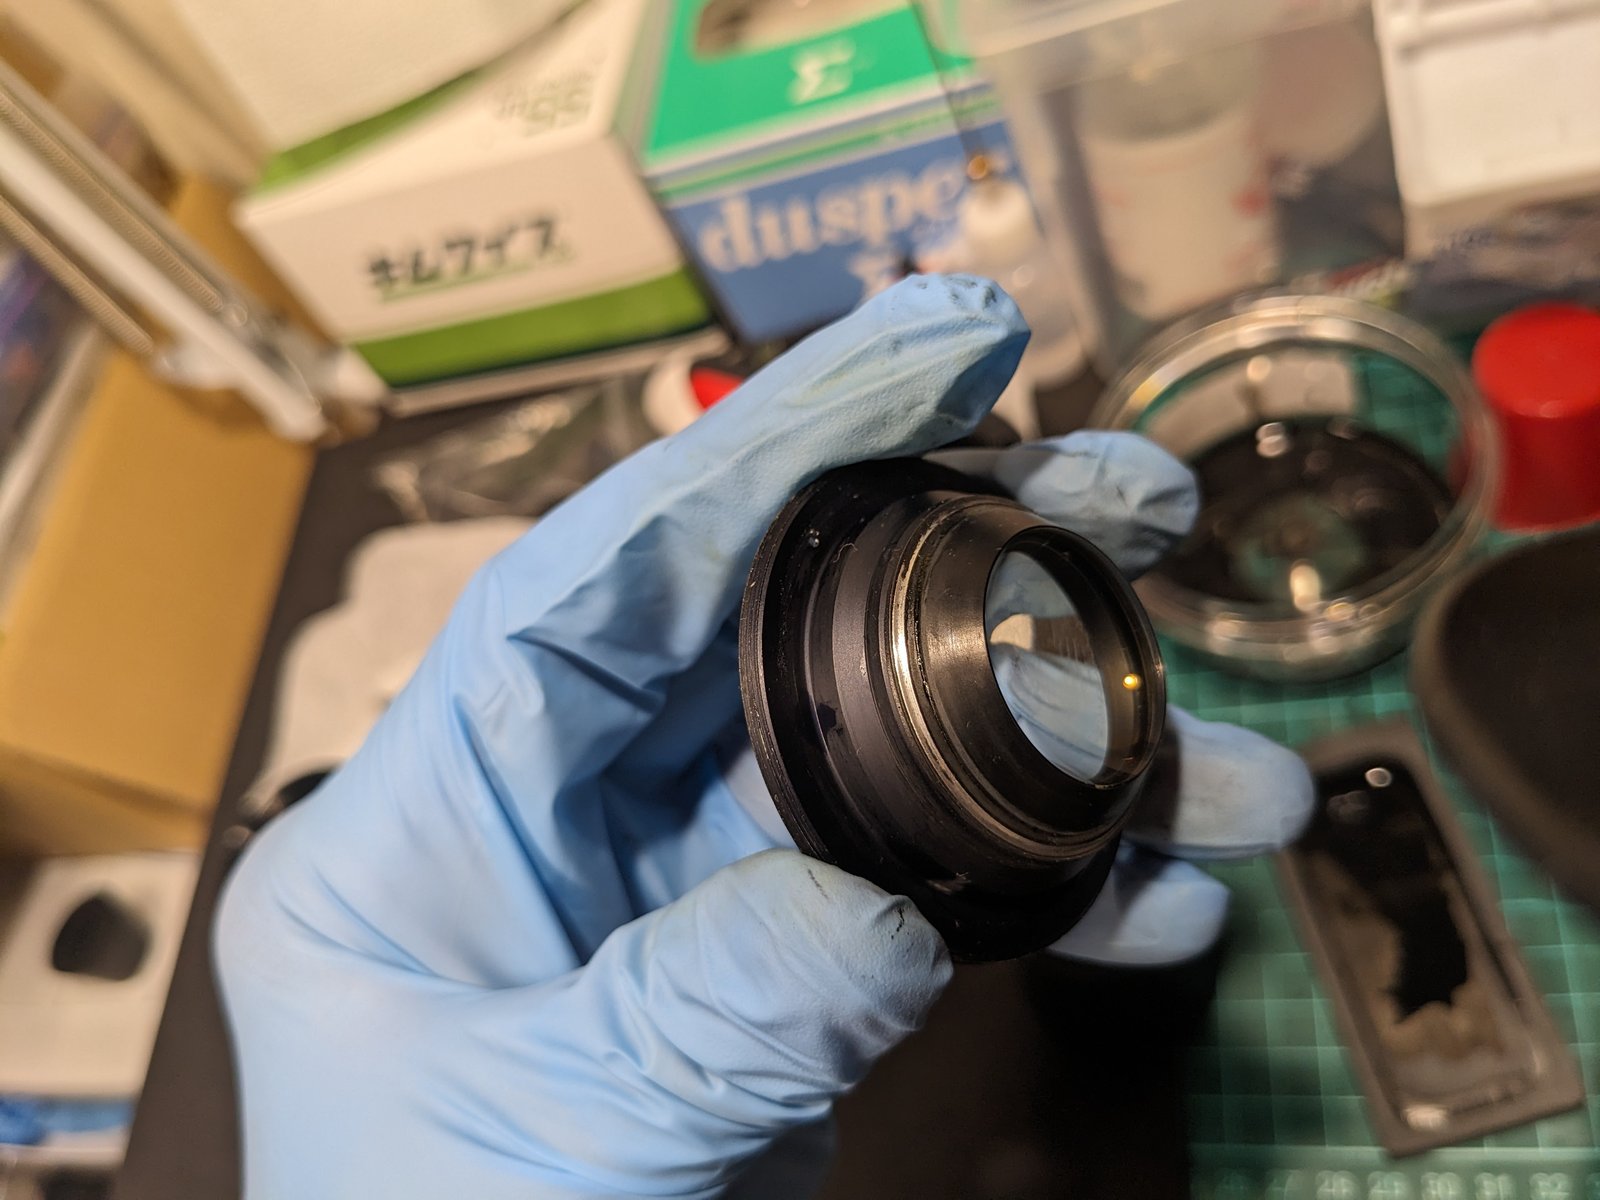
The front element comes out first, which opens the way to the element behind it.
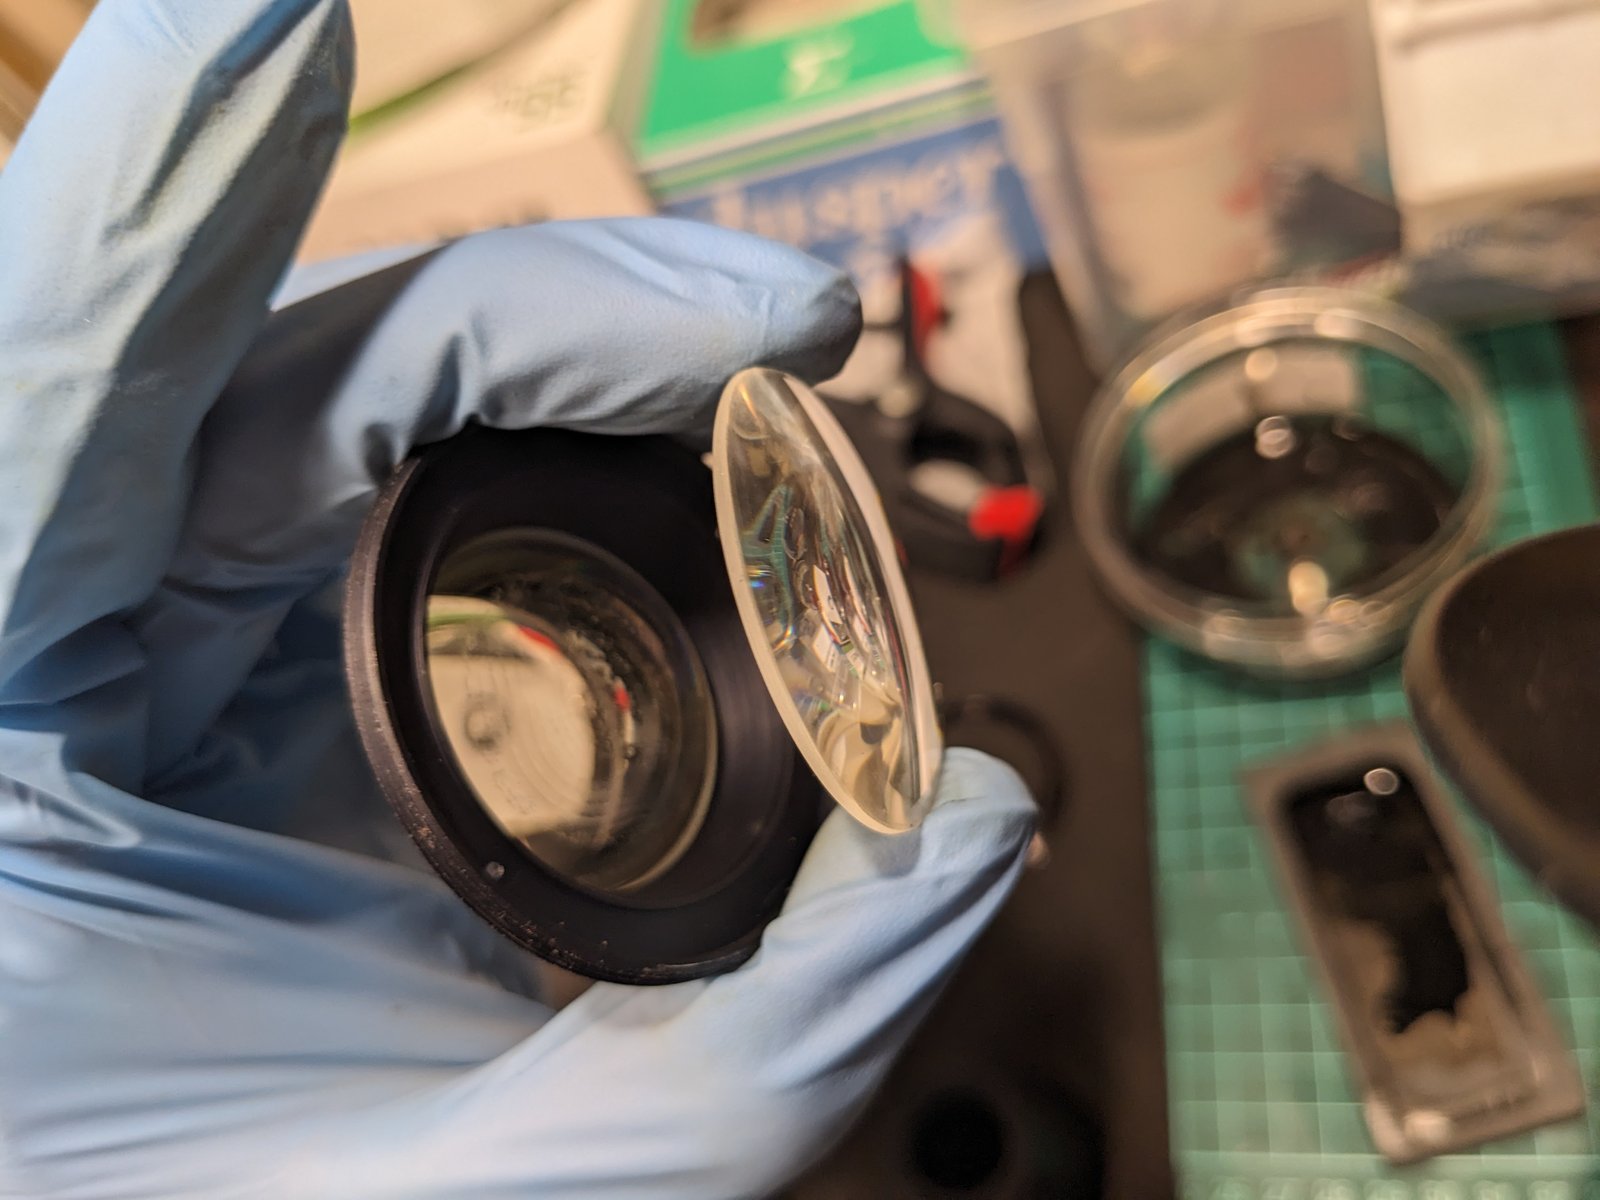
4. The balsam separation
With the front element out, the problem is plain to see: a white, feathery pattern spreading across the cemented element inside the front group.
5. Taking the cemented element out
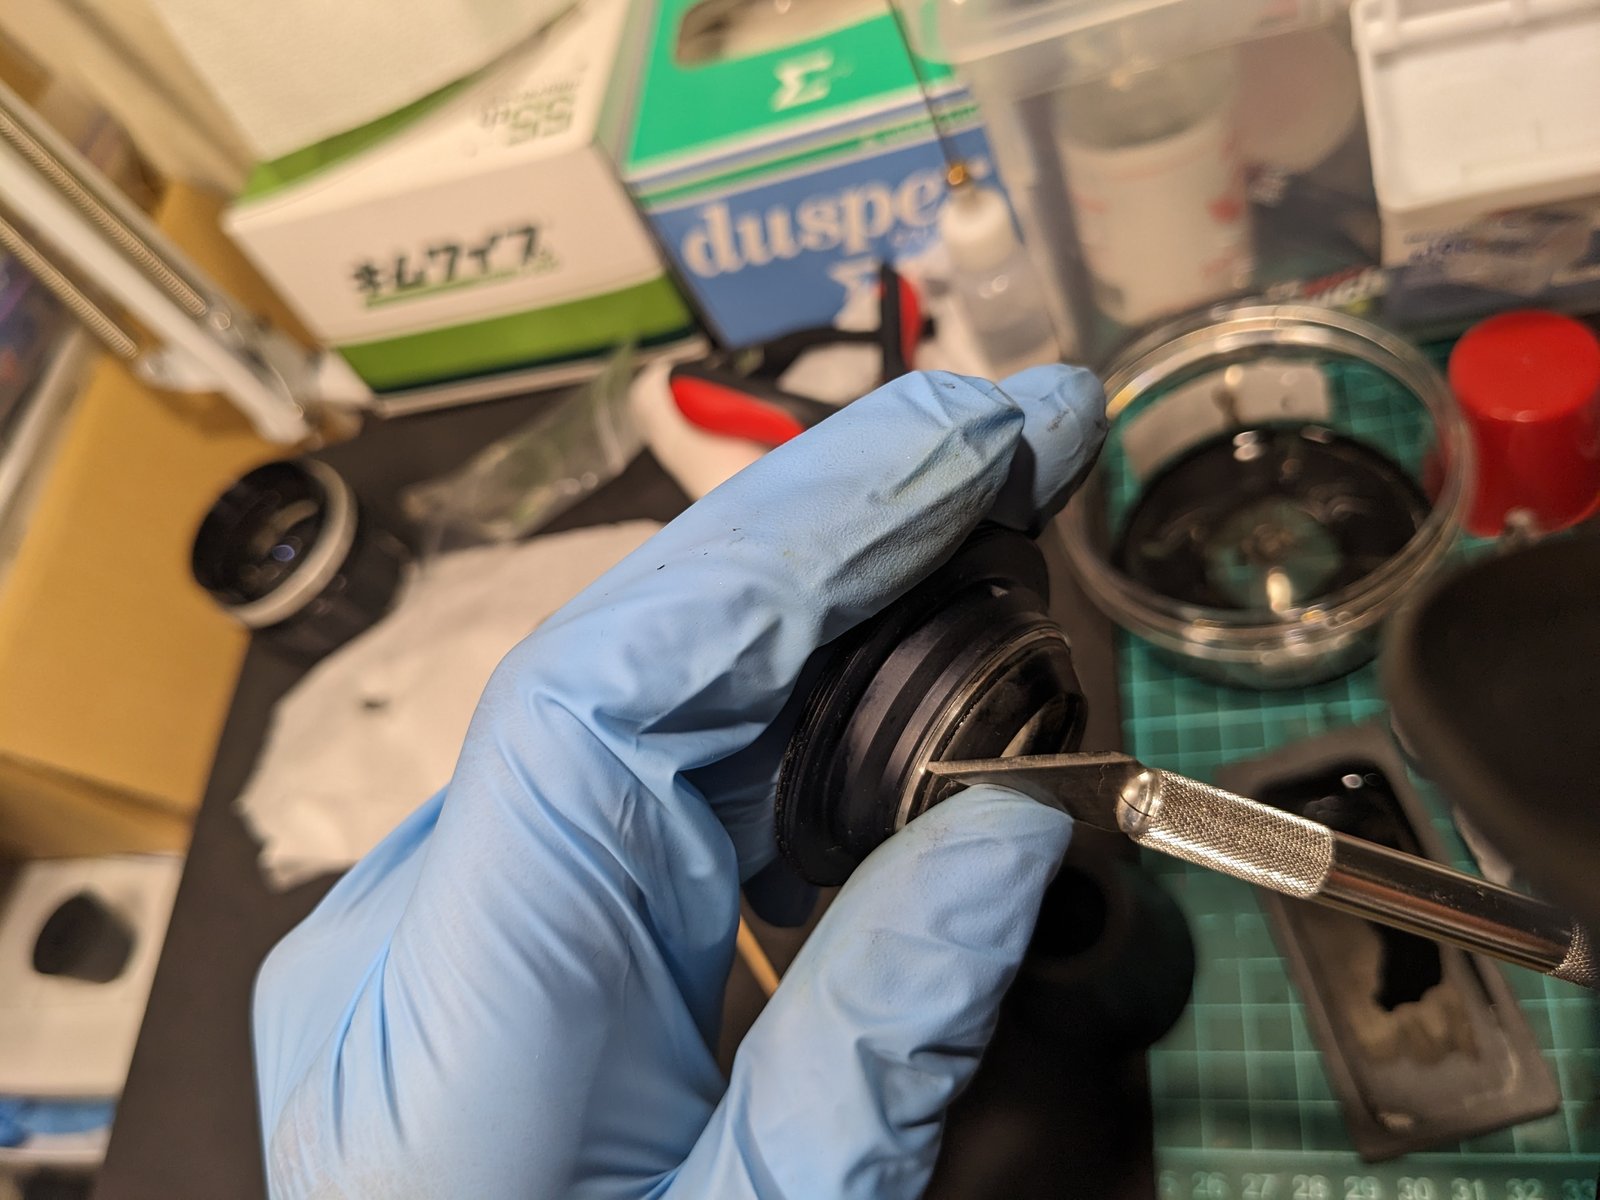
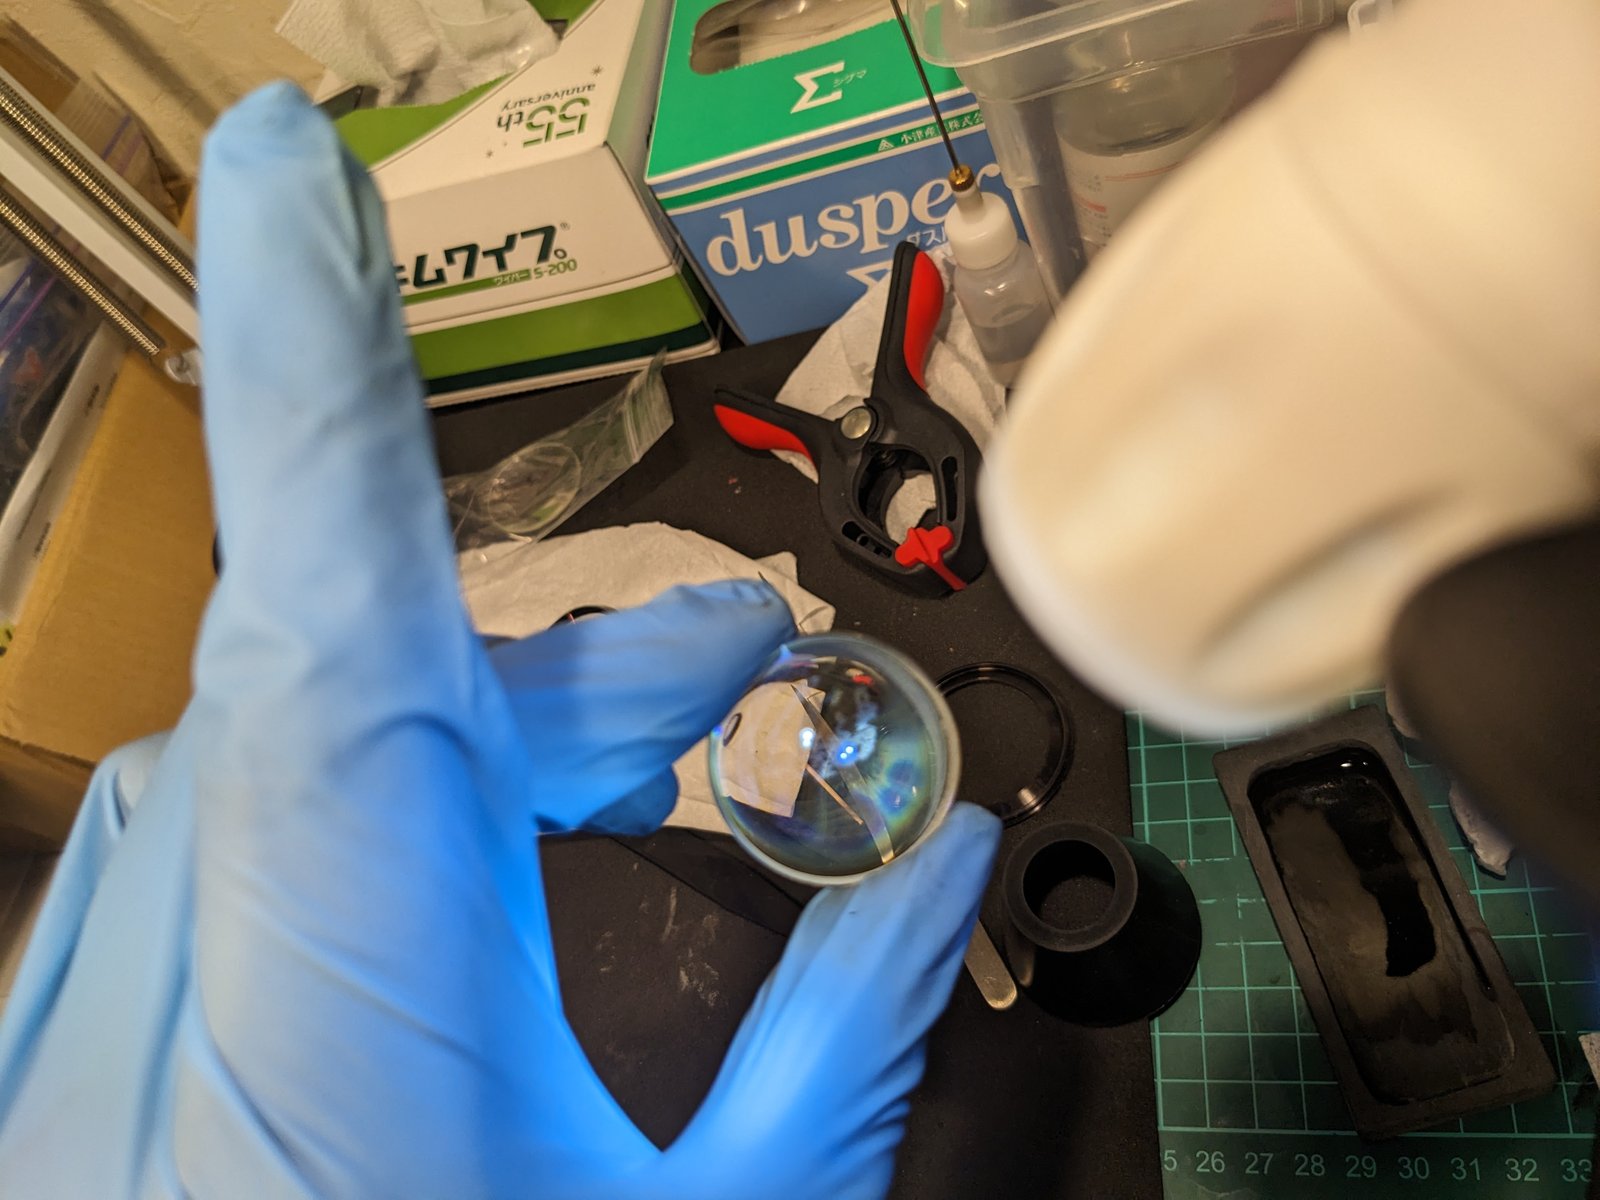
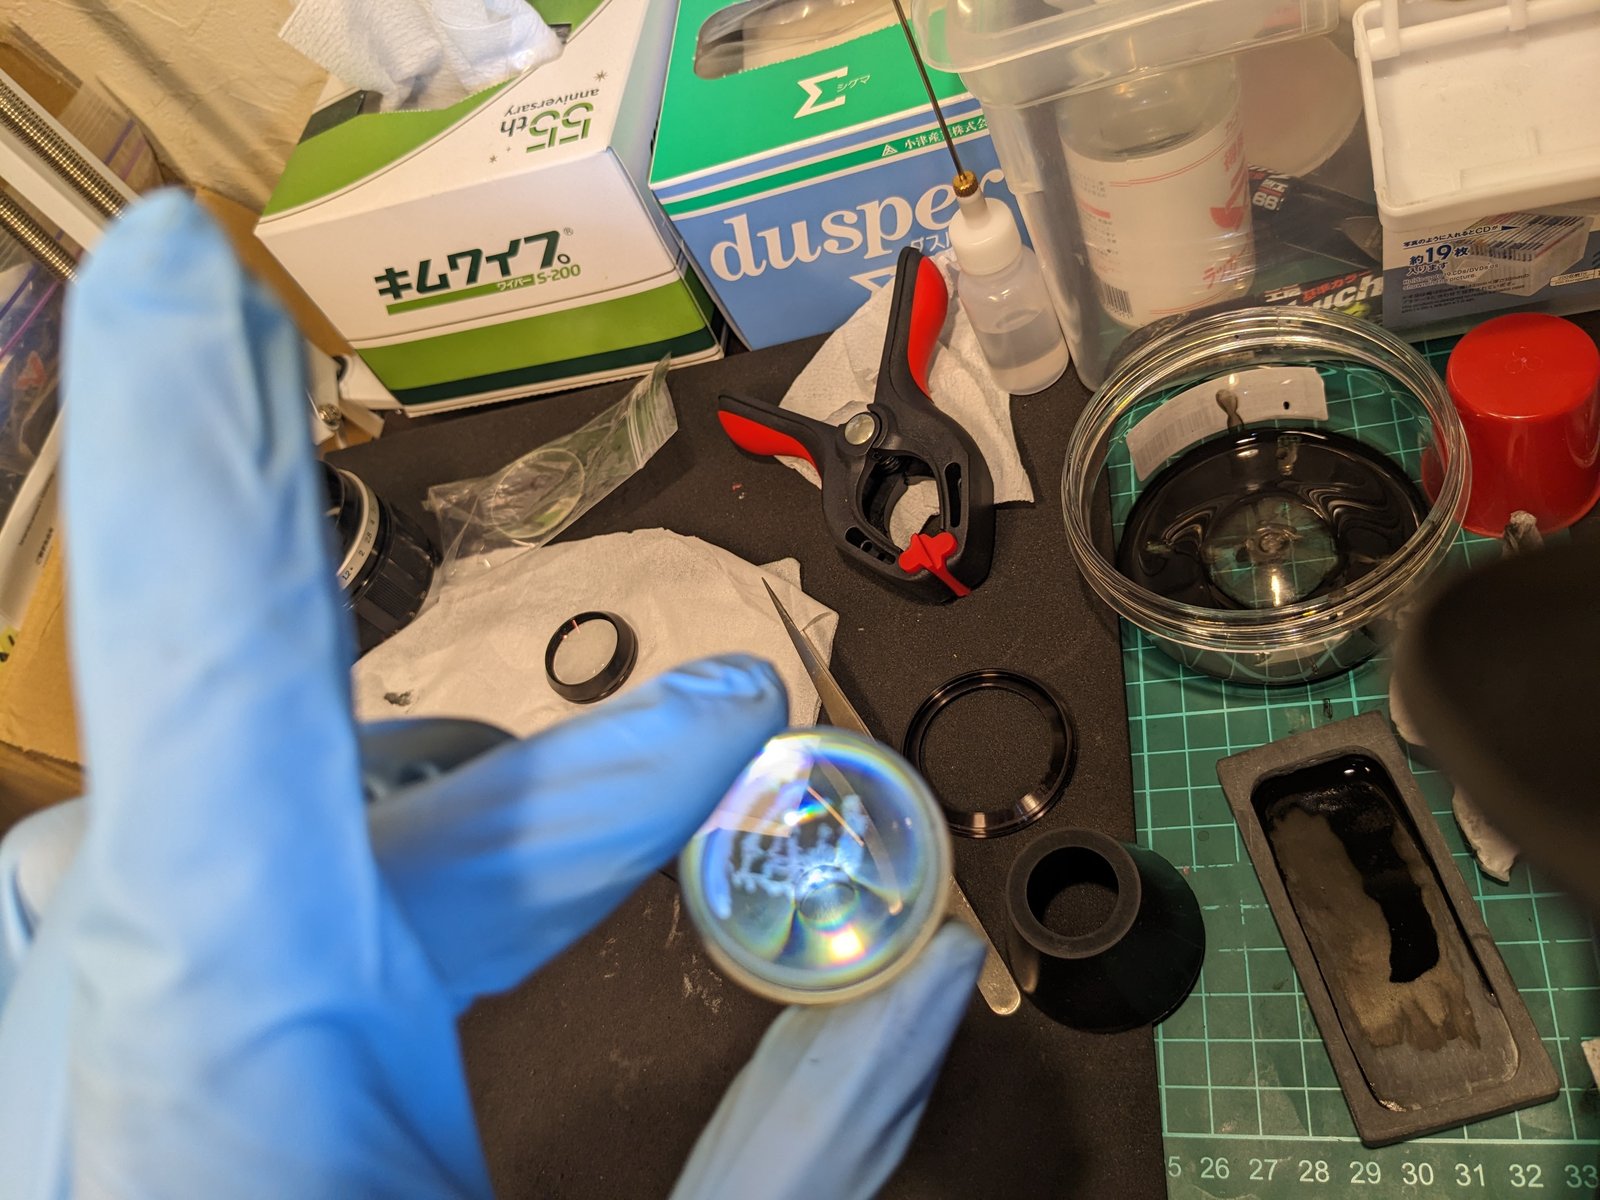
The cemented element sits in its cell with the metal rim crimped over the edge of the glass to hold it in. To get it out, I lifted the crimped rim with a hobby knife.
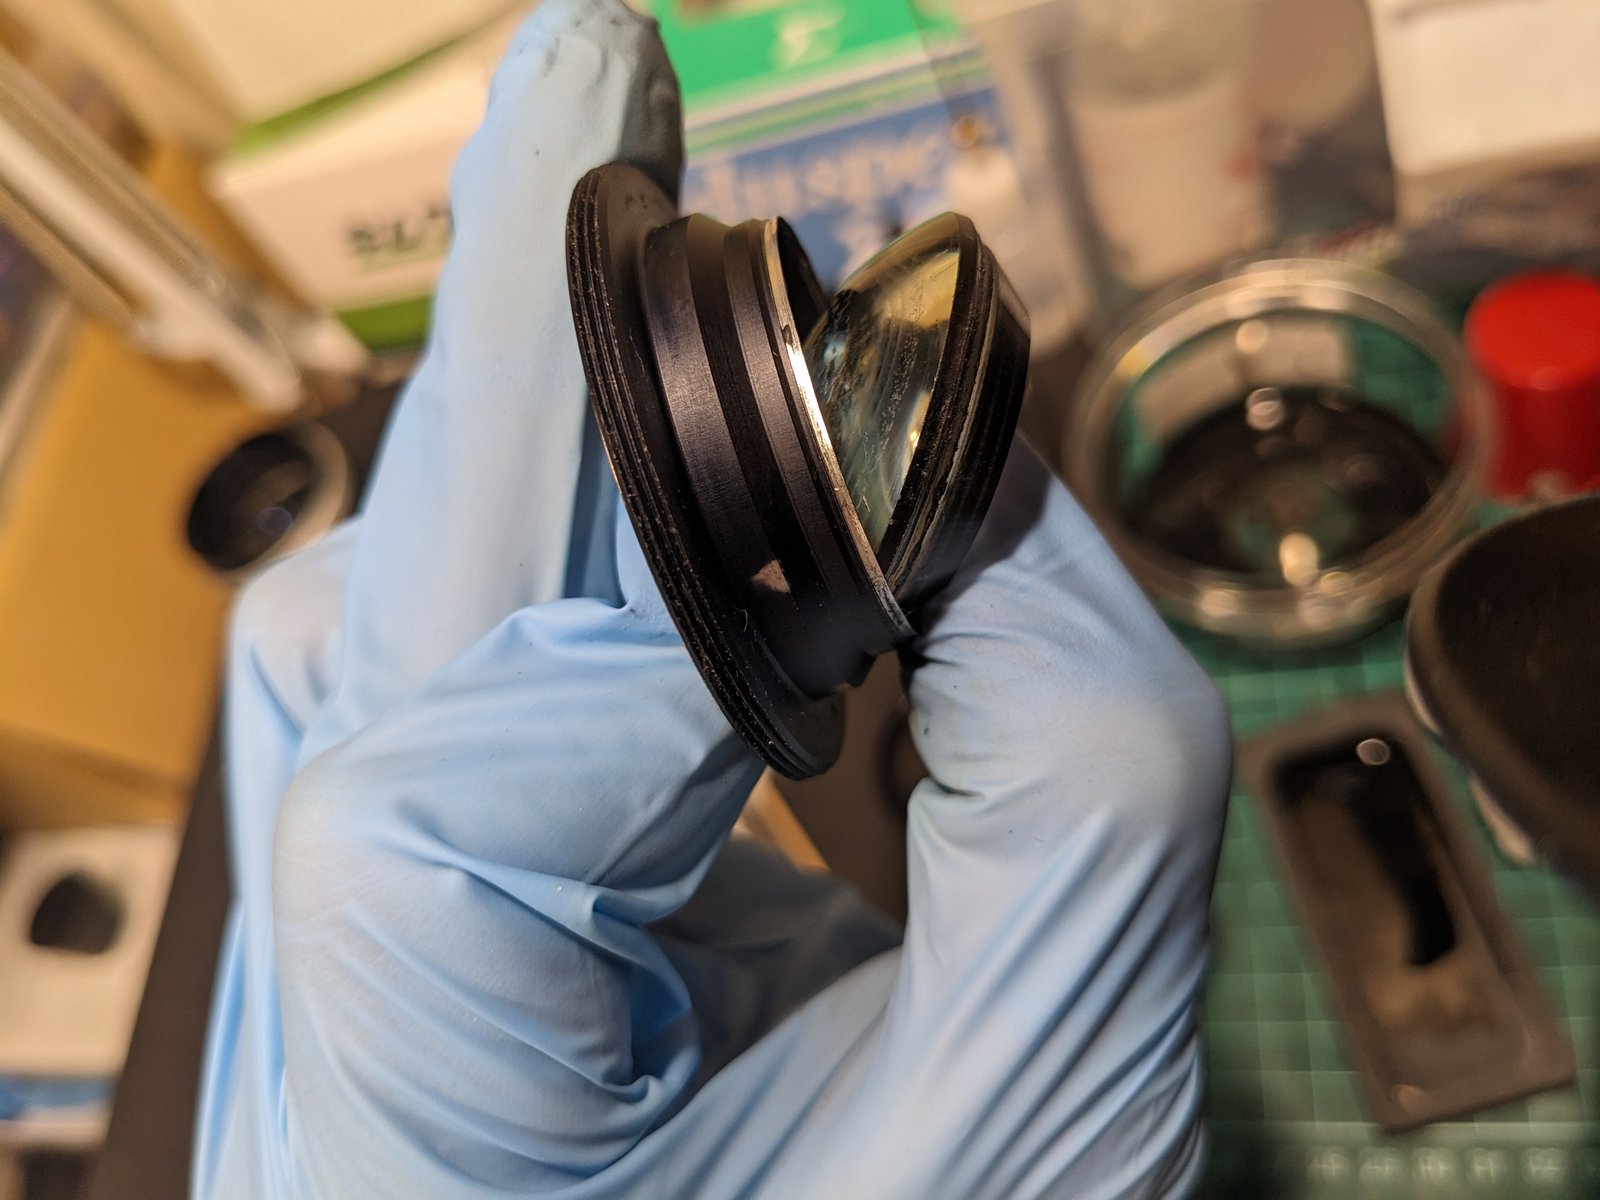
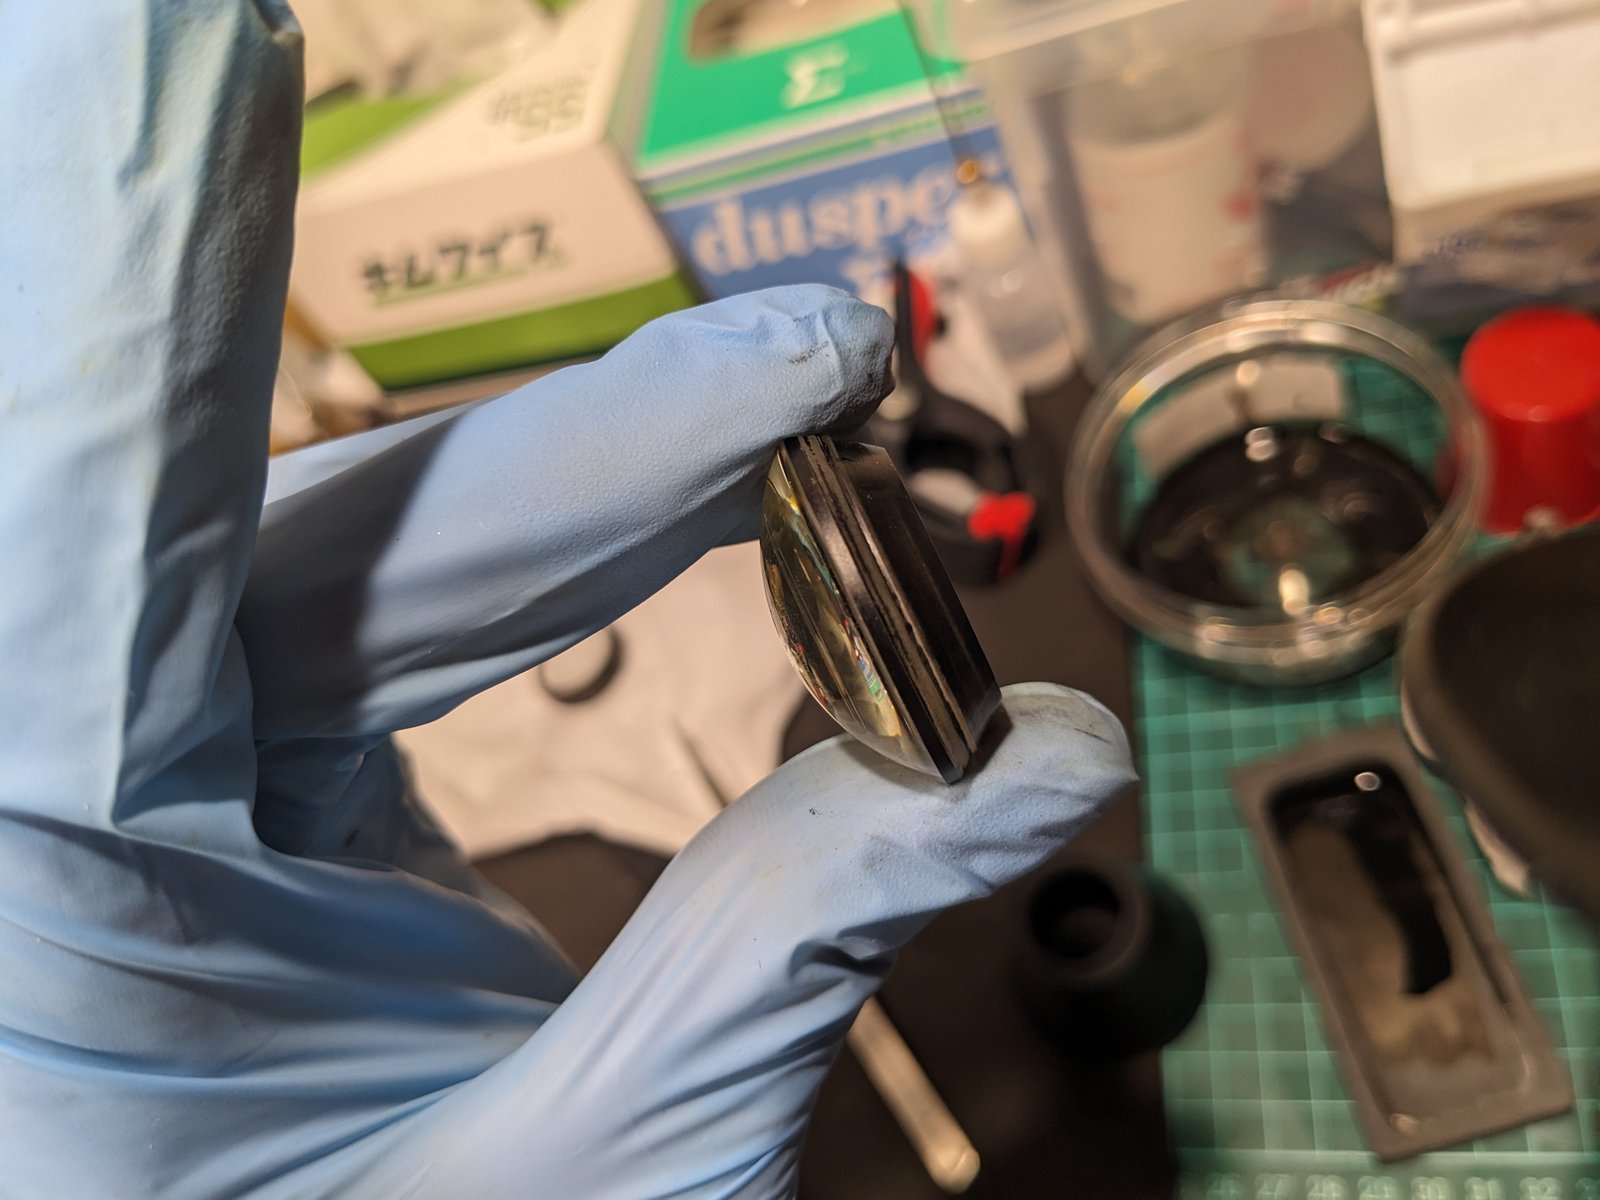
Held up to a light, the separation shows clearly. The frosty pattern runs right across the glass.
6. The aperture lever, from the mount side
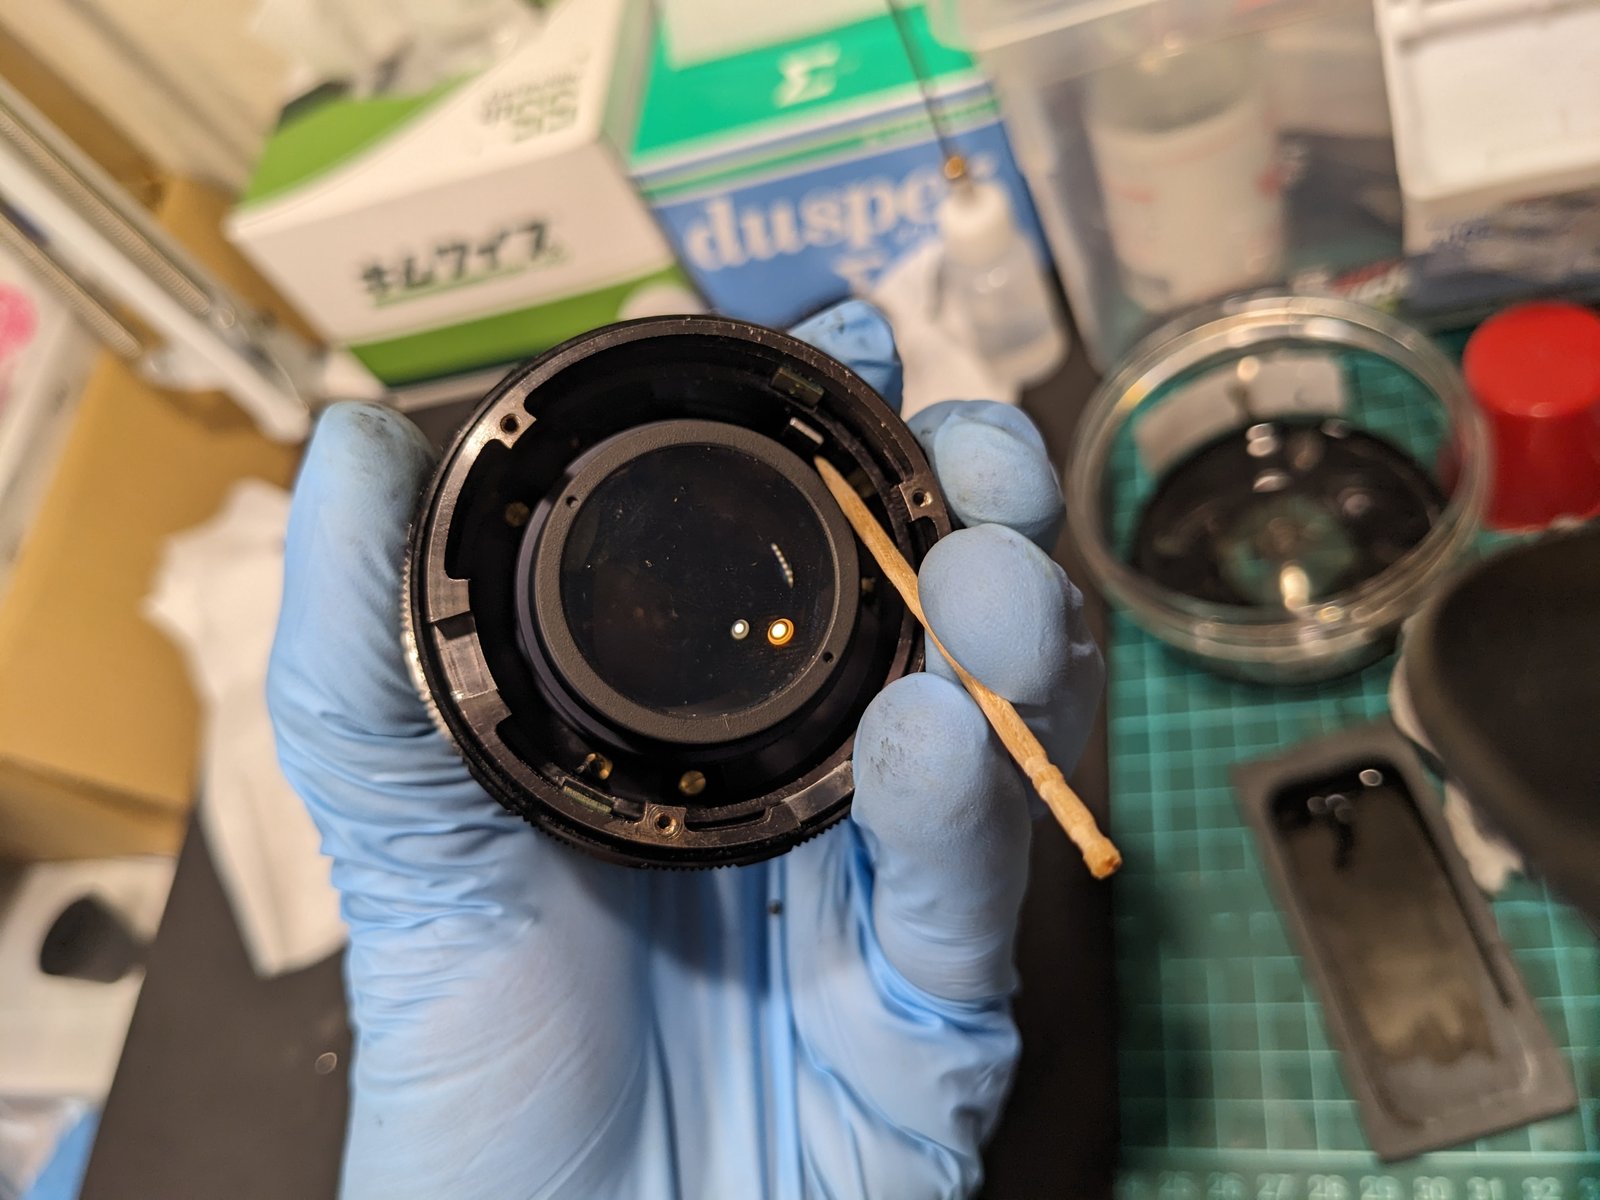
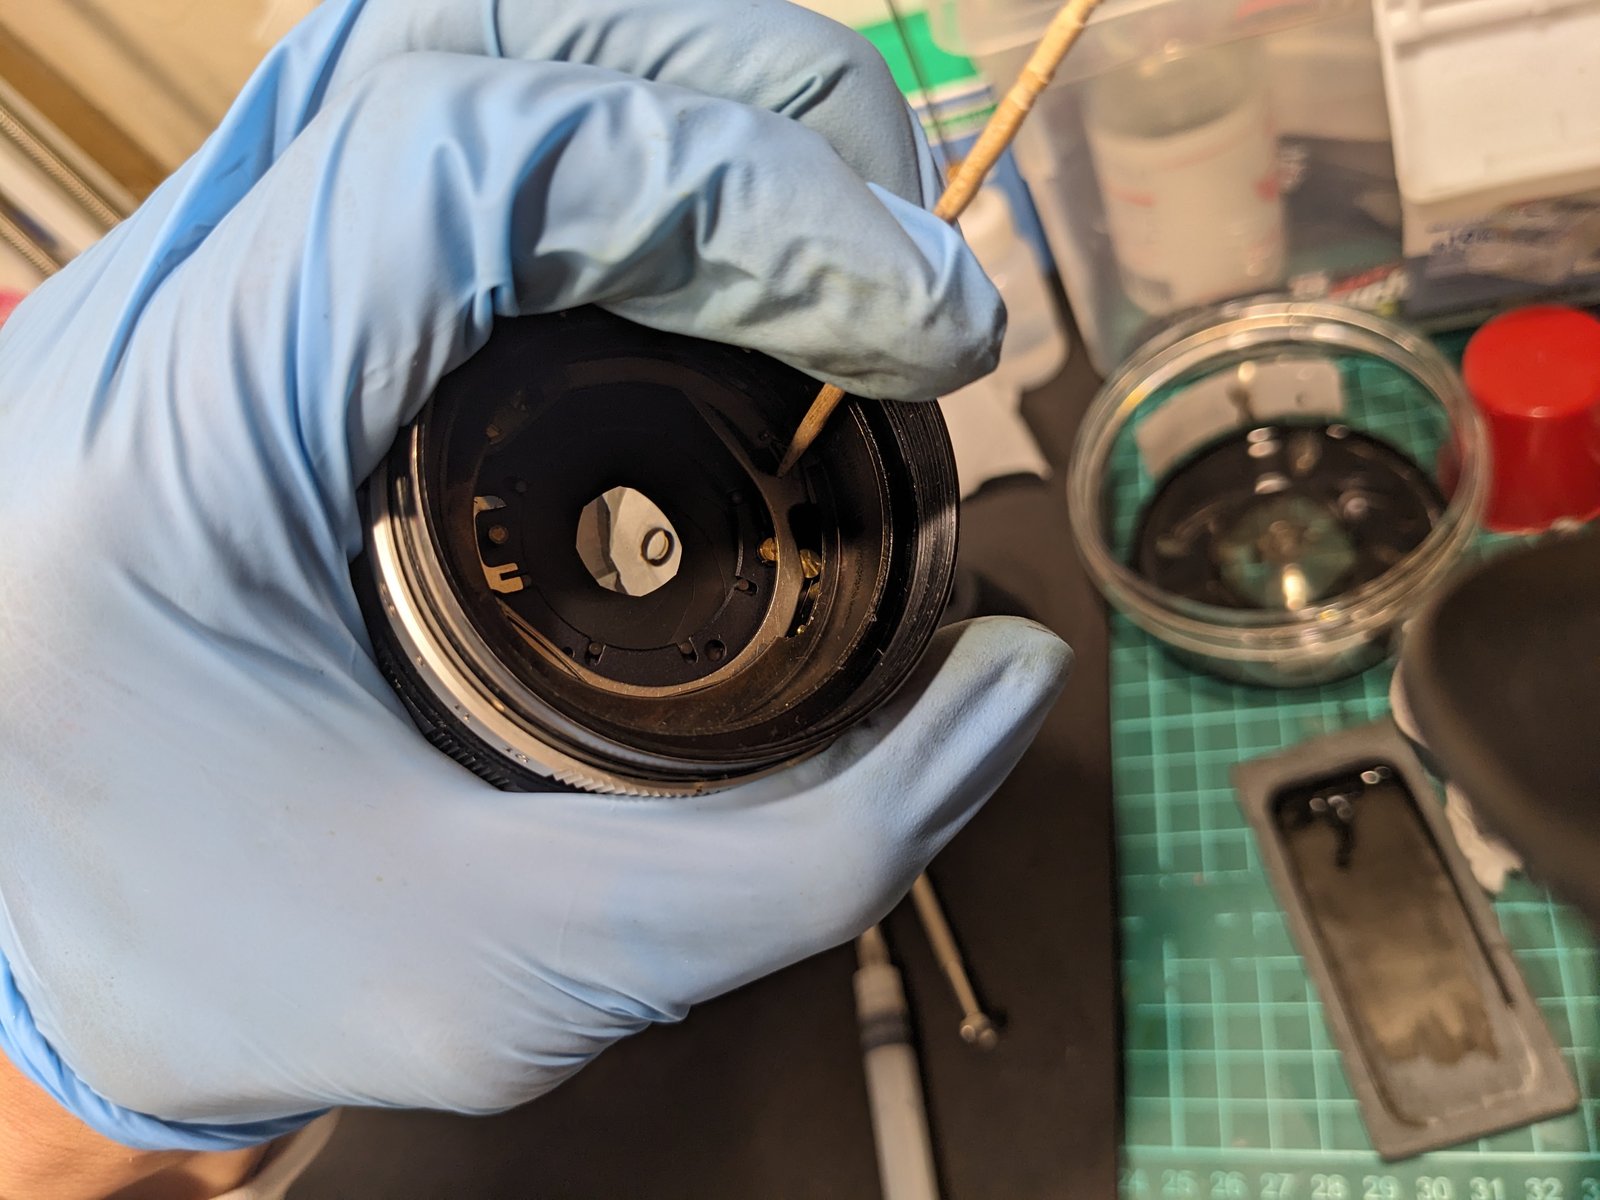
This lens had a second problem: the aperture did not move cleanly. Its lever was sluggish and caught as it moved. To reach it, I took the lens apart from the mount side. The mount is held by small screws, and with it off, the aperture linkage can be reached from the rear.
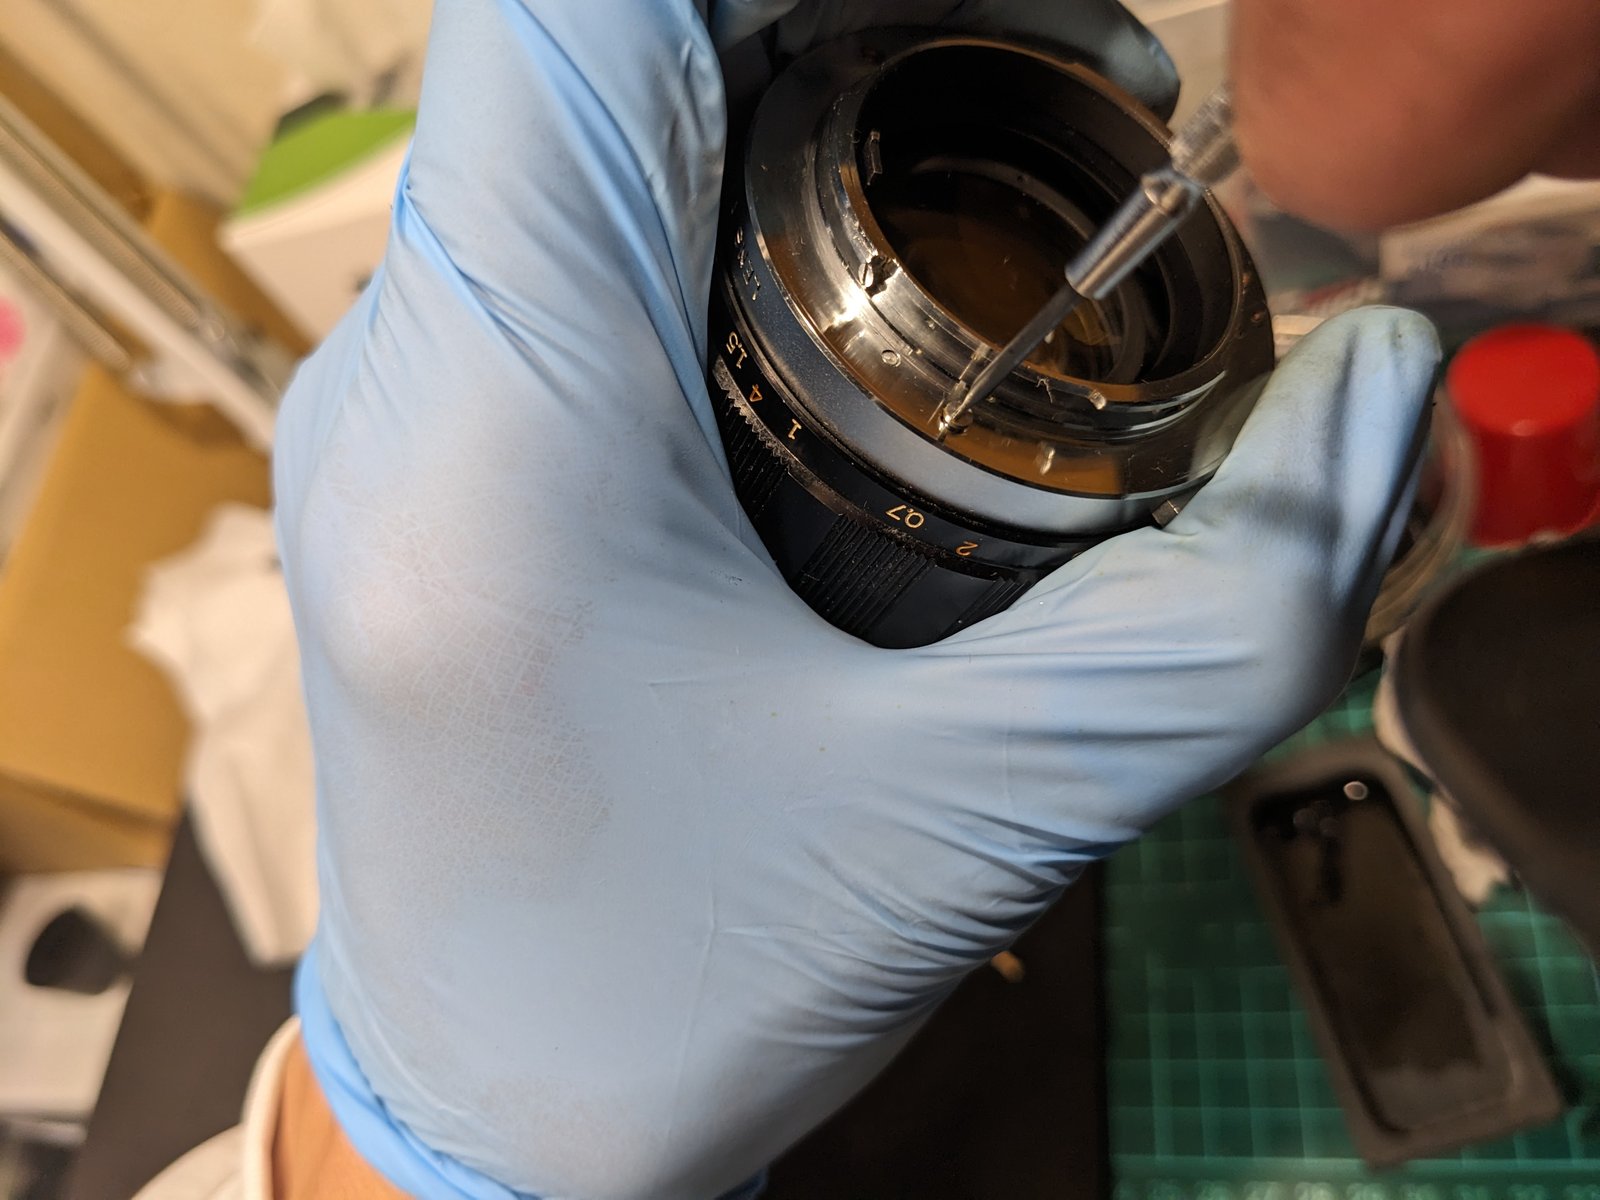
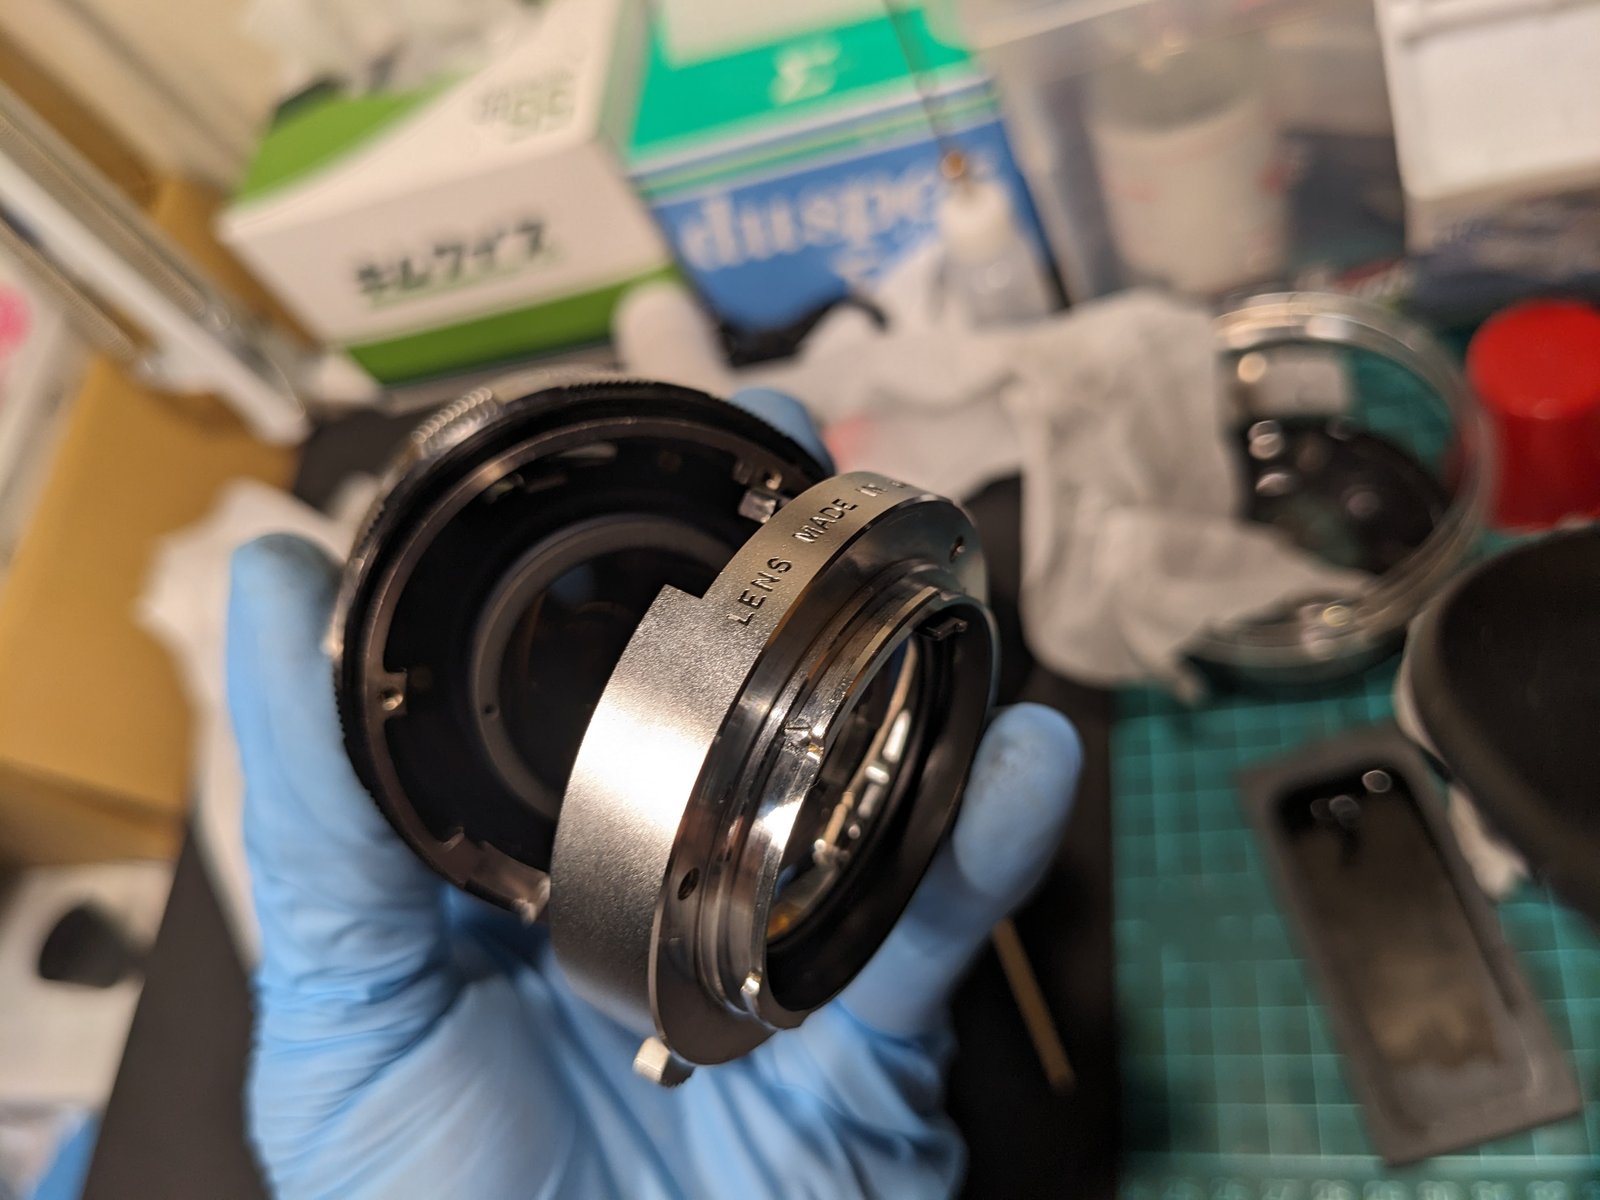
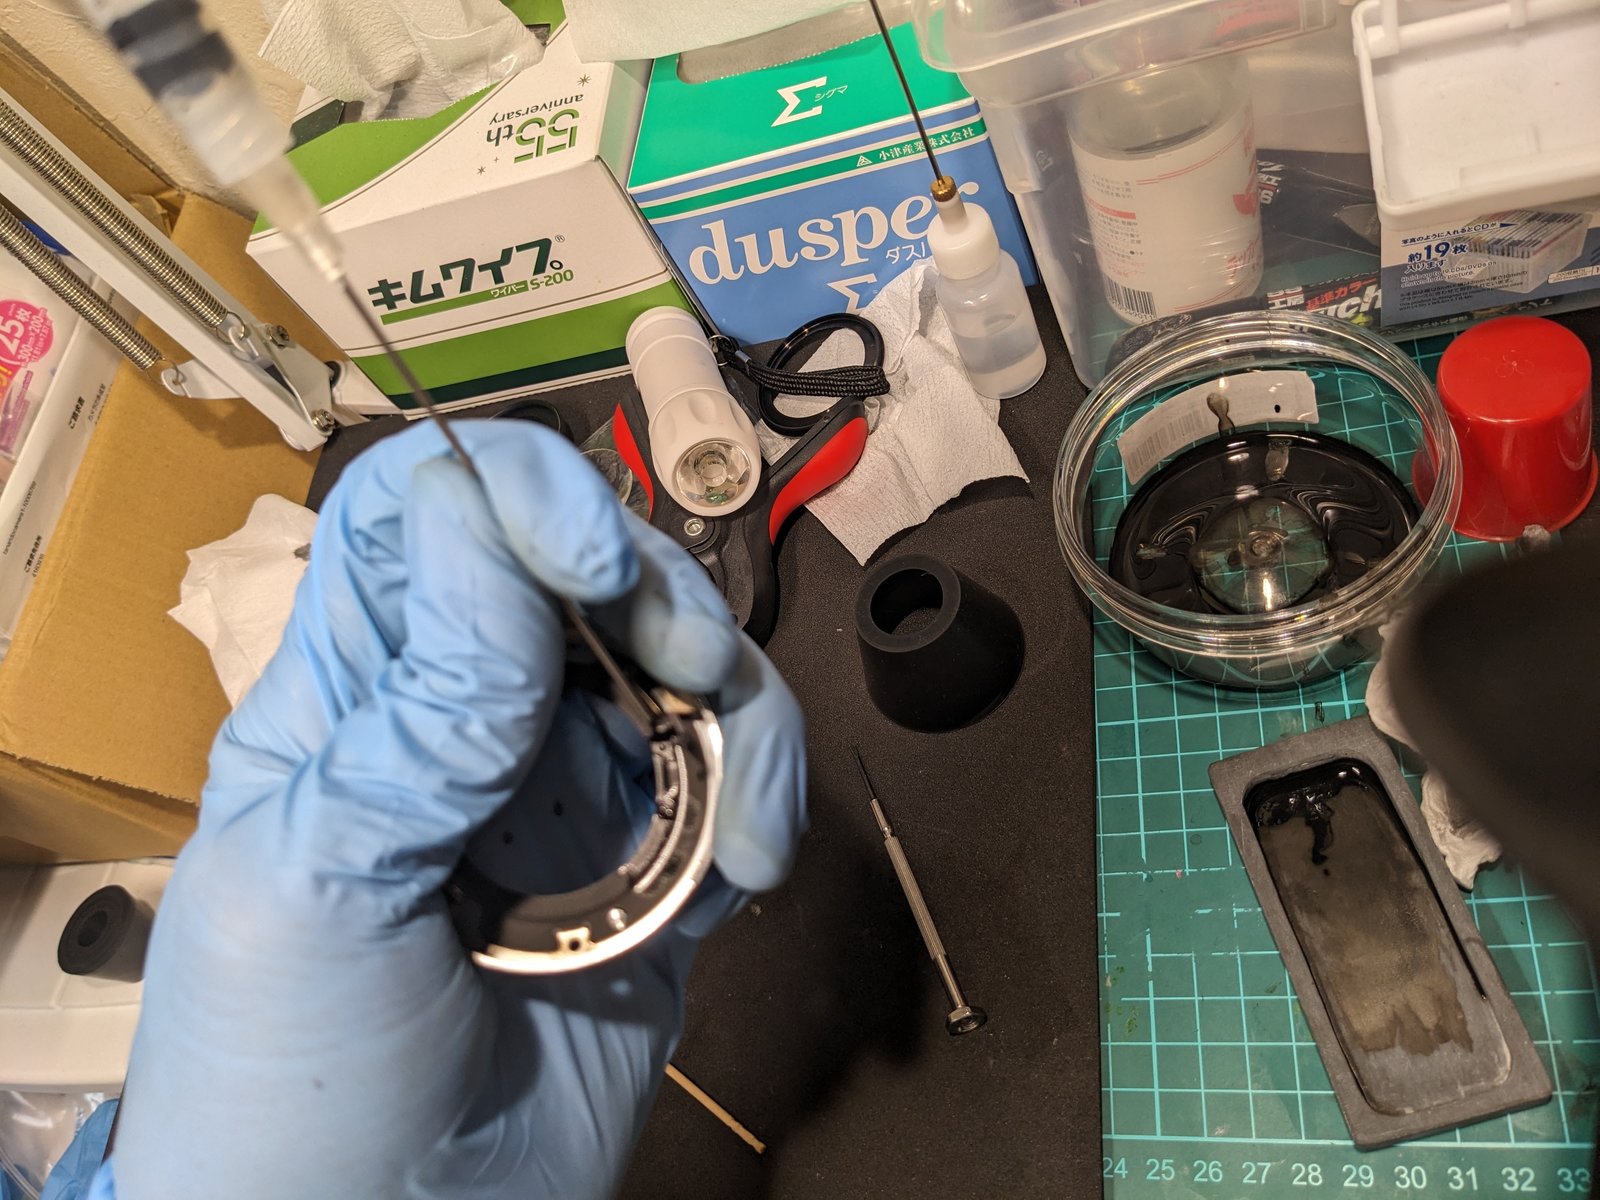
With the mount off, I worked on the aperture linkage with a wooden toothpick and a needle oiler until the lever moved smoothly again.
7. Re-cementing
To separate the two pieces of glass, I boiled the pair in a pot of water on the kitchen stove. The heat softens the old balsam, and the two glasses came apart.
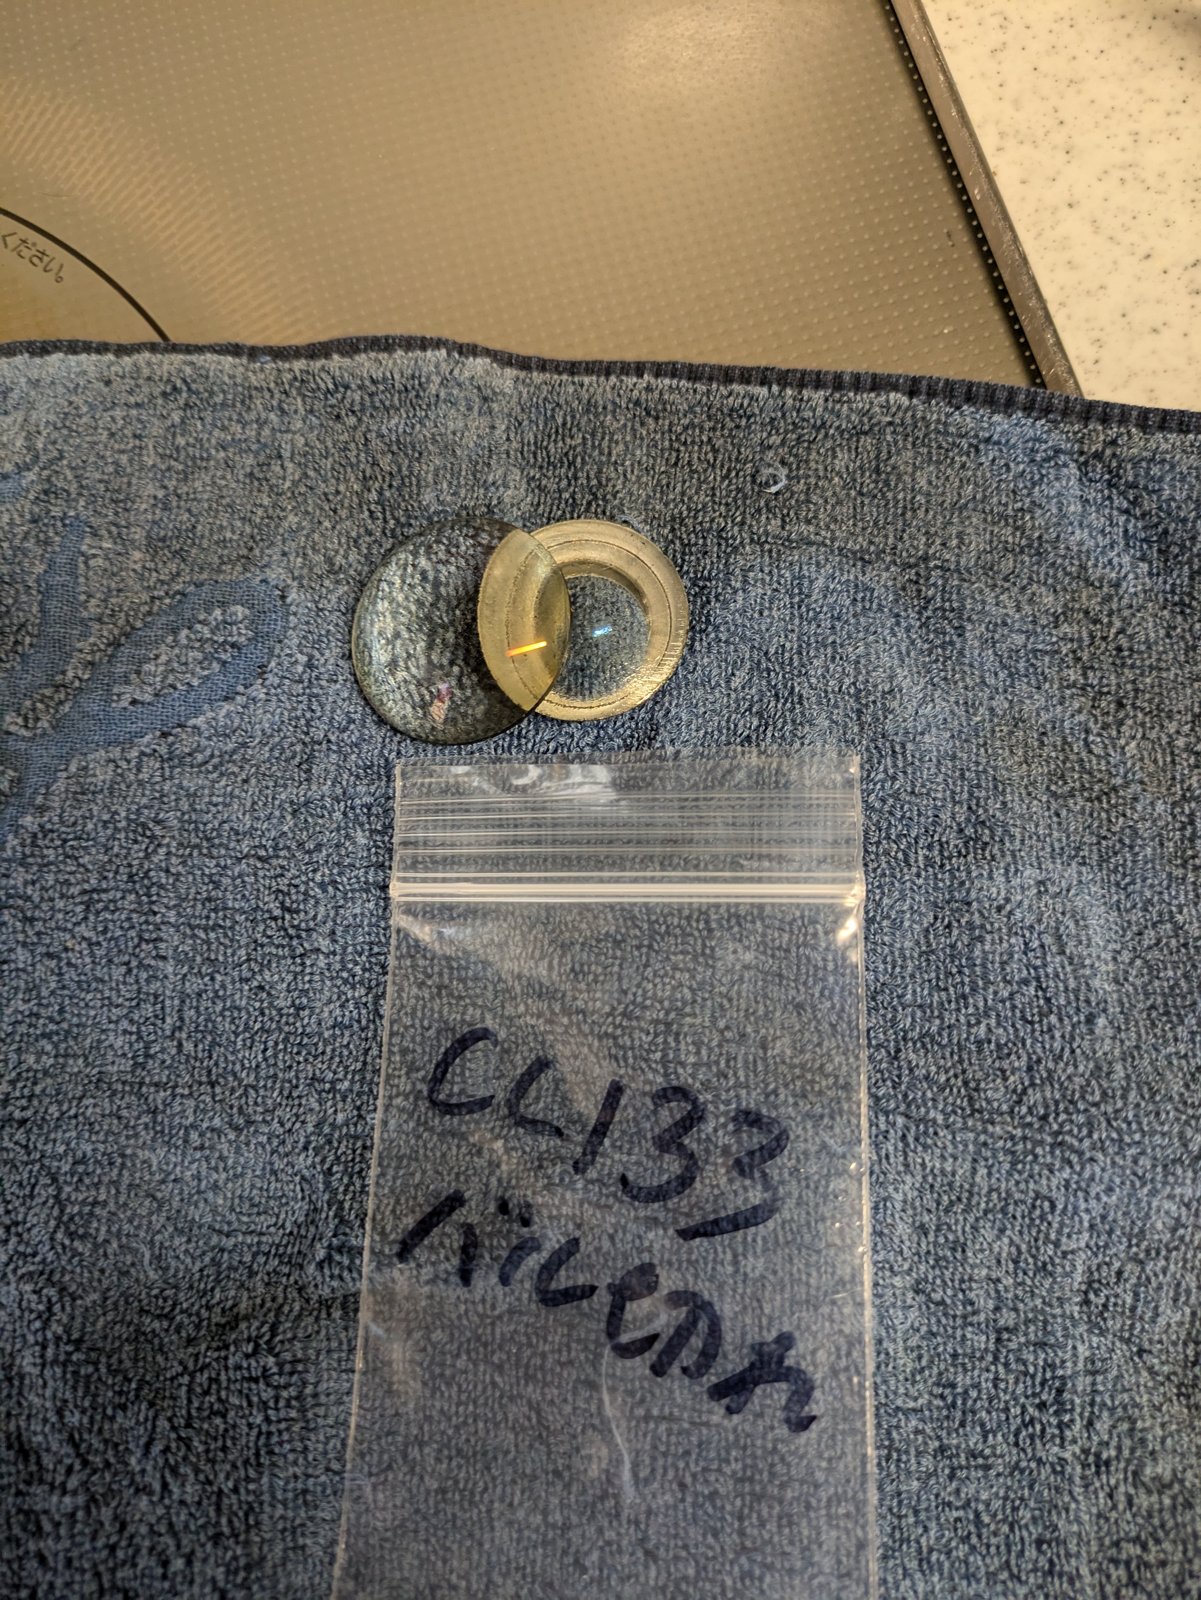
Before cementing them again, the old balsam has to be cleaned off both glasses.
For the new cement I used xylol balsam, the same balsam I always use for this repair. Then the lens went back together.
8. After
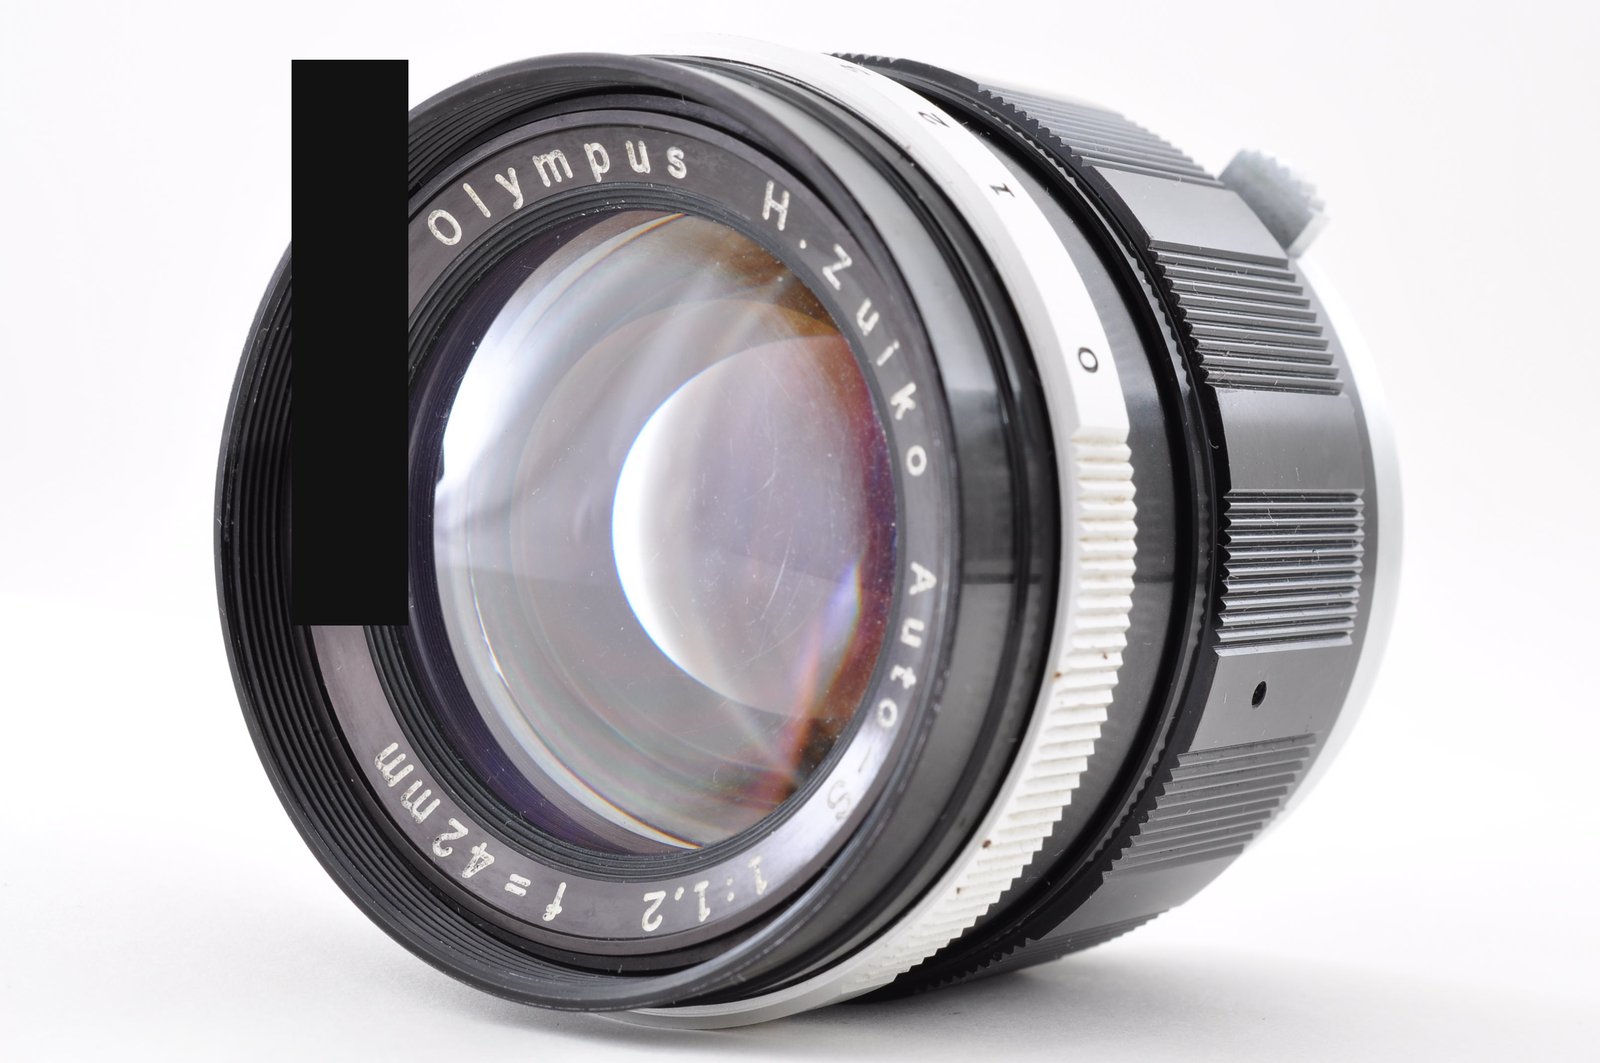
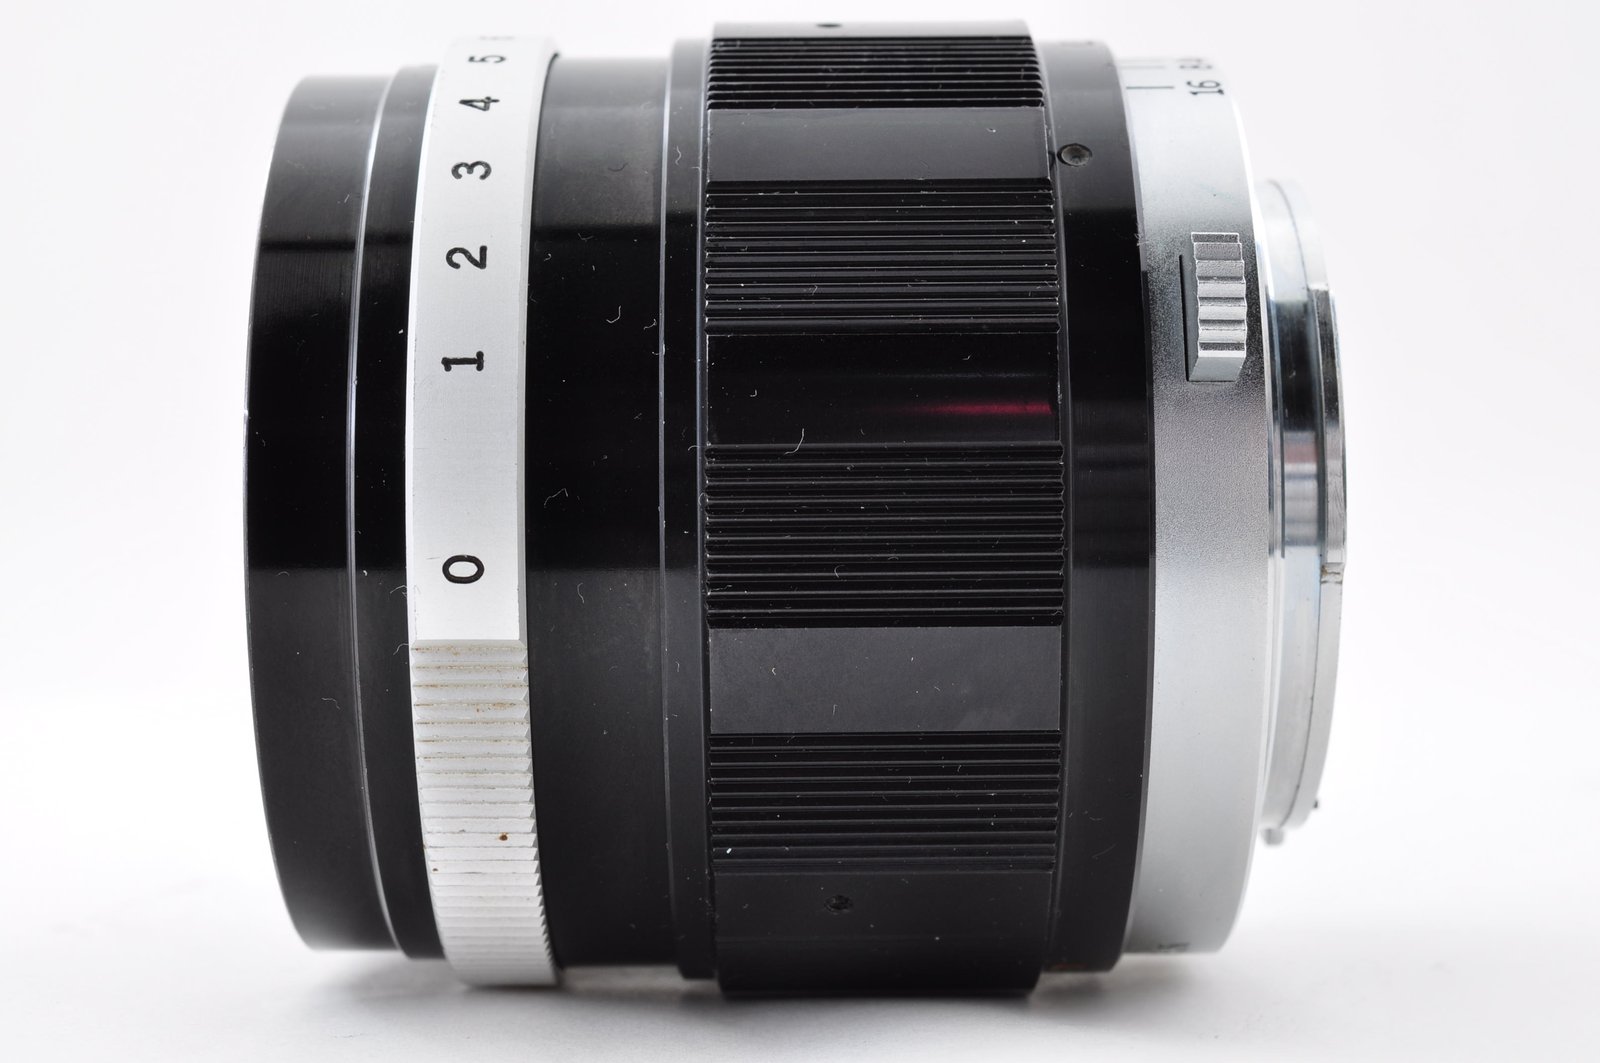
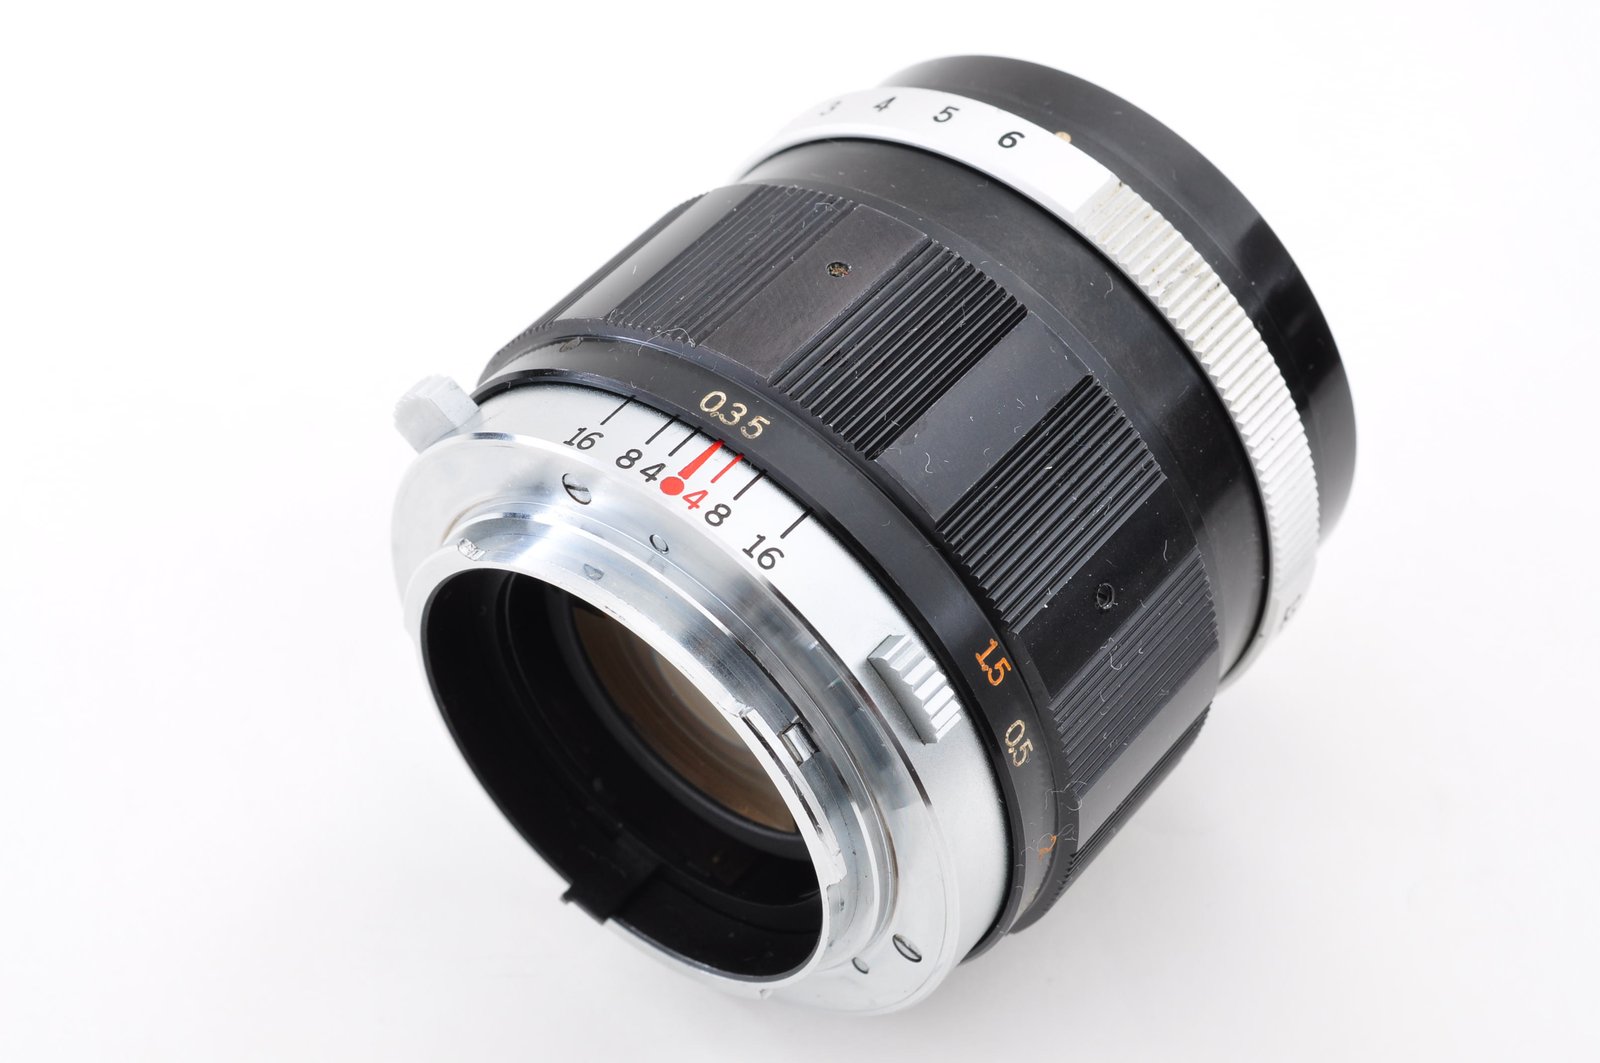
About six weeks after the repair, in December 2024, the lens found a new owner in the United States through our eBay shop.
Balsam separation looks serious, but it can often be repaired by taking the pair apart and cementing it again.
Thank you very much for reading.
Follow azuleterno on Instagram
I run azuleterno, a shop in Japan that sends good-quality used Japanese cameras and lenses to people all over the world. Like the lens in this post, items with minor problems are repaired and put in order before they are sold.
On Instagram I post the lenses and cameras I have just listed. Follow along to see what comes in next.
Questions, or looking for a particular lens or camera? Send me a DM on Instagram. Requests are welcome.
Shop worldwide on eBay
We sell good-quality items from Japan to buyers all around the world, and eBay is where we do it. Our items are listed in our eBay shop with detailed photos and an honest description of their condition, and we ship from Japan to your door.
When you find something you like on Instagram, this is the place to see it in full and buy it.
“For Your Happier Life, For the Future of Our Earth.” Giving well-made cameras a longer life is our small way of caring for the planet.
日本語
オリンパス H.Zuiko Auto-S 42mm F1.2 は、ハーフサイズの一眼レフ「オリンパス ペンF」シリーズ用の、明るい標準レンズです。この個体にはひどいバルサム切れと、絞りのレバーの動きの悪さがあったので、2024年11月に作業しました。分解と修理の流れを順に紹介します。
レンズの中には、2枚のガラスを透明な光学用の接着剤(バルサム)で貼り合わせたものがあります。年月がたつとこの接着が剥がれてきて、ガラスの中に曇りやザラッとした模様が見えることがあります。原因は2枚のガラスの間にあるので、表面を拭いても直りません。
1. レンズを覗く
前から覗くと、ガラスの真ん中に細かい点々の模様がびっしり見えます。表面ではなく、レンズの中にあります。
2. 前群を外す
前のレンズ群は、ひとまとまりで鏡胴からねじって外れます。外すと、その奥の絞りの仕組みが見えます。
3. 前群を開ける
外した前群を両側から撮りました。まず前玉を取り出すと、その奥の玉に手が届きます。
4. バルサム切れ
前玉を抜くと、原因がはっきり見えます。前群の中の貼り合わせの玉に、白い羽根のような模様が広がっています。
5. 貼り合わせの玉を取り出す
この玉は、金属の枠の縁を内側に折り曲げて(かしめて)ガラスを押さえてあります。取り出すため、デザインナイフで、かしめた縁を起こしました。
取り出した玉を横から見ると、2枚のガラスが貼り合わせてあるのが分かります。
光にかざすと、ザラッとした模様がガラス全体に走っているのがよく分かります。
6. マウント側から絞りのレバーを直す
このレンズにはもう1つ不具合がありました。絞りの動きに引っかかりがあり、レバーの動きが悪かったのです。そこへ手を届かせるため、マウント側から分解しました。マウントは小さなネジで留まっていて、外すと後ろから絞りの仕組みに手が届きます。
マウントを外したあと、爪楊枝と注油器で絞りの仕組みを手入れし、レバーがなめらかに動くように直しました。
7. 貼り直し
2枚のガラスを剥がすため、台所のコンロで、お湯を入れた鍋で煮ました。熱で古いバルサムがゆるみ、2枚が外れました。袋には「CL133 バル切れ」と書いてあります。
貼り直す前に、両方のガラスから古いバルサムを落とします。
貼り直しには、いつも使っているキシロールバルサムを使いました。そのあと、レンズを組み立てました。
8. 仕上がり
修理からおよそ6週間後の2024年12月、このレンズはアメリカの新しい持ち主のもとへ渡りました。
バルサム切れは見た目が深刻ですが、貼り合わせを剥がして貼り直すことで直せることが多いです。
最後まで読んでいただき、ありがとうございました。
オールドレンズの分解清掃を承ります|Repair Factory Fuji Base
この記事のような分解清掃を、国内のお客さまのレンズでもお受けしています。静岡県富士市の工房で、カビ・くもり・絞りの油染み・バルサム切れの清掃を、1本ずつ作業します。
基本料金2,000円(税込価格2,200円)・返送料込み。料金表とお申し込みは、受付ページをご覧ください。
作業の様子は、Instagram @fujibase_repair でも紹介しています。
InstagramでazuleternoをFollowしてください
日本の良質な中古カメラ・レンズを、世界中の方へお届けしているショップ azuleterno を運営しています。今回のレンズのように、小さな不具合のある品は修理・整備してから販売しています。
Instagramでは、新しく出品したレンズやカメラを紹介しています。フォローしていただくと、次に入ってくる品が見られます。
ご質問や、お探しのレンズ・カメラがあれば、InstagramのDMでお気軽にどうぞ。
モットーは “For Your Happier Life, For the Future of Our Earth.”(あなたのより幸せな暮らしと、地球の未来のために)。良いカメラを長く使い続けてもらうことが、地球を大切にする私たちなりの方法です。
Comments