The Nikon Ai-S Nikkor 35mm f/1.4 is a fast, wide-angle prime for Nikon F-mount cameras. I serviced this one in September 2024. This post walks through the disassembly of the front group, step by step.
The job was to try to repaint the black paint on the edges of the lens elements. On many old lenses this black edge paint flakes off over time. When it is gone, light can bounce around inside the lens, which can lower contrast and add flare. In Japan this is called koba-ochi (edge paint loss).
This model is known for it: a great many copies of the Ai-S 35mm f/1.4 have edge paint loss.
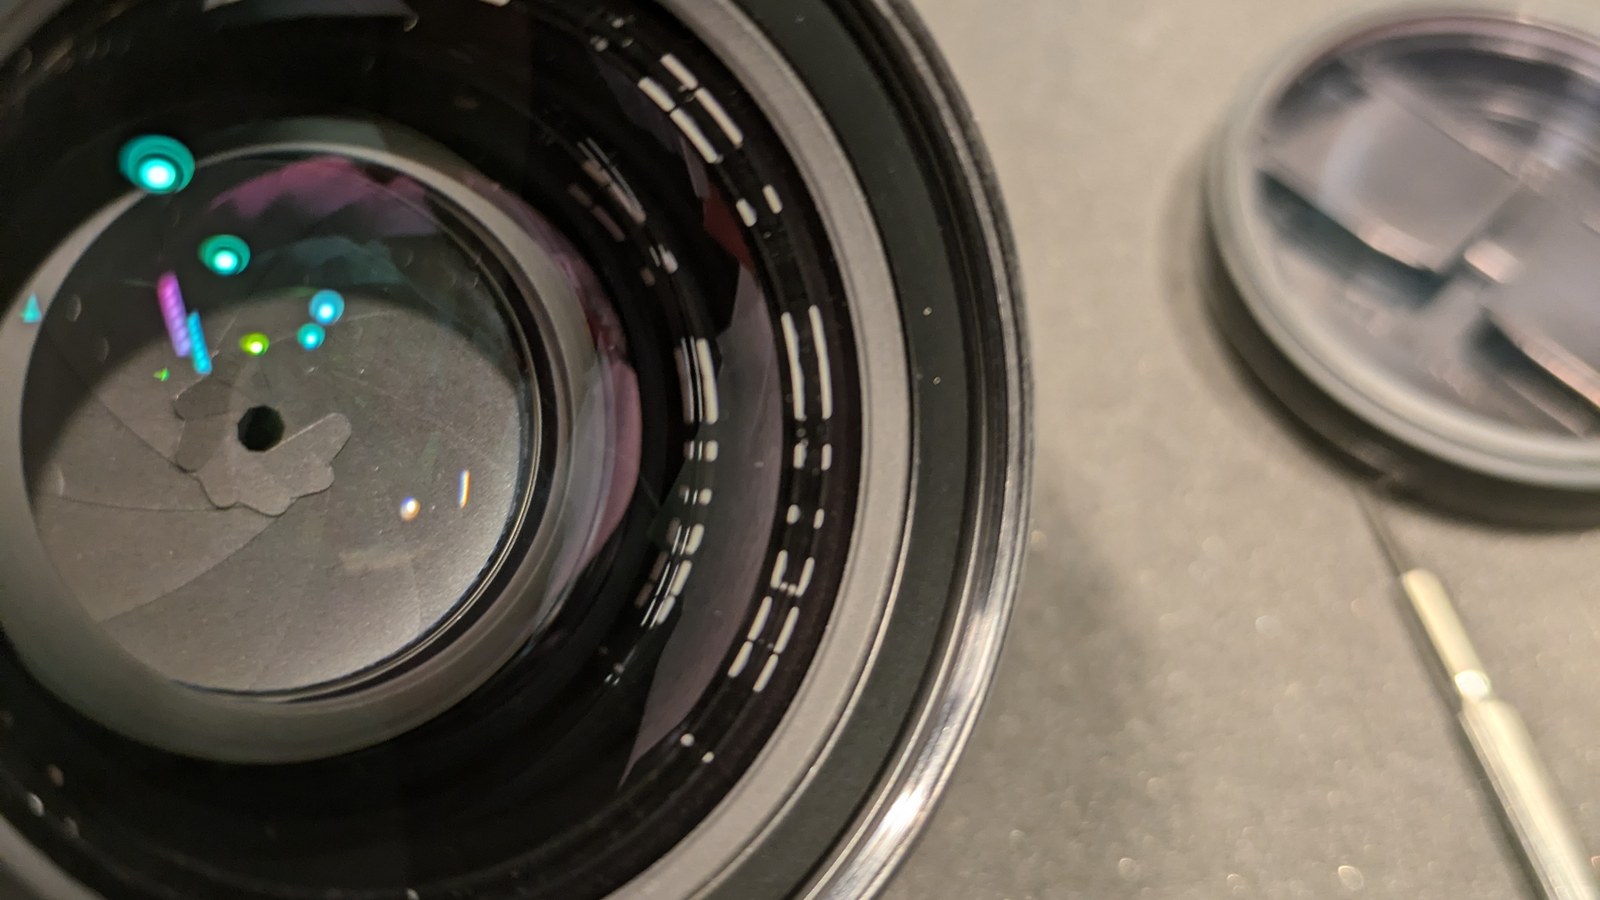
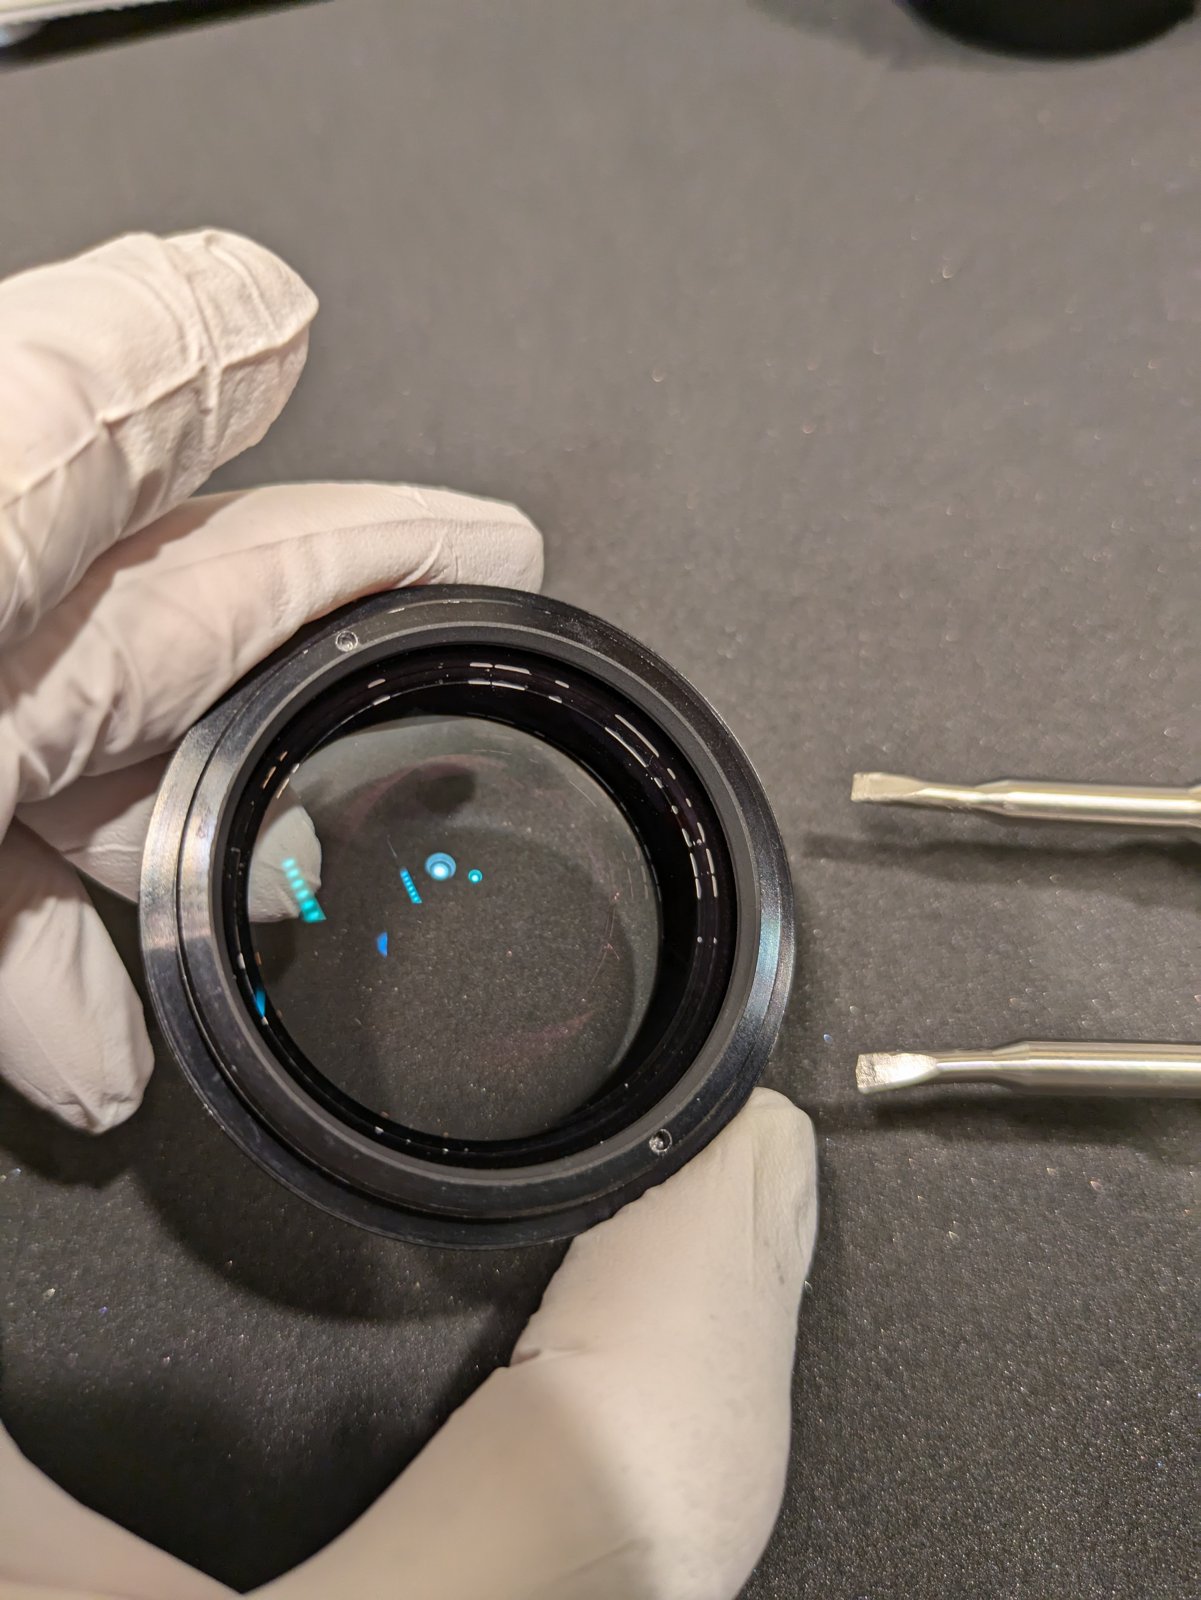
Before: the white dashes around the edge
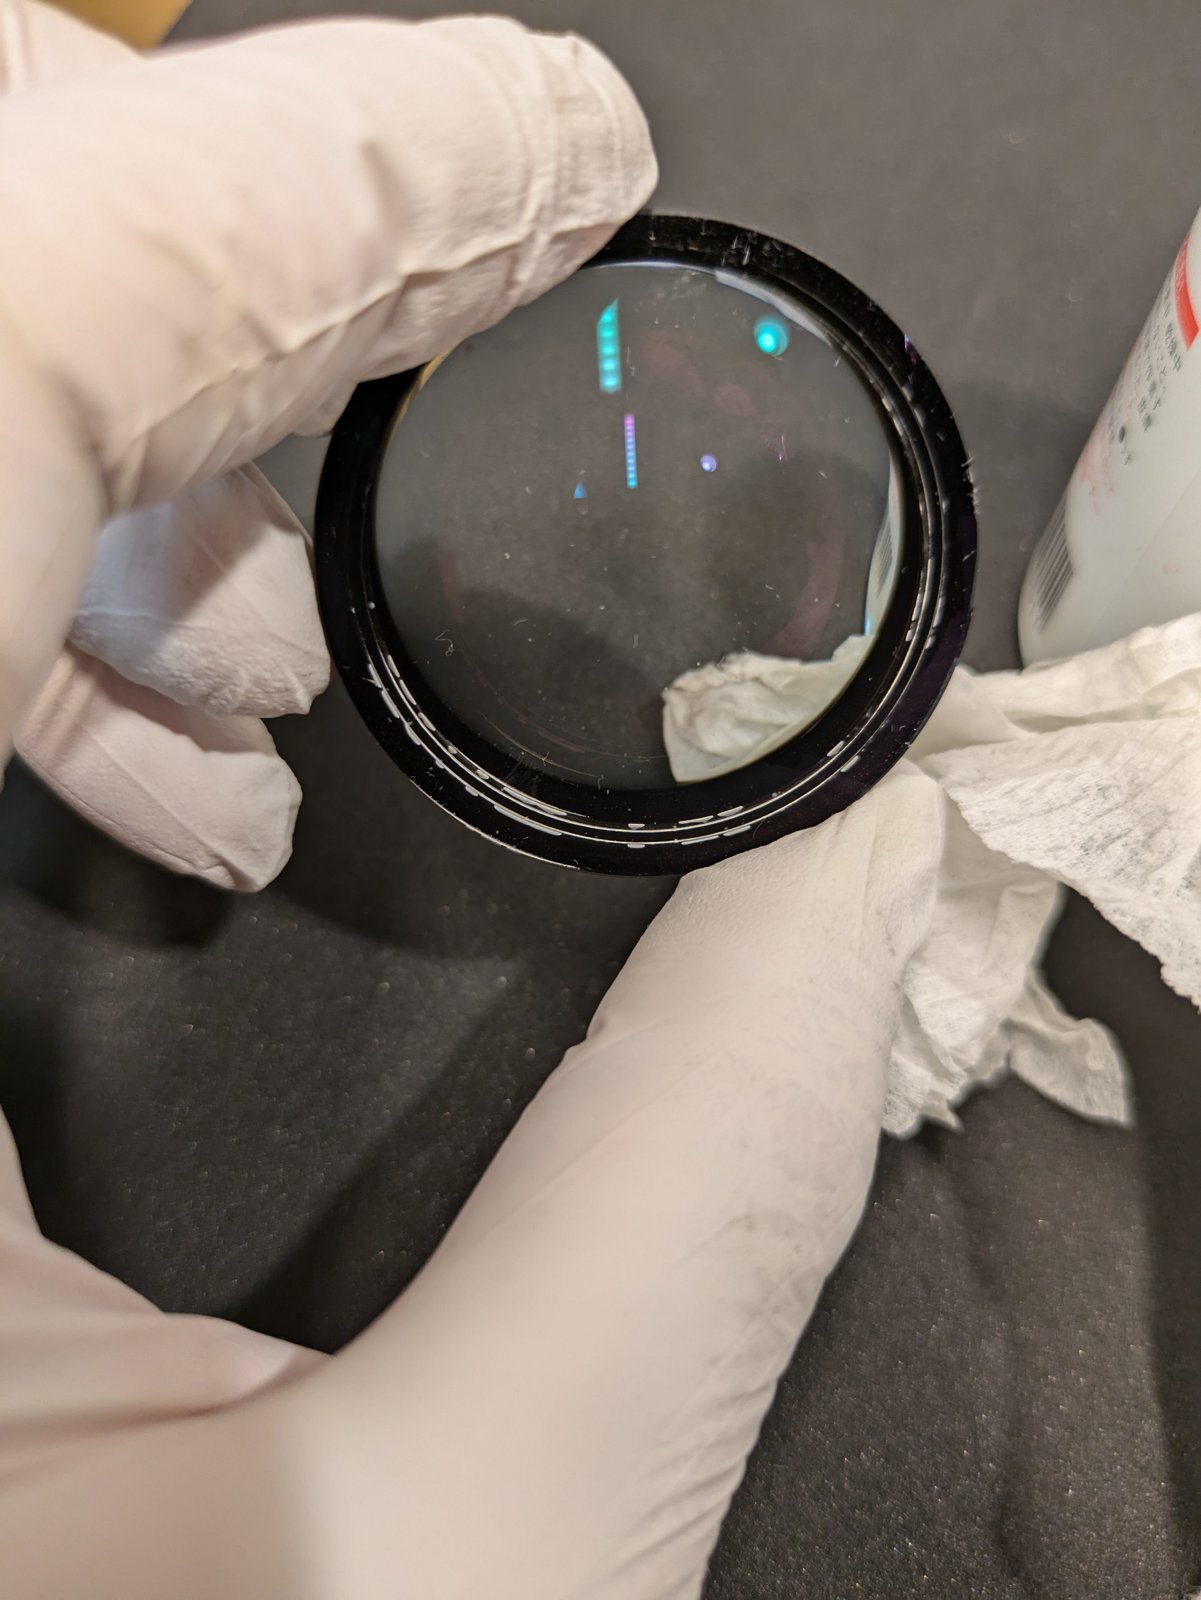
The listing said the lens looked very clean, and that no fungus or haze could be seen inside. When it arrived, though, I found edge paint loss. Looking in from the front, you can see a ring of short white dashes around the edge of the glass. That is bare glass where the black paint has come off.
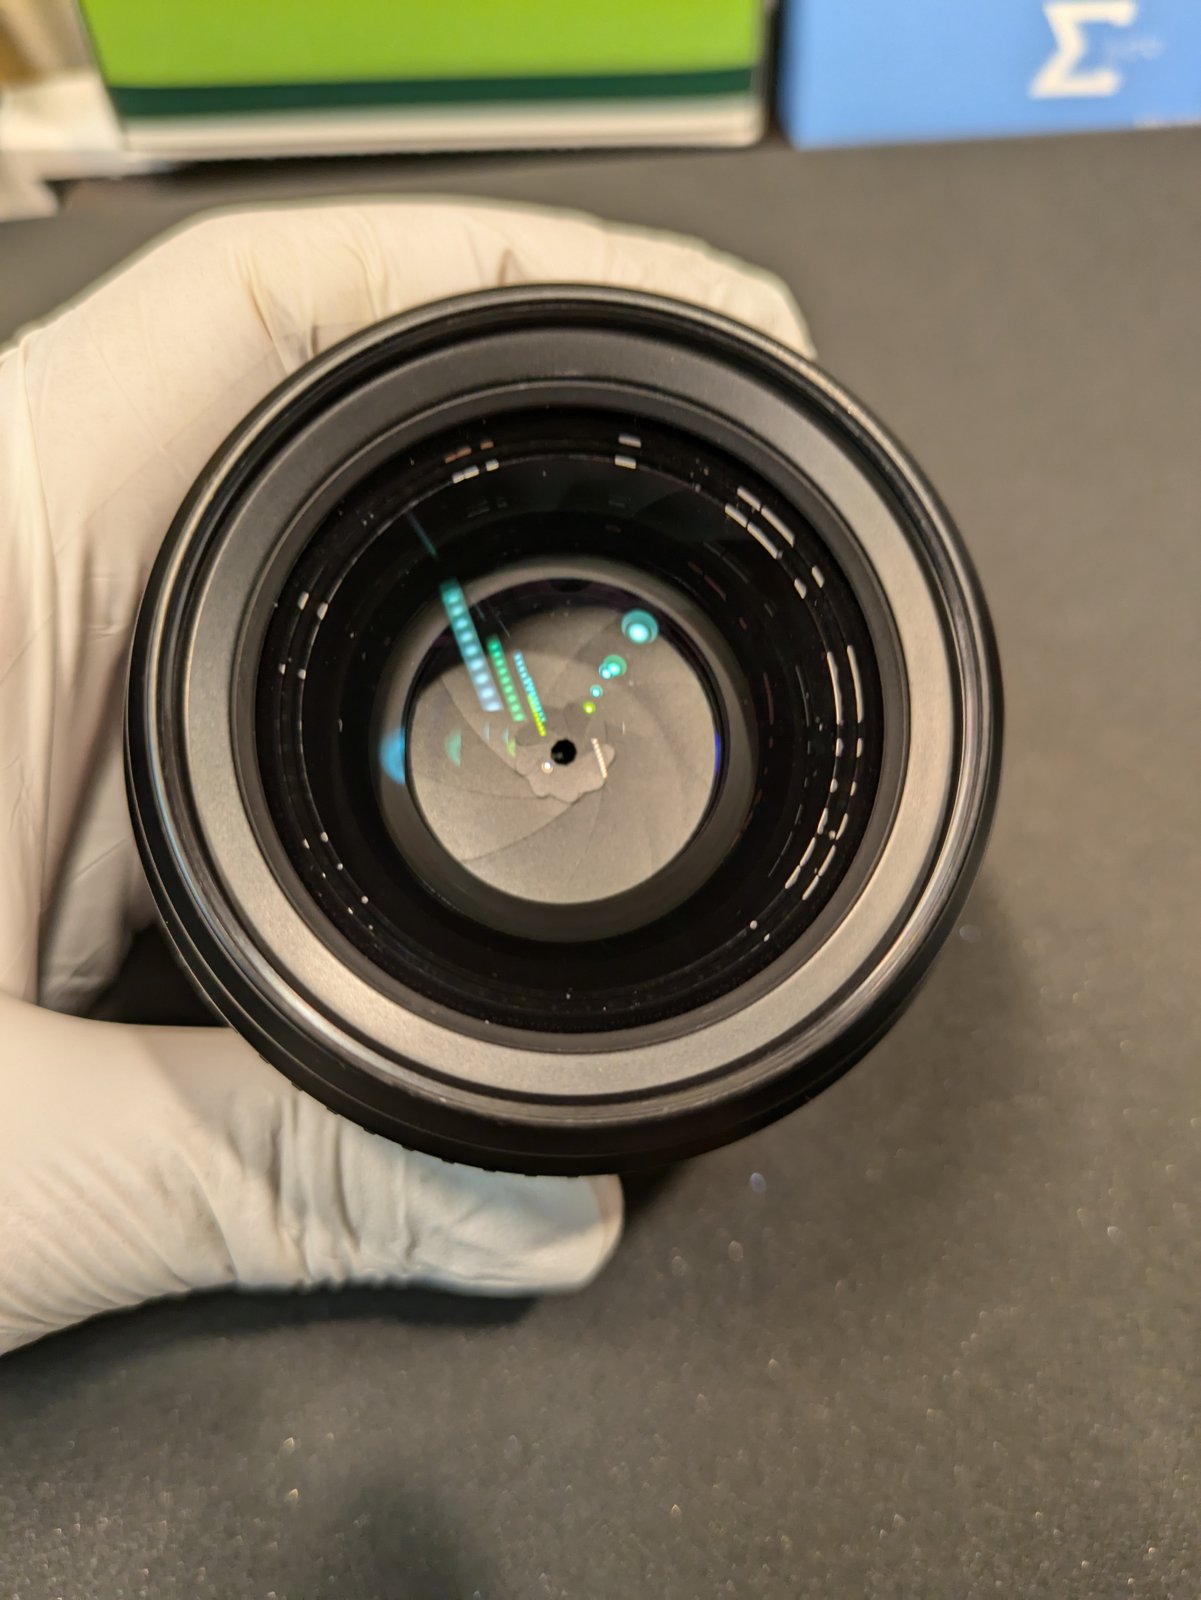
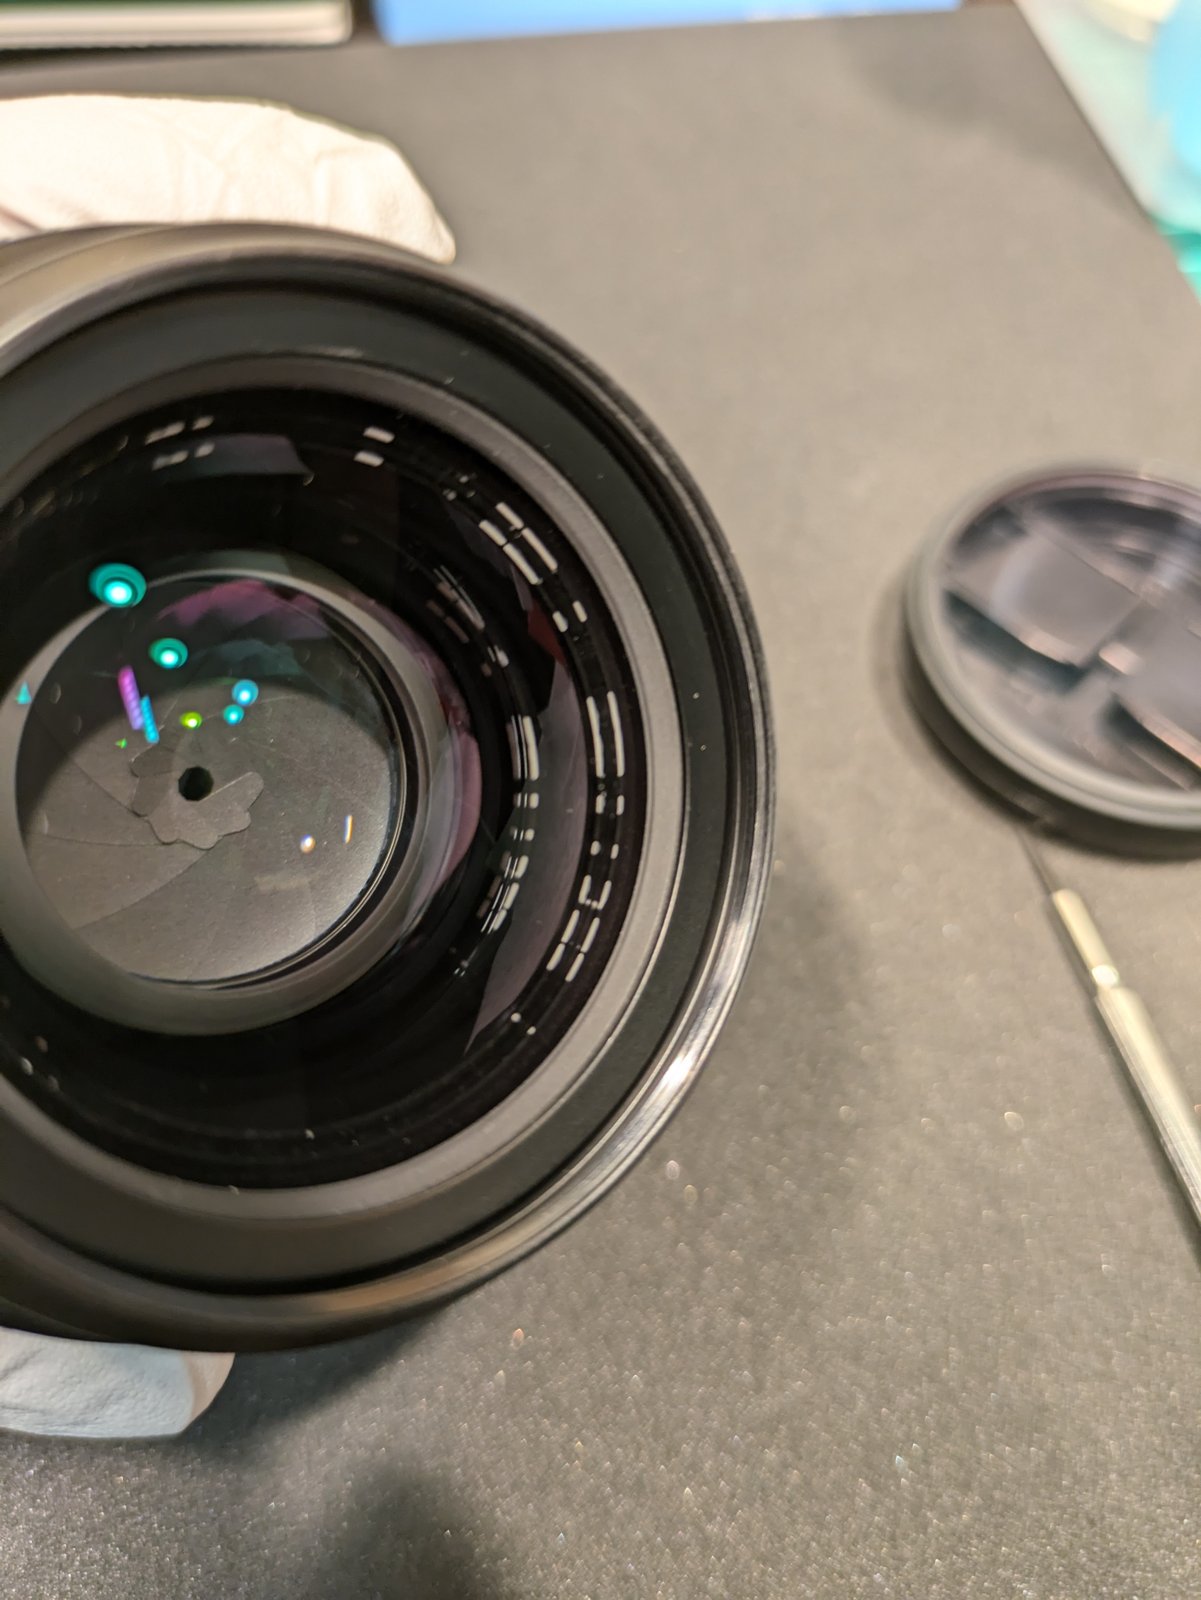
Later, I looked at the listing photos again. In the photo looking in from the front, the same row of white dots was already there. So this problem can be spotted in photos too. When you buy a used lens, look at the photo taken from the front, and check for white dots or lines lined up around the edge of the glass.
1. Opening the front of the lens
On this lens only the front group needed to come apart, and getting to it is not difficult. There is a small set screw on the side of the front barrel. Loosen it first.
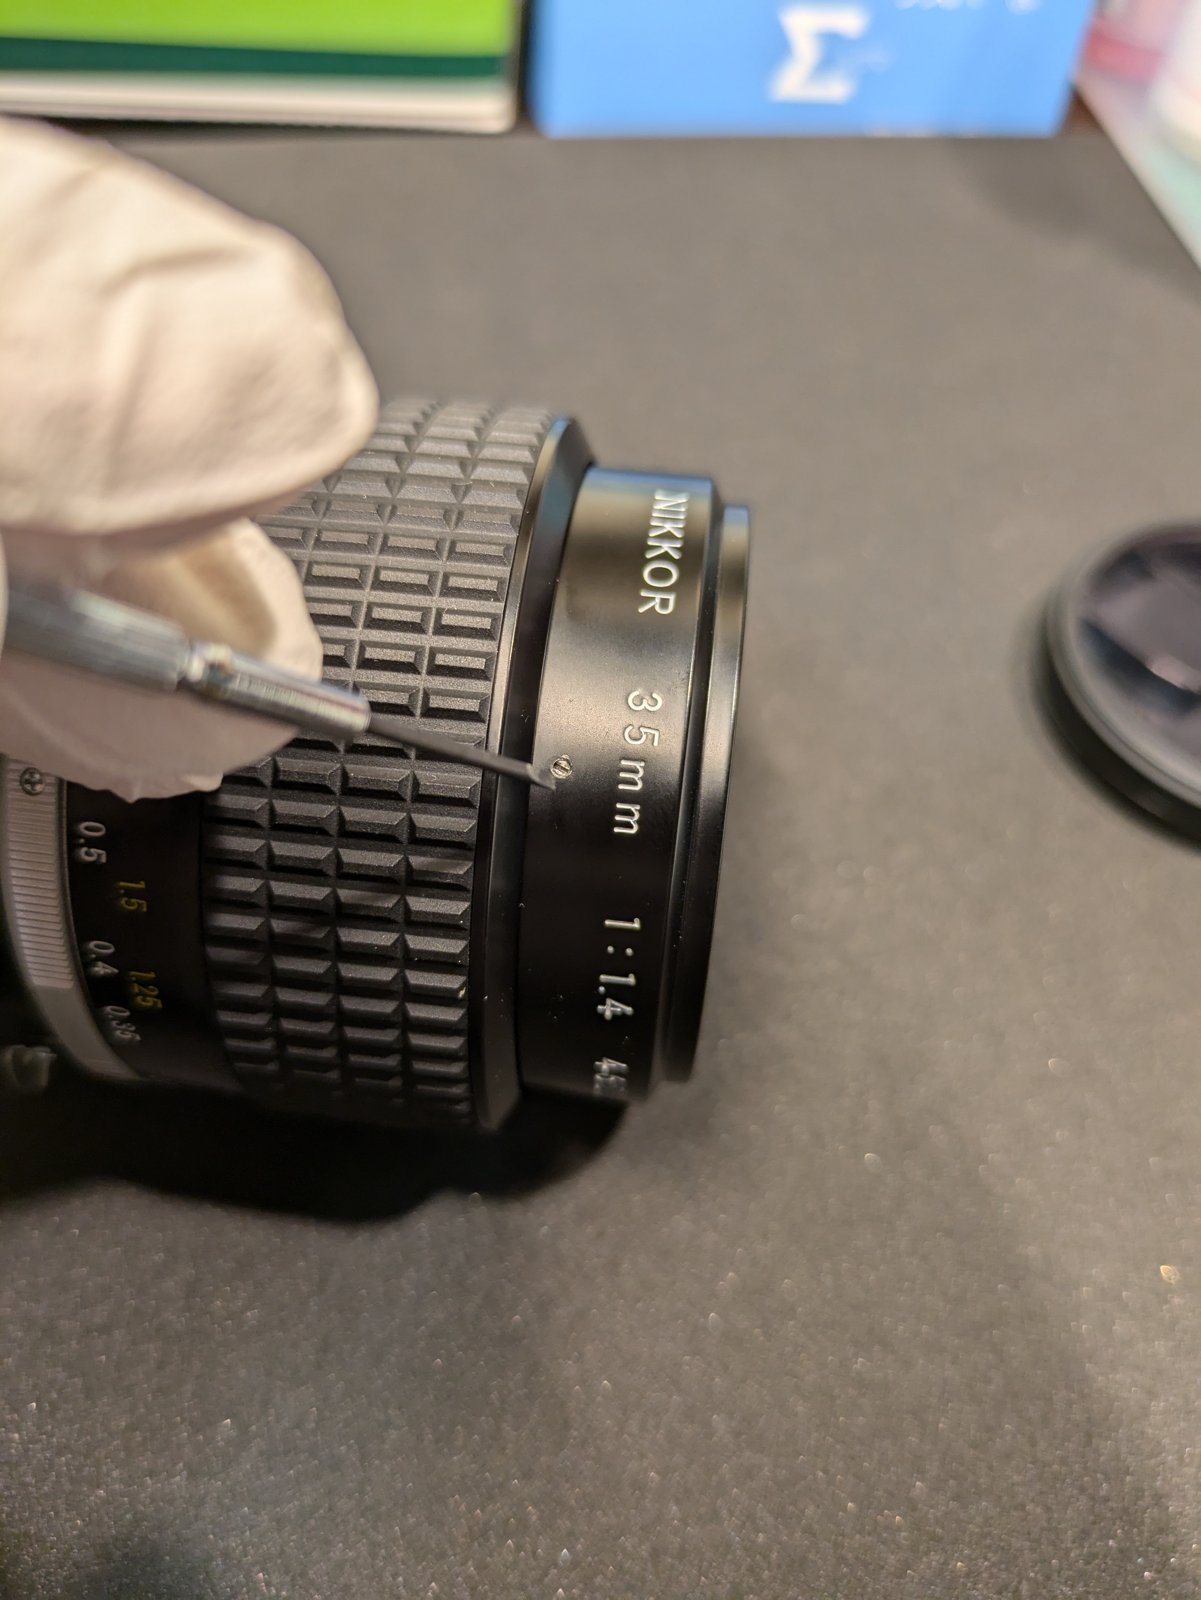
Then the parts at the front are loosened one by one.
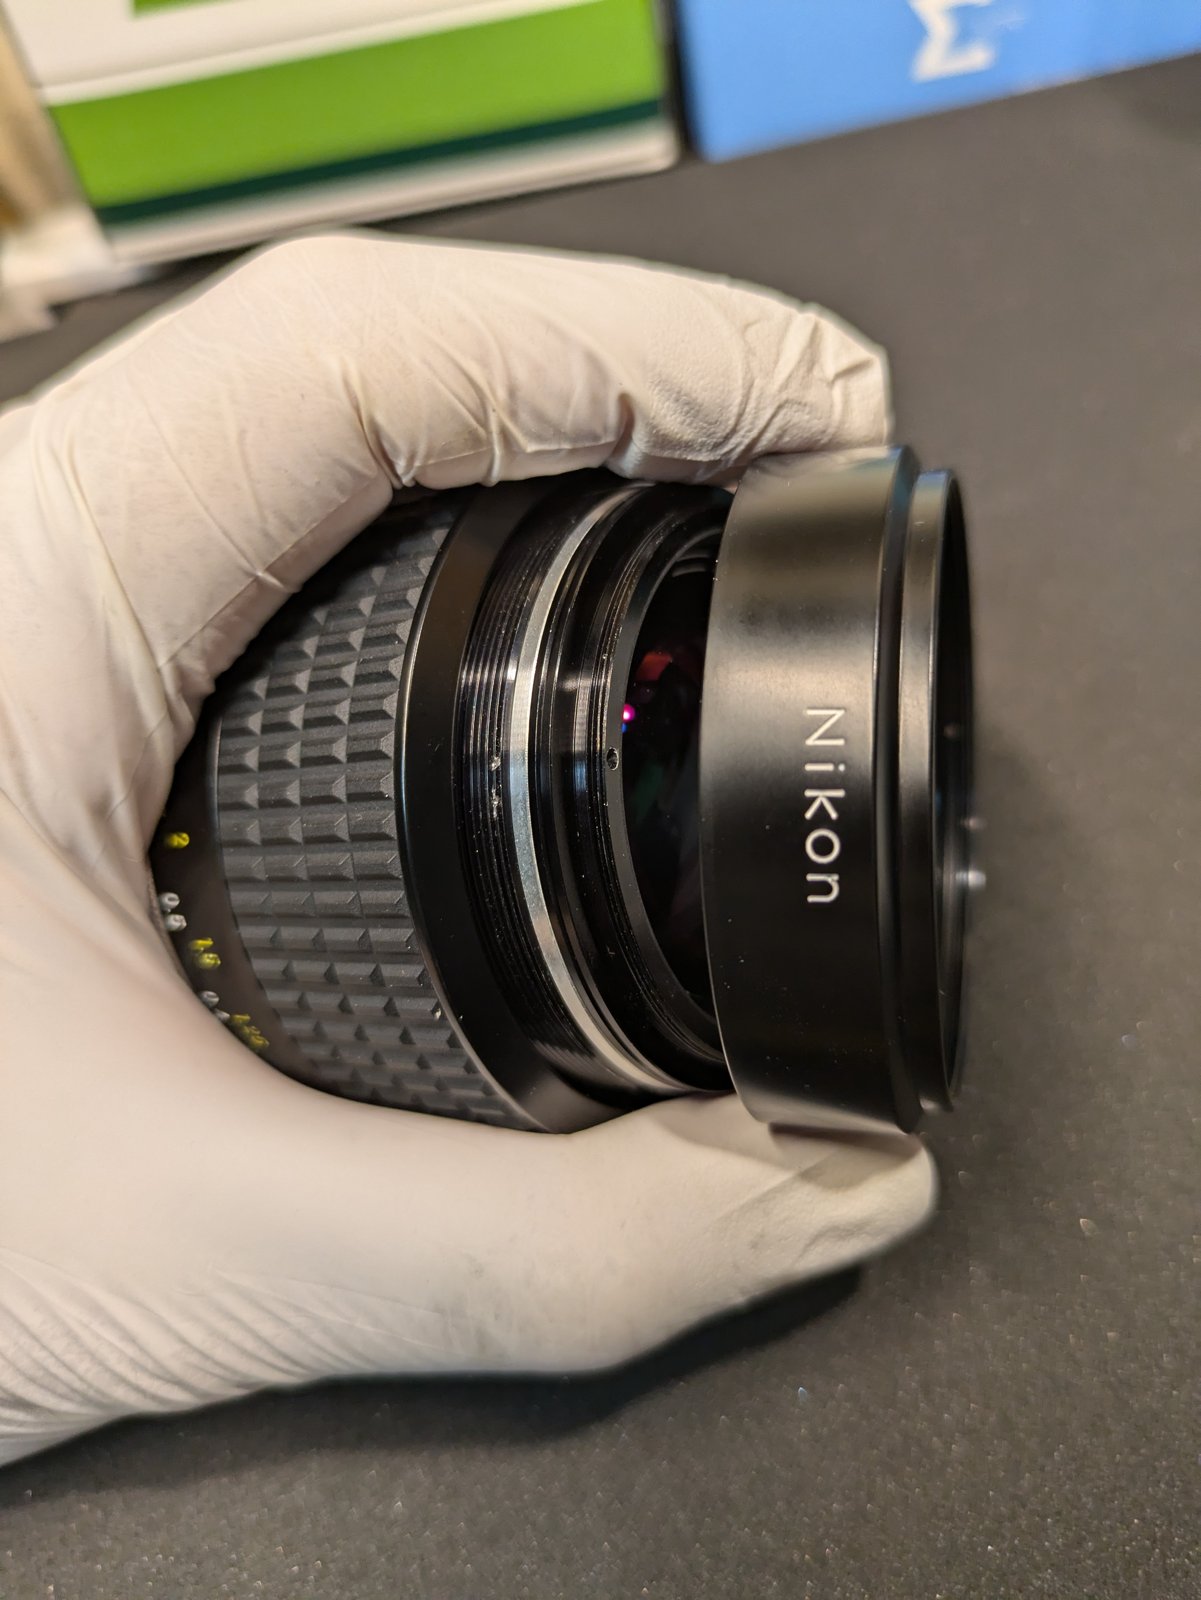
Next comes the part that holds the front group. It has two small holes; with a two-pin tool in those holes I loosened it, and the front group came out.
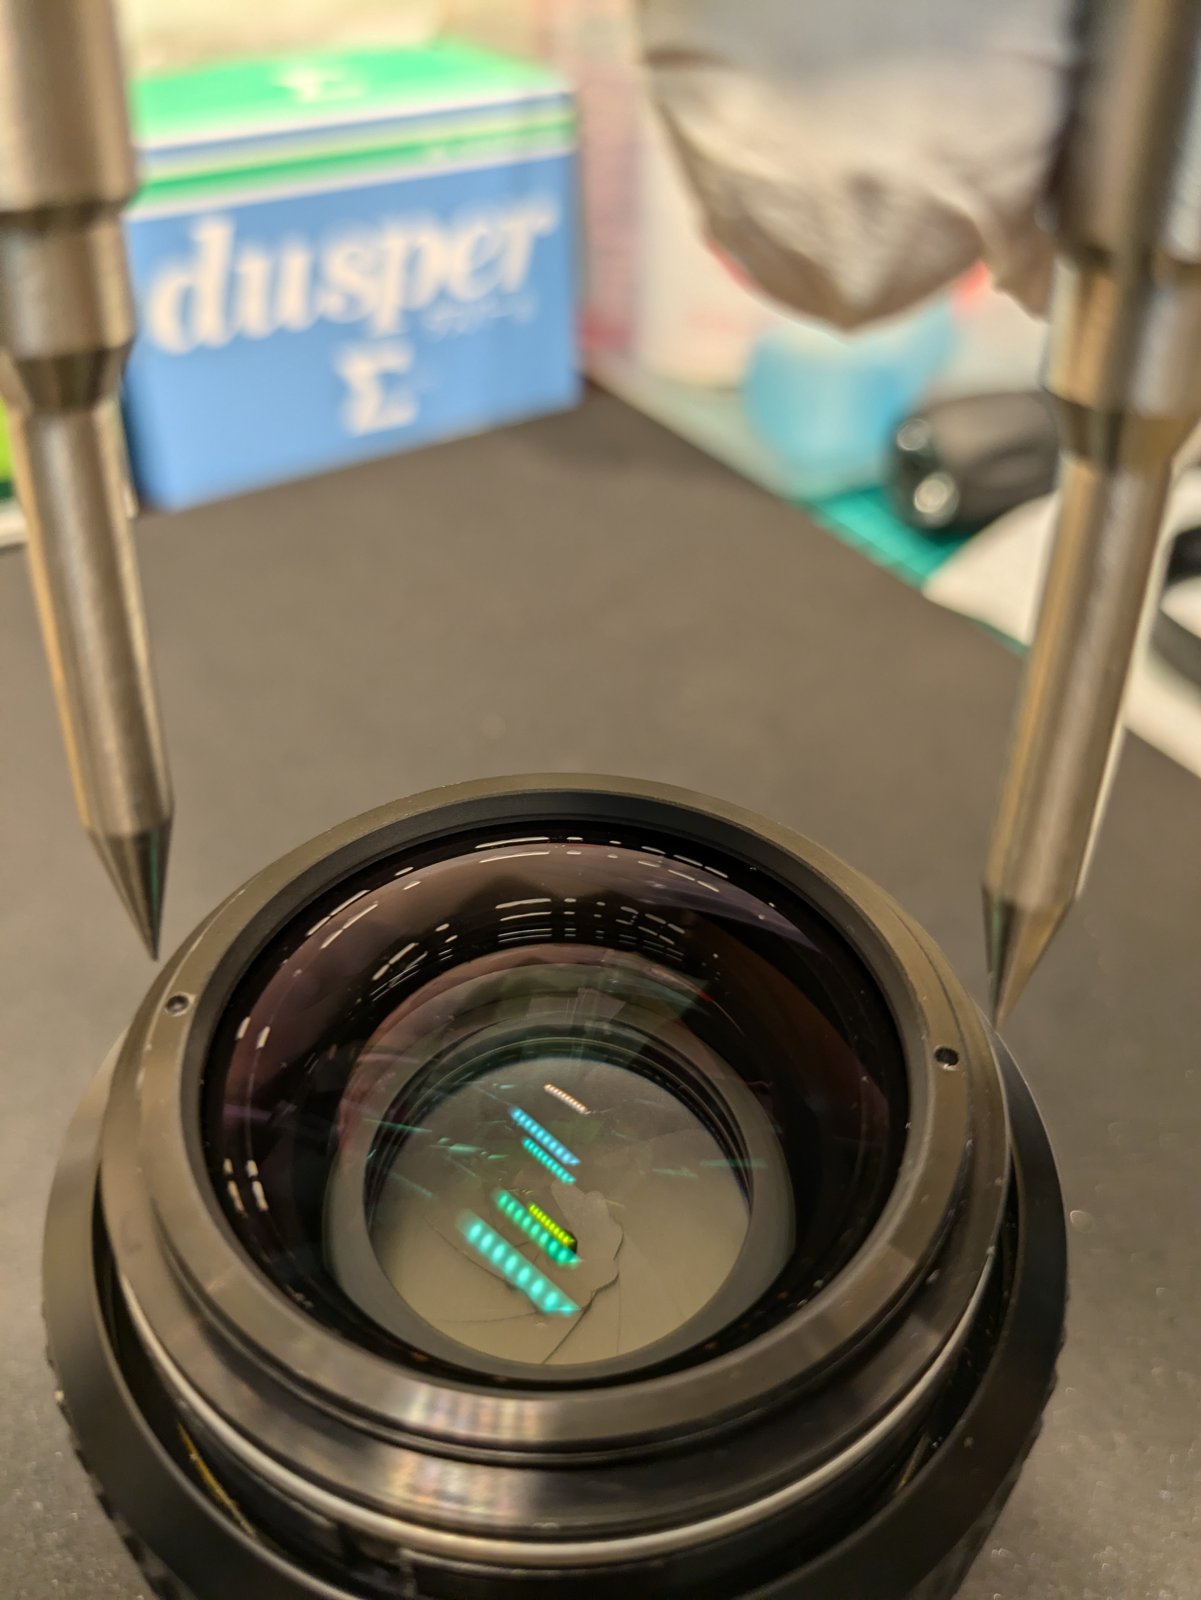
2. Taking out the front group
Now the whole front group lifts out of the barrel. With it out, you can see the aperture blades deep inside the barrel.
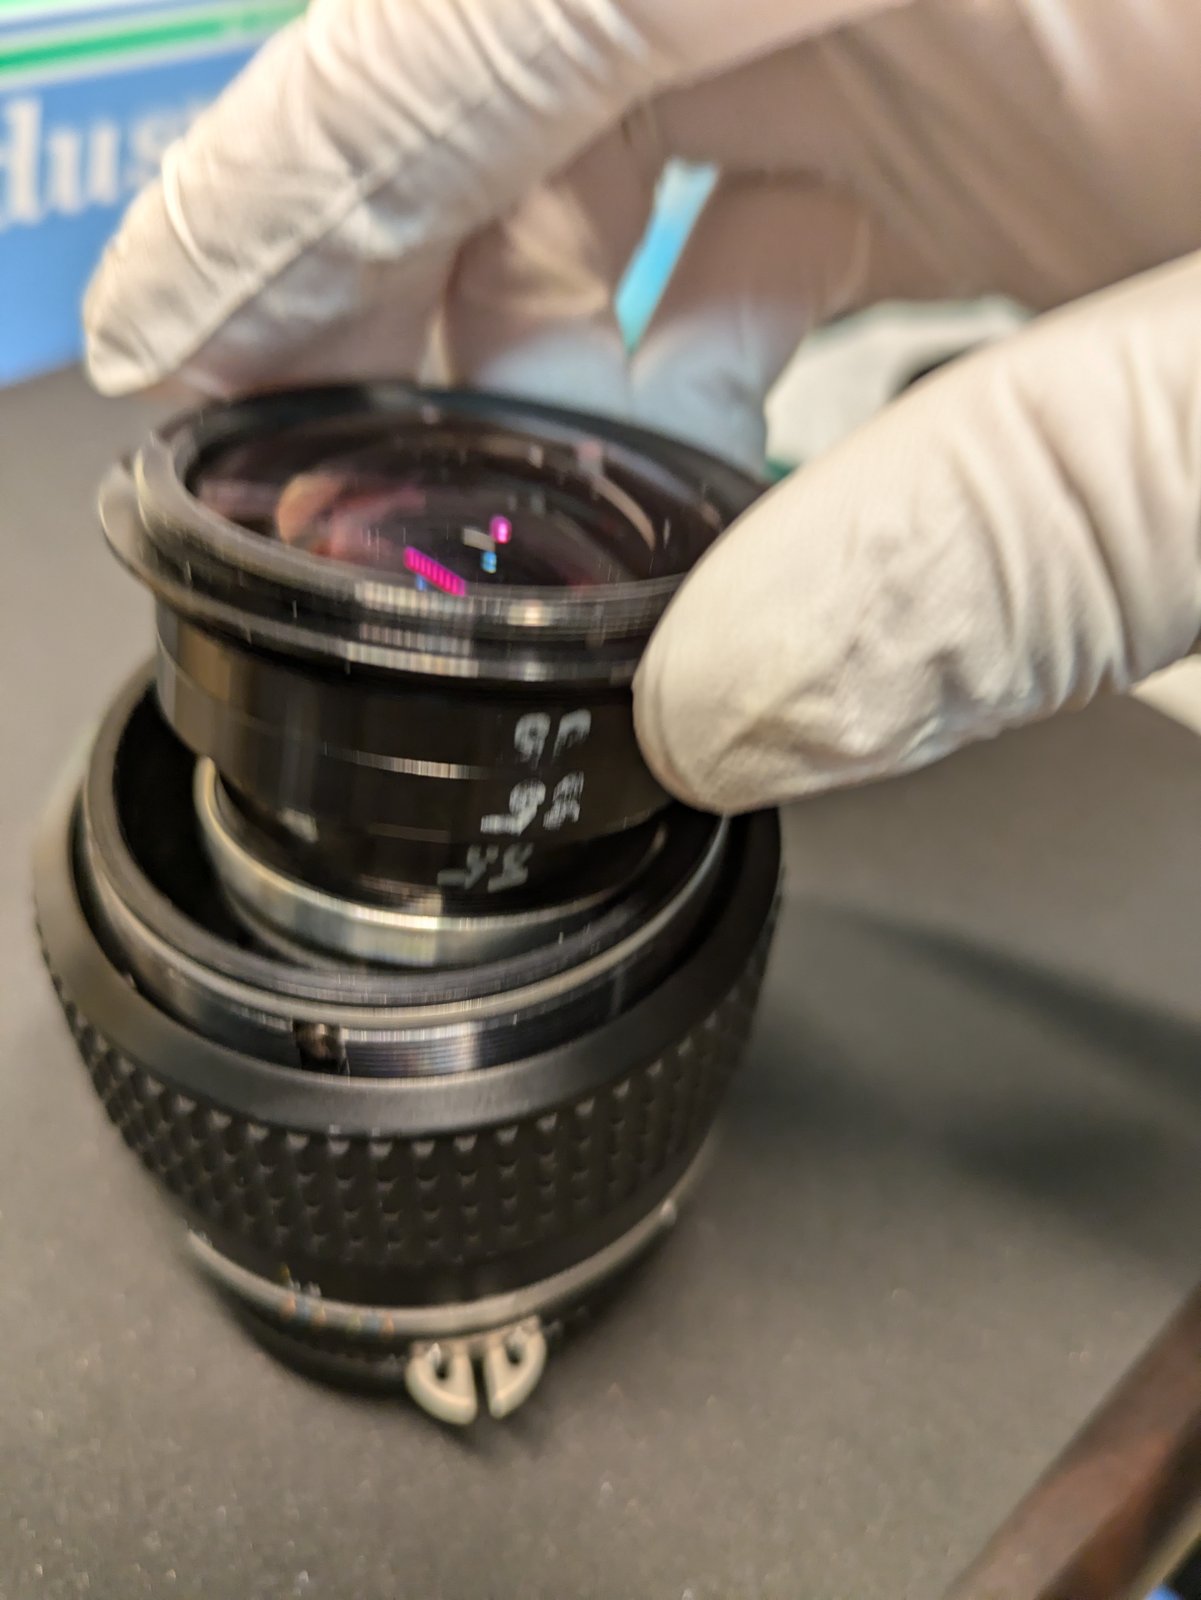
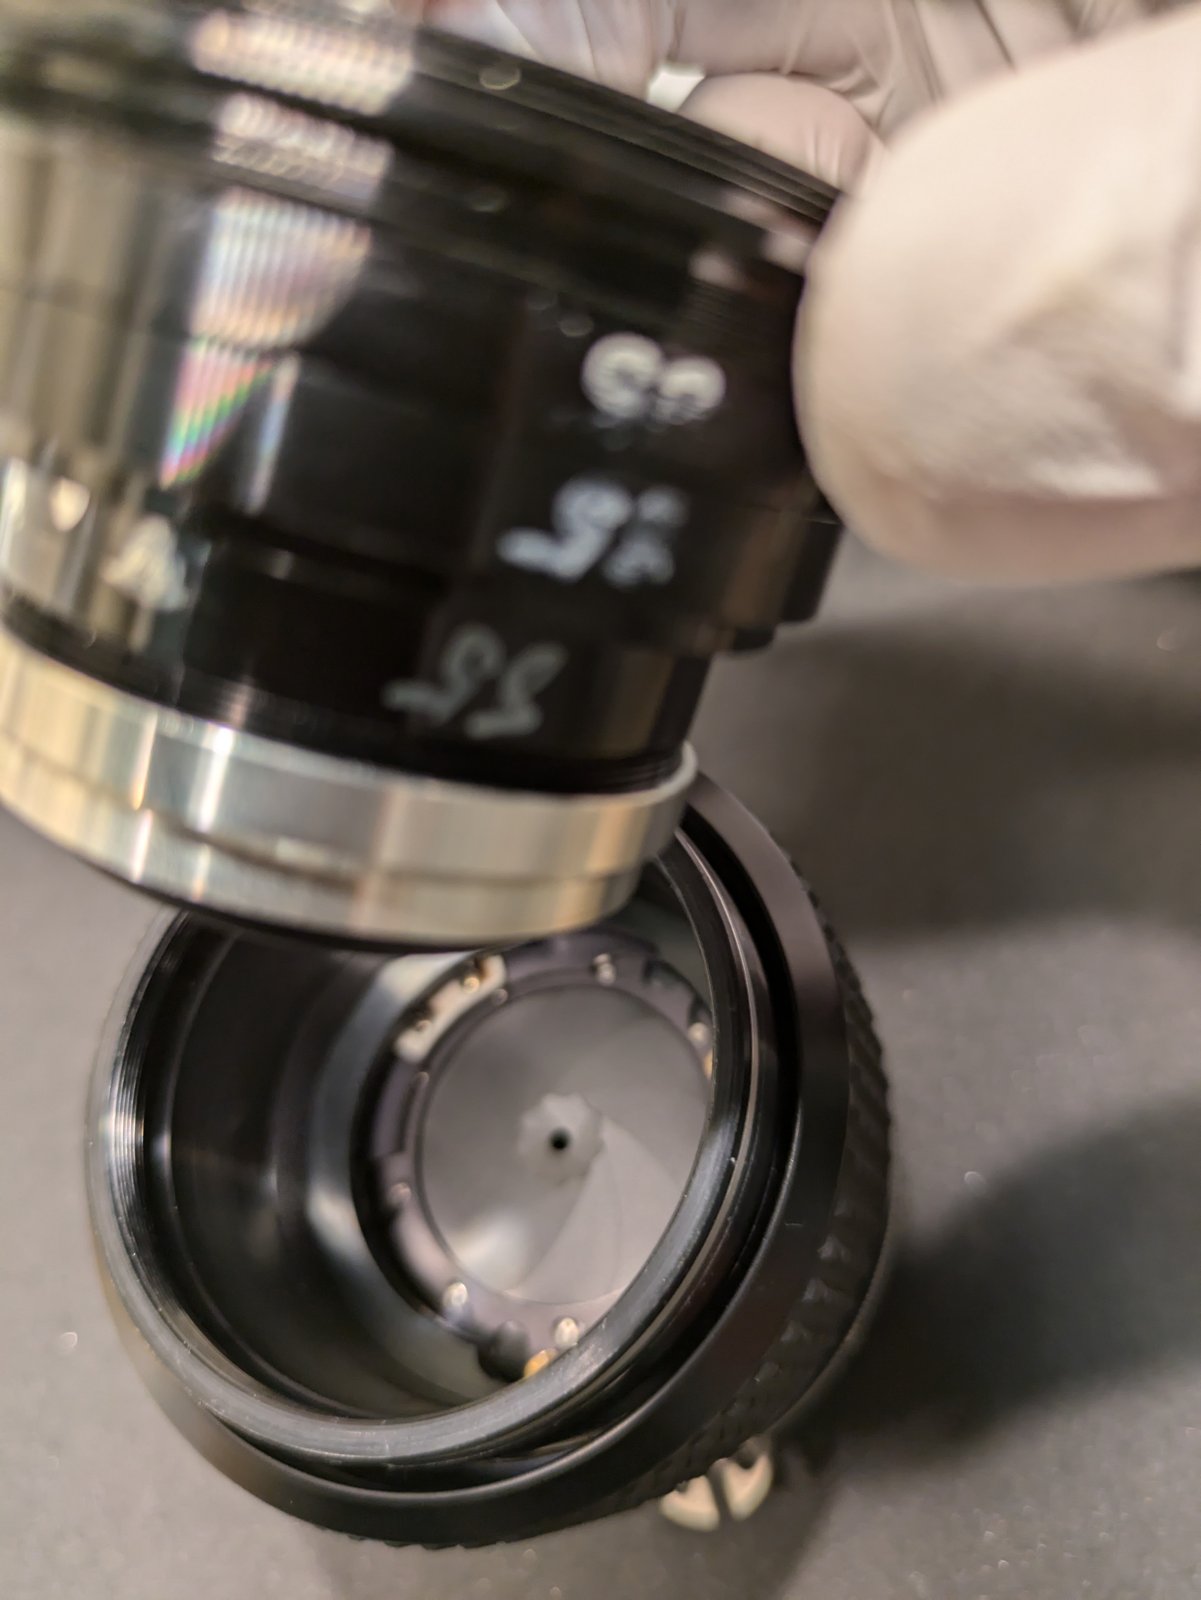
3. Taking the elements out of the front group
The front group comes apart into two pieces.
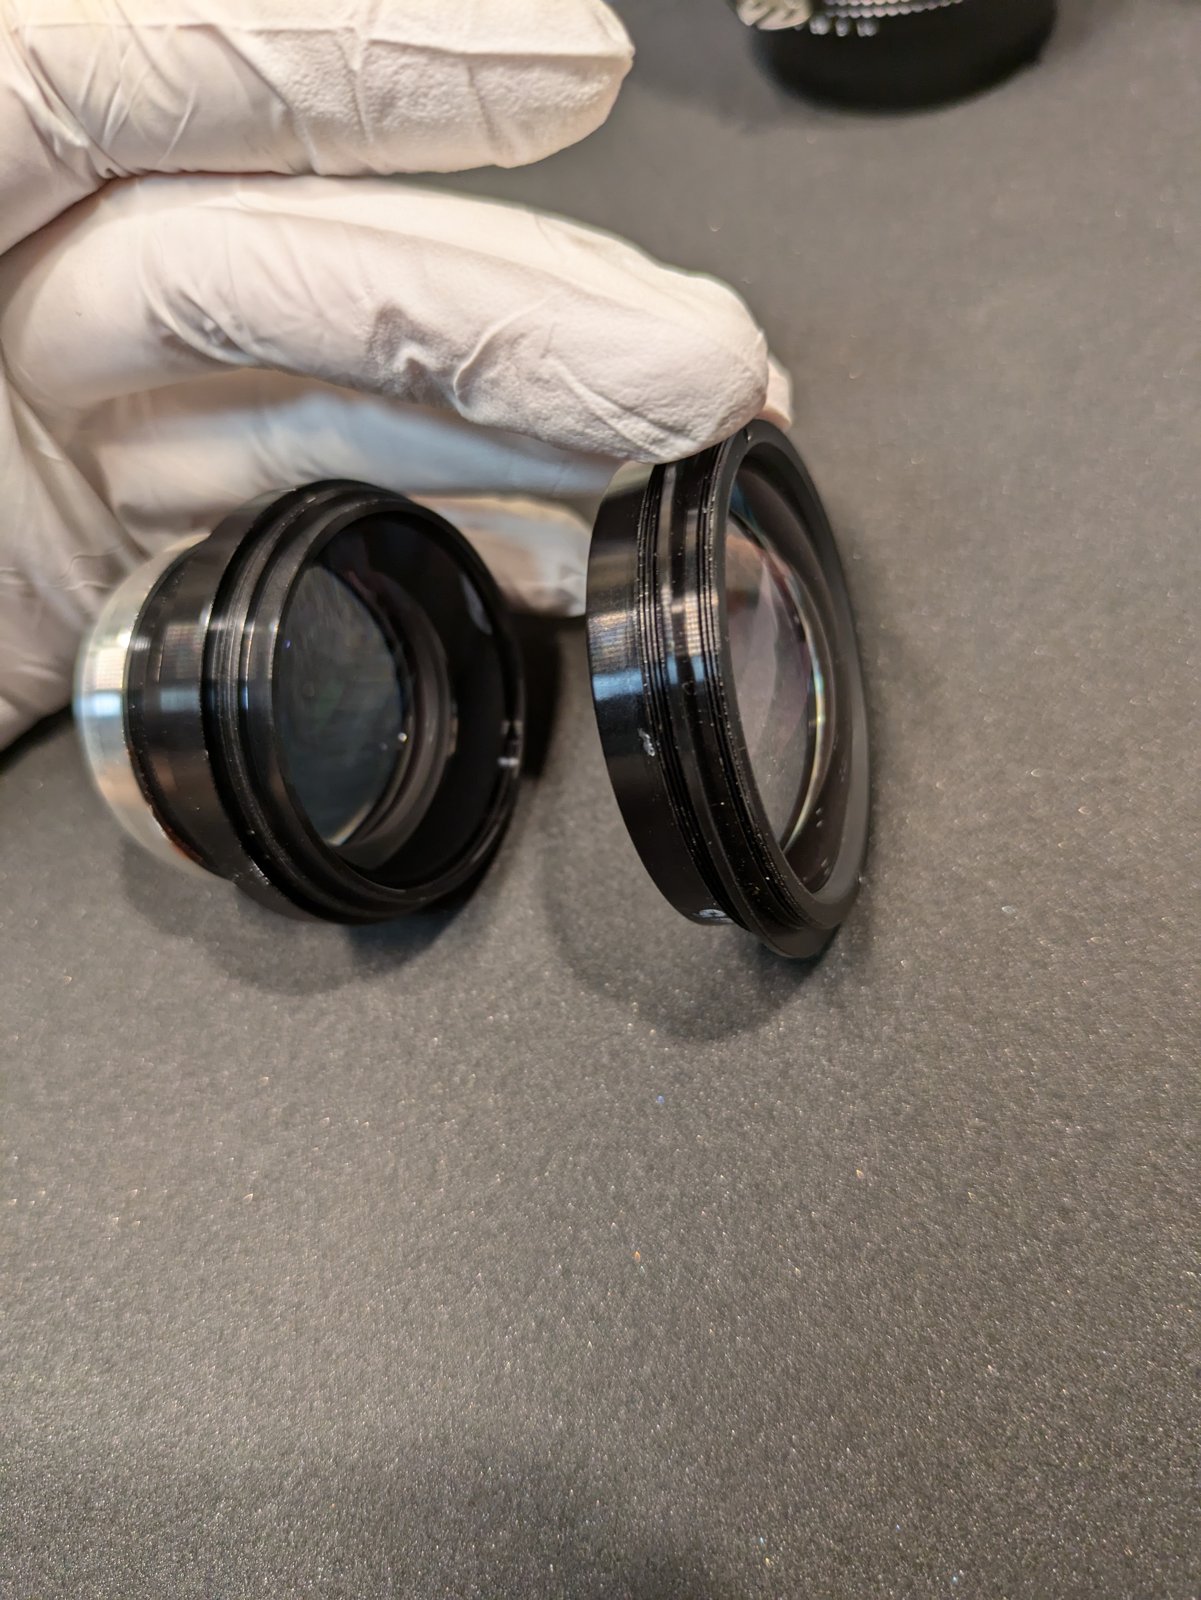
Here is one of the elements still in its cell. Even from this angle, the white dashes are visible around the edge of the glass.
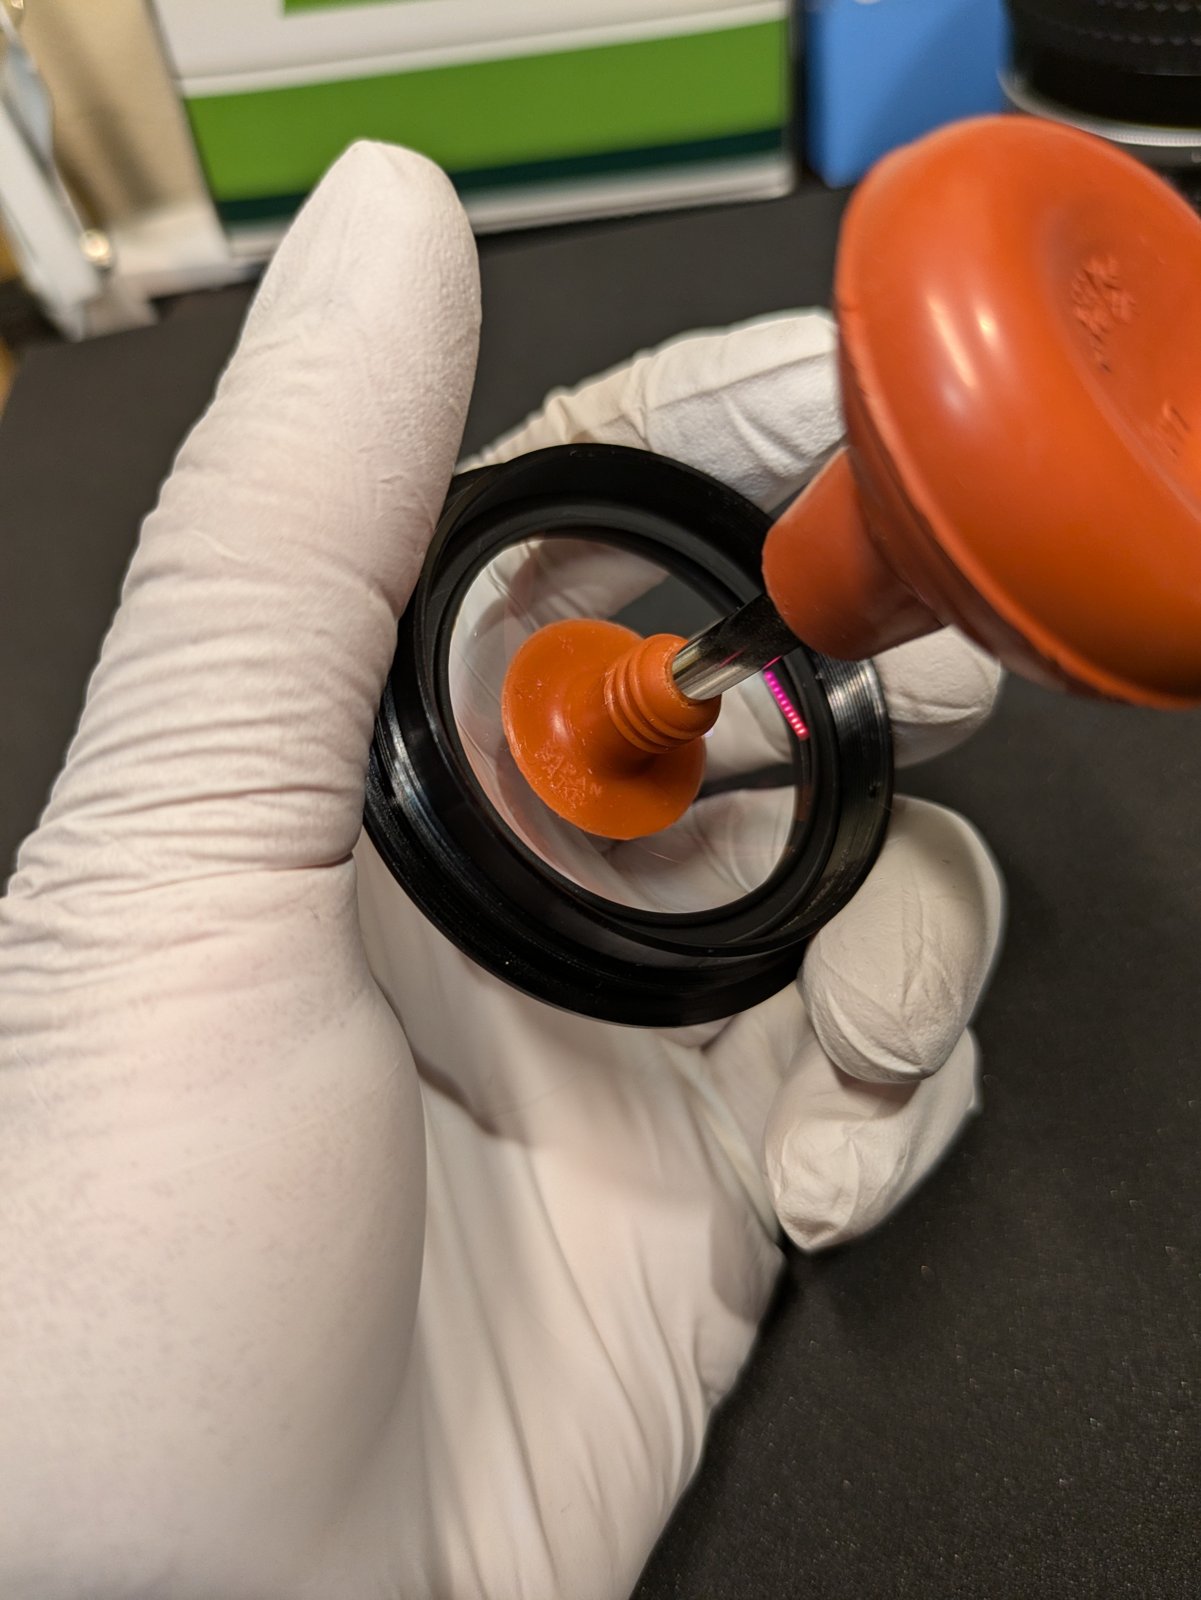
To lift an element out of its cell without touching the glass with my fingers, I used a small rubber suction cup.
4. Cleaning the edge
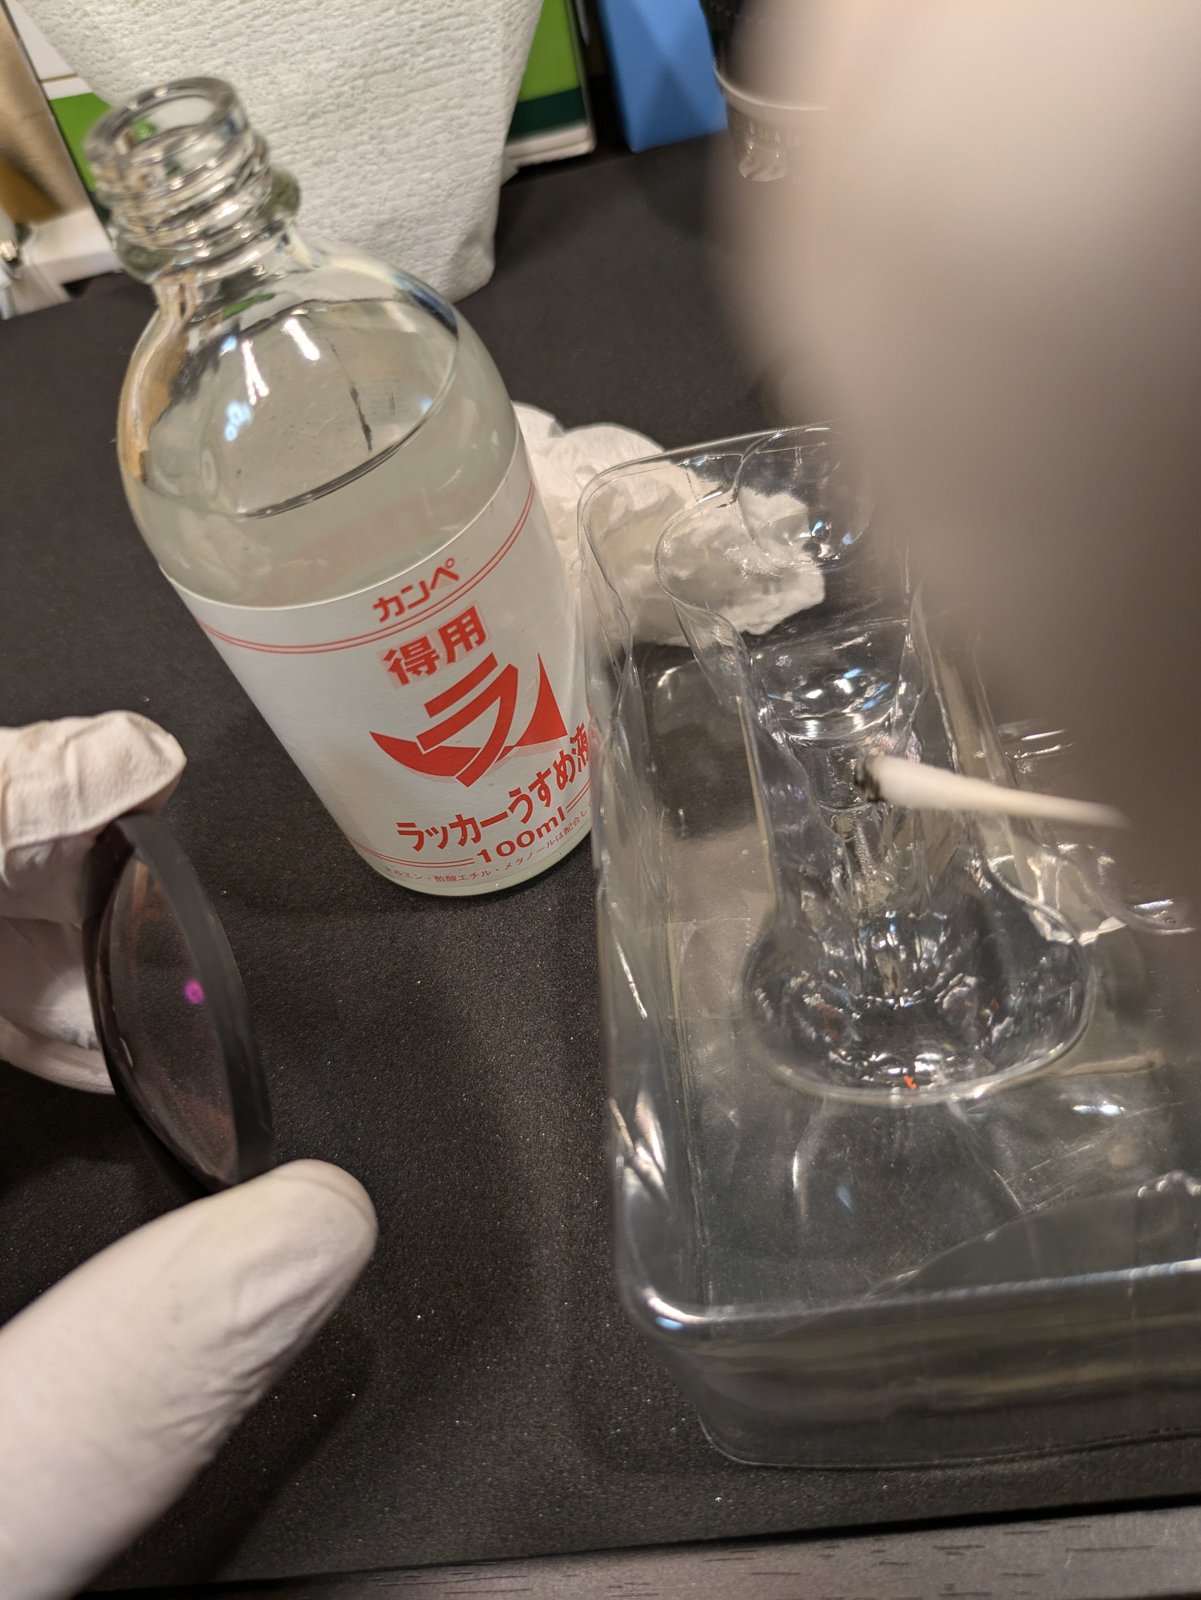
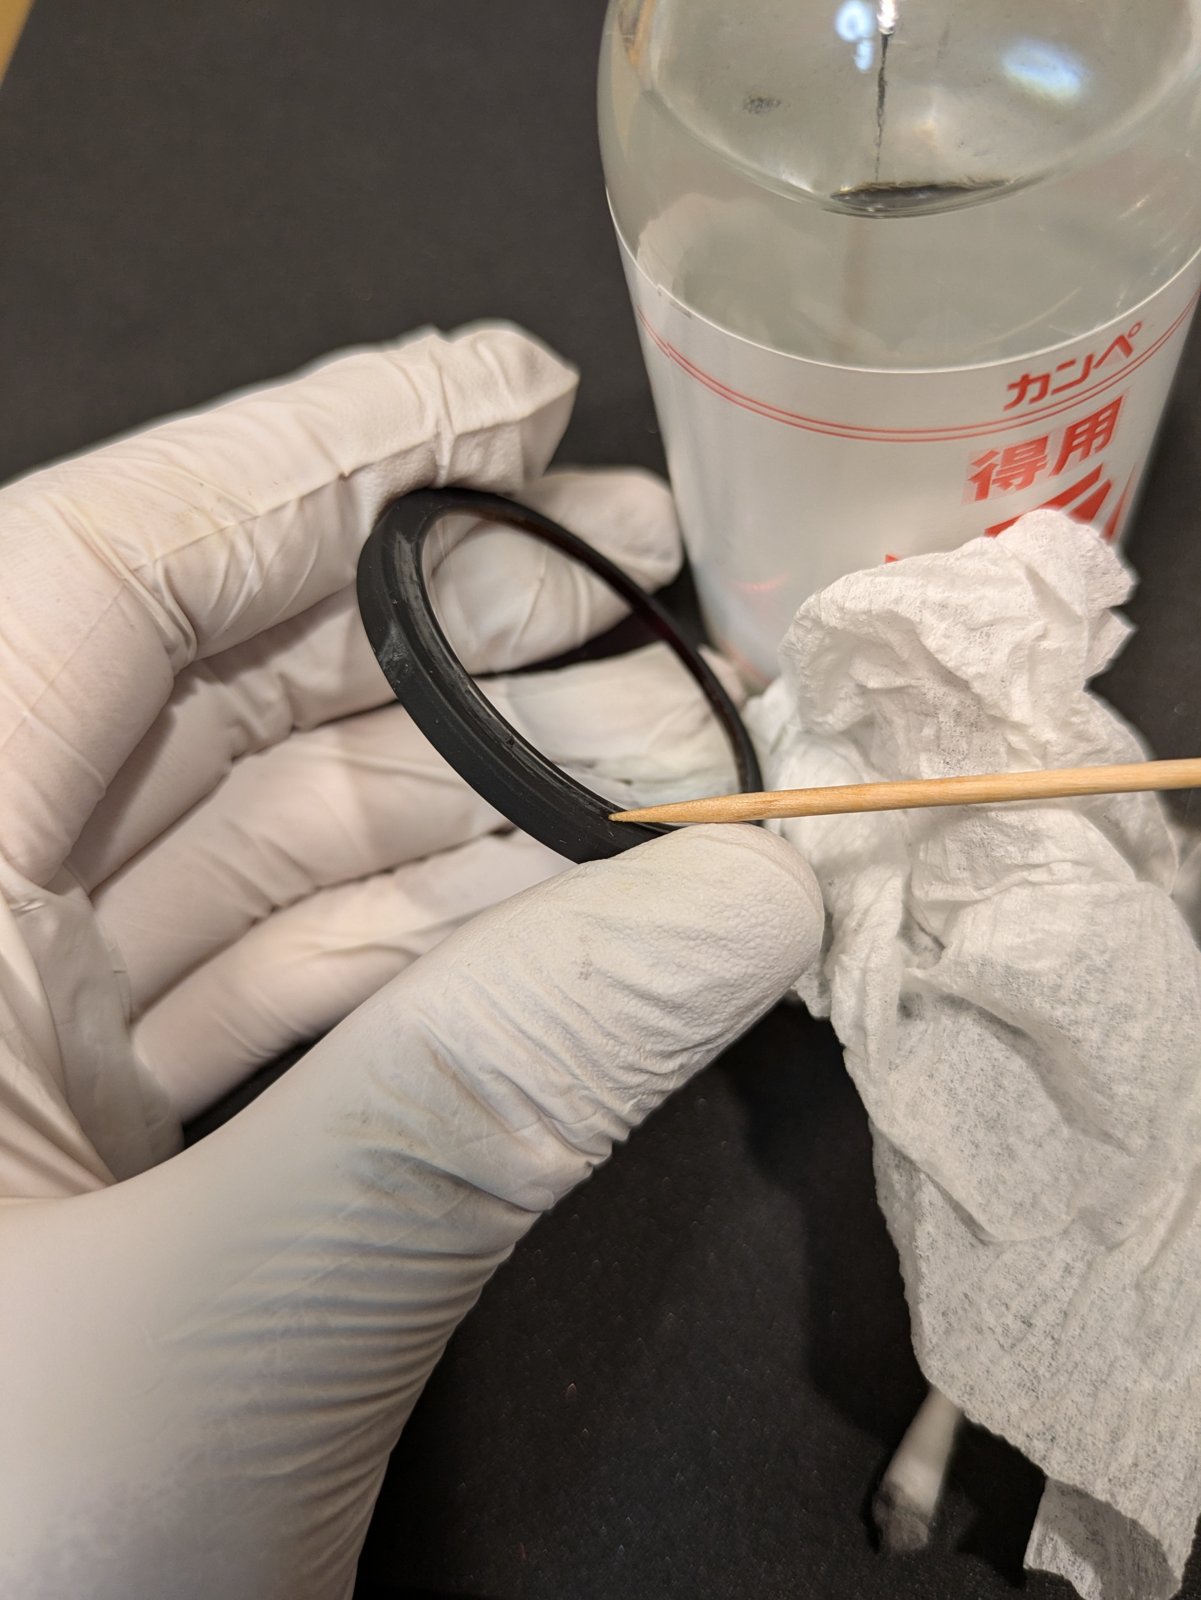
Before painting, the edge needs to be cleaned. For this I used lacquer thinner, a pointed wooden stick and tissue.
I used lacquer thinner to take off the old, flaking paint from the edge.
5. Painting the edge – the hard part
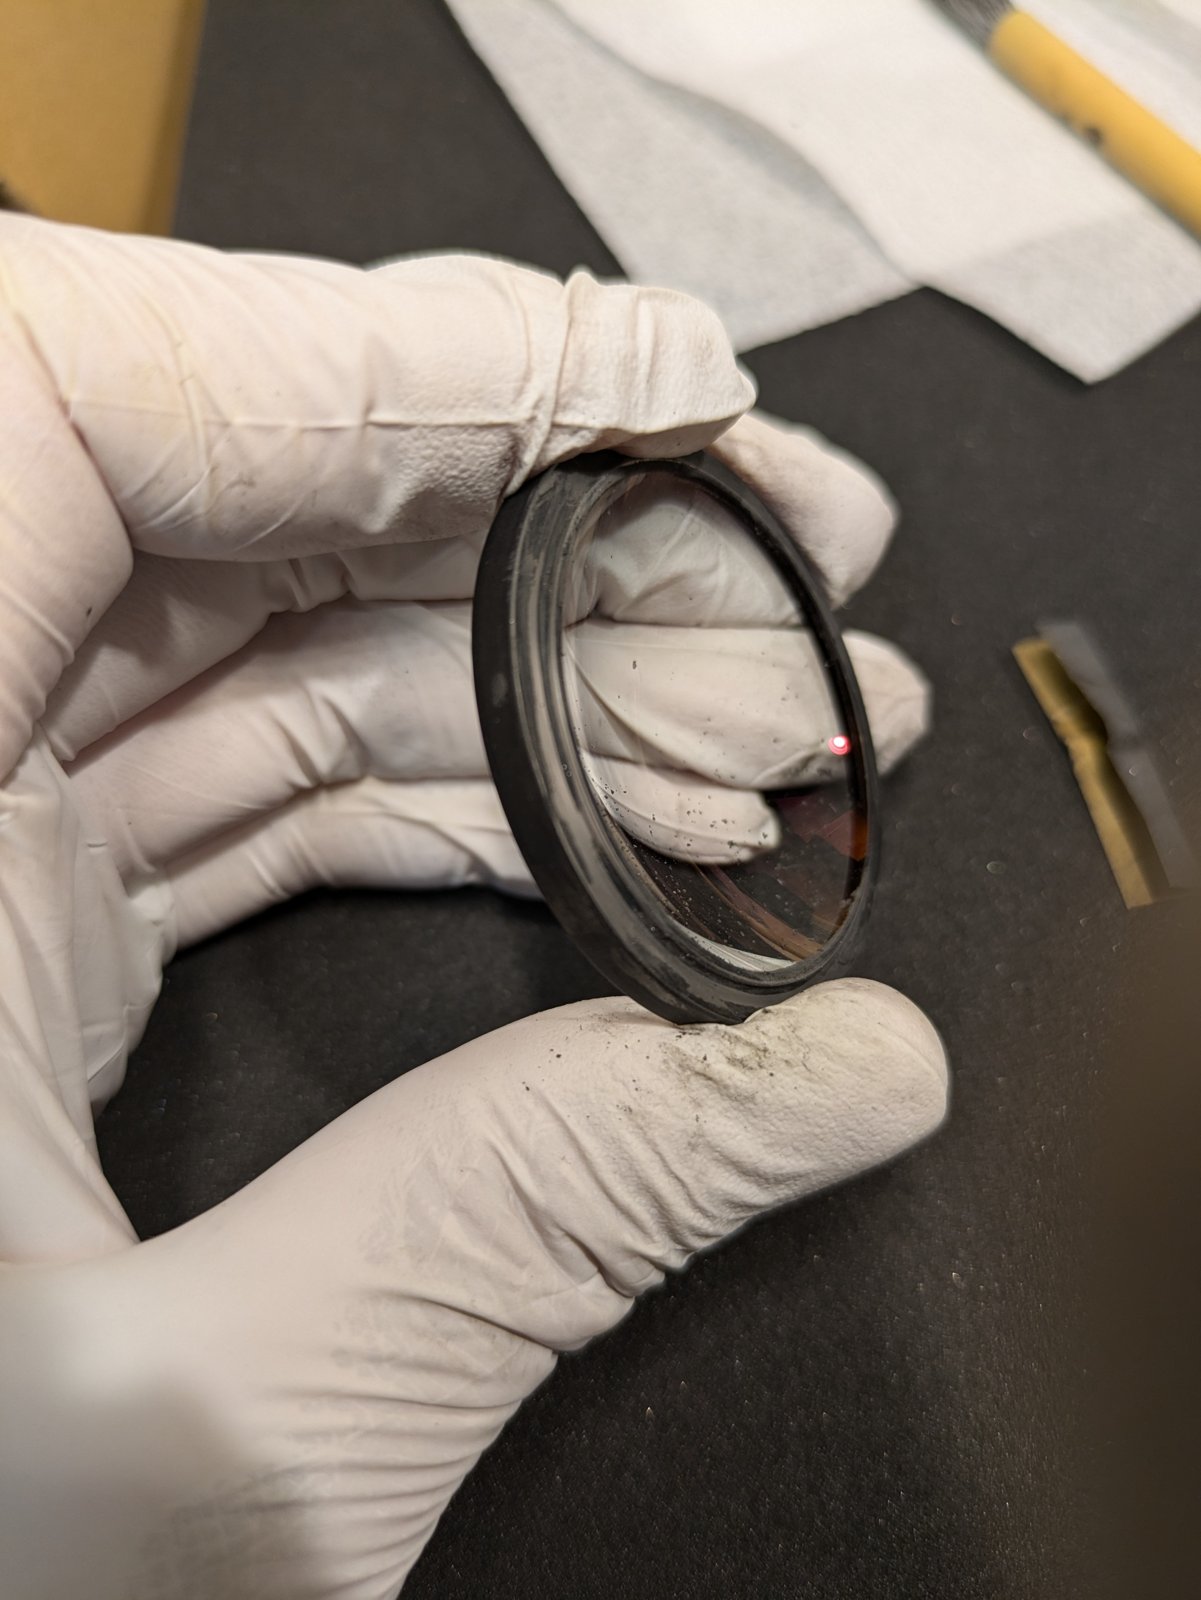
This was the hard part of the job. Honestly, it was a real struggle. The edge is narrow and curved, and no matter what I did, I could not get the paint on cleanly. By the end, my gloves were smudged with black.
Then the edge was painted black again. What to paint it with was the hard part. I started with bottled Japanese ink (bokuju). I had read that bottled ink tends to bead up on glass and not stay, so I also bought an inkstone, a brush and an ink stick, ground my own ink and painted with that. I tried car touch-up paint as well. In the end, what I settled on was water-based paint, the kind made for painting pictures.
How to paint it mattered just as much. Painting freehand with a brush, I could not get a clean line at all. What finally worked was an electric turntable, the kind used to spin products in videos. I fixed the element on top and painted it while it spun round and round, like a potter’s wheel.
One coat was never the end of it. I tried one way of painting, wiped it off, and tried a different way, again and again. Altogether, this lens took me about five days of work.
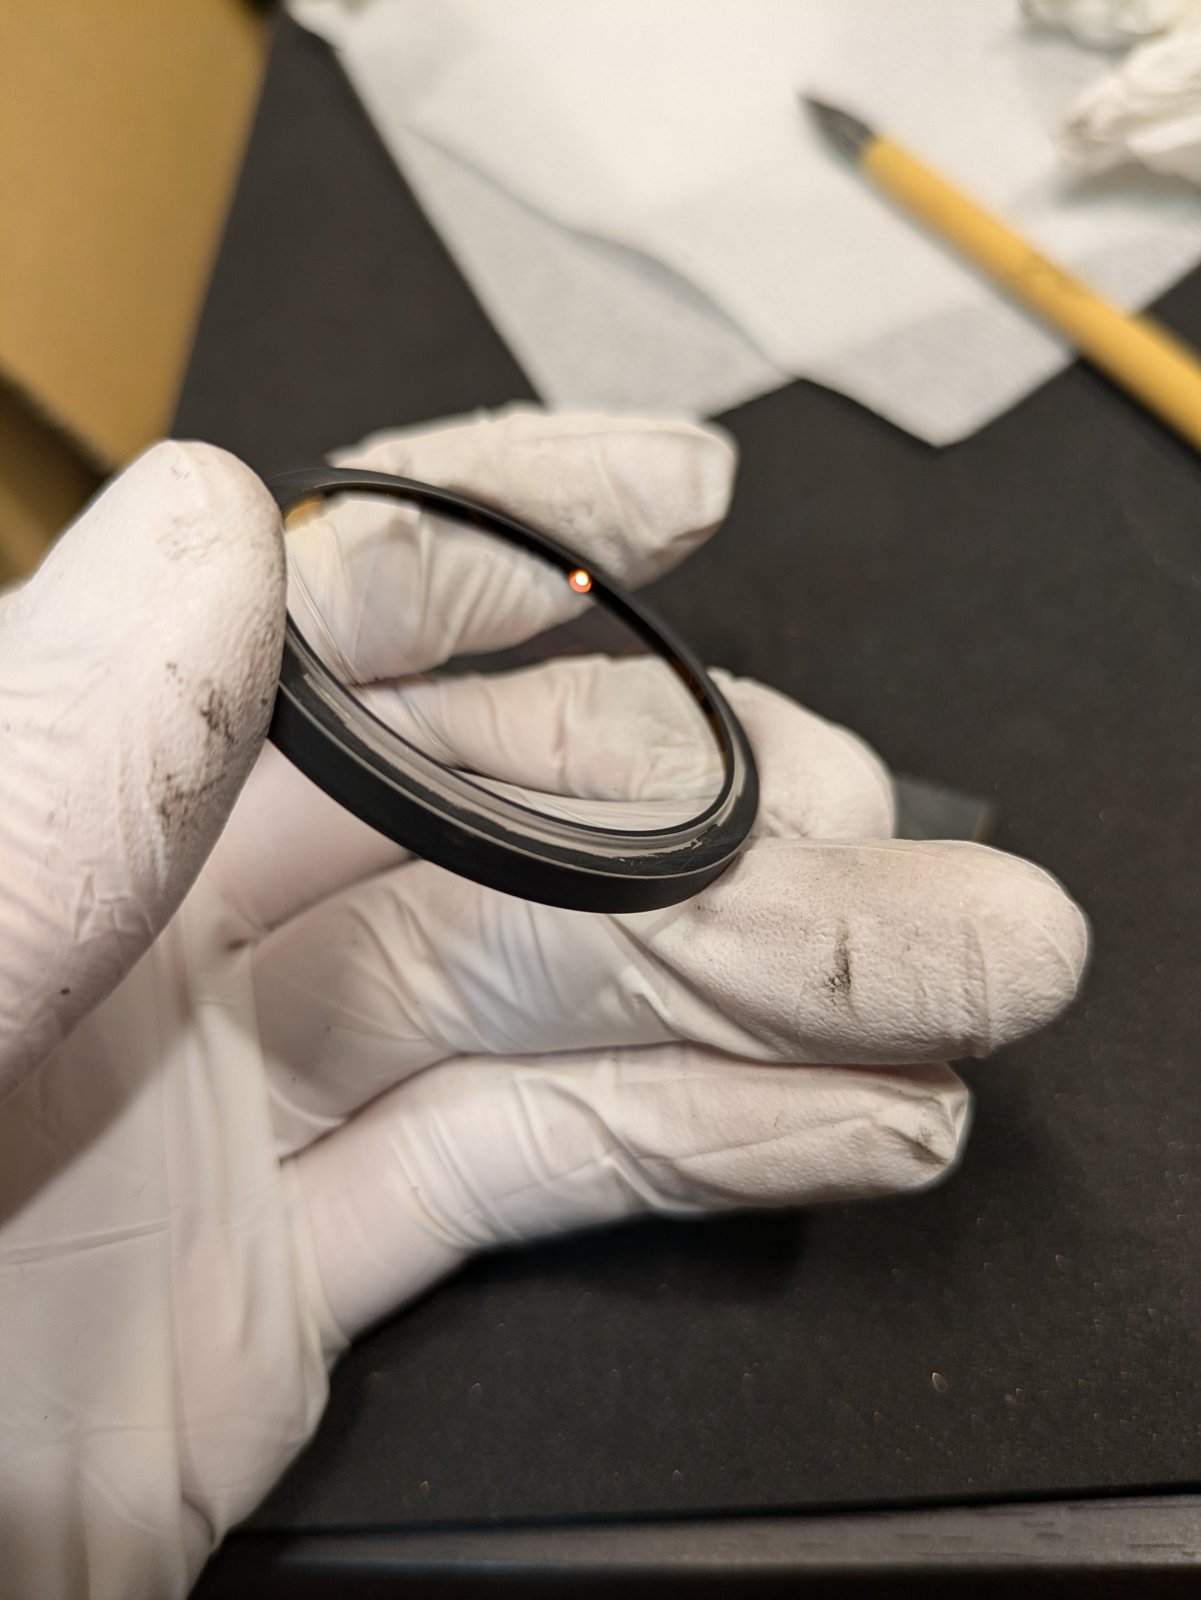
6. Close, but not quite
These photos are from one of those days, late at night.
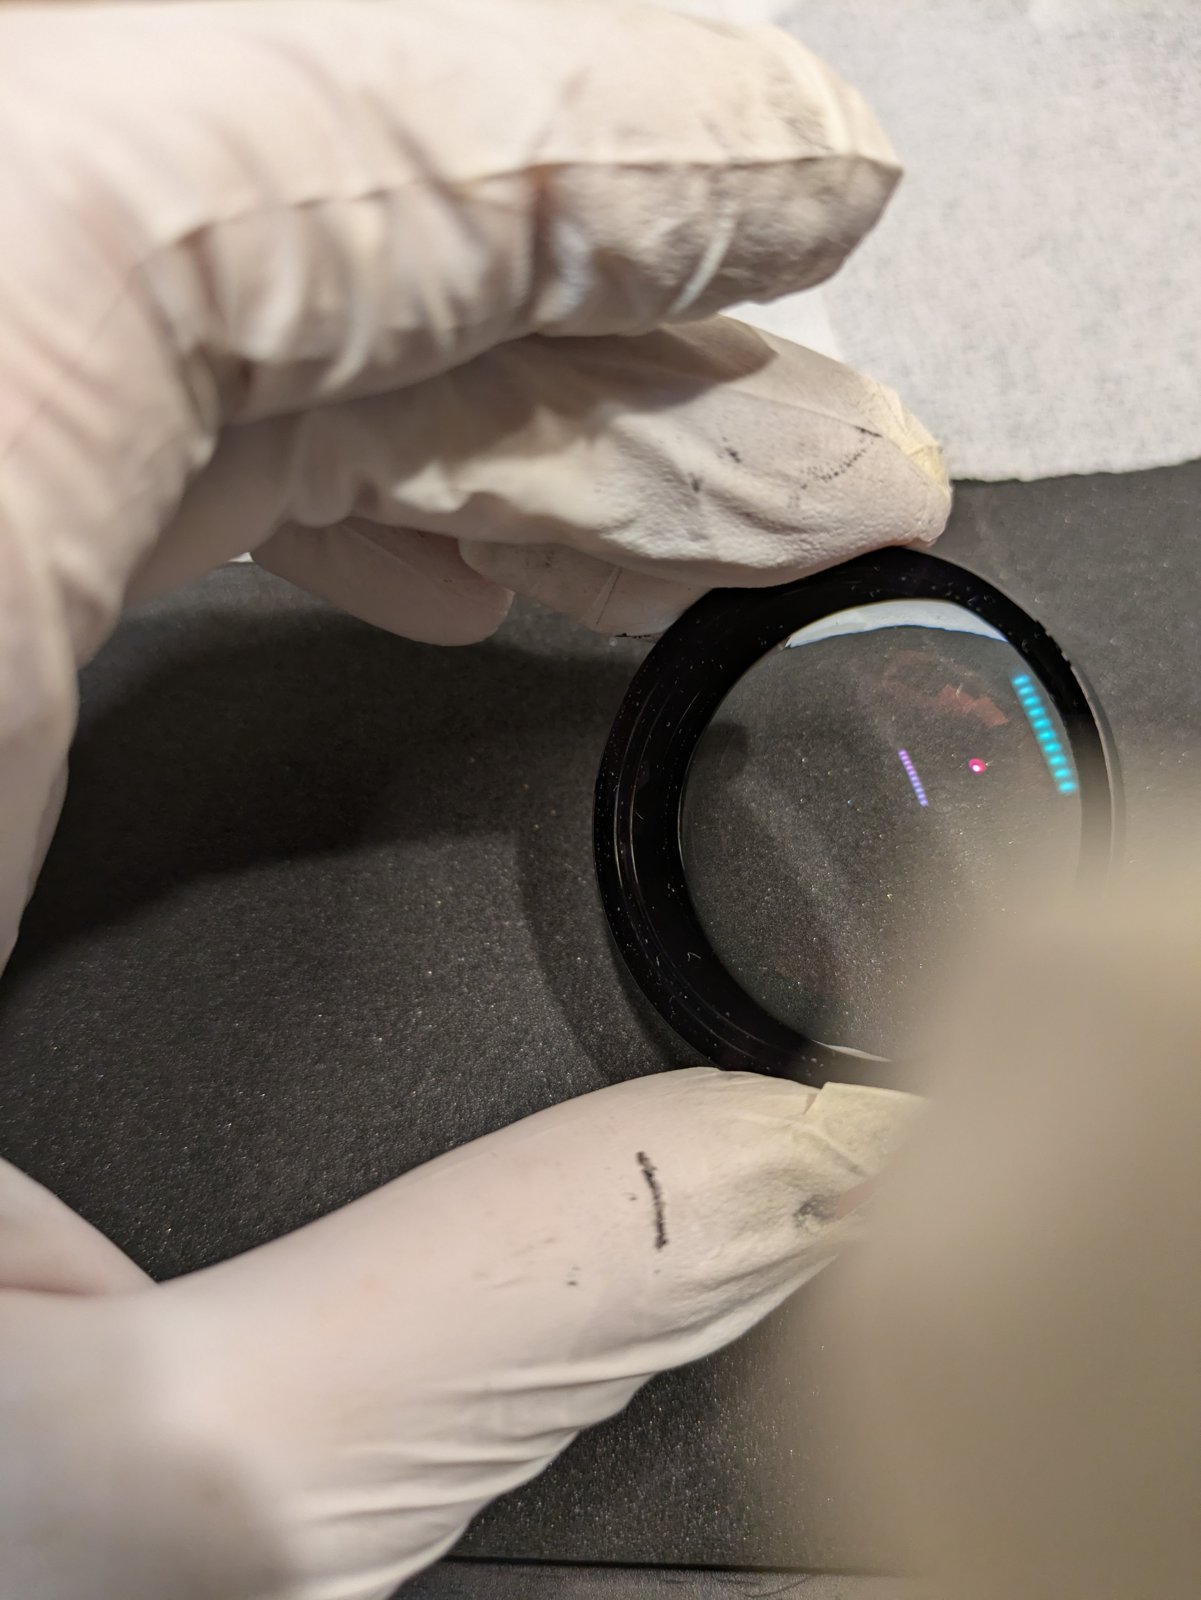
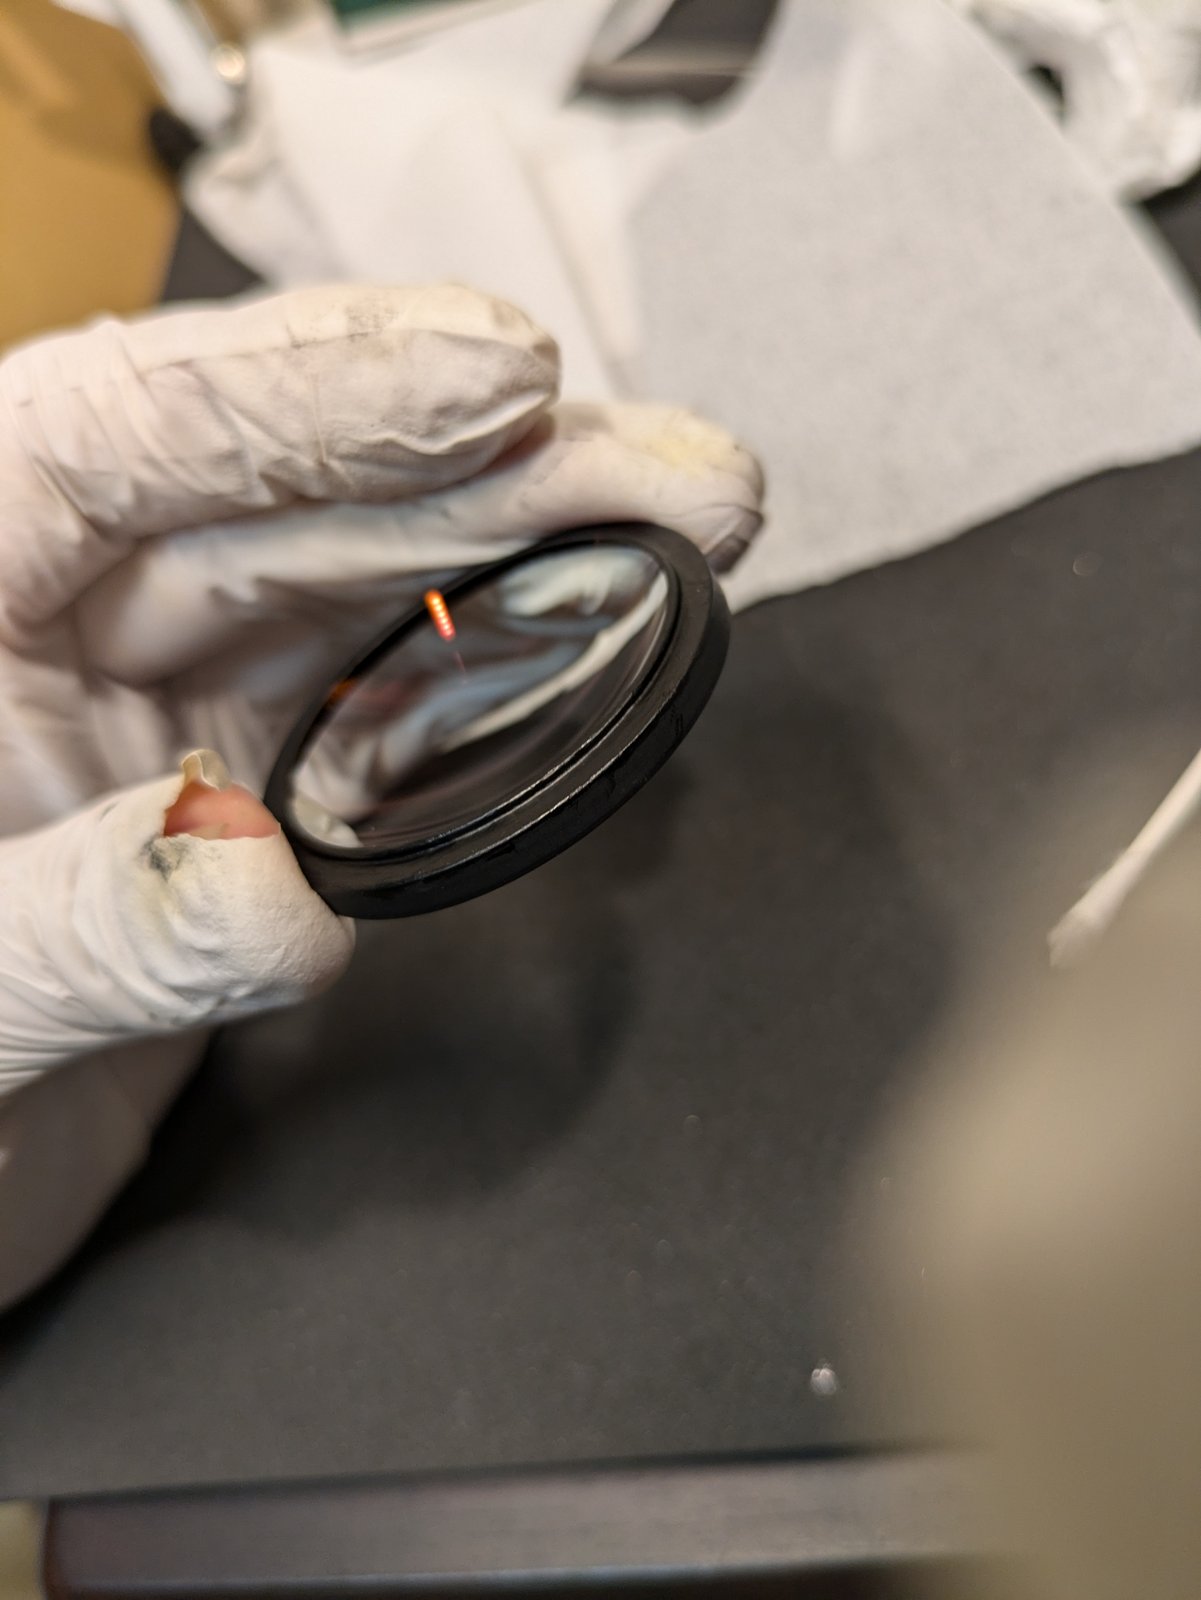
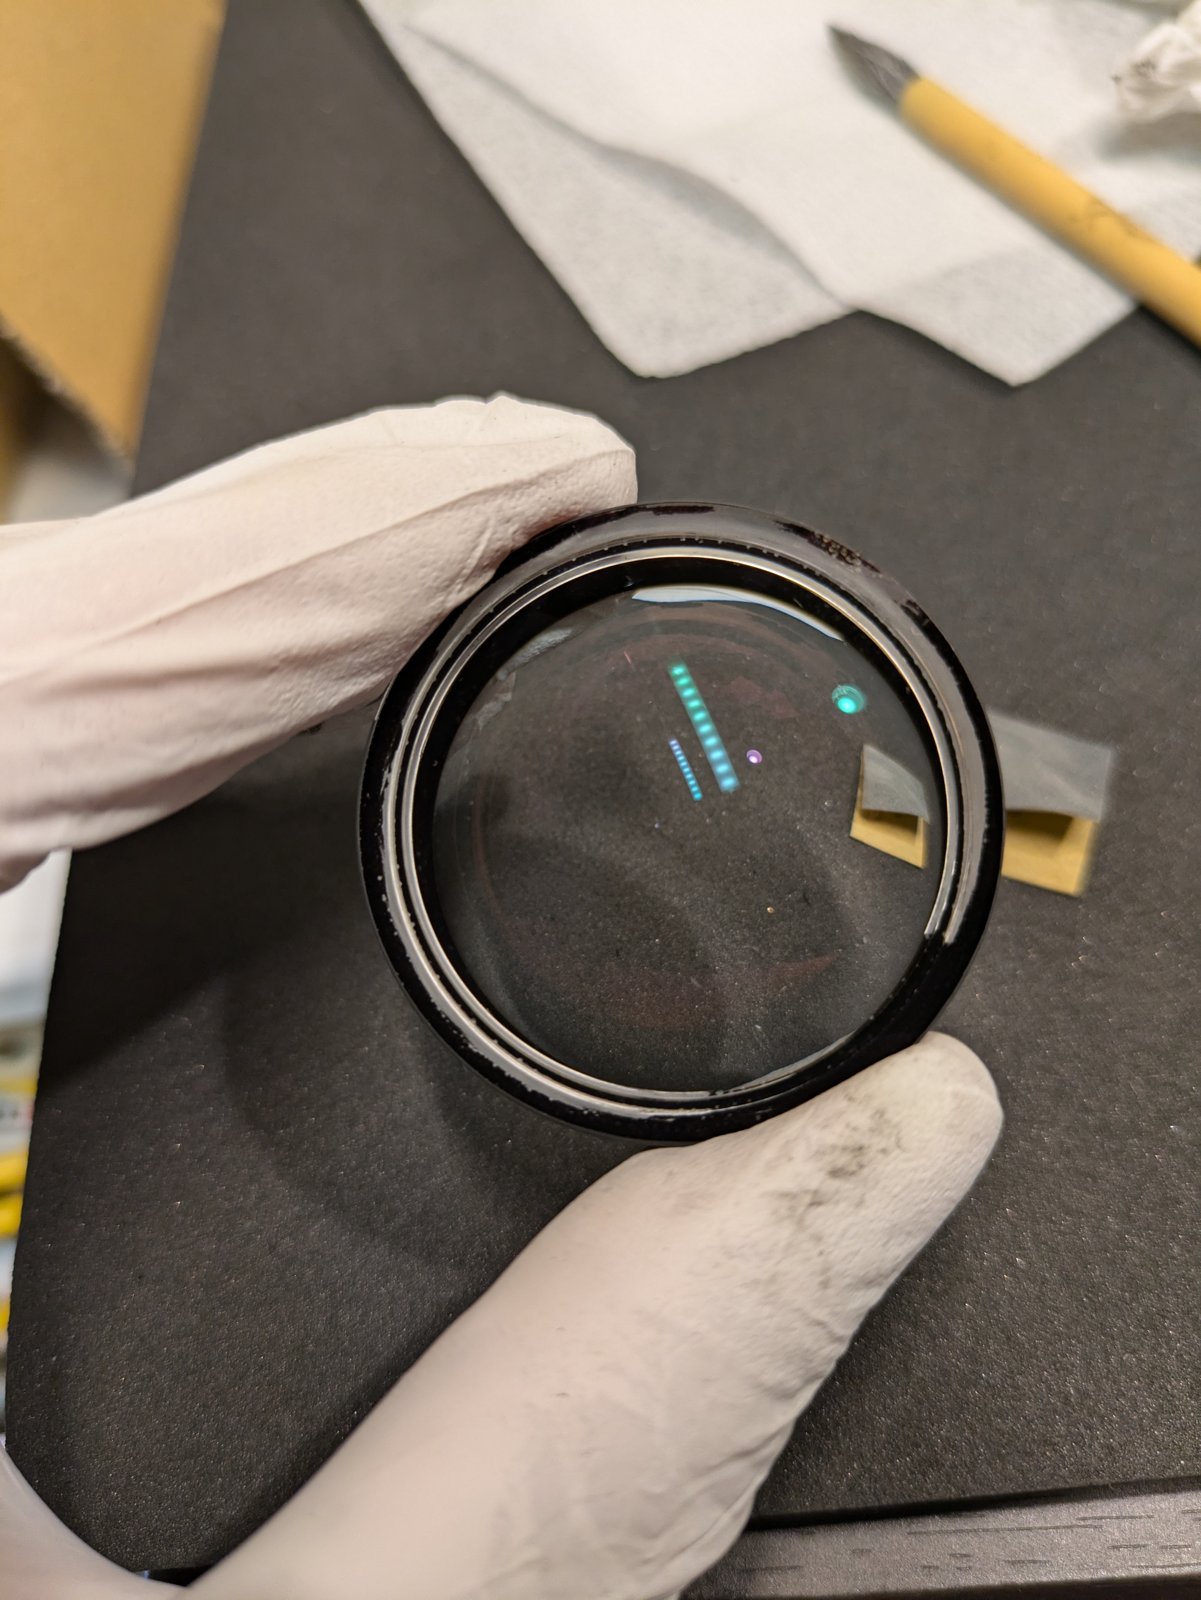
About a month later, I photographed the lens again, fully assembled.
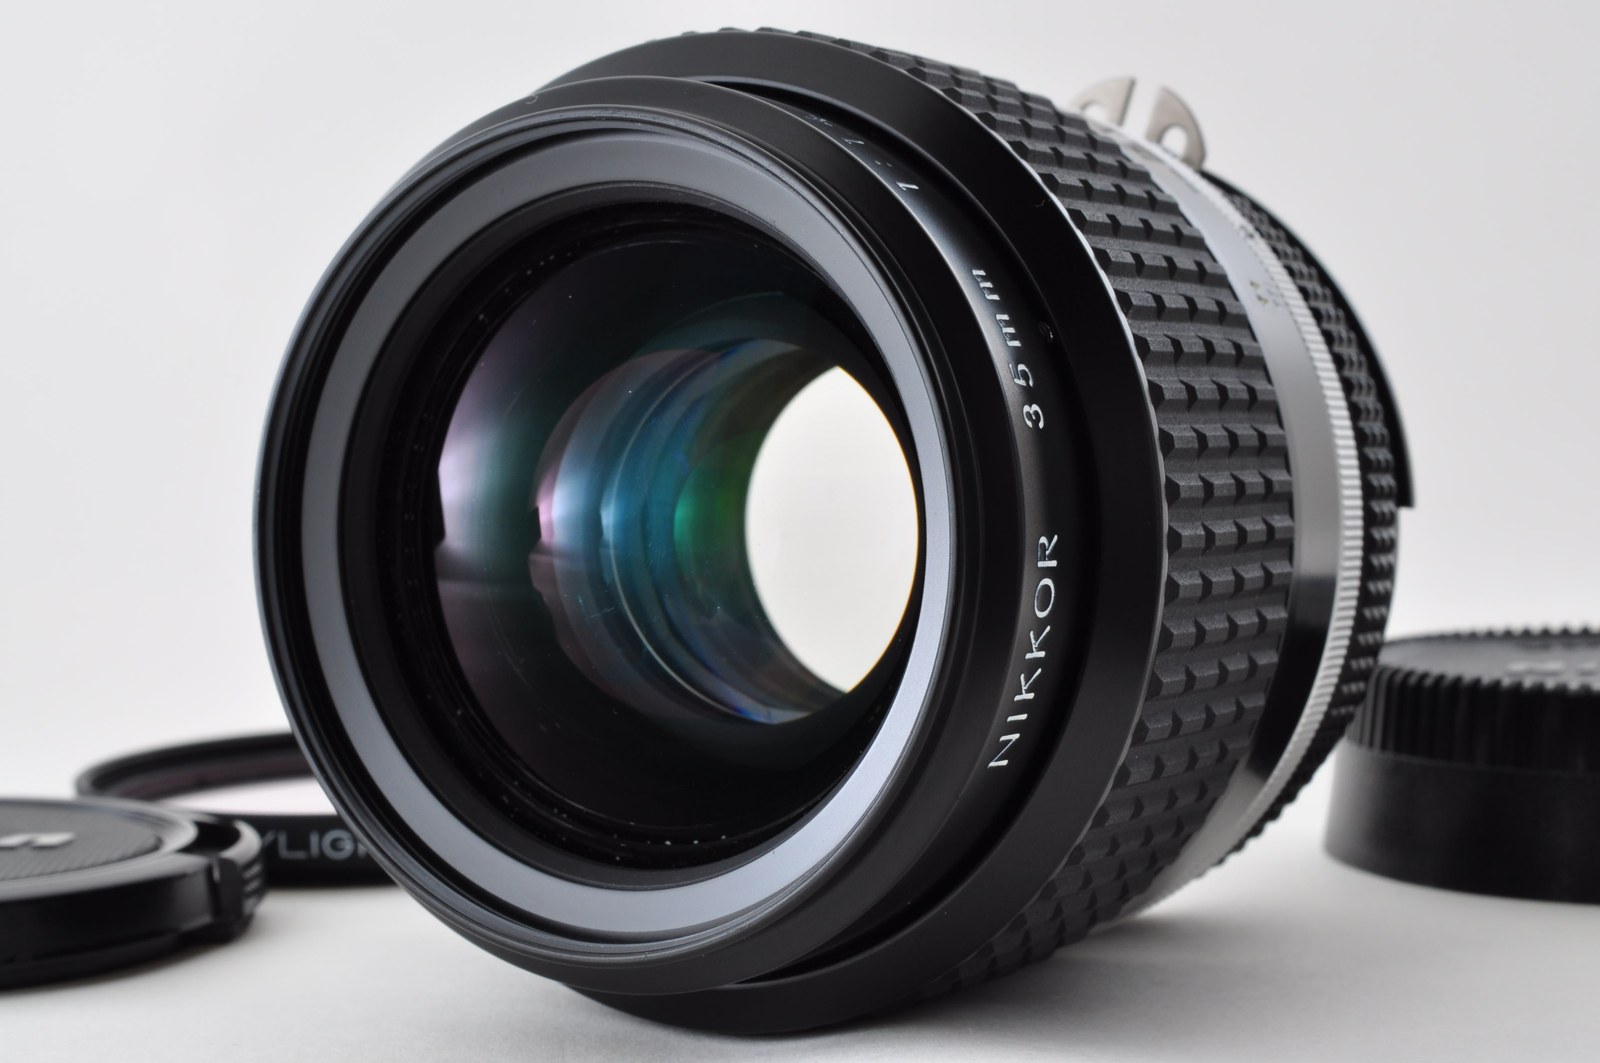
Looking in from the front, the bright white flaking I saw at the start was gone. The repainting made a big difference. But it did not go all the way back. A faint trace was still left around the edge: depending on how the light hits it, you can still see small dots, and the colour of the edge looks slightly different.
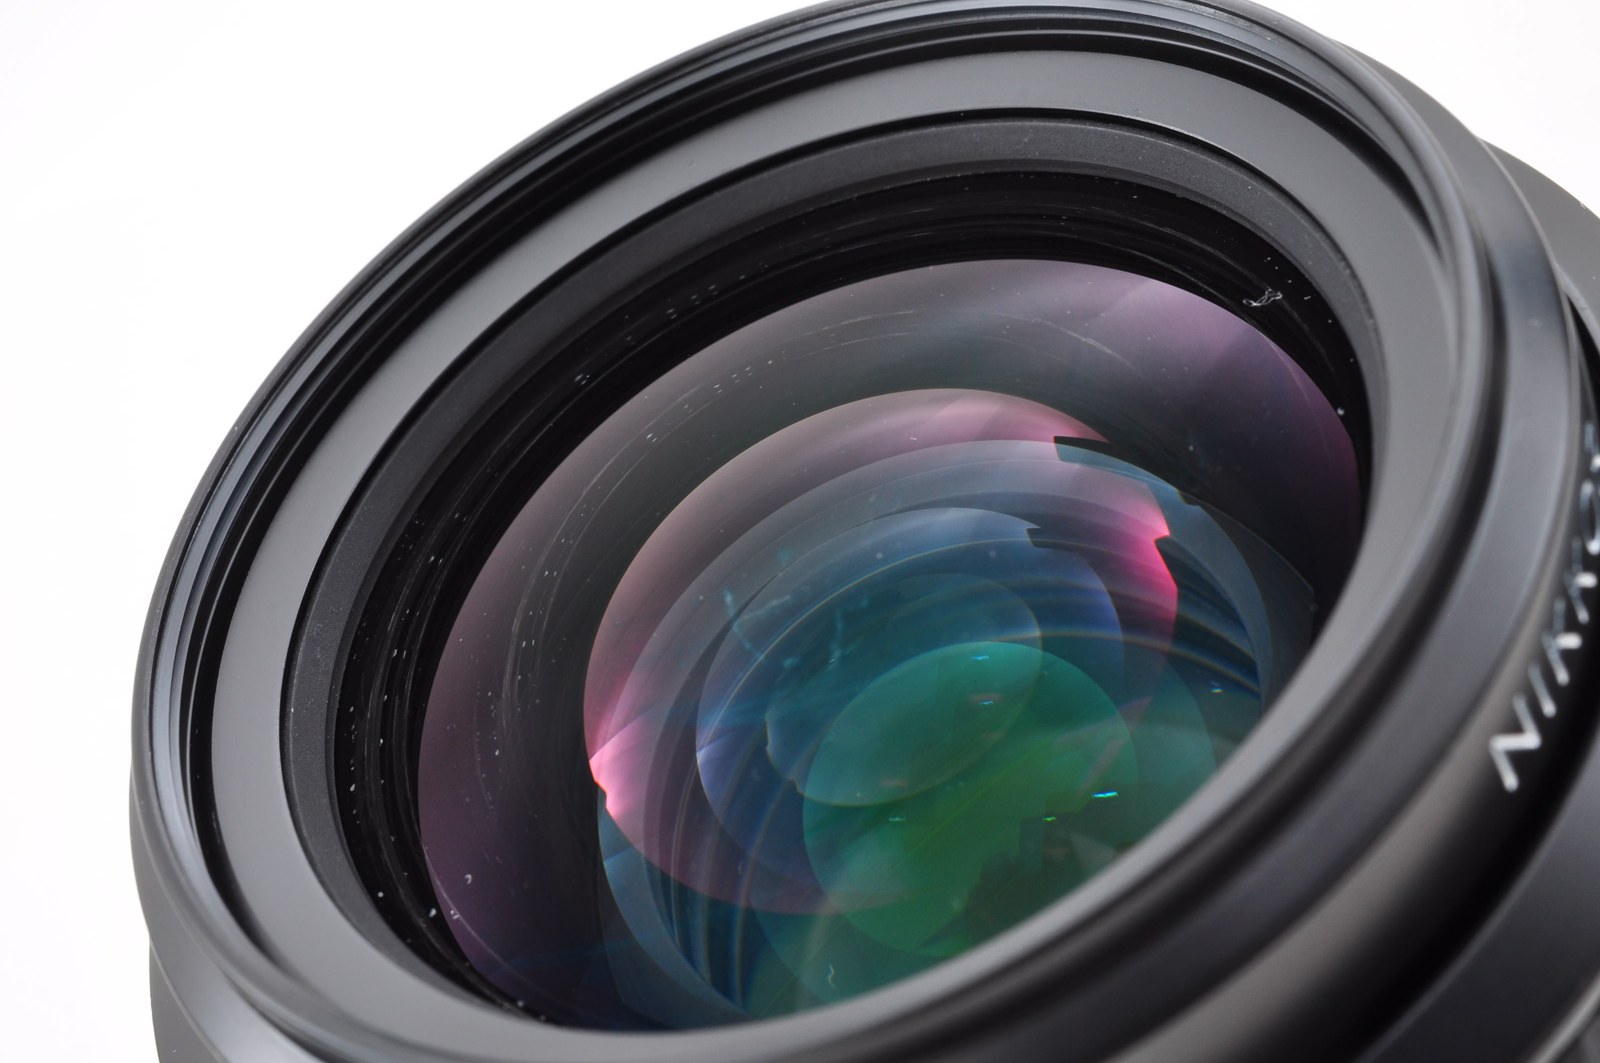
So it got much better, but it was not perfect. Because of that faint trace, it did not reach the standard I set for the lenses I send overseas, so I did not list this one for buyers abroad. Instead, I let it go here in Japan.
Not every repair ends exactly the way you hope, and I wanted to write about this one honestly. Two things I took from it:
First, on this lens, edge paint loss is very hard to fully fix by repainting. A thin, curved edge is not easy to paint by hand, and it is hard to make it look exactly like it did from the factory.
Second, it is better to find it before you buy. Look at the photo taken from the front, and check the edge of the glass for white dots or lines in a row. In this case the sign was there in the listing photo all along.
Thank you very much for reading.
Follow azuleterno on Instagram
I run azuleterno, a shop in Japan that sends good-quality used Japanese cameras and lenses to people all over the world. Items with minor problems are repaired and put in order before they are sold.
On Instagram I post the lenses and cameras I have just listed. Follow along to see what comes in next.
Questions, or looking for a particular lens or camera? Send me a DM on Instagram. Requests are welcome.
Shop worldwide on eBay
We sell good-quality items from Japan to buyers all around the world, and eBay is where we do it. Our items are listed in our eBay shop with detailed photos and an honest description of their condition, and we ship from Japan to your door.
When you find something you like on Instagram, this is the place to see it in full and buy it.
“For Your Happier Life, For the Future of Our Earth.” Giving well-made cameras a longer life is our small way of caring for the planet.
日本語
ニコン Ai-S ニッコール 35mm F1.4 は、ニコンFマウントの明るい広角単焦点レンズです。2024年9月に整備しました。
今回の作業は、レンズの縁(コバ)の黒い塗装の塗り直しに挑んだ記録です。古いレンズでは、この縁の黒い塗装が年月とともに剥がれてくることがよくあります。これを「コバ落ち」と言います。塗装が無くなると、光がレンズの中で乱反射しやすくなり、コントラストが下がったりフレアが出たりする原因になります。
この銘柄は、コバ落ちのある個体がとても多いレンズです。
修理前:縁に並ぶ白い破線
出品ページには「外観はとても綺麗」「目で見る限りレンズ内にカビや曇りは無い」とありました。ところが届いてみると、コバ落ちがありました。前から覗くと、ガラスの縁に沿って短い白い線が輪のように並んでいます。これが、黒い塗装が剥げてガラスがむき出しになっているところです。
あとで出品ページの写真を見直すと、前から覗いた写真に、同じ白い点の列がすでに写っていました。つまり、この症状は写真でも見分けられます。中古のレンズを買うときは、前から覗いた写真で、ガラスの縁に白い点や線が並んでいないかを見てください。
1. レンズの前側を開ける
このレンズで分解が必要だったのは前玉群だけで、そこまでは難しくありません。前側の鏡胴の横に小さなイモネジがあるので、まずこれを緩めます。
そのあと、前側の部品を順に緩めていきます。
「Nikon」と書かれた黒いリングは、銘板ごとそのまま外れます。
続いて、前玉群を留めている部分です。2つの小さな穴に2本のピンを当てて緩めると、前玉群が外れます。
2. 前玉群を取り出す
これで前玉群がまるごと鏡胴から抜けます。抜くと、鏡胴の奥に絞り羽根が見えます。
3. 前玉群からレンズを出す
前玉群は2つに分かれます。
枠に入ったままのレンズです。この角度からでも、ガラスの縁に白い破線が見えます。
ガラスに指で触れずにレンズを枠から出すため、小さなゴムの吸盤で持ち上げました。
4. 縁の掃除
塗る前に、縁をきれいにします。ラッカーうすめ液、先の尖った木の棒、ティッシュを使いました。
ラッカーうすめ液で、縁に残った剥がれかけの古い塗料を落としました。
5. 縁を塗る――ここがいちばん大変
今回の作業で、ここが一番の山場でした。正直に言うと、本当に苦労しました。縁は細くて曲がっていて、どうやっても綺麗に塗れません。最後には手袋が黒く汚れていました。
そのあと、縁を黒く塗り直しました。難しかったのは、何で塗るかです。最初は市販の墨汁を使いました。ただ、市販の墨汁はガラスに弾かれてうまく乗らないという話もあったので、硯と筆と墨のセットを買い、墨をすってそれでも塗りました。車用のタッチアップペイントも試しました。最終的に使ったのは、絵を描くための水性塗料です。
塗り方も大事でした。筆でふつうにフリーハンドで塗っても、まったくうまく塗れません。うまくいったのは、電動のターンテーブル(商品紹介のときに品物をくるくる回す台)です。その上にレンズを貼り付けて、ろくろのようにくるくる回しながら塗りました。
1回塗って終わり、とはいきませんでした。ある塗り方で塗っては拭き取り、別の塗り方で塗り直す、を何度も繰り返しました。このレンズには、延べ5日ほどかかったと思います。
6. あと一歩
これは、そのうちの1日の夜遅くに撮った写真です。
1か月ほどして、組み上げたレンズを撮り直しました。外から見ると、とても綺麗です。
前から覗くと、最初のような真っ白な剥がれは消えていました。塗り直しで大きく良くなったのです。ただ、完全には戻りませんでした。縁にはうっすら跡が残り、光の当たり方によっては点が見え、縁の色も少し変わって見えます。
大きく良くなったけれど、完璧ではない。このうっすらした跡のために、海外のお客様に送るレンズとして自分が決めている基準には届かなかったので、このレンズは海外向けには出さず、日本国内で手放しました。
修理はいつも思いどおりに終わるわけではありません。この1本のことも正直に書いておきたいと思いました。学んだことは2つです。
1つ目。このレンズのコバ落ちは、塗り直しで完全に直すのがとても難しいということ。細くて曲がった縁を手で塗り、工場出荷のときとまったく同じ見た目に戻すのは簡単ではありません。
2つ目。買う前に見つけるのが一番だということ。前から覗いた写真で、ガラスの縁に白い点や線が並んでいないかを見てください。今回も、そのしるしは出品写真にずっと写っていました。
最後まで読んでいただき、ありがとうございました。
オールドレンズの分解清掃を承ります|Repair Factory Fuji Base
この記事のような分解清掃を、国内のお客さまのレンズでもお受けしています。静岡県富士市の工房で、カビ・くもり・絞りの油染み・バルサム切れの清掃を、1本ずつ作業します。
基本料金2,000円(税込価格2,200円)・返送料込み。料金表とお申し込みは、受付ページをご覧ください。
作業の様子は、Instagram @fujibase_repair でも紹介しています。
InstagramでazuleternoをFollowしてください
日本の良質な中古カメラ・レンズを、世界中の方へお届けしているショップ azuleterno を運営しています。小さな不具合のある品は、修理・整備してから販売しています。
Instagramでは、新しく出品したレンズやカメラを紹介しています。フォローしていただくと、次に入ってくる品が見られます。
ご質問や、お探しのレンズ・カメラがあれば、InstagramのDMでお気軽にどうぞ。
モットーは “For Your Happier Life, For the Future of Our Earth.”(あなたのより幸せな暮らしと、地球の未来のために)。良いカメラを長く使い続けてもらうことが、地球を大切にする私たちなりの方法です。
Comments