The Leica Summitar 5cm f/2 is a standard lens for Leica screw-mount (L39) cameras, engraved “Ernst Leitz Wetzlar” on the front. I worked on this one in October 2024. This post walks through a short disassembly of the front of the lens, to clean the front group.
When I got this lens, a faint haze could be seen inside, and I suspected balsam separation (the cement between glued elements breaking down). To get a closer look and clean it, I opened up the front.
1. Taking off the front section
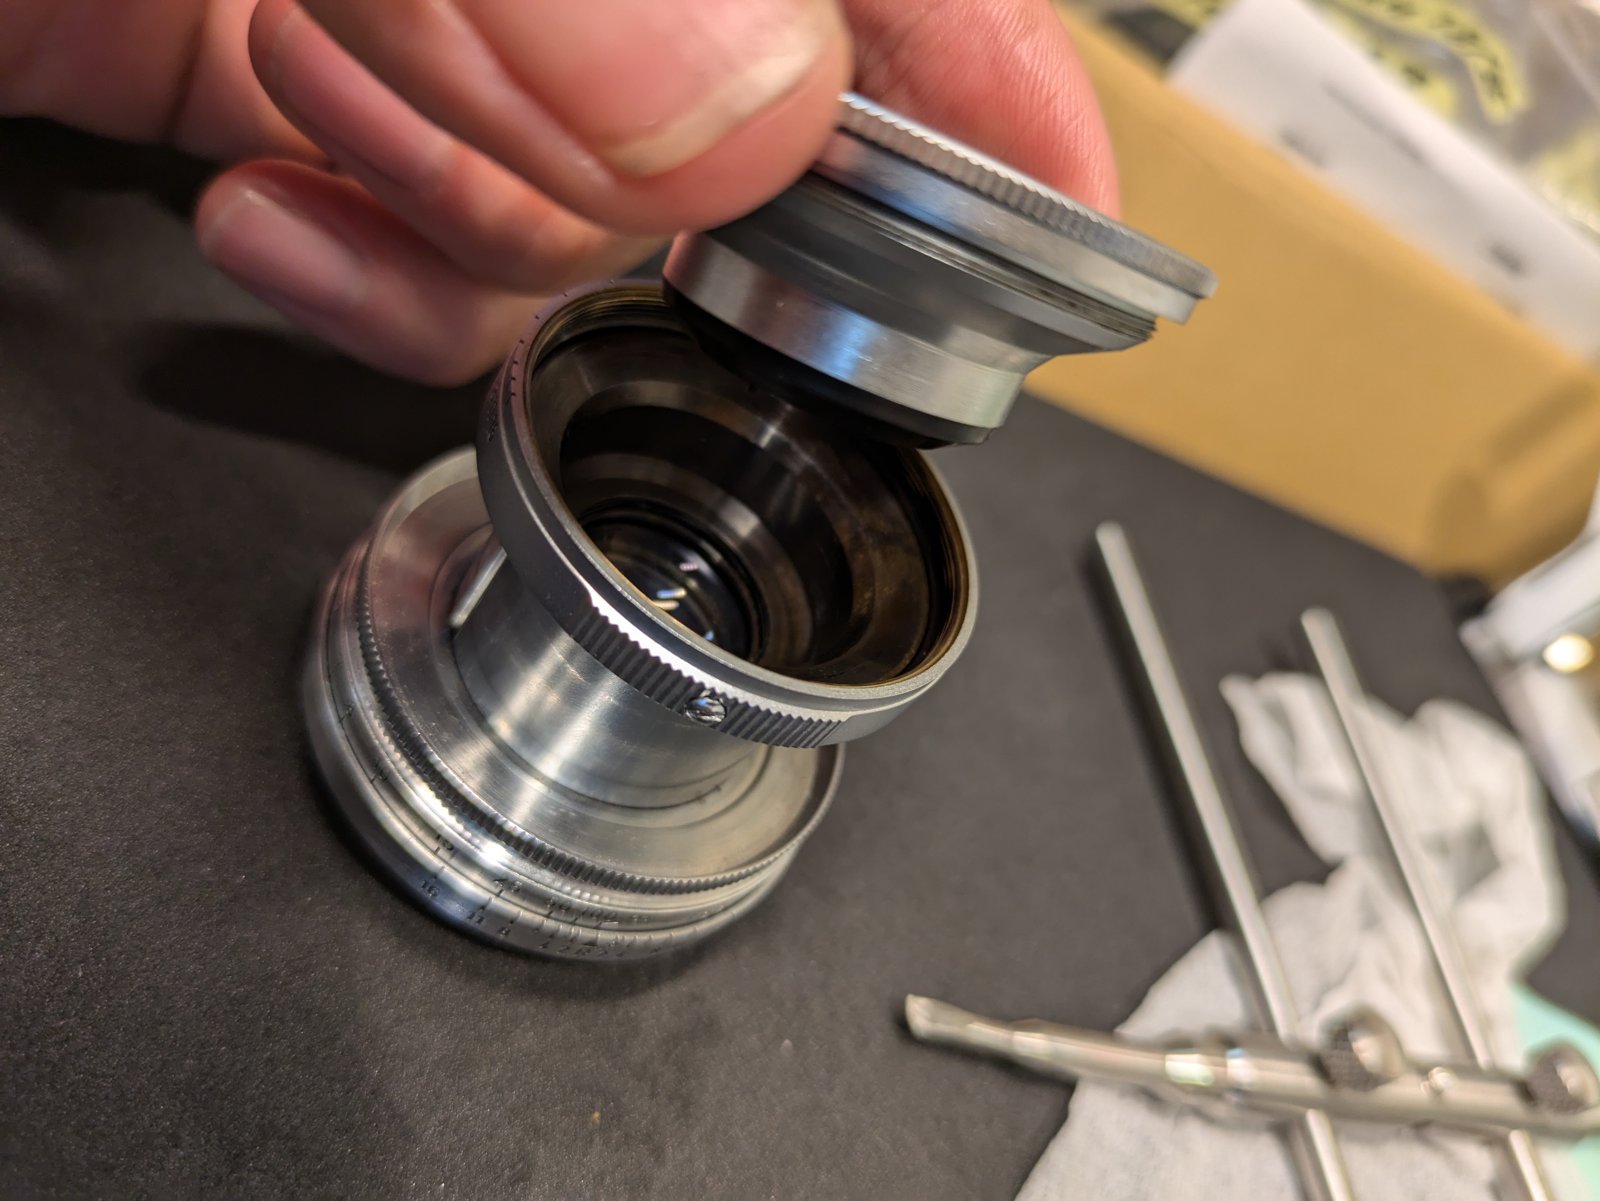
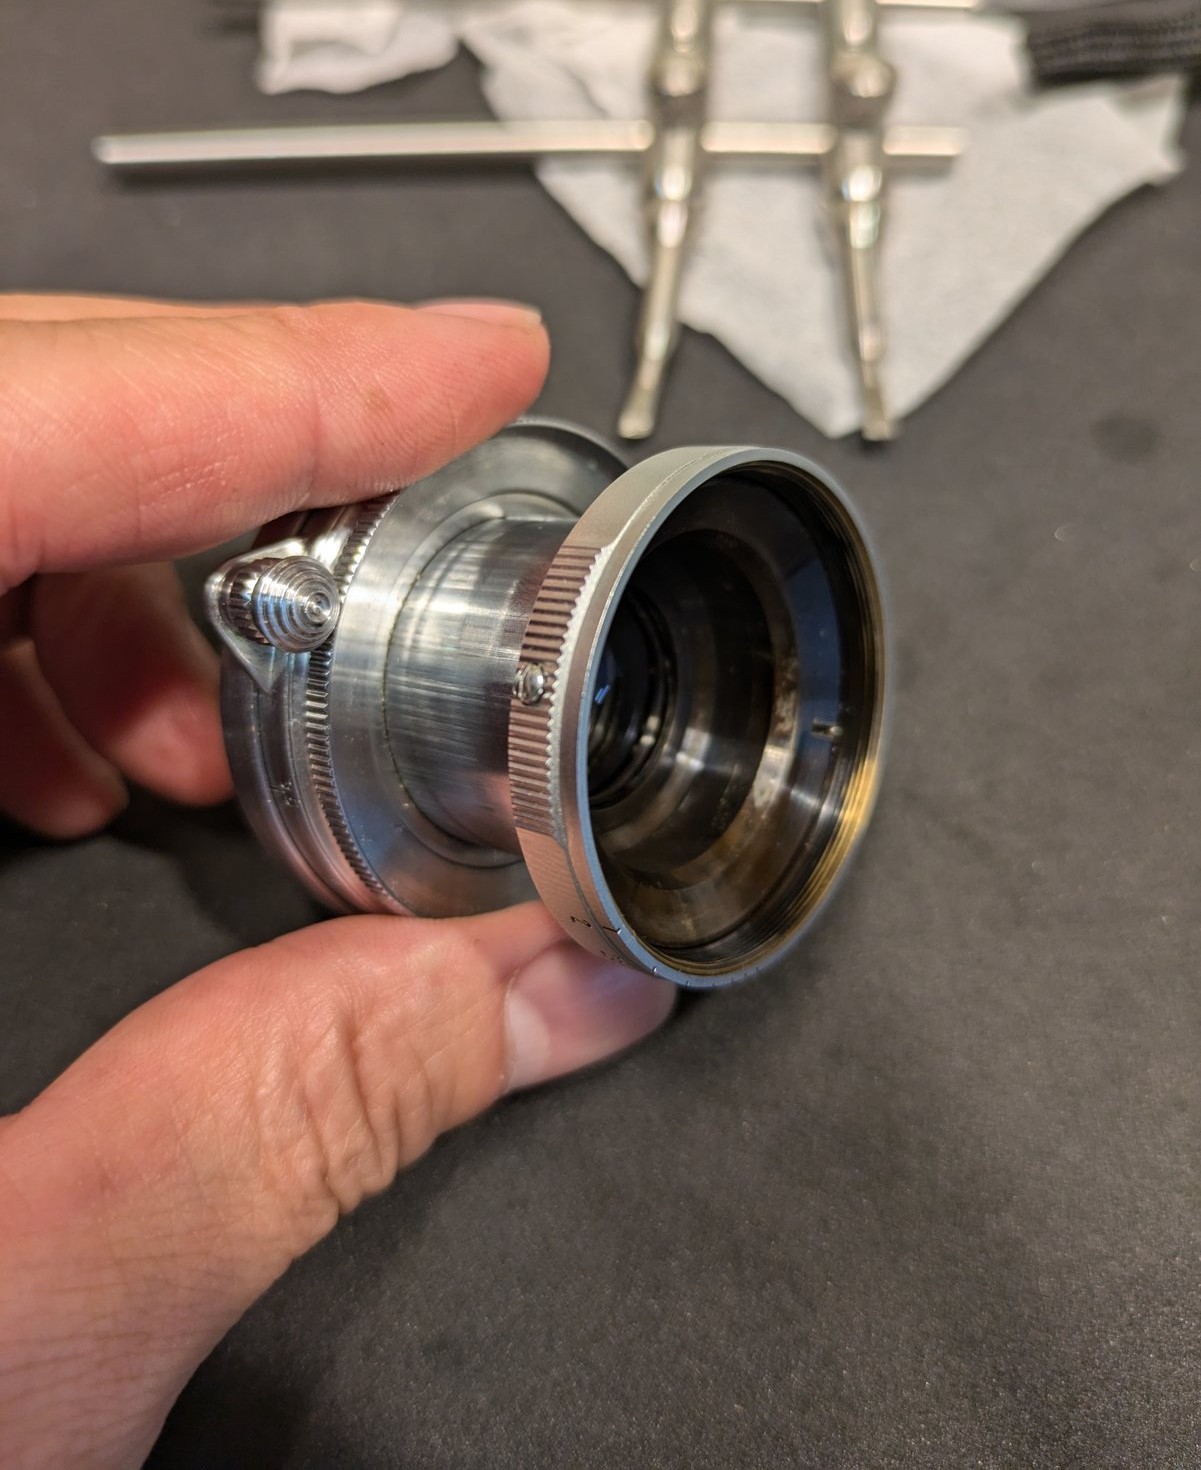
The front of the lens unscrews from the barrel. It came off as one piece: the front cell with the name ring, and the black ribbed tube behind it.
2. What was inside
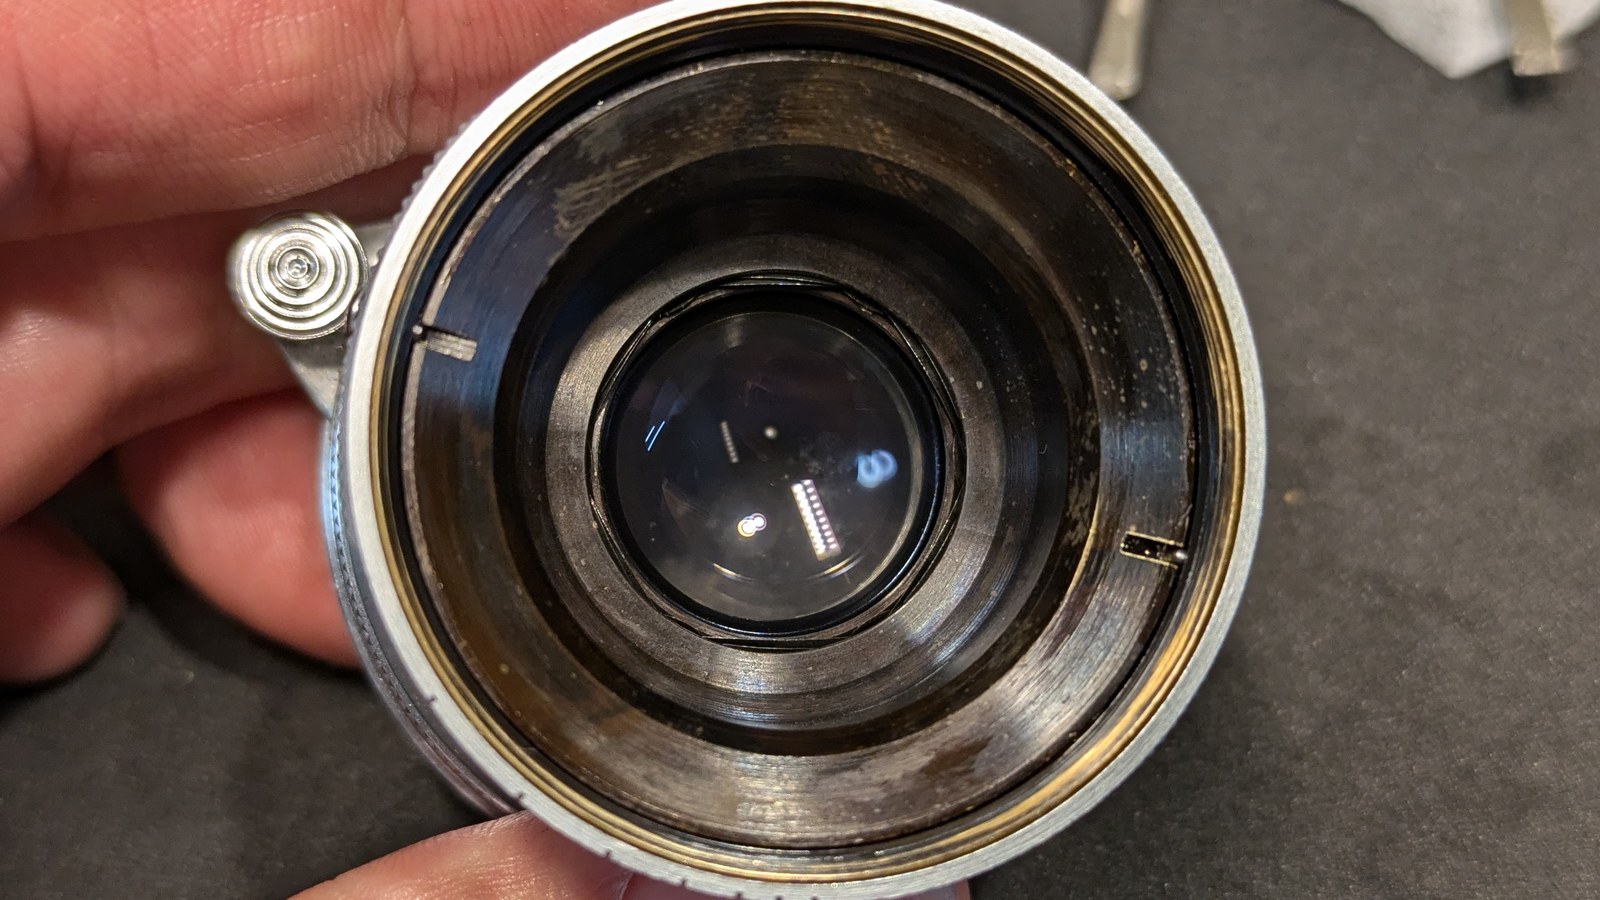
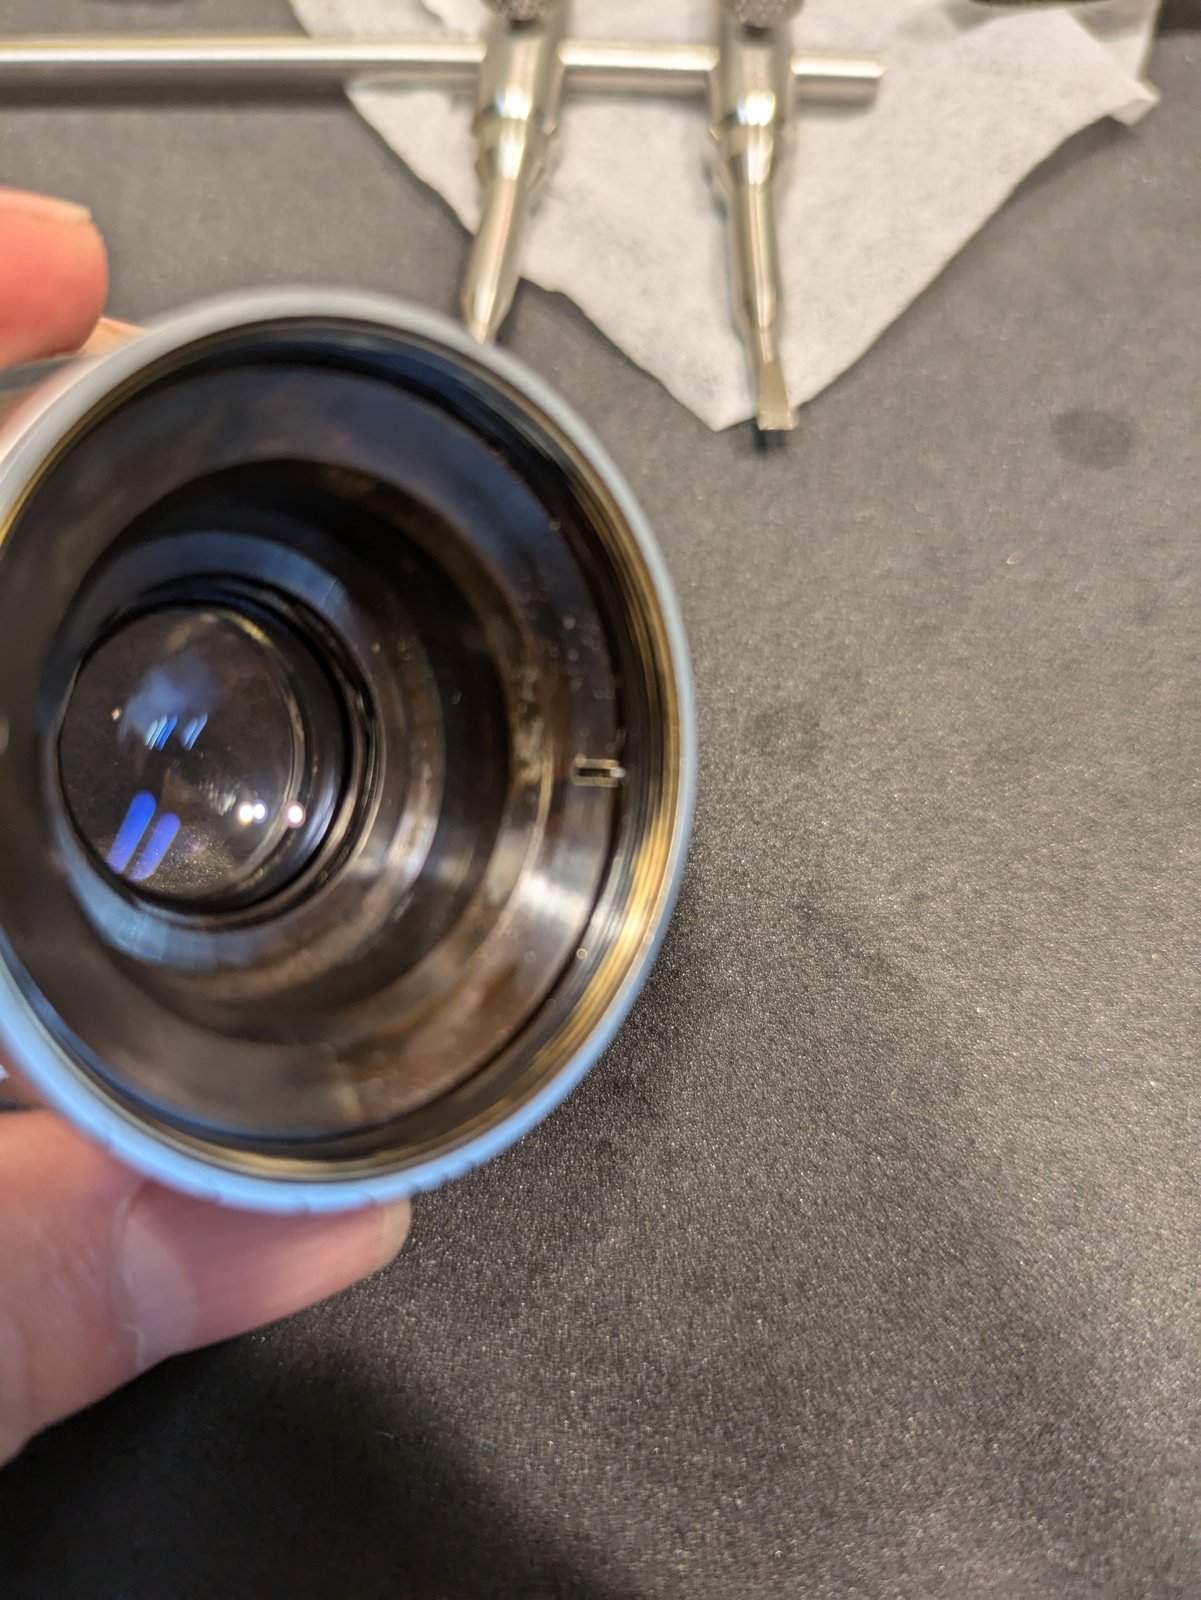
With the front section off, you can look straight into the barrel. The next lens element sits deep inside, and around it, on the inner wall of the barrel, there was dark, brownish dirt.
3. Cleaning
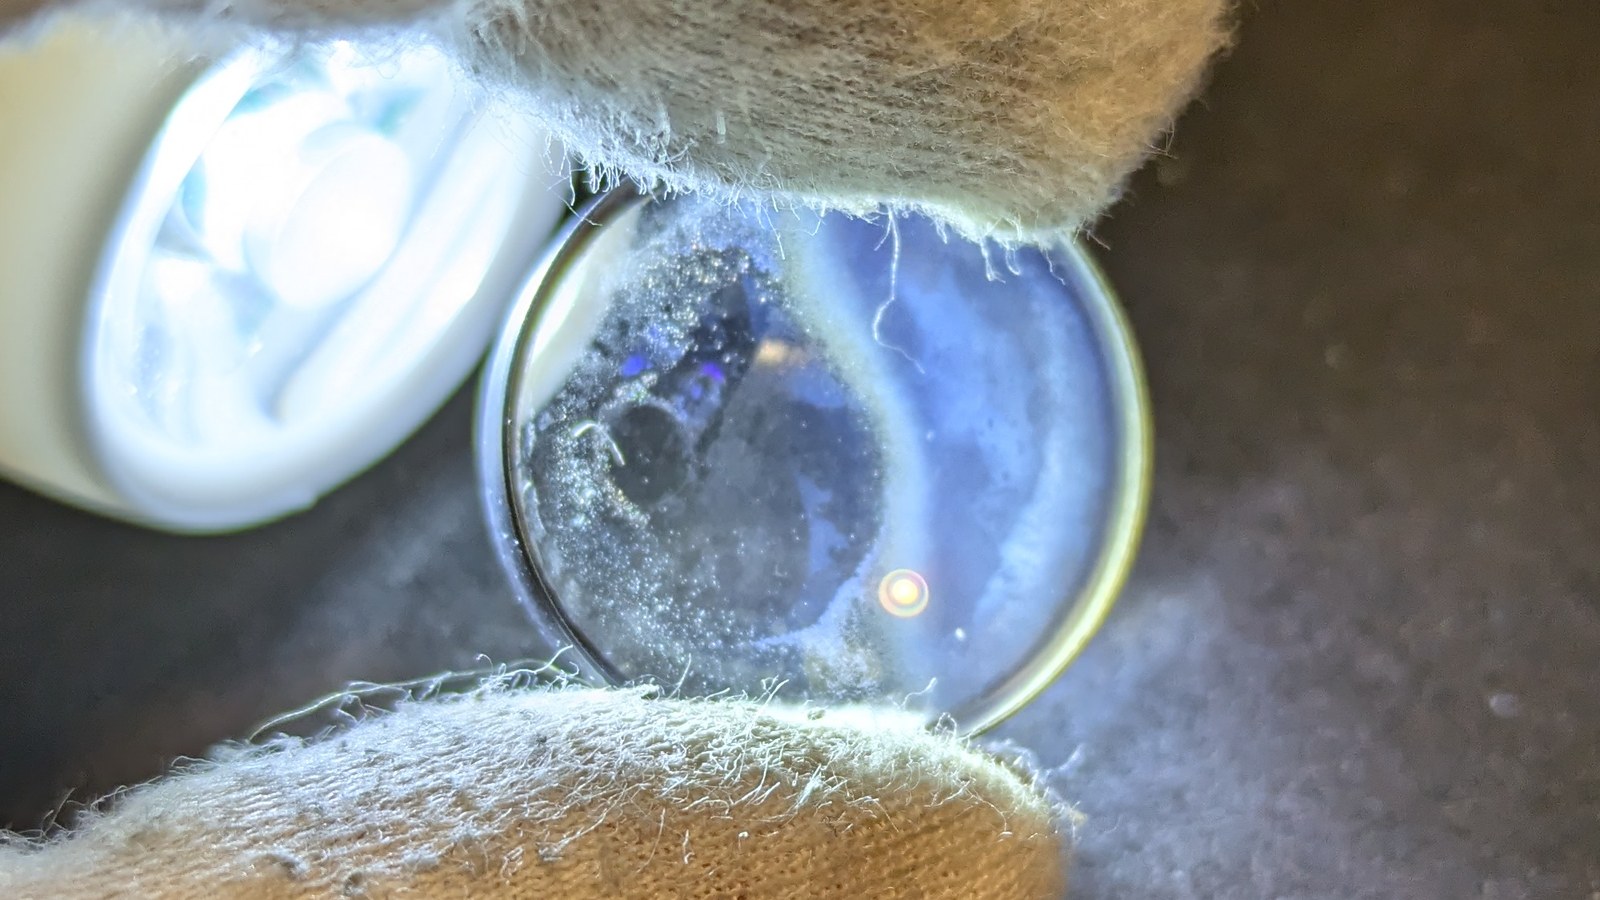
Then I gently wiped the rear surface of the front group – the side of the glass that faces into the lens.
From here on, I wore gloves.
4. Back together
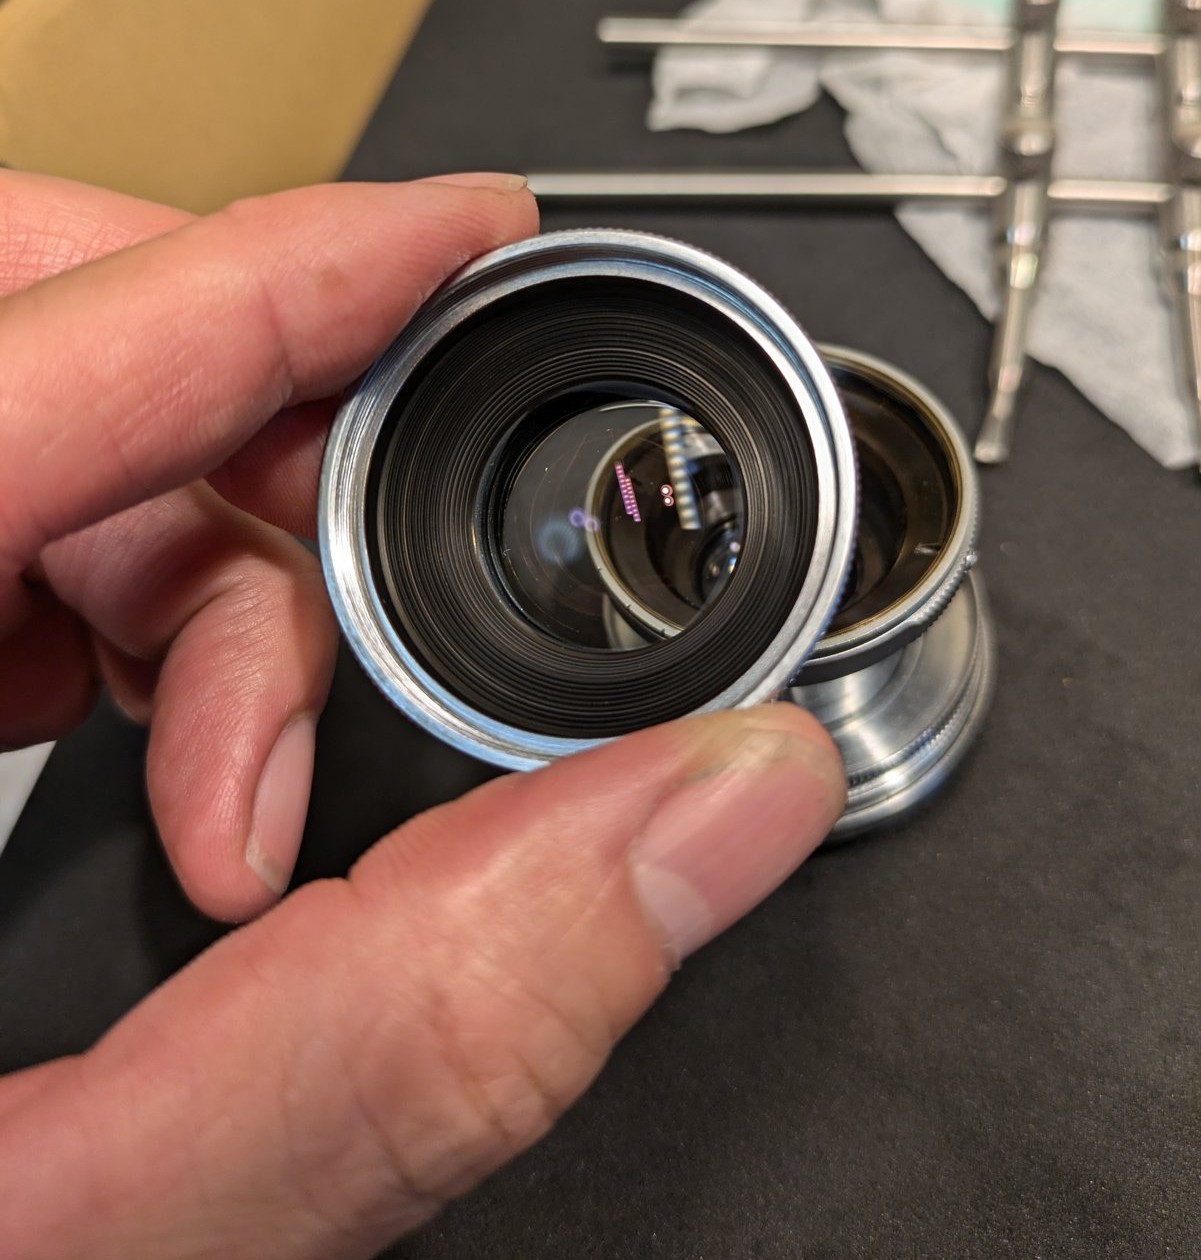
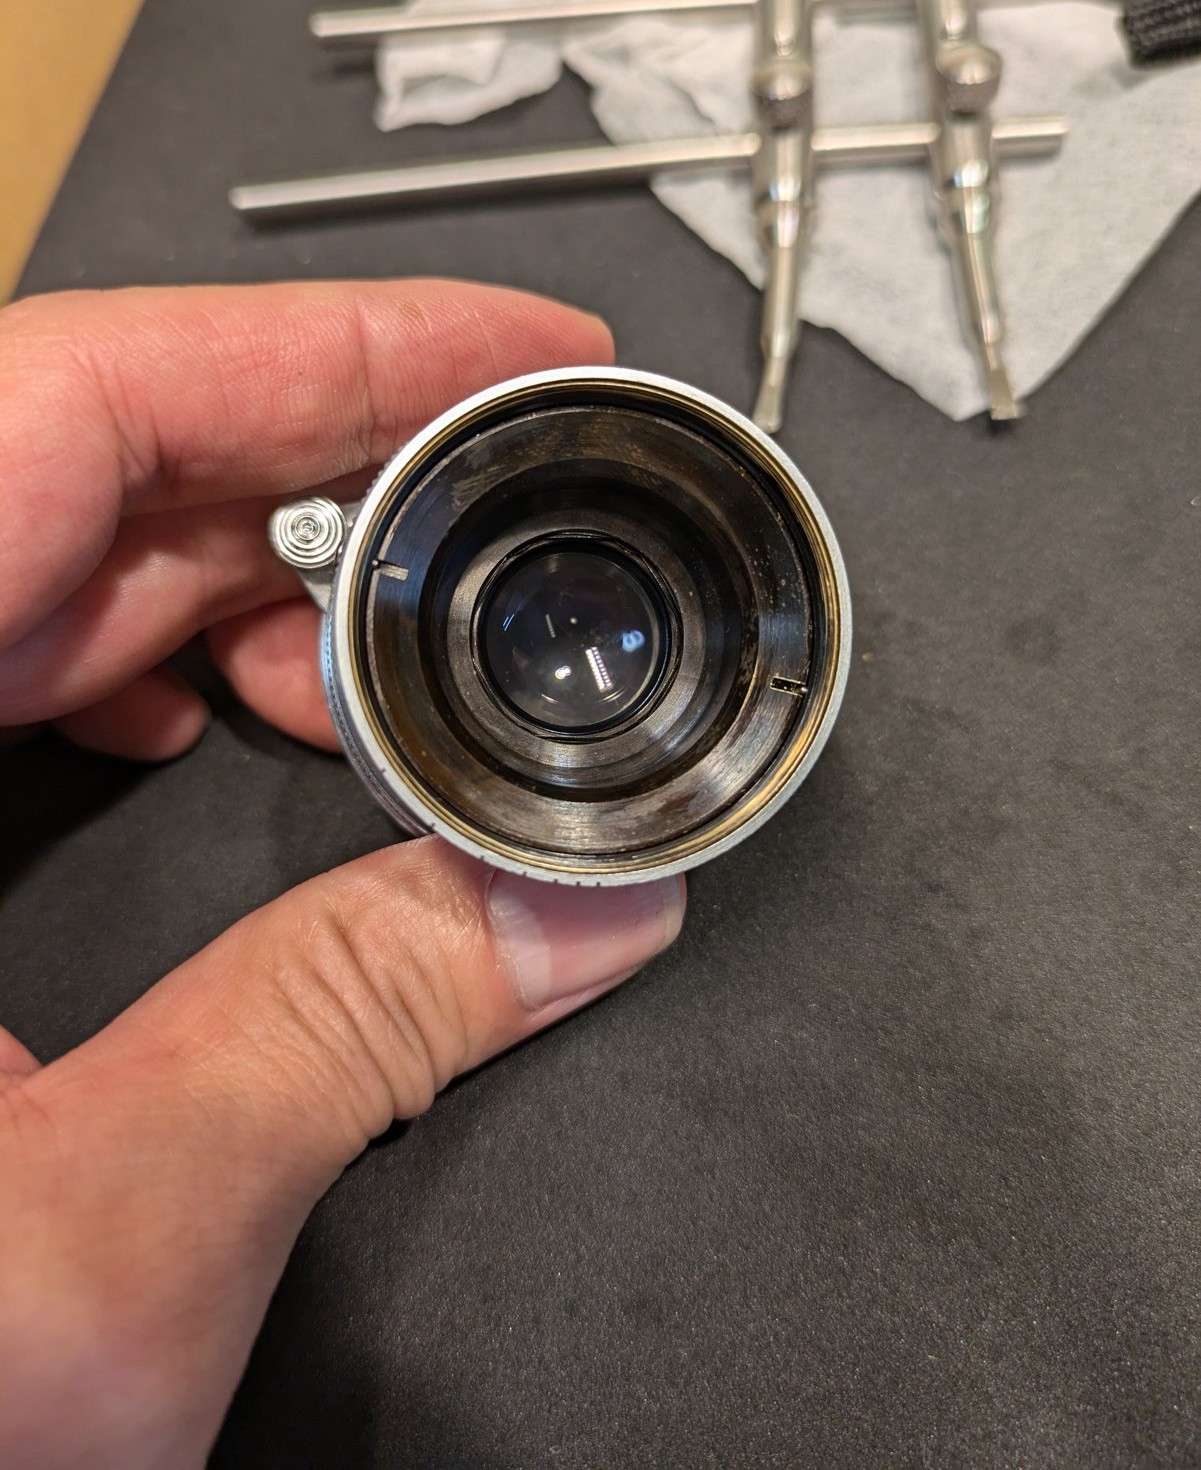
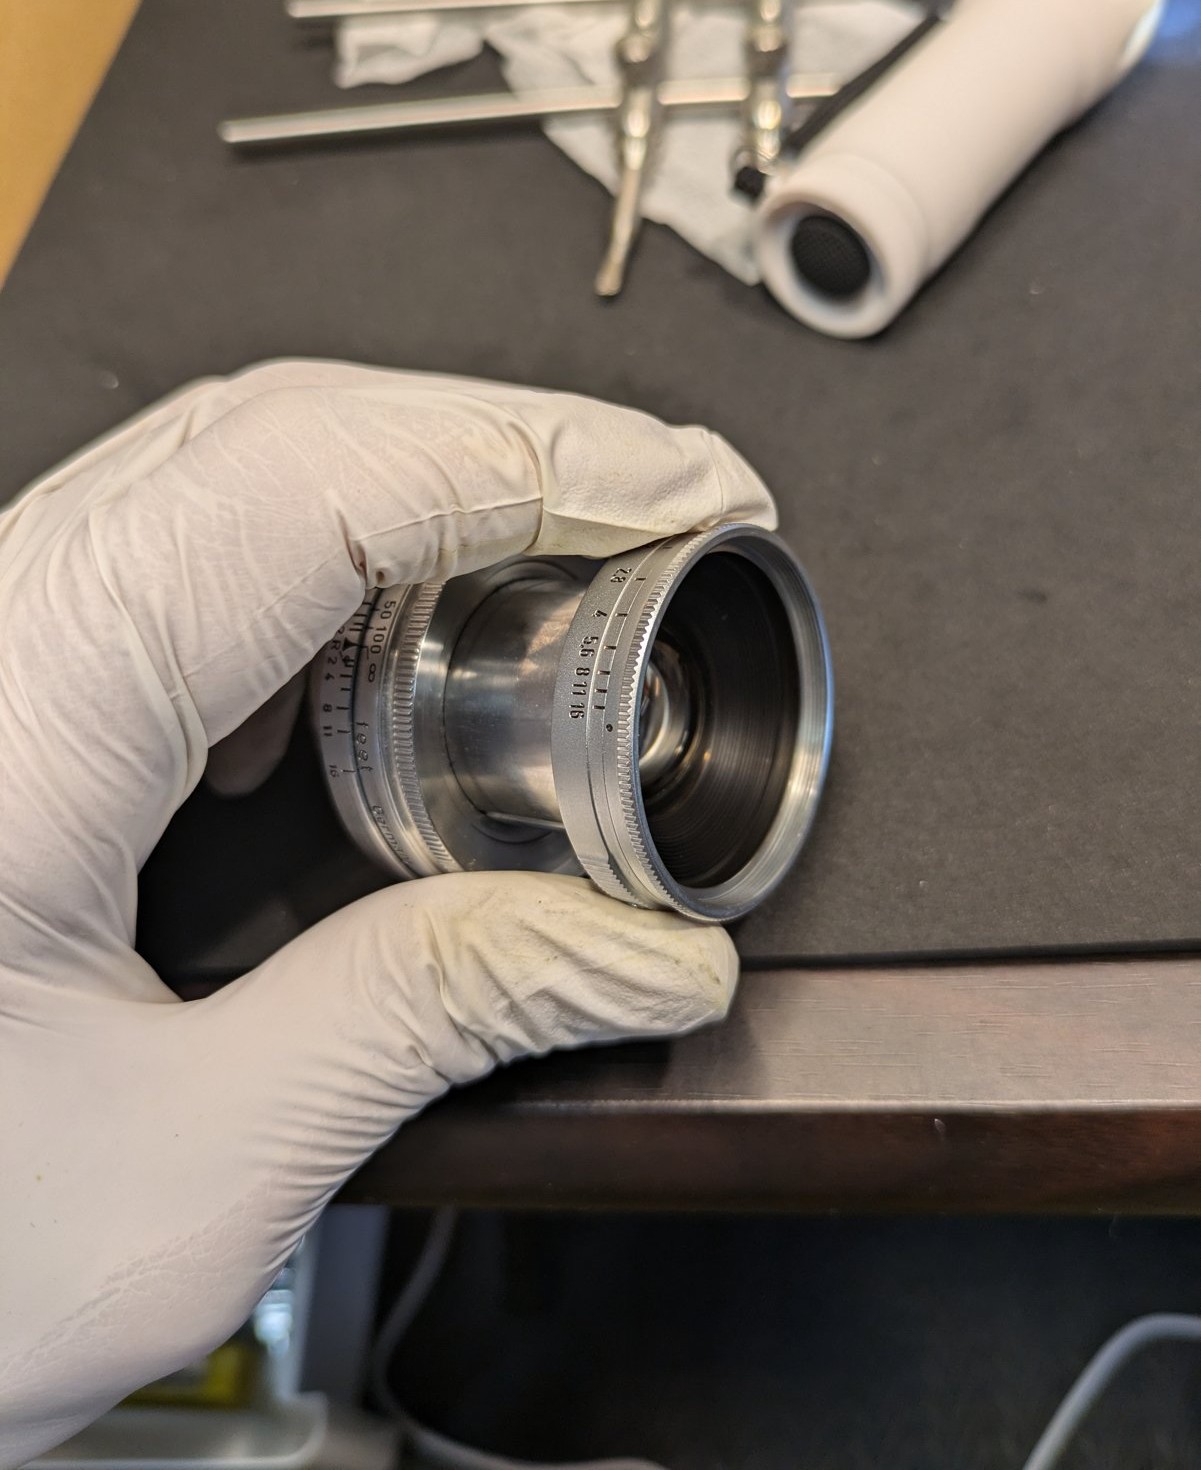
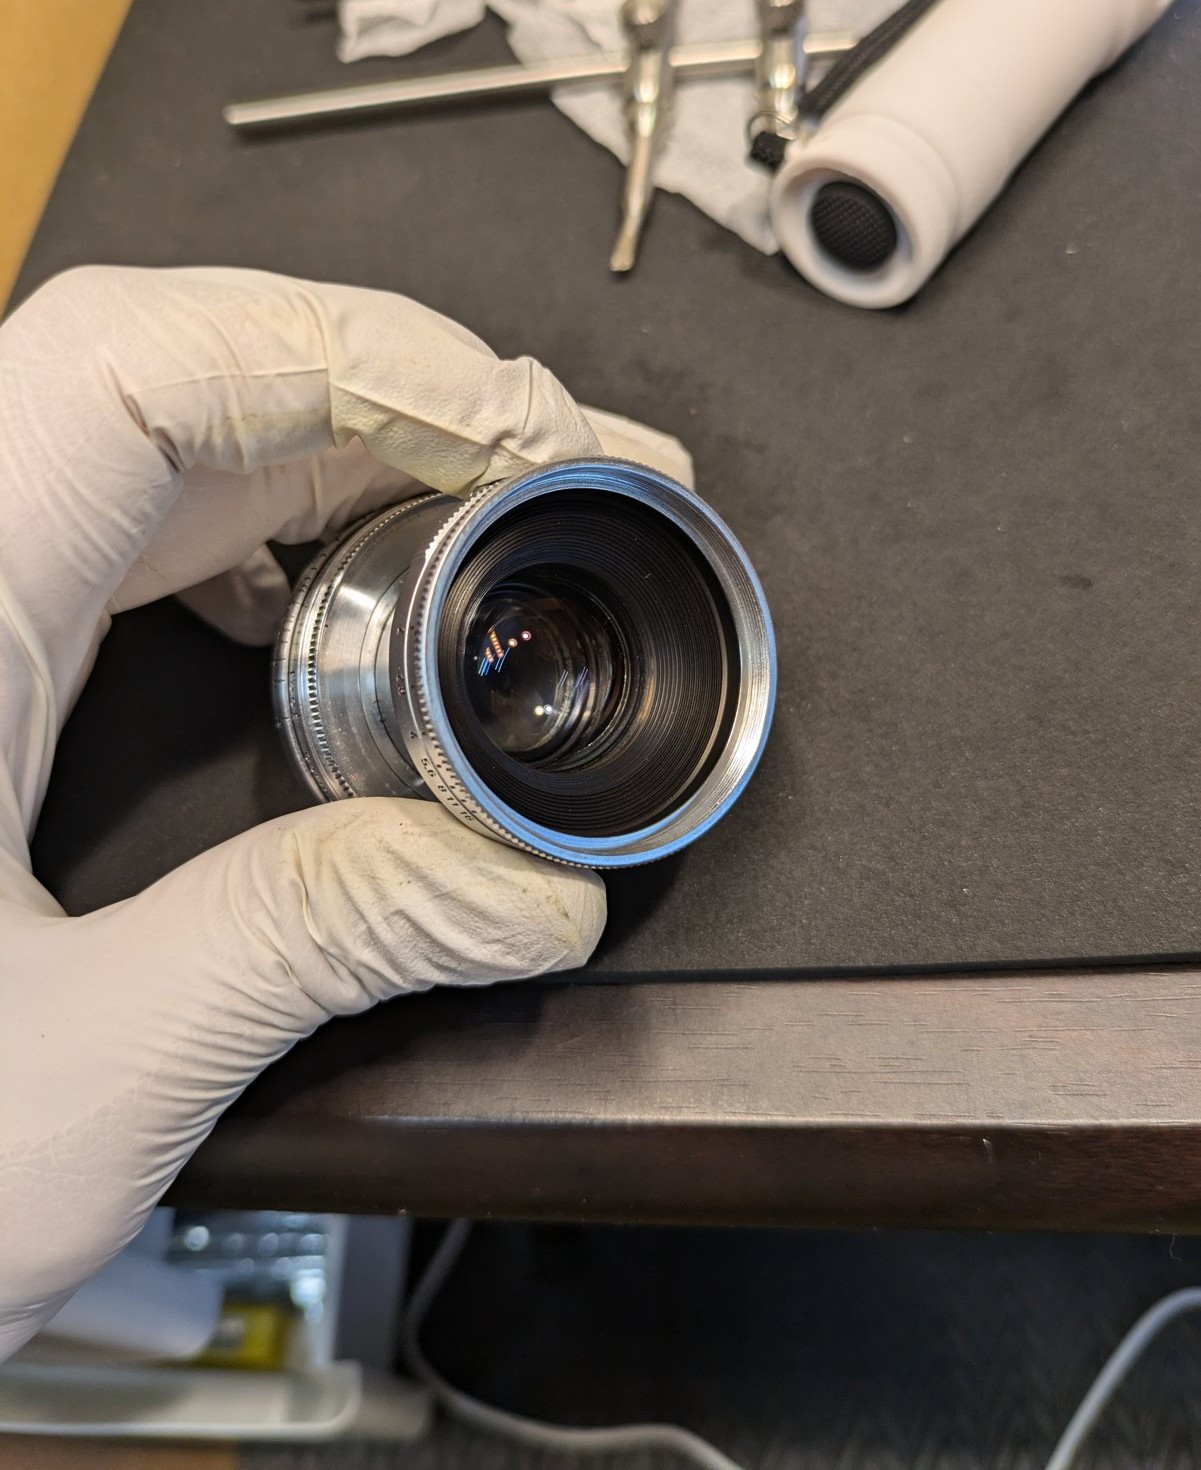
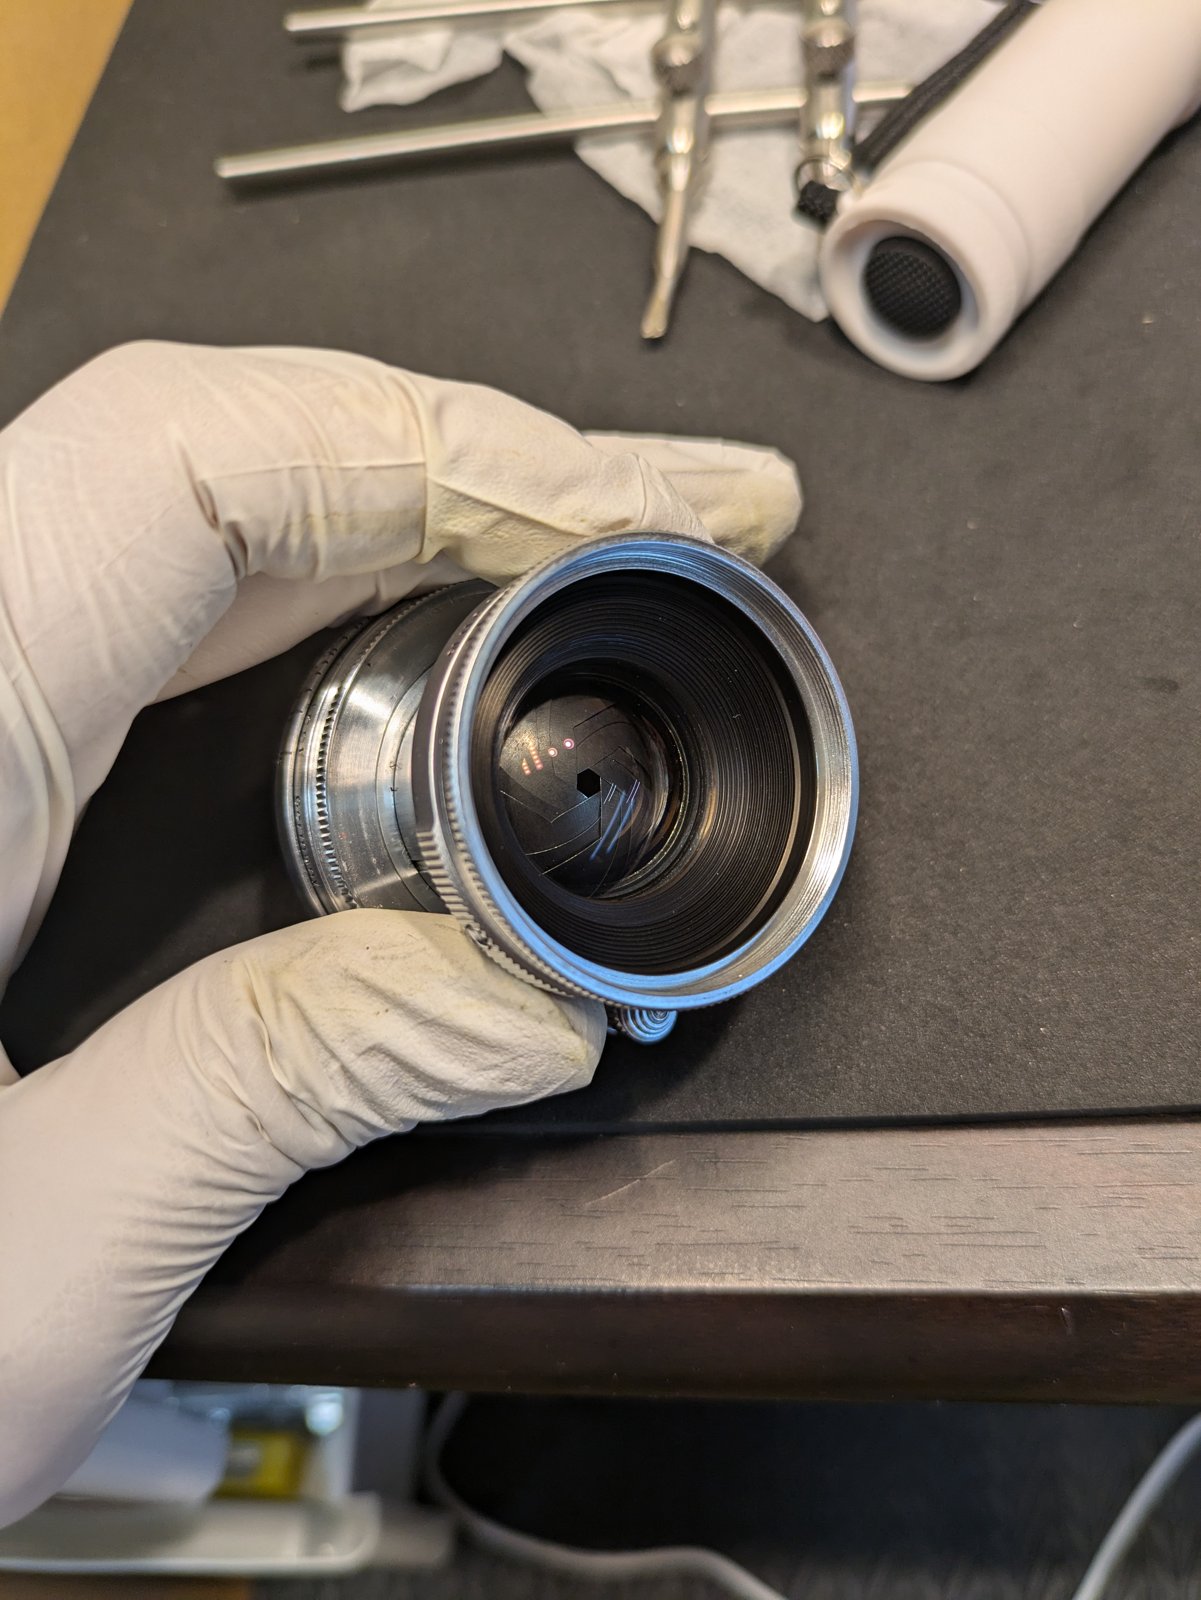
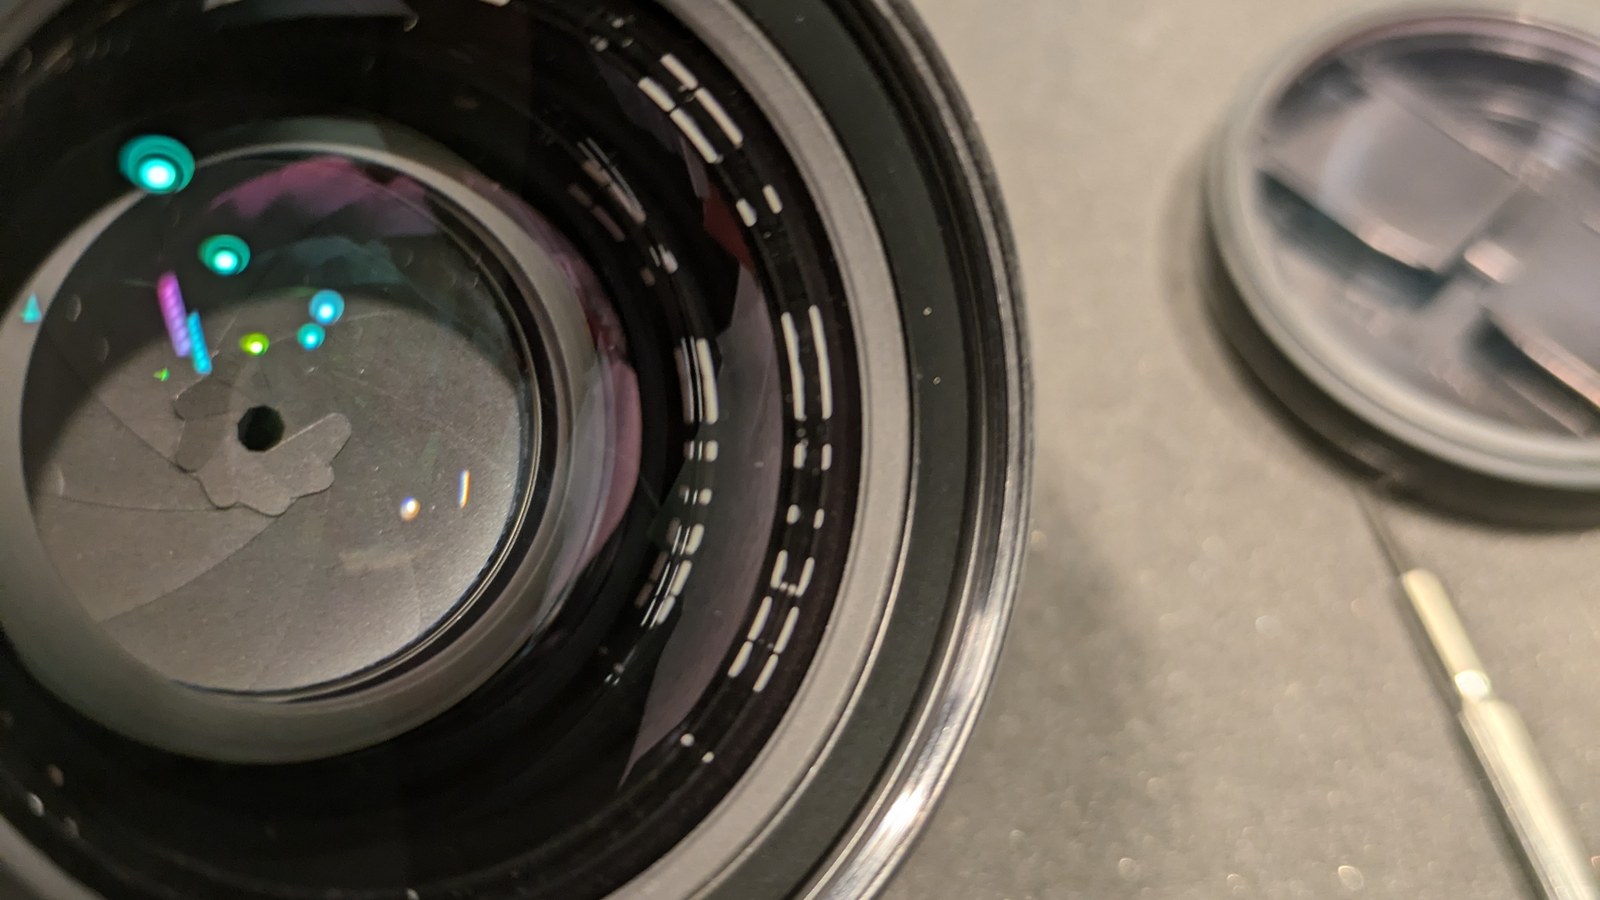
The black ribbed tube went back in. In these photos the front cell with the name ring is still off, so you are looking into the tube itself. Stopped down, the aperture blades can be seen through the glass.
5. The front cell
The last piece is the front cell, the part with the name ring: “Summitar f=5cm 1:2”.
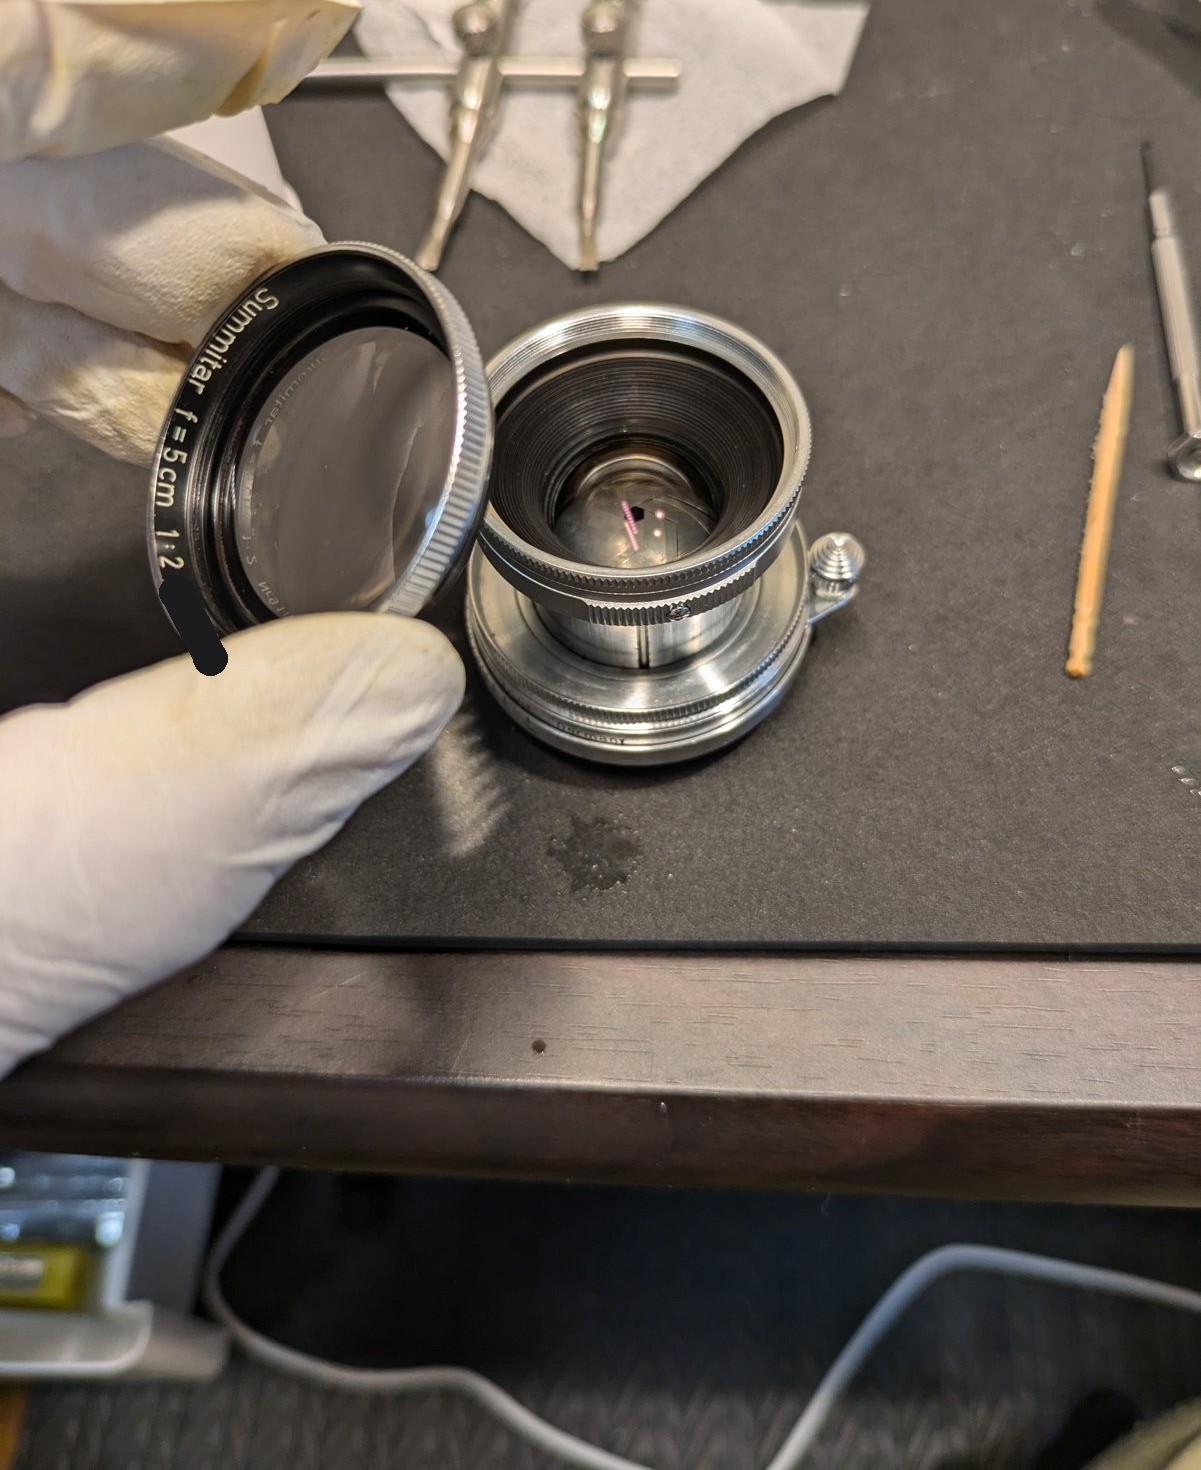
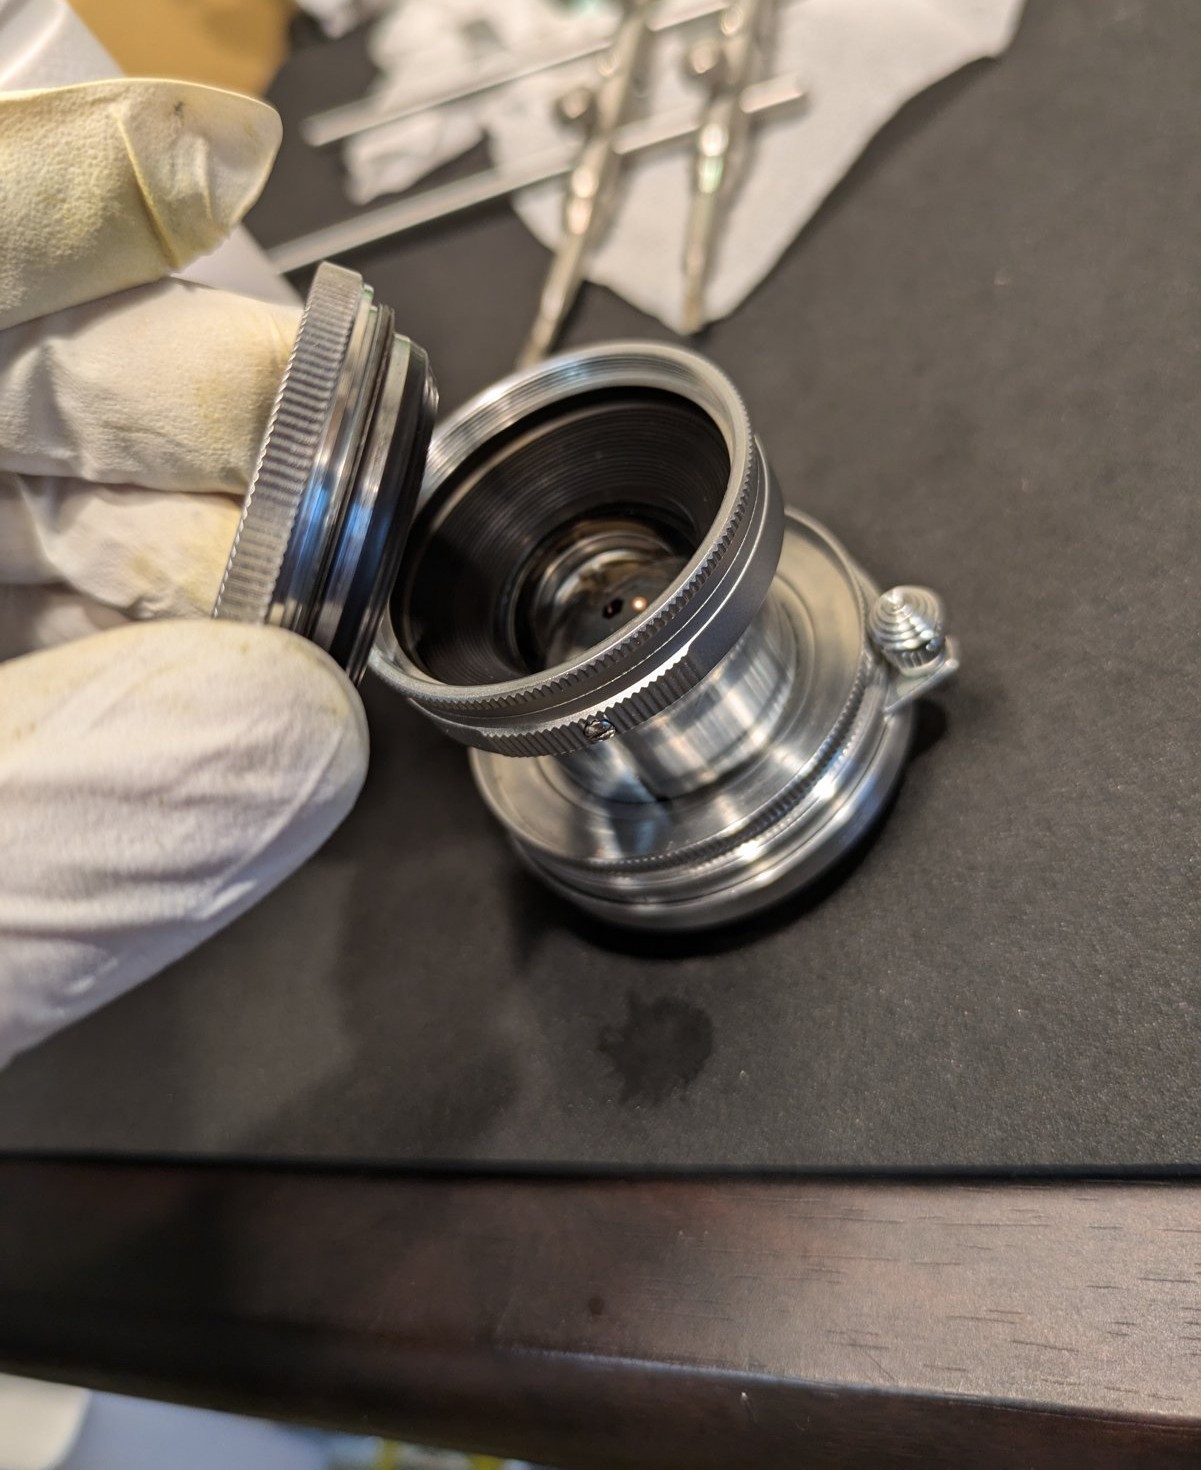
With its rear surface wiped clean, the front cell went back on.
6. After
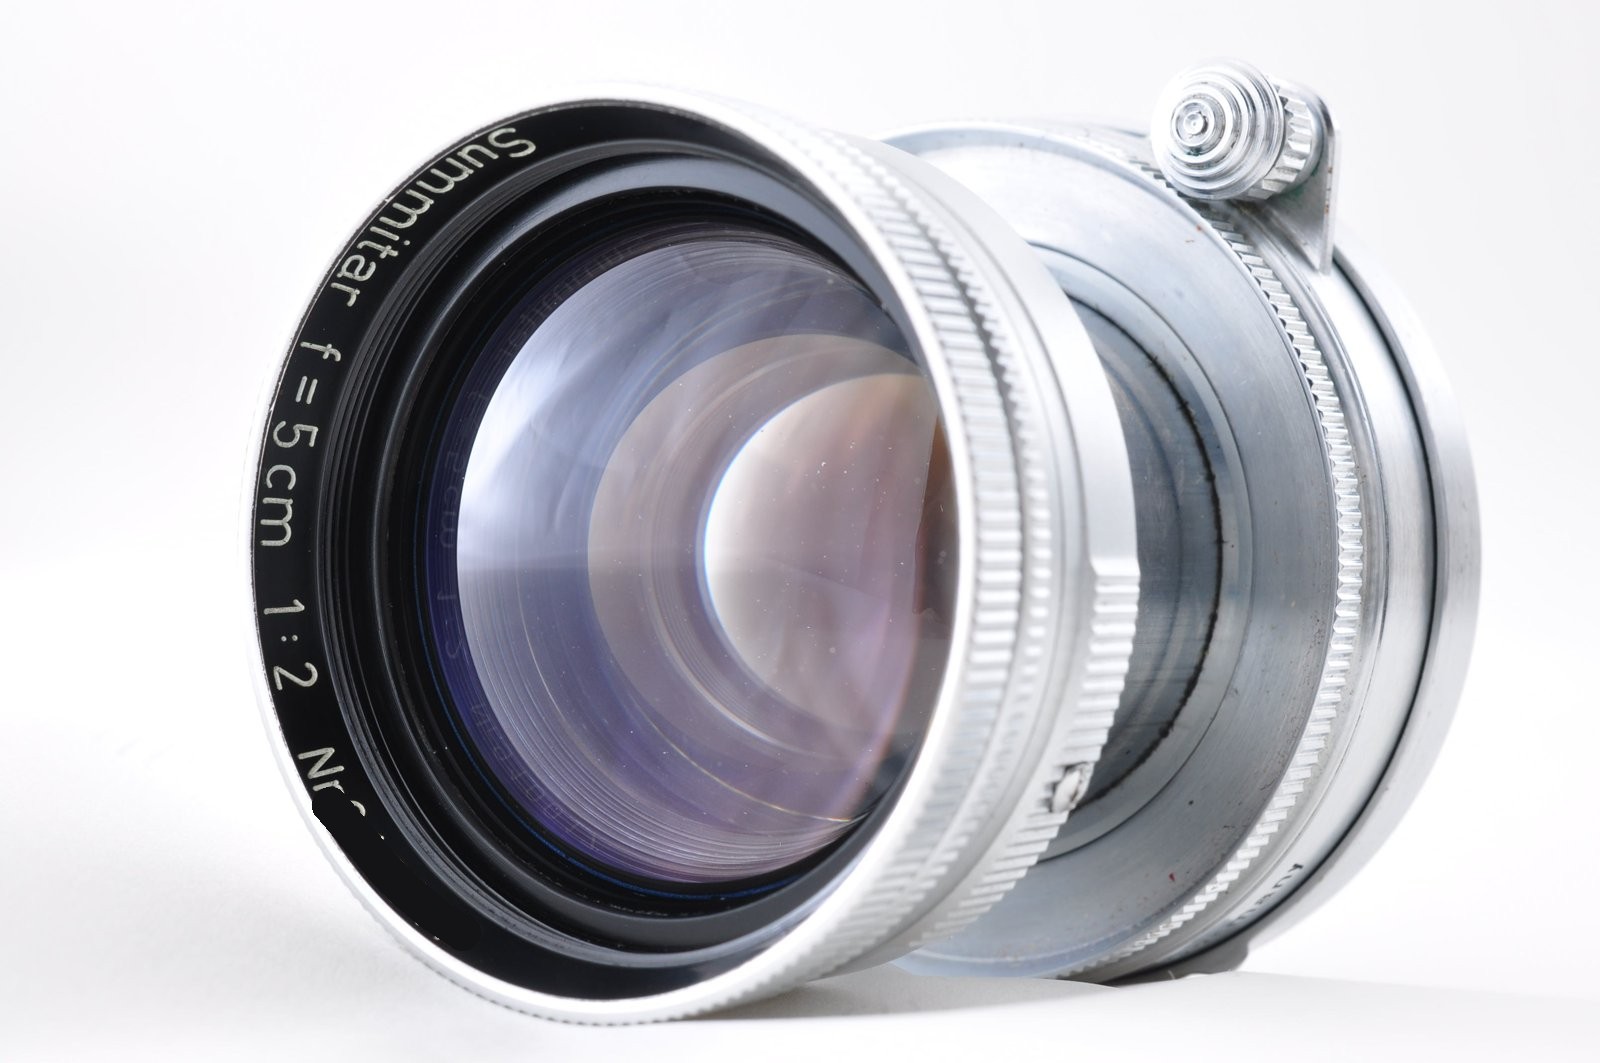
It turned out not to be balsam separation after all. The haze was simply on the rear surface of the front group, and it came off with that light wipe.
About a month after this cleaning, the lens found a new owner through our eBay shop as a Near Mint lens. The buyer left positive feedback, which I was very glad to see.
Thank you very much for reading.
Follow azuleterno on Instagram
I run azuleterno, a shop in Japan that sends good-quality used Japanese cameras and lenses to people all over the world. Items with minor problems are repaired and put in order before they are sold.
On Instagram I post the lenses and cameras I have just listed. Follow along to see what comes in next.
Questions, or looking for a particular lens or camera? Send me a DM on Instagram. Requests are welcome.
Shop worldwide on eBay
We sell good-quality items from Japan to buyers all around the world, and eBay is where we do it. Our items are listed in our eBay shop with detailed photos and an honest description of their condition, and we ship from Japan to your door.
When you find something you like on Instagram, this is the place to see it in full and buy it.
“For Your Happier Life, For the Future of Our Earth.” Giving well-made cameras a longer life is our small way of caring for the planet.
日本語
ライカ ズミタール 5cm F2 は、ライカのスクリューマウント(L39)用の標準レンズで、前面に「Ernst Leitz Wetzlar」と刻まれています。2024年10月に作業しました。今回は、レンズの前側を少しだけ分解して、前玉群を清掃した記録です。
入手したとき、レンズの中に薄い曇りが見えていて、バルサム切れ(貼り合わせたレンズの接着剤の劣化)を疑っていました。よく確かめて清掃するため、前側を開けました。
1. 前側を外す
レンズの前側は、鏡胴からねじって外れます。今回は、銘板の付いた前玉の枠と、その後ろの黒い筒(内側に細かい溝のある筒)が、ひとまとまりで外れました。
2. 中の様子
前側を外すと、鏡胴の中をまっすぐ覗けます。奥に次のレンズがあり、そのまわりの鏡胴の内側に、茶色っぽい黒い汚れが付いていました。
3. 清掃
そのあと、前玉群の後ろ側(レンズの内側に向いた面)を軽く拭きました。
ここからは手袋をはめて作業しています。
4. 組み戻す
黒い筒を元に戻しました。この写真では、銘板の付いた前玉の枠はまだ外れているので、見えているのは筒の内側です。絞ると、ガラス越しに絞り羽根が見えます。
5. 前玉の枠
最後の部品が、銘板「Summitar f=5cm 1:2」の付いた前玉の枠です。
後ろの面を拭き終えた前玉の枠を、元に戻しました。
6. 仕上がり
結果は、バルサム切れではありませんでした。曇りは前玉群の後ろの面に付いていただけで、軽く拭いたら取れました。
清掃からおよそ1か月で、このレンズは Near Mint(ほぼ新品に近い状態)として新しい持ち主のもとへ渡りました。良い評価もいただけて、とてもうれしかったです。
最後まで読んでいただき、ありがとうございました。
オールドレンズの分解清掃を承ります|Repair Factory Fuji Base
この記事のような分解清掃を、国内のお客さまのレンズでもお受けしています。静岡県富士市の工房で、カビ・くもり・絞りの油染み・バルサム切れの清掃を、1本ずつ作業します。
基本料金2,000円(税込価格2,200円)・返送料込み。料金表とお申し込みは、受付ページをご覧ください。
作業の様子は、Instagram @fujibase_repair でも紹介しています。
InstagramでazuleternoをFollowしてください
日本の良質な中古カメラ・レンズを、世界中の方へお届けしているショップ azuleterno を運営しています。小さな不具合のある品は、修理・整備してから販売しています。
Instagramでは、新しく出品したレンズやカメラを紹介しています。フォローしていただくと、次に入ってくる品が見られます。
ご質問や、お探しのレンズ・カメラがあれば、InstagramのDMでお気軽にどうぞ。
モットーは “For Your Happier Life, For the Future of Our Earth.”(あなたのより幸せな暮らしと、地球の未来のために)。良いカメラを長く使い続けてもらうことが、地球を大切にする私たちなりの方法です。
Comments