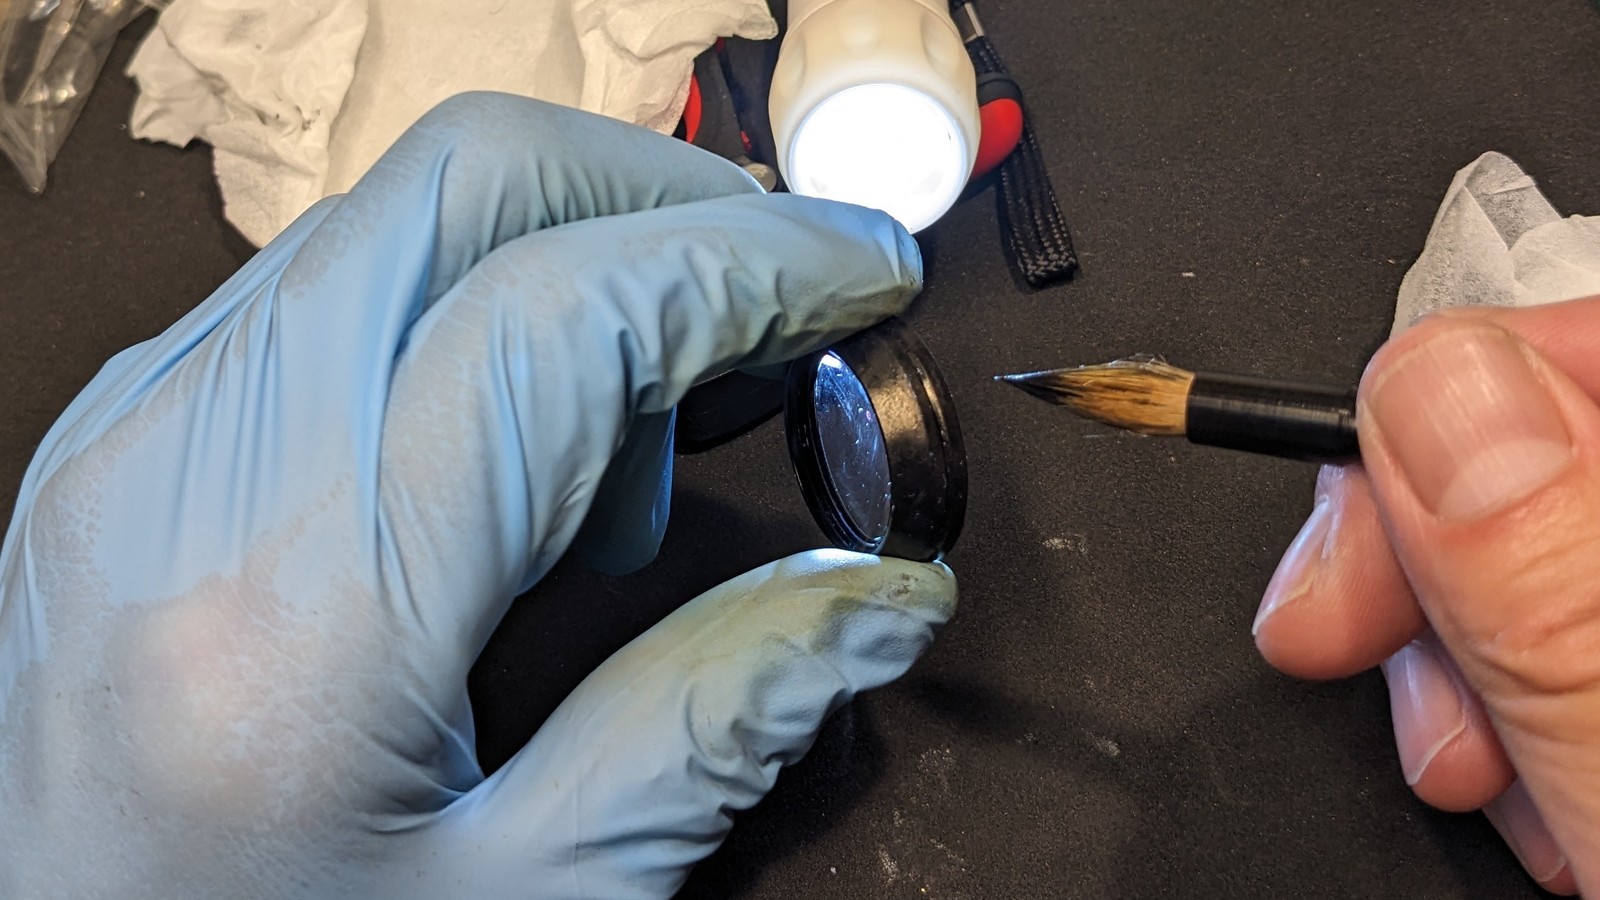
This is a follow-up to my CONTAX Planar T* 50mm f/1.4 balsam separation repair. It is the same lens. After the two pieces of glass were cemented together again, there was one more job to do: painting the edge of the glass black. This post is a short disassembly showing that step, done with Japanese sumi ink, and the finishing touches that followed.
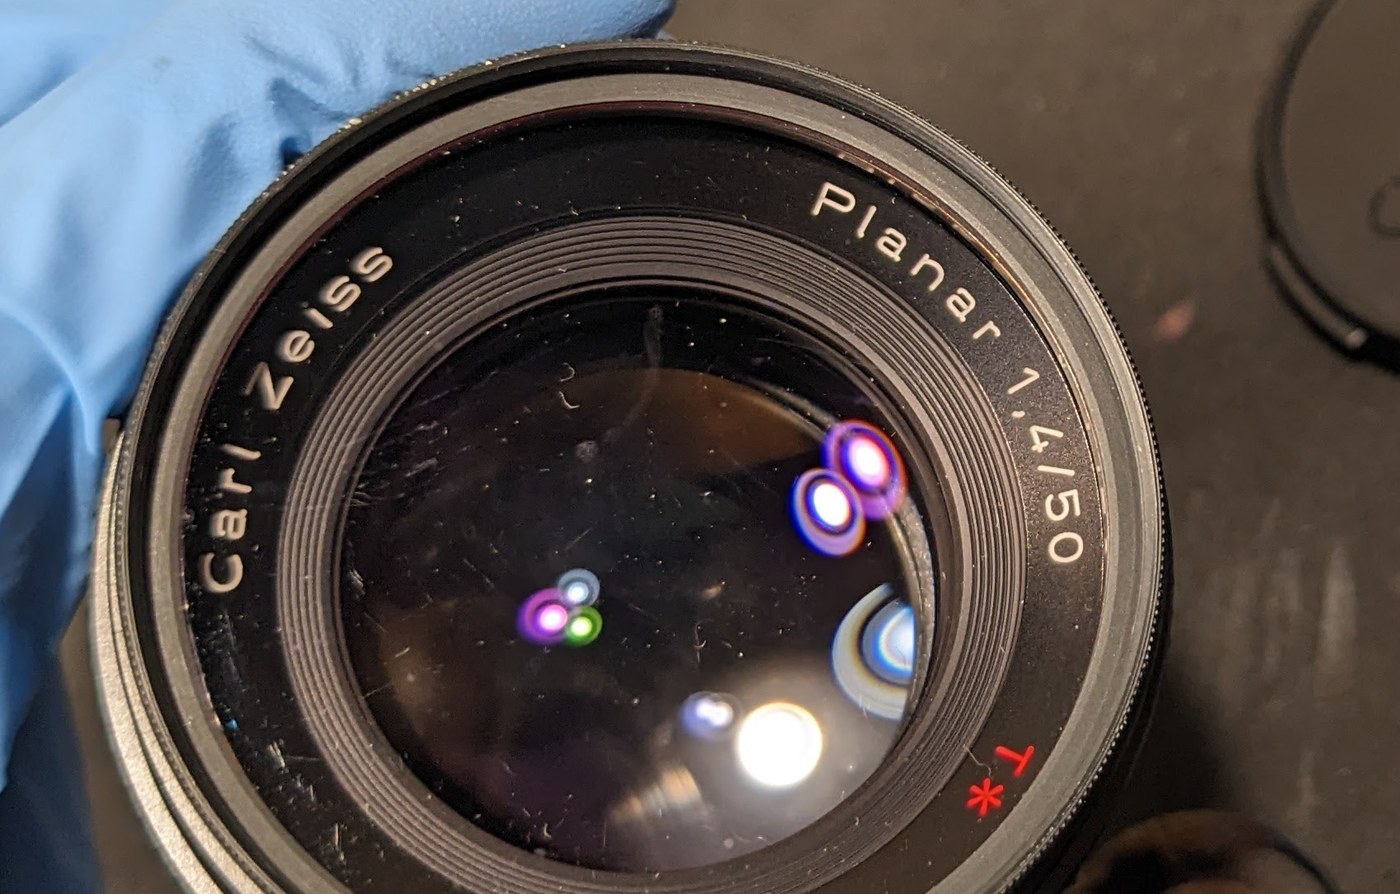
1. Why the edge is painted black
The edges of the glass in a lens are usually painted black. Light that hits a bare glass edge can bounce around inside the lens and show up as flare or a loss of contrast. A matt black edge soaks that light up instead.
2. Grinding the ink
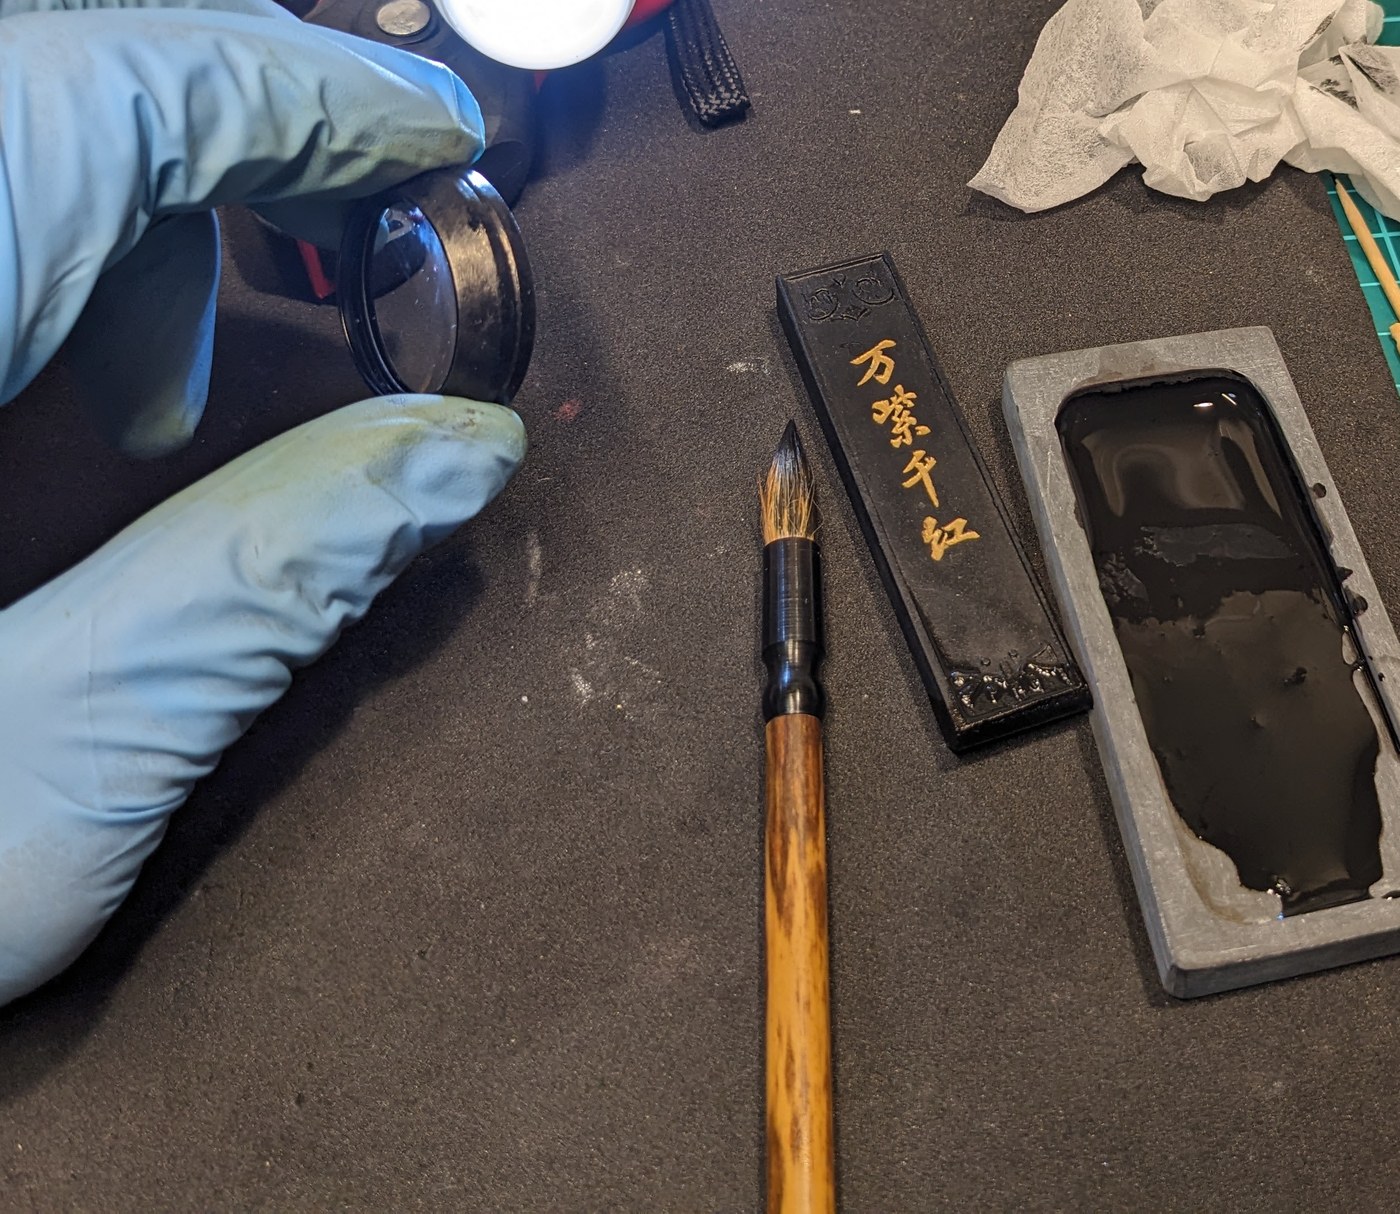
For the paint I used sumi, the black ink used in Japanese calligraphy. It is made by rubbing an ink stick with a little water on an inkstone. Here are the ink stick, the inkstone with freshly ground ink, and the brush, next to the element.
3. Painting the edge
With a fine brush, I painted the ink all the way around the edge of the element. Getting the edge evenly black took some patience.
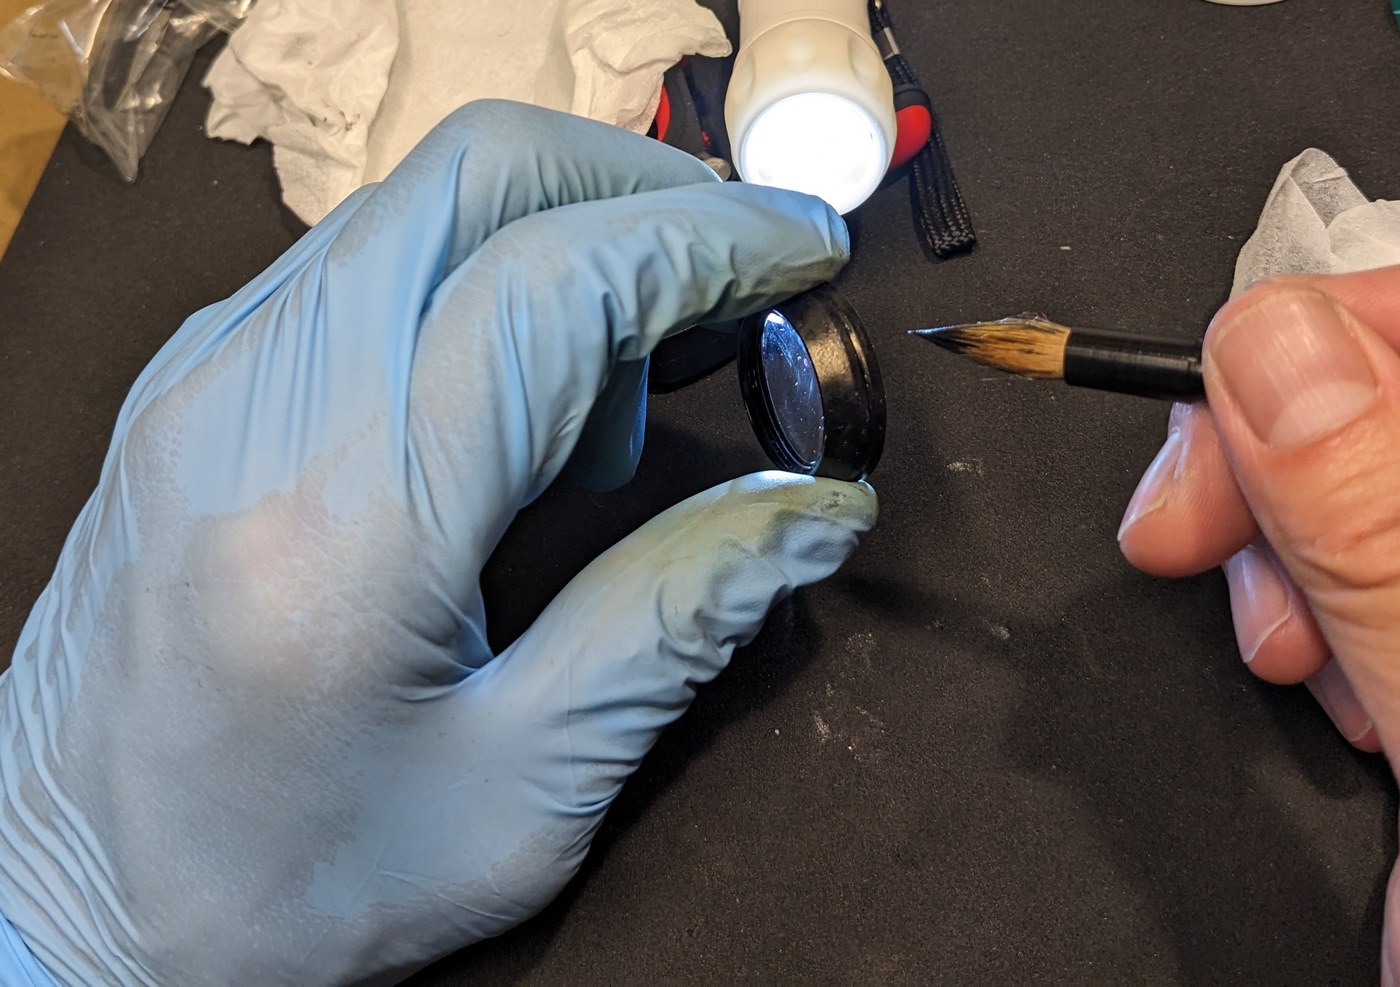
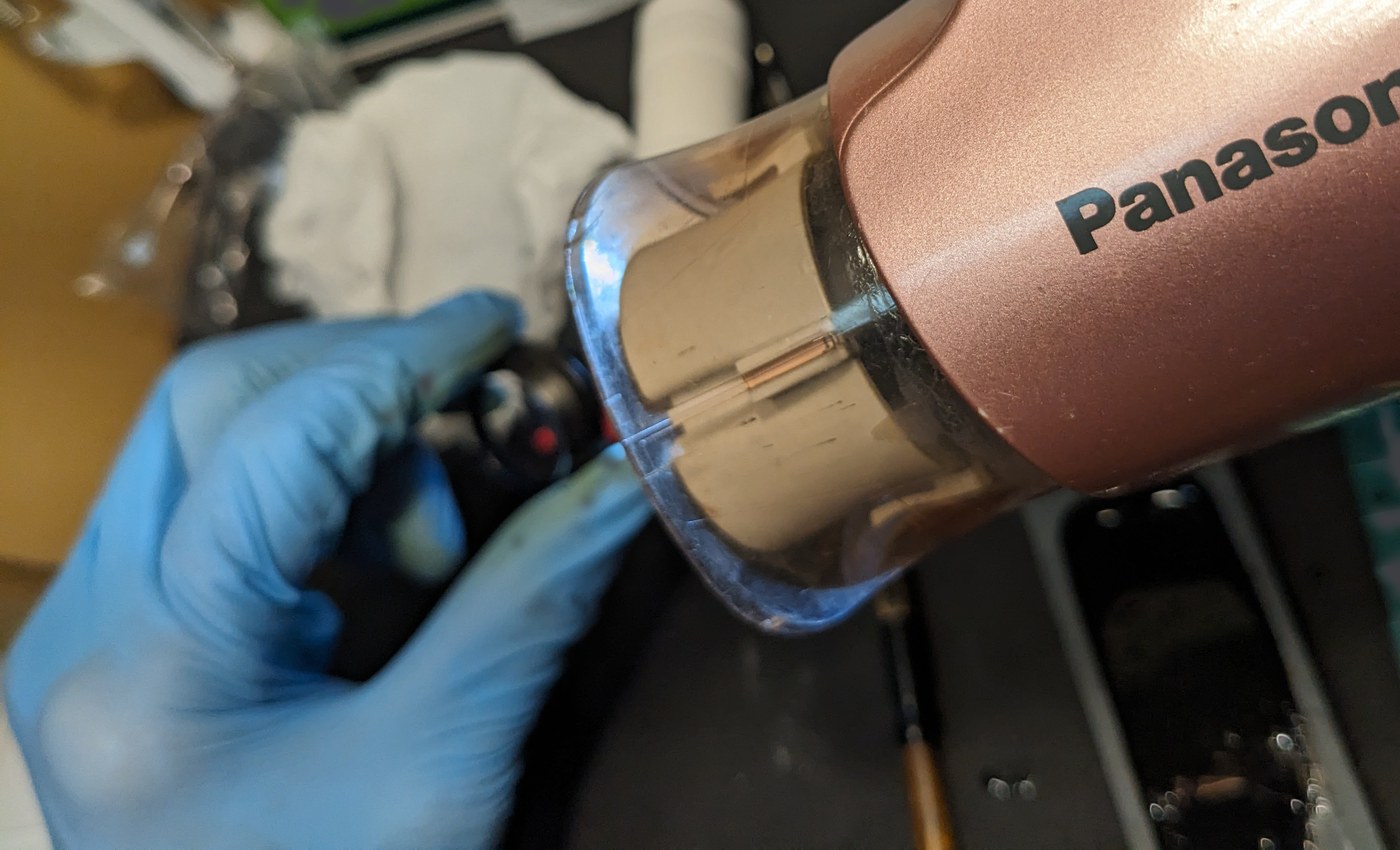
Then I dried the ink with a hair dryer.
4. Finishing touches
The next day, with the lens back together, I opened it once more to finish the job properly. From the mount side, the rear group unscrews as one unit, and the cell with the cemented element comes out of it.
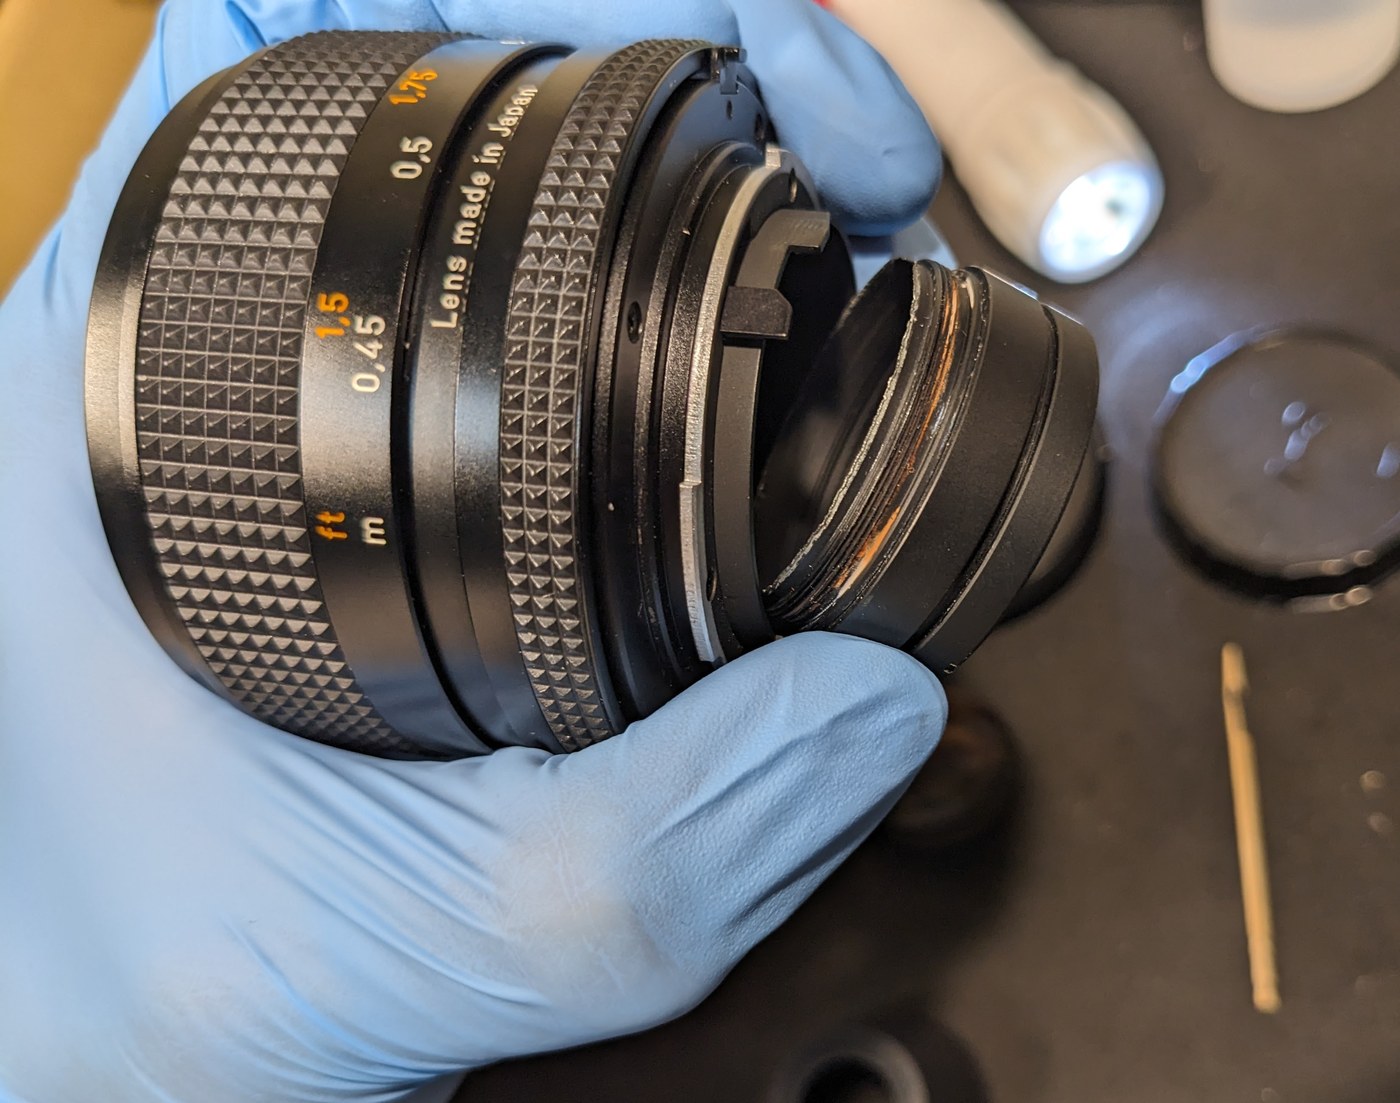
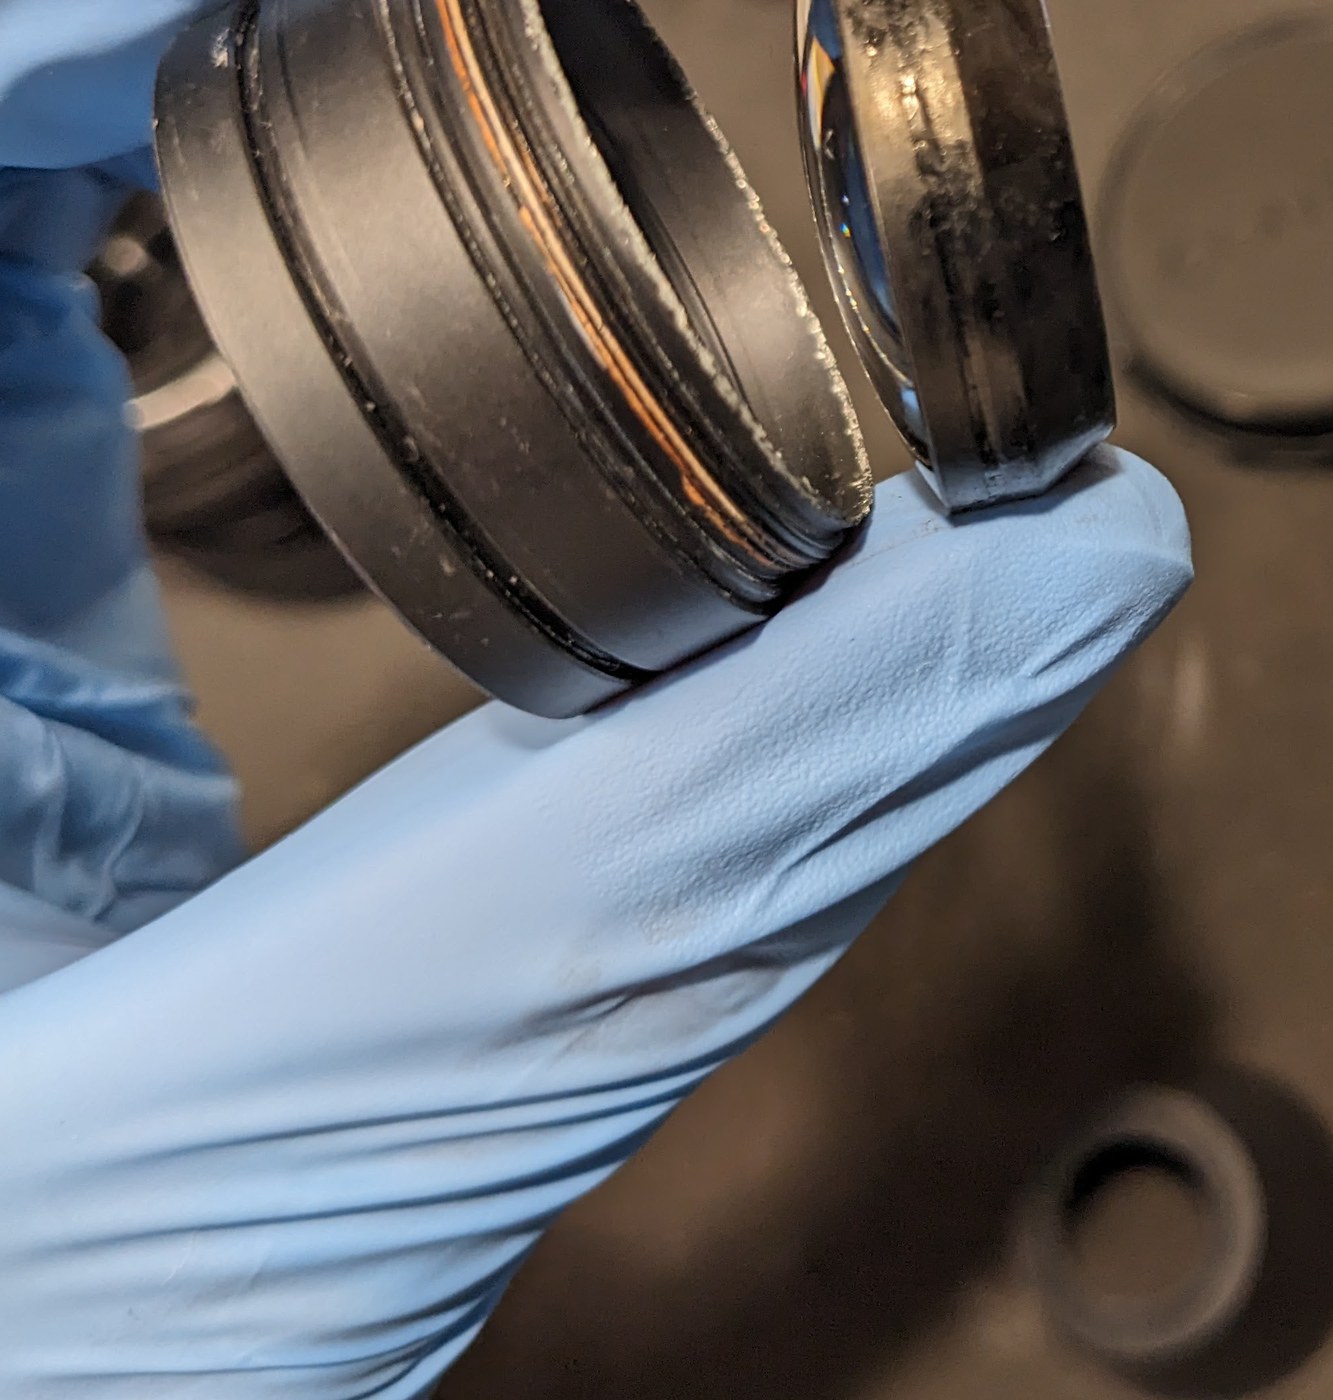
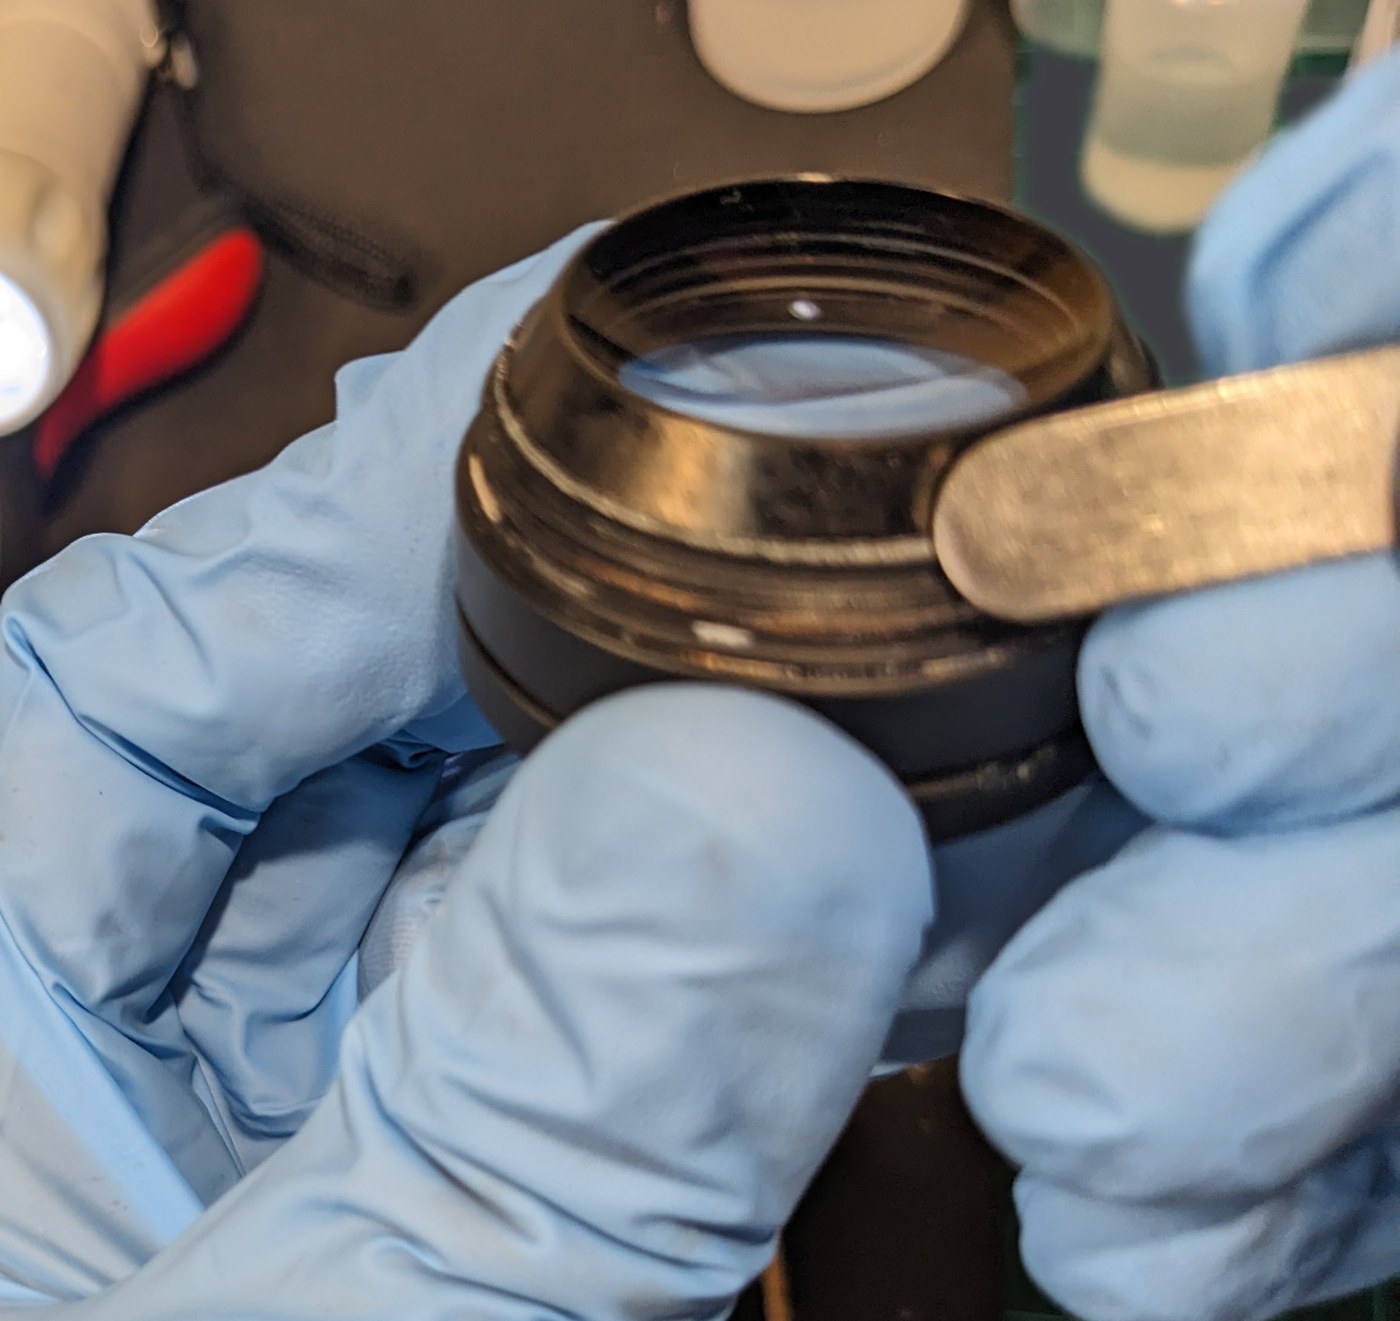
To take the element out in the first place, I had lifted the crimped metal rim of its cell with a knife. Now I pressed that rim back down over the edge of the glass with a flat metal tool, a little at a time all the way around, so the element is held firmly again.
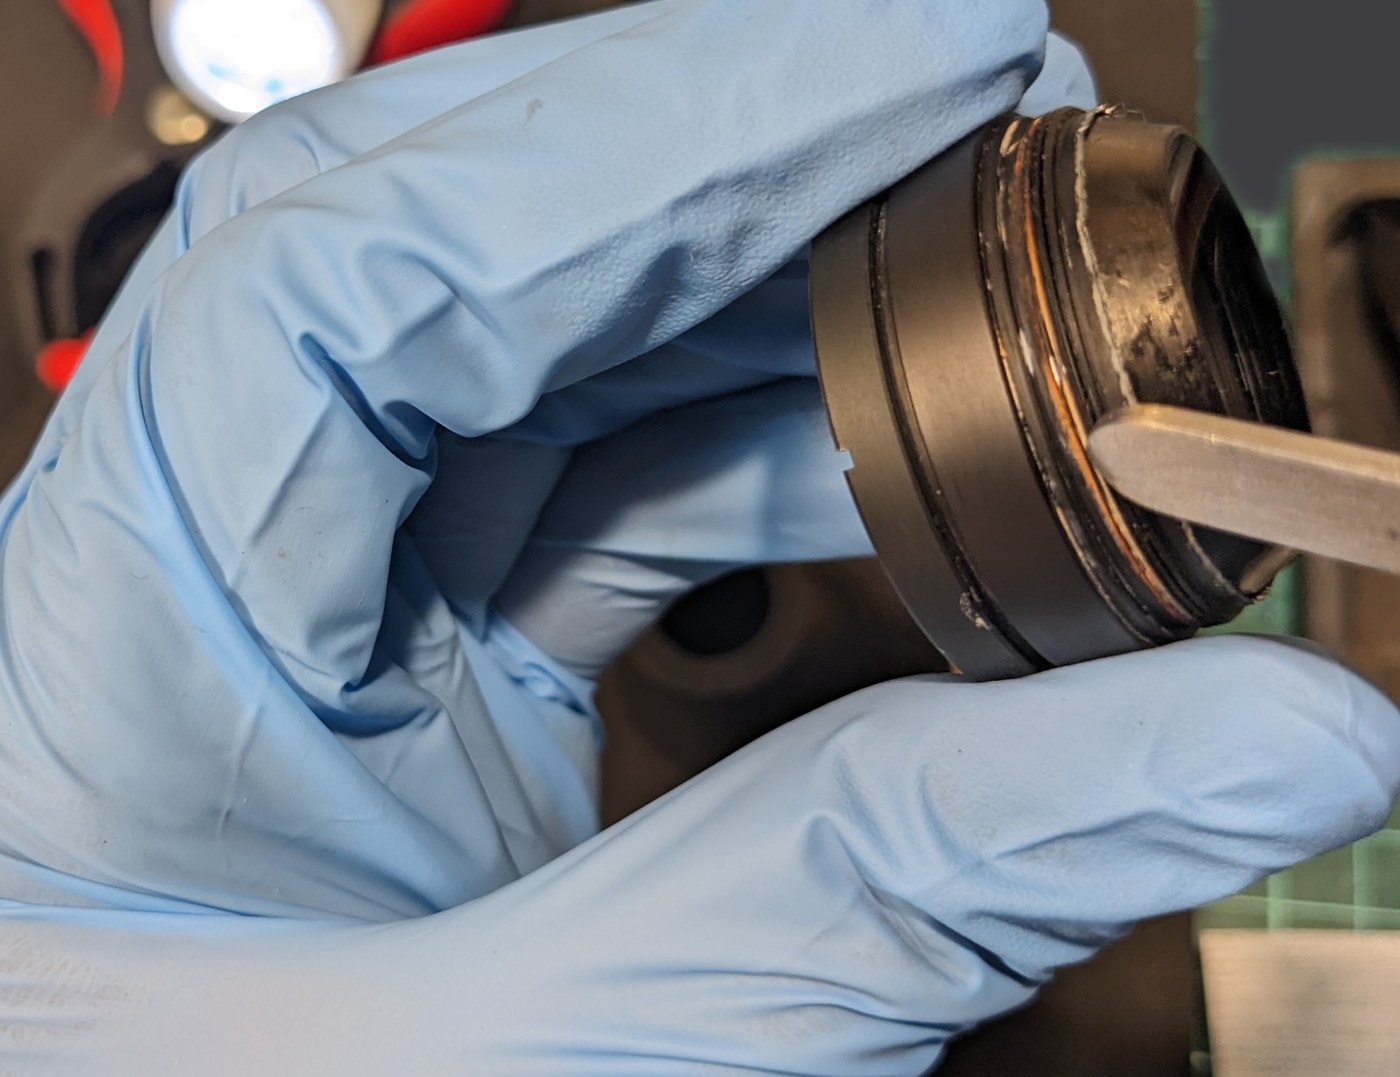
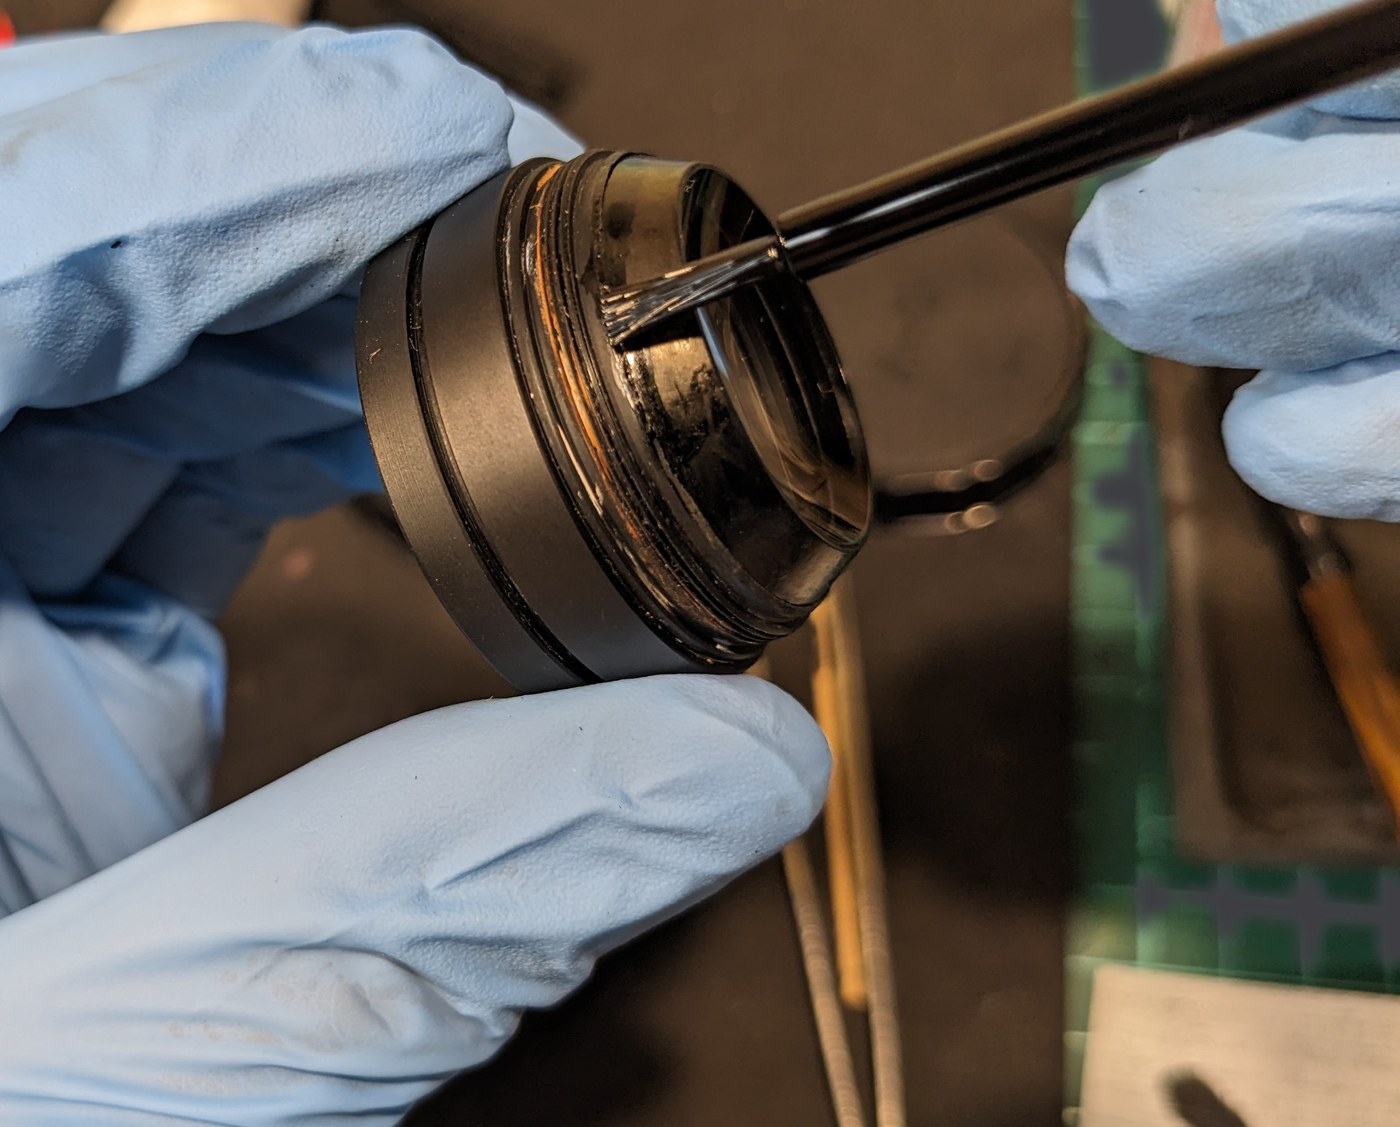
Then I touched up the inside of the cell around the glass with the same sumi ink.
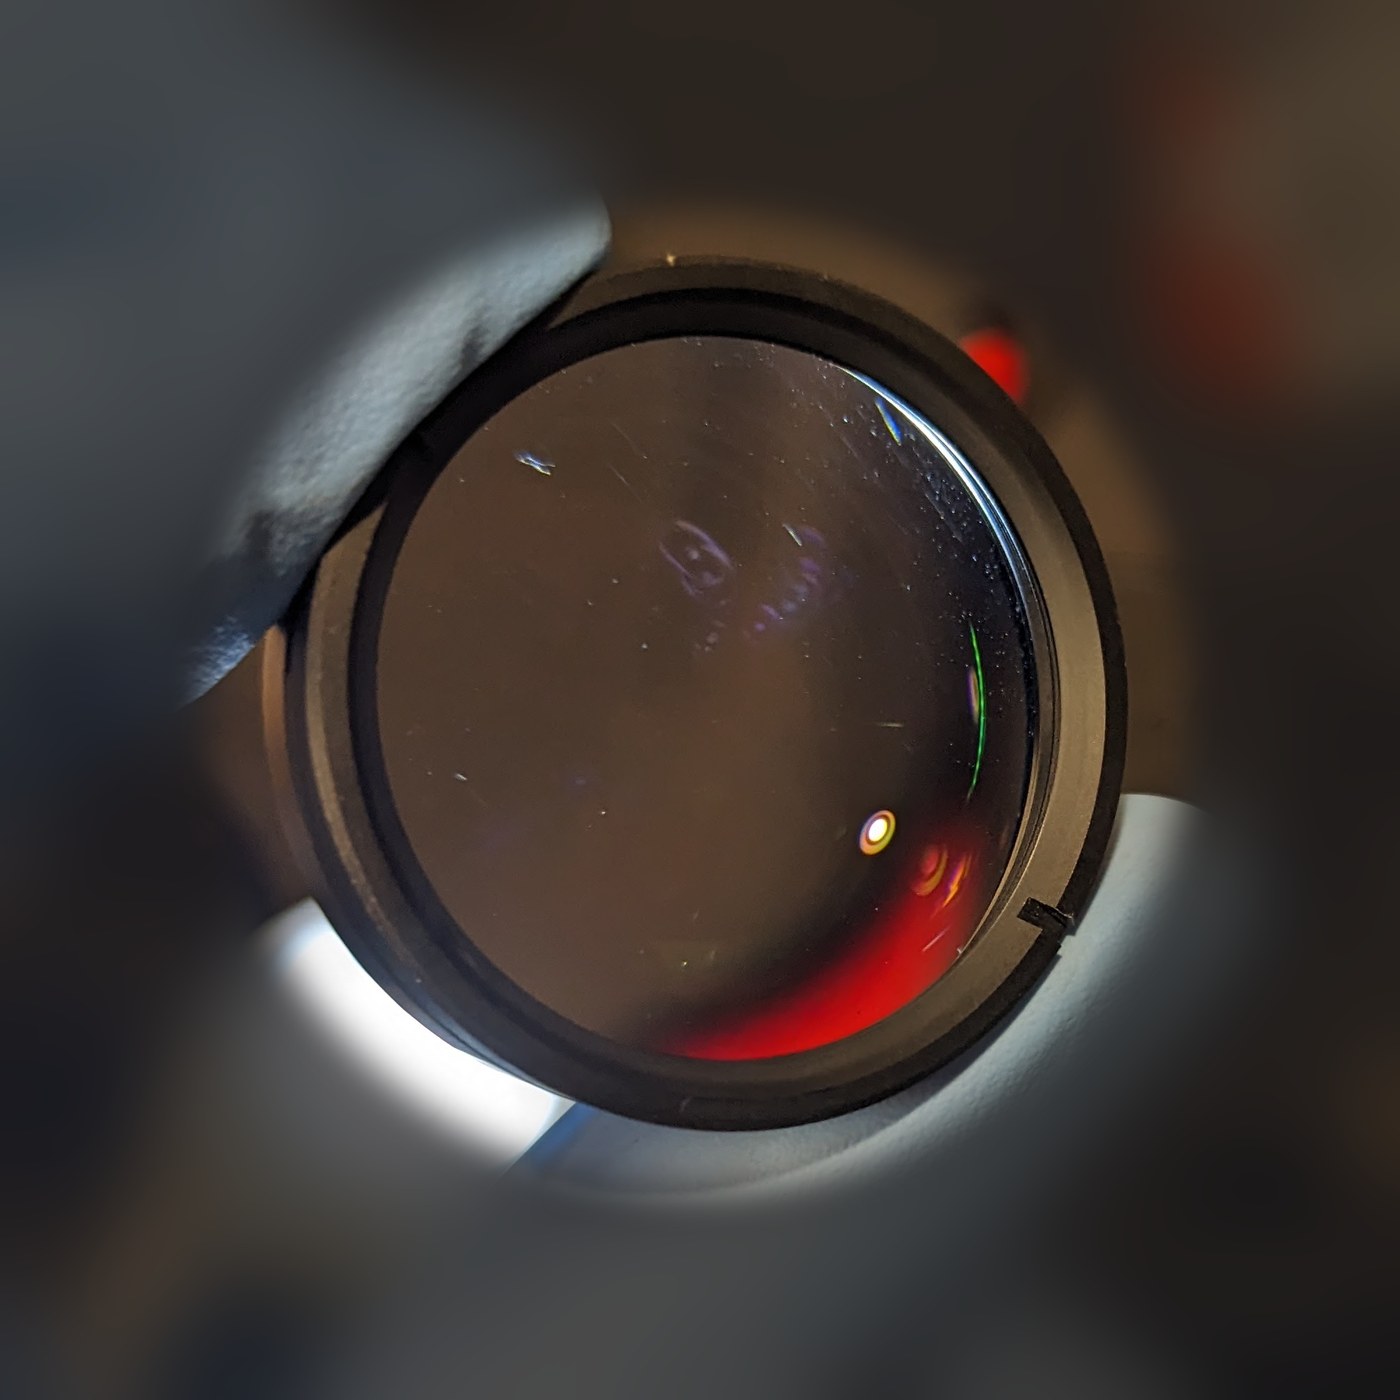
Here is the element in its cell, held up to a light.
After that, the rear group went back in. As I wrote in the first post, this lens later found a new owner through our eBay shop as a Mint lens.
Thank you very much for reading.
Follow azuleterno on Instagram
I run azuleterno, a shop in Japan that sends good-quality used Japanese cameras and lenses to people all over the world. Like the lens in this post, items with minor problems are repaired and put in order before they are sold.
On Instagram I post the lenses and cameras I have just listed. Follow along to see what comes in next.
Questions, or looking for a particular lens or camera? Send me a DM on Instagram. Requests are welcome.
Shop worldwide on eBay
We sell good-quality items from Japan to buyers all around the world, and eBay is where we do it. Our items are listed in our eBay shop with detailed photos and an honest description of their condition, and we ship from Japan to your door.
When you find something you like on Instagram, this is the place to see it in full and buy it.
“For Your Happier Life, For the Future of Our Earth.” Giving well-made cameras a longer life is our small way of caring for the planet.
日本語
この記事は、コンタックス プラナー T* 50mm F1.4 のバルサム切れ修理の続きです。同じレンズです。2枚のガラスを貼り直したあと、もう1つ仕事が残っていました。ガラスの縁(コバ)を黒く塗る、コバ塗りです。今回は、日本の墨を使ったコバ塗りと、そのあとの仕上げの記録です。
1. コバを黒く塗る理由
レンズのガラスの縁は、ふつう黒く塗られています。むき出しのガラスの縁に光が当たると、レンズの中で光がはね返り、フレアやコントラストの低下の原因になります。縁をつやのない黒にしておくと、その光を吸ってくれます。
2. 墨をする
塗料には、書道で使う墨を使いました。墨を硯(すずり)で、少しの水と一緒にすって作ります。写真は、墨と、すったばかりの墨が入った硯、筆、そしてレンズです。
3. コバを塗る
細い筆で、レンズの縁にぐるりと墨を塗りました。縁をむらなく黒くするのは、なかなか根気のいる作業でした。塗ったあとは、ドライヤーで乾かしました。
4. 仕上げ
翌日、組み上がったレンズをもう一度開けて、仕上げをしました。マウント側から後ろの群をひとまとまりで外し、貼り合わせのレンズが入った枠を取り出します。
レンズを取り出すとき、枠の金属の縁(かしめ)をナイフで起こしていました。その縁を、平たい金属の道具で少しずつ、ぐるりとガラスの縁に押し戻し、レンズがしっかり留まるようにしました(カシメ戻し)。
そのあと、枠の内側のガラスのまわりも、同じ墨で塗り足しました。最後の写真は、枠に収まったレンズを光にかざしたところです。
後ろの群を戻して完成です。前回の記事に書いたとおり、このレンズはのちに当店のeBayで Mint(とてもきれいな状態)として新しい持ち主のもとへ渡りました。
最後まで読んでいただき、ありがとうございました。
オールドレンズの分解清掃を承ります|Repair Factory Fuji Base
この記事のような分解清掃を、国内のお客さまのレンズでもお受けしています。静岡県富士市の工房で、カビ・くもり・絞りの油染み・バルサム切れの清掃を、1本ずつ作業します。
基本料金2,000円(税込価格2,200円)・返送料込み。料金表とお申し込みは、受付ページをご覧ください。
作業の様子は、Instagram @fujibase_repair でも紹介しています。
InstagramでazuleternoをFollowしてください
日本の良質な中古カメラ・レンズを、世界中の方へお届けしているショップ azuleterno を運営しています。今回のレンズのように、小さな不具合のある品は修理・整備してから販売しています。
Instagramでは、新しく出品したレンズやカメラを紹介しています。フォローしていただくと、次に入ってくる品が見られます。
ご質問や、お探しのレンズ・カメラがあれば、InstagramのDMでお気軽にどうぞ。
モットーは “For Your Happier Life, For the Future of Our Earth.”(あなたのより幸せな暮らしと、地球の未来のために)。良いカメラを長く使い続けてもらうことが、地球を大切にする私たちなりの方法です。
Comments